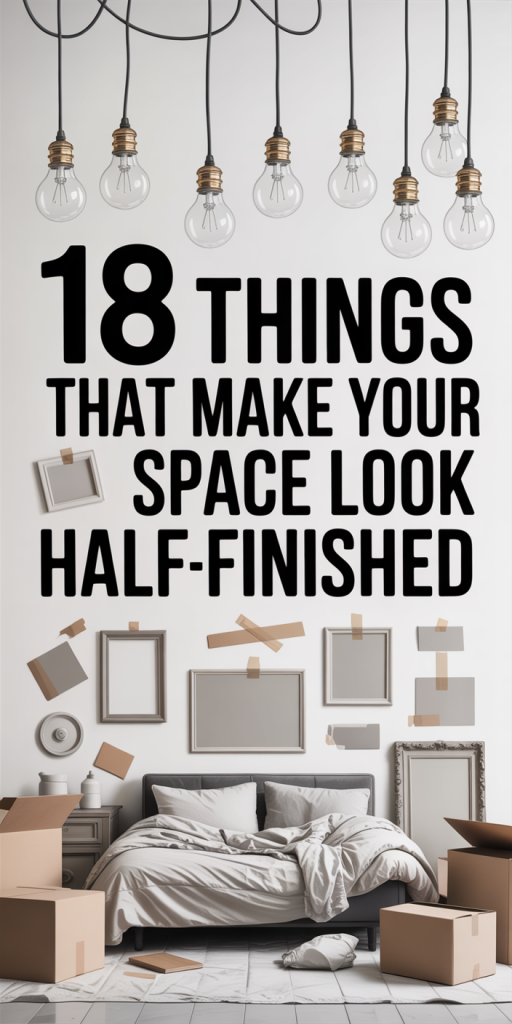
We’ve all walked into a room that feels like someone hit pause midway through decorating: walls mostly painted, a lamp on a box, and a floor transition that screams “not done.” Those half-finished cues drain a space’s personality and make even the nicest furniture look out of place. In this guide we’ll walk through 18 common things that make your space look incomplete, from paint mishaps and exposed wiring to empty walls and mismatched trim, and give practical, fast fixes you can carry out this weekend. Our goal is simple: help you see the small details that make a big difference and give step-by-step solutions that don’t require a full renovation. Read on and let’s finish your room the right way.
Uneven Or Incomplete Paint Coverage
Nothing ages a room faster than patchy paint. Uneven sheen, roller marks, visible brush strokes, and patchy coverage where primer wasn’t applied all scream “unfinished.” We often underestimate how much paint quality, surface prep, and technique affect the outcome. The easiest way to tell if paint is the culprit: stand across the room and look at the wall from multiple angles. Light will reveal all inconsistencies.
Quick fixes we recommend: touch up small areas with matching paint, but don’t try to blend single patches, repaint the whole wall when possible. Always start by cleaning surfaces: dust and grease repel paint and cause patchiness. Use primer on patched or repaired areas: primer seals the substrate and gives topcoat paint a uniform base. Choose a high-quality roller cover (3/8″ nap for smooth walls, 1/2″–3/4″ for lightly textured) and keep a wet edge while rolling to avoid lap marks.
If sheen looks uneven, the issue may be varying finish levels or poor-quality paint. Flat and eggshell reflect differently: if you’re repainting, pick a finish that suits the room and be consistent. For a fast weekend refresh, two thin coats of better-quality paint applied with consistent technique beat one thick coat every time. And when in doubt, hire a pro for large walls or high ceilings, proper paint work instantly elevates a space from half-done to polished.
Unfinished Or Jarring Flooring Transitions
Flooring transitions are tiny design moments that either whisper cohesion or shout “unfinished.” When hardwood meets tile, or carpet hits laminate, abrupt edges, missing transition strips, or inconsistent heights make the whole room feel like a project still in progress. Transitions also pose a safety risk, trip hazards and exposed underlayment are both unsightly and dangerous.
Start by identifying the type of transition you need: a T-molding for floors of equal height, a reducer for a higher-to-lower change, and a threshold or grout strip for tile-to-wood. Many hardware stores stock premade transition pieces that match common floor finishes: for an invisible look, choose ones that coordinate with your flooring tone. If the floors differ in height by more than 1/4″, sanding or adding a thin underlayment might be necessary before installing a reducer.
For a quick aesthetic fix, add a narrow runner rug to visually bridge two materials, or use a decorative metal or wood threshold as a deliberate design detail. If transitions are unfinished because flooring stops short, consider continuing the primary floor through the doorway or installing an intentional border. Proper transitions make a room feel intentional: investing a few hours and a modest budget here pays big returns in perceived completeness.
Exposed Wiring, Bare Bulbs, Or Temporary Light Fixtures
Lighting is both functional and atmospheric. Exposed wiring, dangling temporary fixtures, and bare bulbs give a workspace vibe rather than a lived-in home. These elements tell visitors the room isn’t finished, and they can be safety hazards too.
First, prioritize safety: if wiring is exposed, switch off power at the breaker before touching anything and call a licensed electrician for anything beyond swapping a fixture. For cosmetic quick wins, replace bare bulbs with simple, matching pendants or semi-flush fixtures, this alone can make the ceiling feel attended to. Use canopy covers and cord clips to tidy visible cables. If the wiring is aesthetic (like exposed conduit in industrial lofts), make it intentional: paint conduit the same color as the wall or ceiling, or use decorative conduit that fits the style.
Avoid obvious temporary solutions like clamp lamps on furniture or lamps perched on boxes. Instead, choose a balanced mix of ambient, task, and accent lighting. A floor lamp or table lamp placed correctly can mask a lacking overhead fixture. Dimmers are an affordable upgrade that immediately makes lighting feel finished, allowing you to tailor mood and function without rewiring. Finished lighting equals a finished room.
Empty Walls, Floating Furniture, And Awkward Scale
Empty walls or misplaced furniture make a room read as incomplete. A sofa shoved against a wall with a huge expanse of blank paint above it, a lone chair that looks tiny in a large space, or furniture that’s too large for the room, all create awkward visual imbalance. Empty walls aren’t just about missing art: they reveal a lack of composition.
We suggest starting with scale. Measure your wall and furniture before moving pieces. For statement walls, large-scale art or a gallery arrangement works better than tiny frames randomly spaced. A simple rule: artwork should span roughly 60–75% of the furniture width it’s above. Use layered lighting, picture lights, sconces, or floor lamps, to draw attention and add depth.
Floating furniture (pieces not anchored to anything) looks indecisive. Create intentional groupings: place rugs to define conversation zones, add occasional tables beside seating, or assemble a console behind a sofa to visually support it. Mirrors are an inexpensive way to add presence and bounce light into empty walls. If you’re working with awkward scale, too much negative space or crowded corners, bring in plants, a bookcase, or a sculptural floor lamp to fill voids without cluttering. Thoughtful composition turns blankness into balance.
Cluttered Storage, Half-Assembled Furniture, And Visible Boxes
Visible clutter tells a story: either you have nowhere to store things, or you’re mid-move. Stacks of boxes, half-assembled furniture with loose hardware, and open storage that looks chaotic make even a stylish room feel transitional. We’ve found that storage solutions that look intentional, baskets, closed cabinets, and labeled bins, transform chaos into curated content.
Attack the problem in three steps. First, clear and categorize: sort items into keep, donate, and discard piles. Second, conceal: use furniture with hidden storage like ottomans, storage benches, or media consoles with doors. If you must use open shelving, corral items in uniform containers so the shelf reads organized rather than messy. Third, complete the assembly. Don’t live with furniture in pieces: set aside a dedicated block of time to finish hardware and install any missing components. Keep a small box of extras (screws, anchors, instructions) in a drawer so future touch-ups are painless.
For short-term fixes during moves, use decorative bins or fabric boxes that look intentional. A well-placed basket or vintage trunk not only hides clutter but adds texture. When storage is part of the design rather than an afterthought, the room instantly reads finished rather than staged.
Missing, Damaged, Or Mismatched Trim And Baseboards
Trim and baseboards are the punctuation marks of a room. When they’re missing, damaged, or mismatched, everything else looks unfinished. Gaps at the floor, uneven caulk lines, chipped paint, or different profiles from room to room disrupt flow and call attention to small deficiencies.
Consistent trim ties rooms together visually and covers the seams between surfaces. If you’re replacing trim, choose a profile that complements your home’s style, simple square casings for modern rooms, or profile with a small ogee for traditional spaces. Paint trim in a semi-gloss to resist scuffs and make cleaning easier. Don’t forget the corners: filled and sanded miters look much nicer than visible gaps. When baseboards are damaged, replace only the affected sections rather than patching in mismatched pieces that will still read wrong.
Small details matter: use paintable caulk to seal gaps between trim and wall, and touch up nail holes with wood filler before painting. When trim meets flooring, ensure the baseboard covers the flooring expansion gap for a clean edge. These fixes can take a weekend but make a dramatic difference in how finished the space appears.
How To Properly Install Trim And Baseboards For A Polished Finish
Installing trim so it looks custom requires a few practical steps. Measure twice and cut once: accurate measurements cut down on gaps. Use a miter saw for clean 45-degree cuts on corners: if you don’t have one, many local hardware stores will cut pieces to size. Dry-fit before nailing to ensure alignment.
Nail trim into studs or use a nailer to set the board then countersink nails and fill holes with wood filler. Apply paintable caulk along the top edge between trim and wall to hide small inconsistencies. For inside corners, cope the joint, cut the profile of one piece to fit the contour of the other, this gives tighter seams than two mitered joints over time. Finish with two coats of paint or stain for protection and uniform color.
If you’re uncomfortable with power tools, a qualified finish carpenter can do the job quickly and affordably: the cost is often worth the professional polish you’ll get in return.
Conclusion: Small Fixes That Deliver A Finished, Cohesive Space
We don’t need full renovations to make rooms feel finished, attention to paint, transitions, lighting, walls, storage, and trim does most of the heavy lifting. Tackle the visible details first: even paint touch-ups, installing proper transition strips, swapping temporary lighting for proper fixtures, arranging furniture with scale in mind, finishing assembly, and installing consistent trim will make your space feel intentional and complete.
Start with a checklist of the items above and schedule small projects across a few weekends. The payoff is immediate: less visual noise, better flow, and a home that finally feels like it belongs to you. Let’s finish it right and enjoy the room the way we intended.
Leave a Reply