Category: Uncategorized

  • Timeless Elegance: Stunning Black and White Kitchen Designs to Transform Your Space

    Few color combinations evoke sophistication and timeless elegance quite like black and white, making it a perennial favorite in kitchen design. This classic duo offers an unparalleled versatility that effortlessly adapts to a range of styles—from sleek modern minimalism to cozy farmhouse charm. Whether you’re aiming for a dramatic statement or a subtle, understated look, black and white kitchens provide a perfect canvas that balances contrast and harmony with striking effect.

    Beyond its aesthetic appeal, the black and white palette is remarkably easy to personalize. With endless opportunities to mix textures, patterns, and finishes, homeowners can infuse their unique personality into the space while maintaining a cohesive, refined look. From glossy subway tiles and matte cabinetry to bold accent pieces and metallic hardware, this dynamic color scheme invites creativity and innovation, transforming any kitchen into a stunning focal point that stands the test of time.

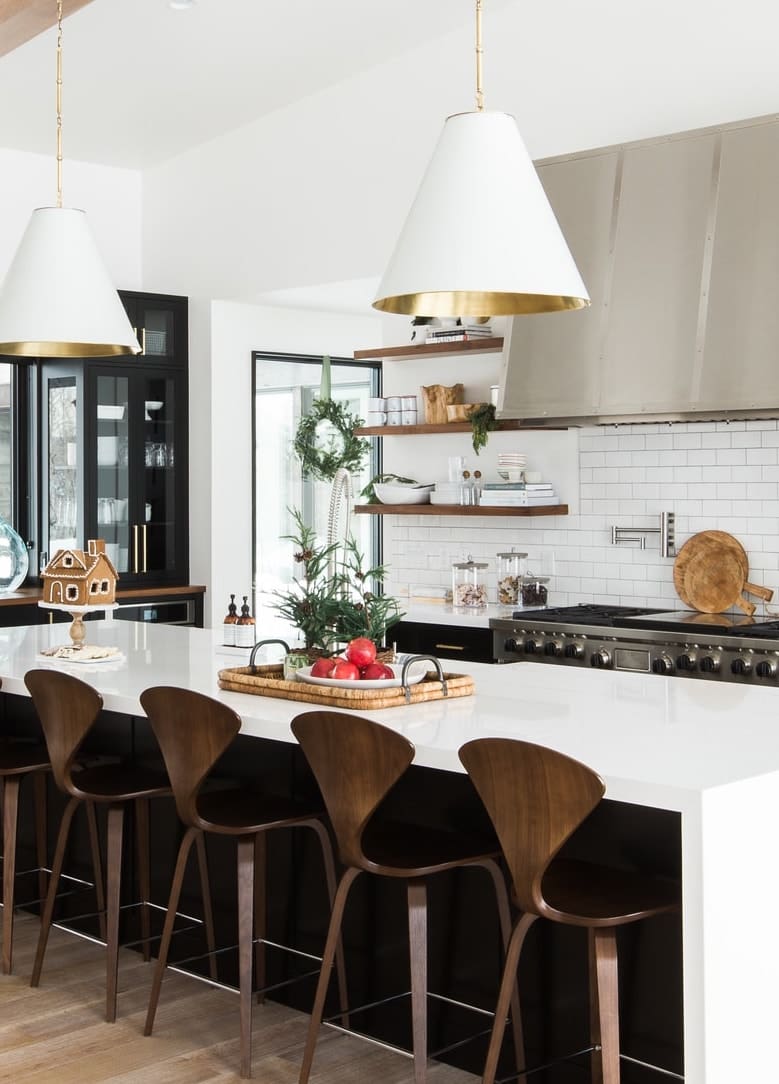
    1. Choose Shiny Black Cabinets for a Modern Kitchen
    Choose Shiny Black Cabinets for a Modern Kitchen

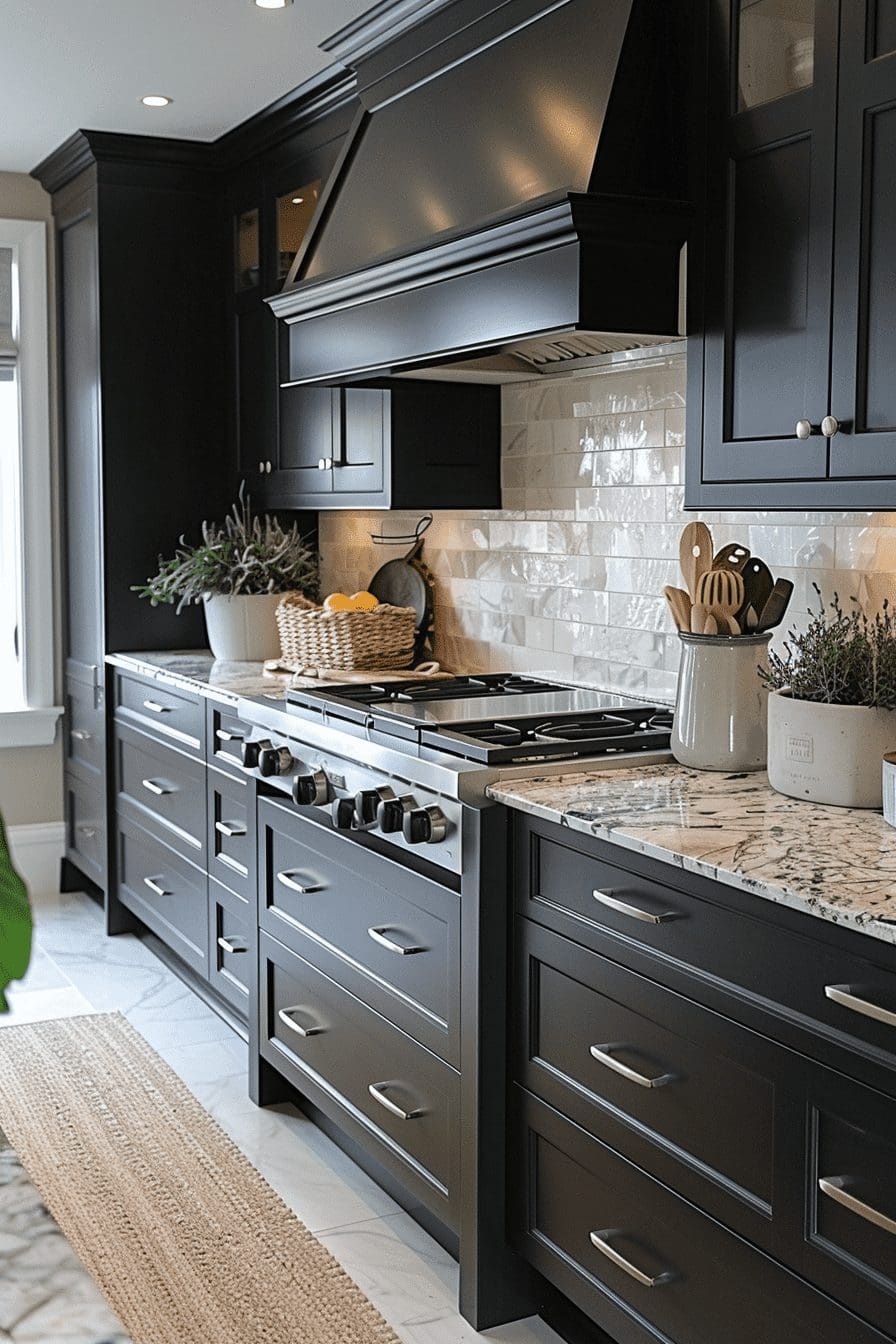
    Incorporating glossy black cabinets brings a chic and modern vibe to your kitchen decor. Their reflective finish enhances natural and artificial light, adding a sense of spaciousness and elegance to the room.

    Key Design Elements

    • Creates a bold and stylish focal point in the kitchen.
    • Reflects light to make the space appear larger and brighter.
    • Pairs well with metallic accents and light countertops for contrast.

    Pro Tip: Balance the dark cabinetry with lighter walls and flooring to prevent the kitchen from feeling too heavy or closed in.

    2. Blend Varied Surfaces for a Richer Kitchen Look
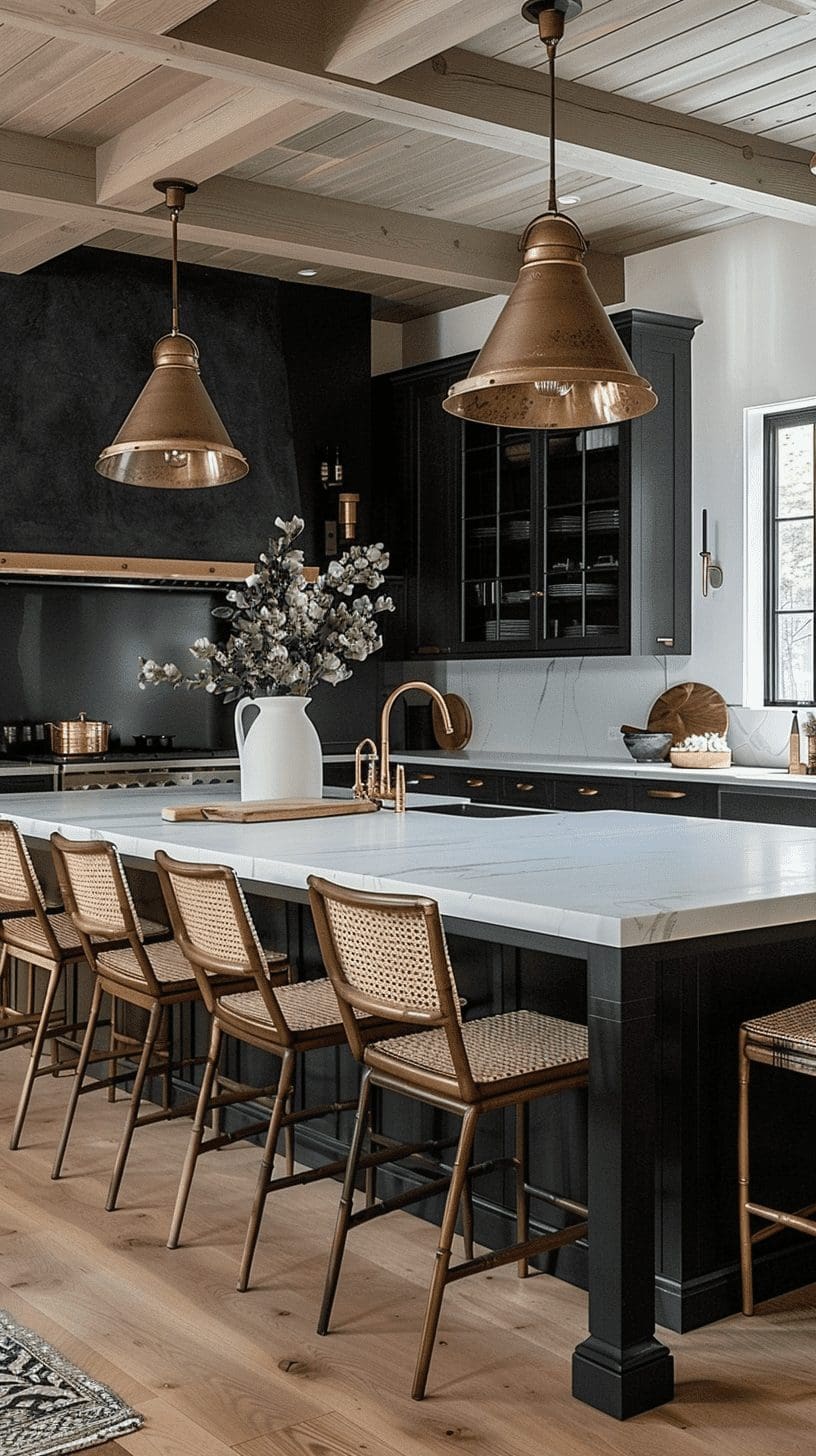
    Blend Varied Surfaces for a Richer Kitchen Look

    Incorporating a variety of materials in your kitchen enhances its character and appeal. The interplay of textures and finishes brings a lively, layered effect that transforms the space into an inviting and stylish environment.

    Key Design Elements

    • Pair smooth quartz countertops with natural wood cabinetry for balanced elegance.
    • Contrast glossy stainless steel appliances with matte-finish backsplash tiles to create visual intrigue.
    • Combine textured stone surfaces with sleek metal accents to add depth and personality.

    Pro Tip: Choose materials with complementary tones to unify the space while showcasing their unique textures.

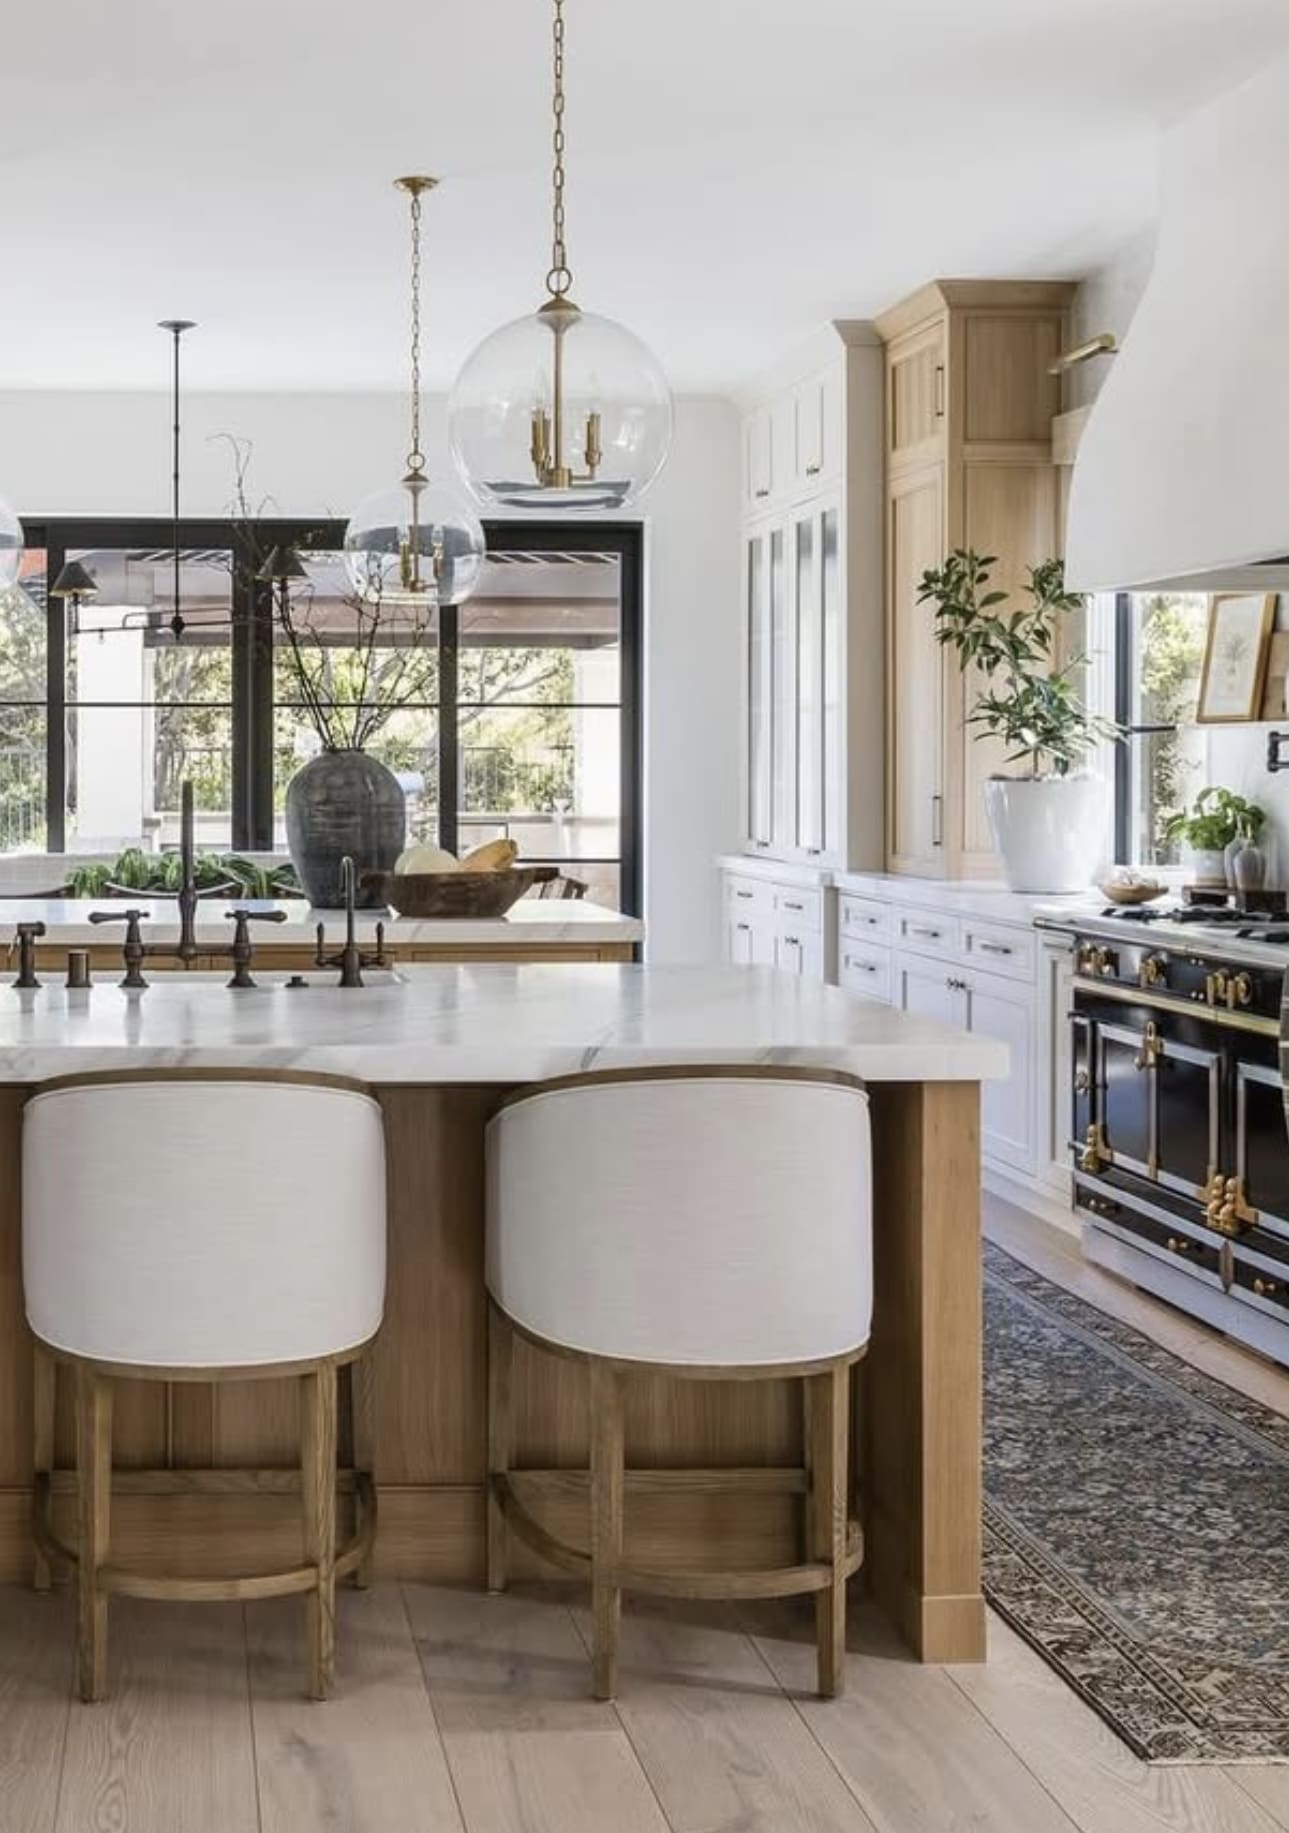
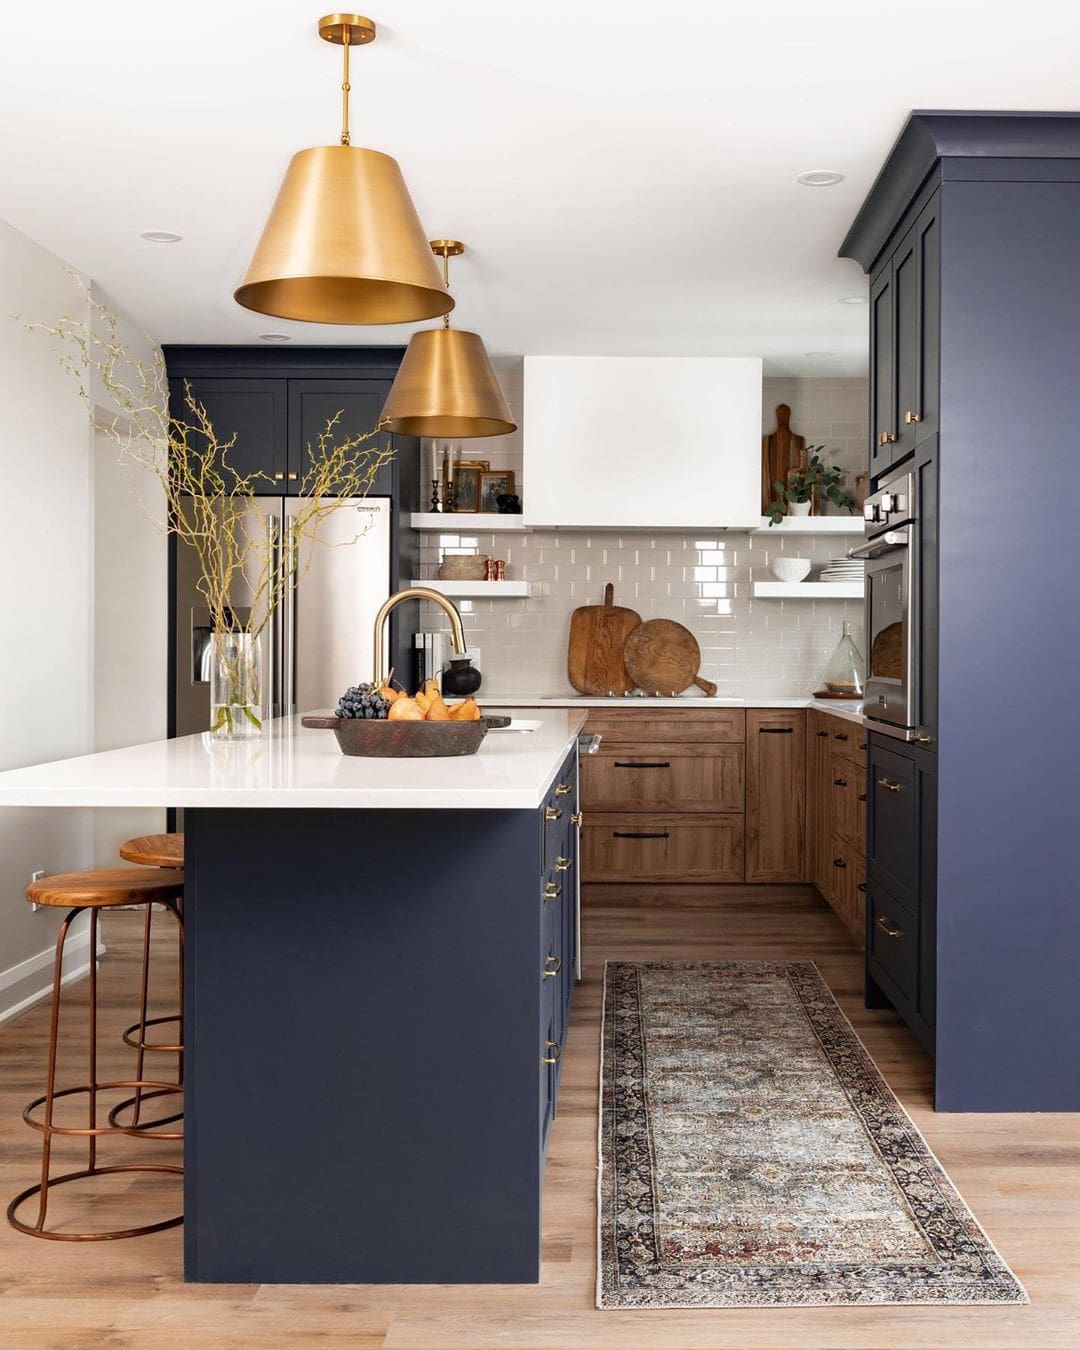
    3. Elevate Your Kitchen with Bold Island Lighting
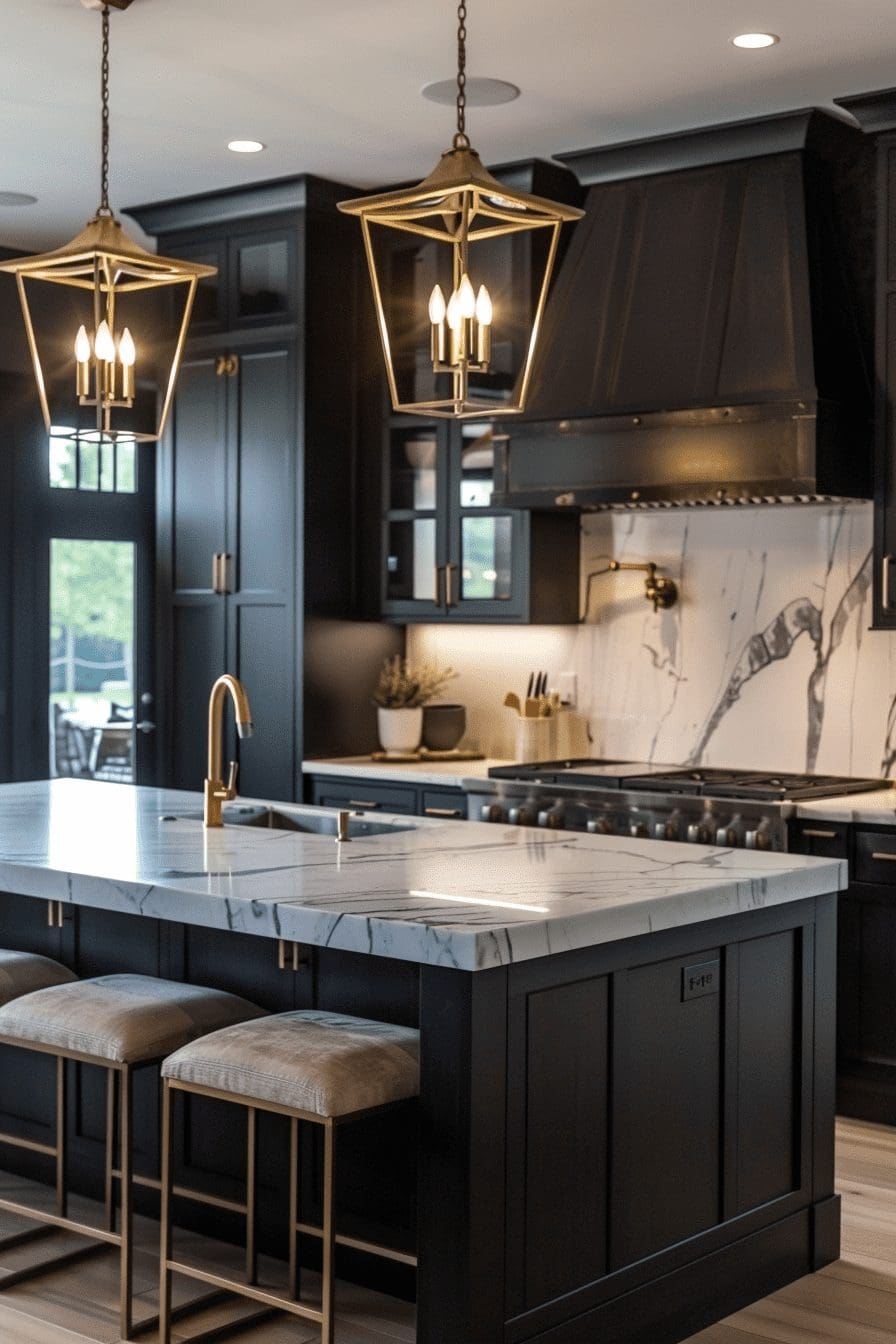
    Elevate Your Kitchen with Bold Island Lighting

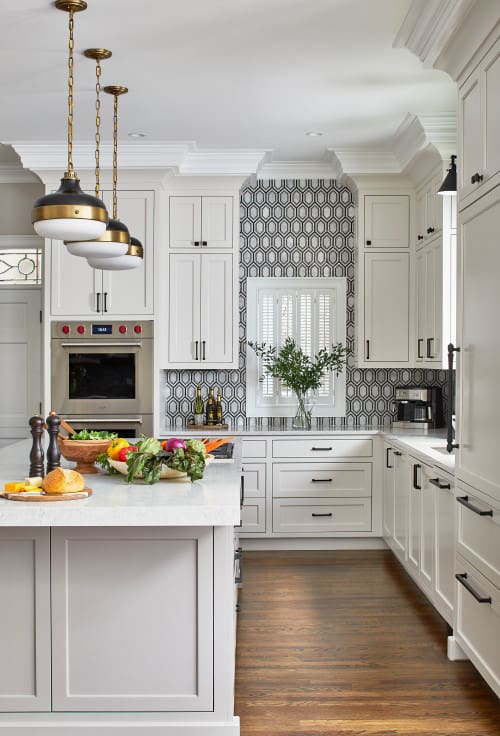
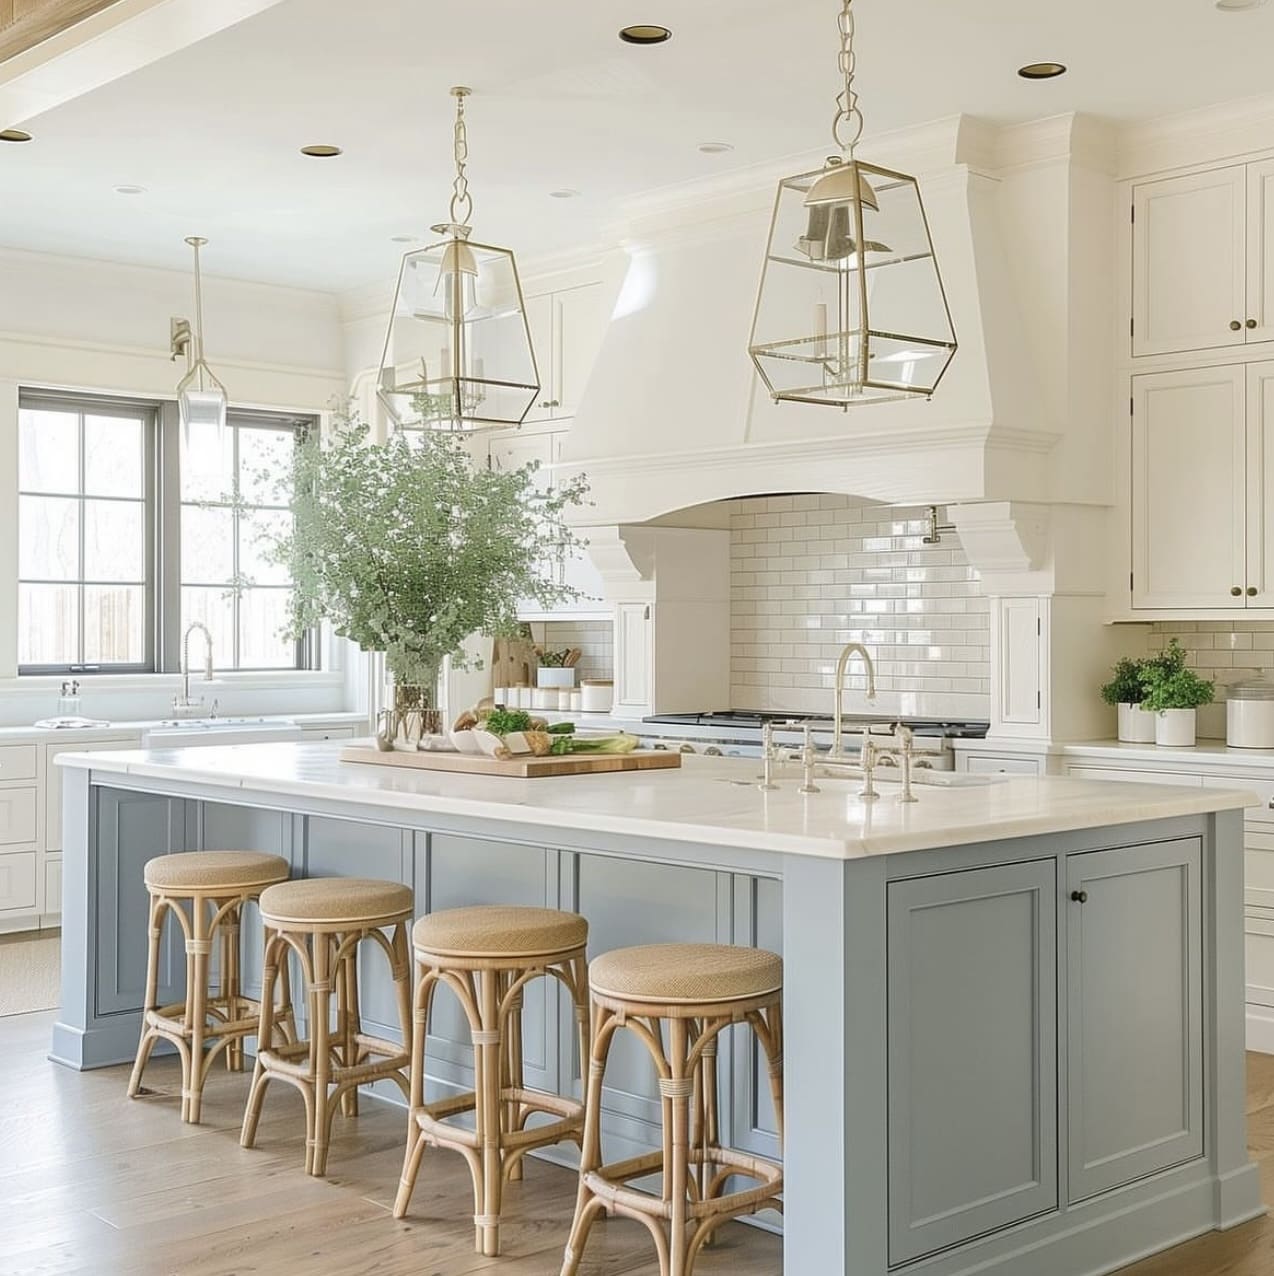
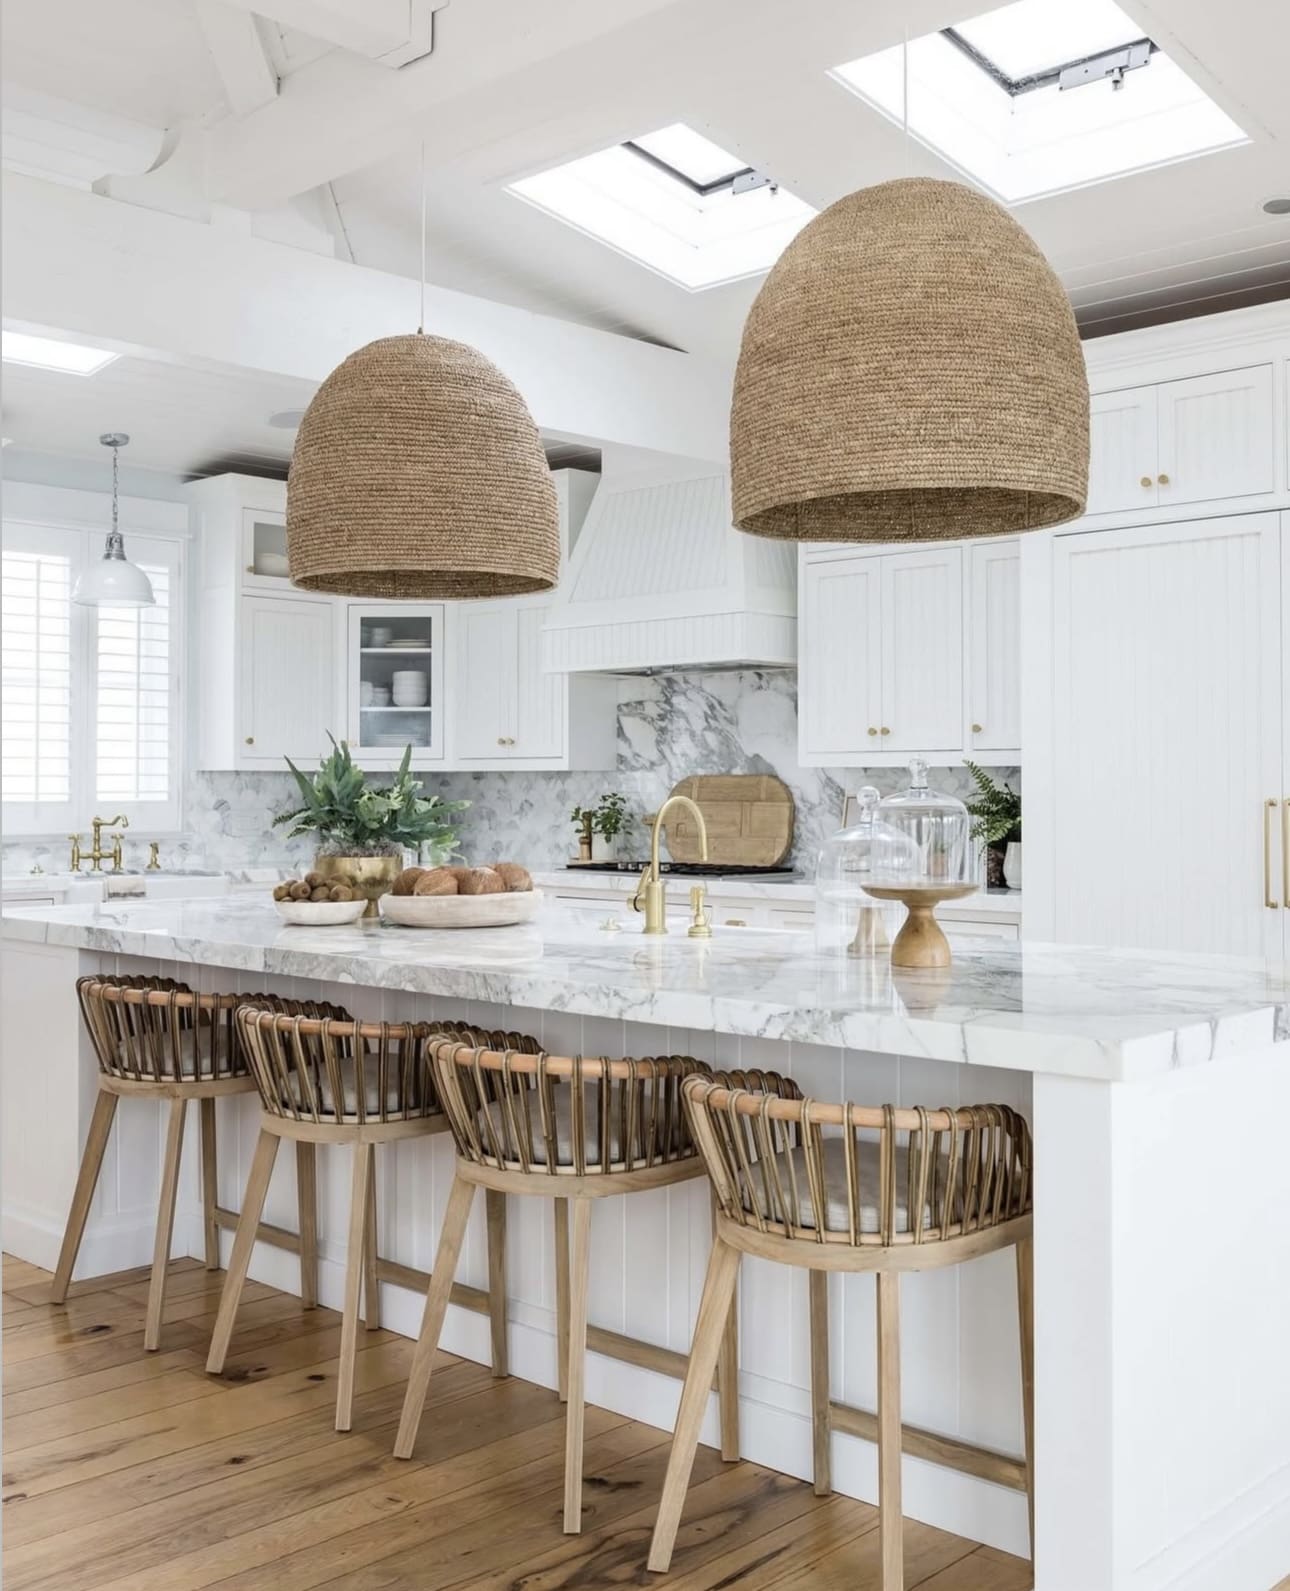
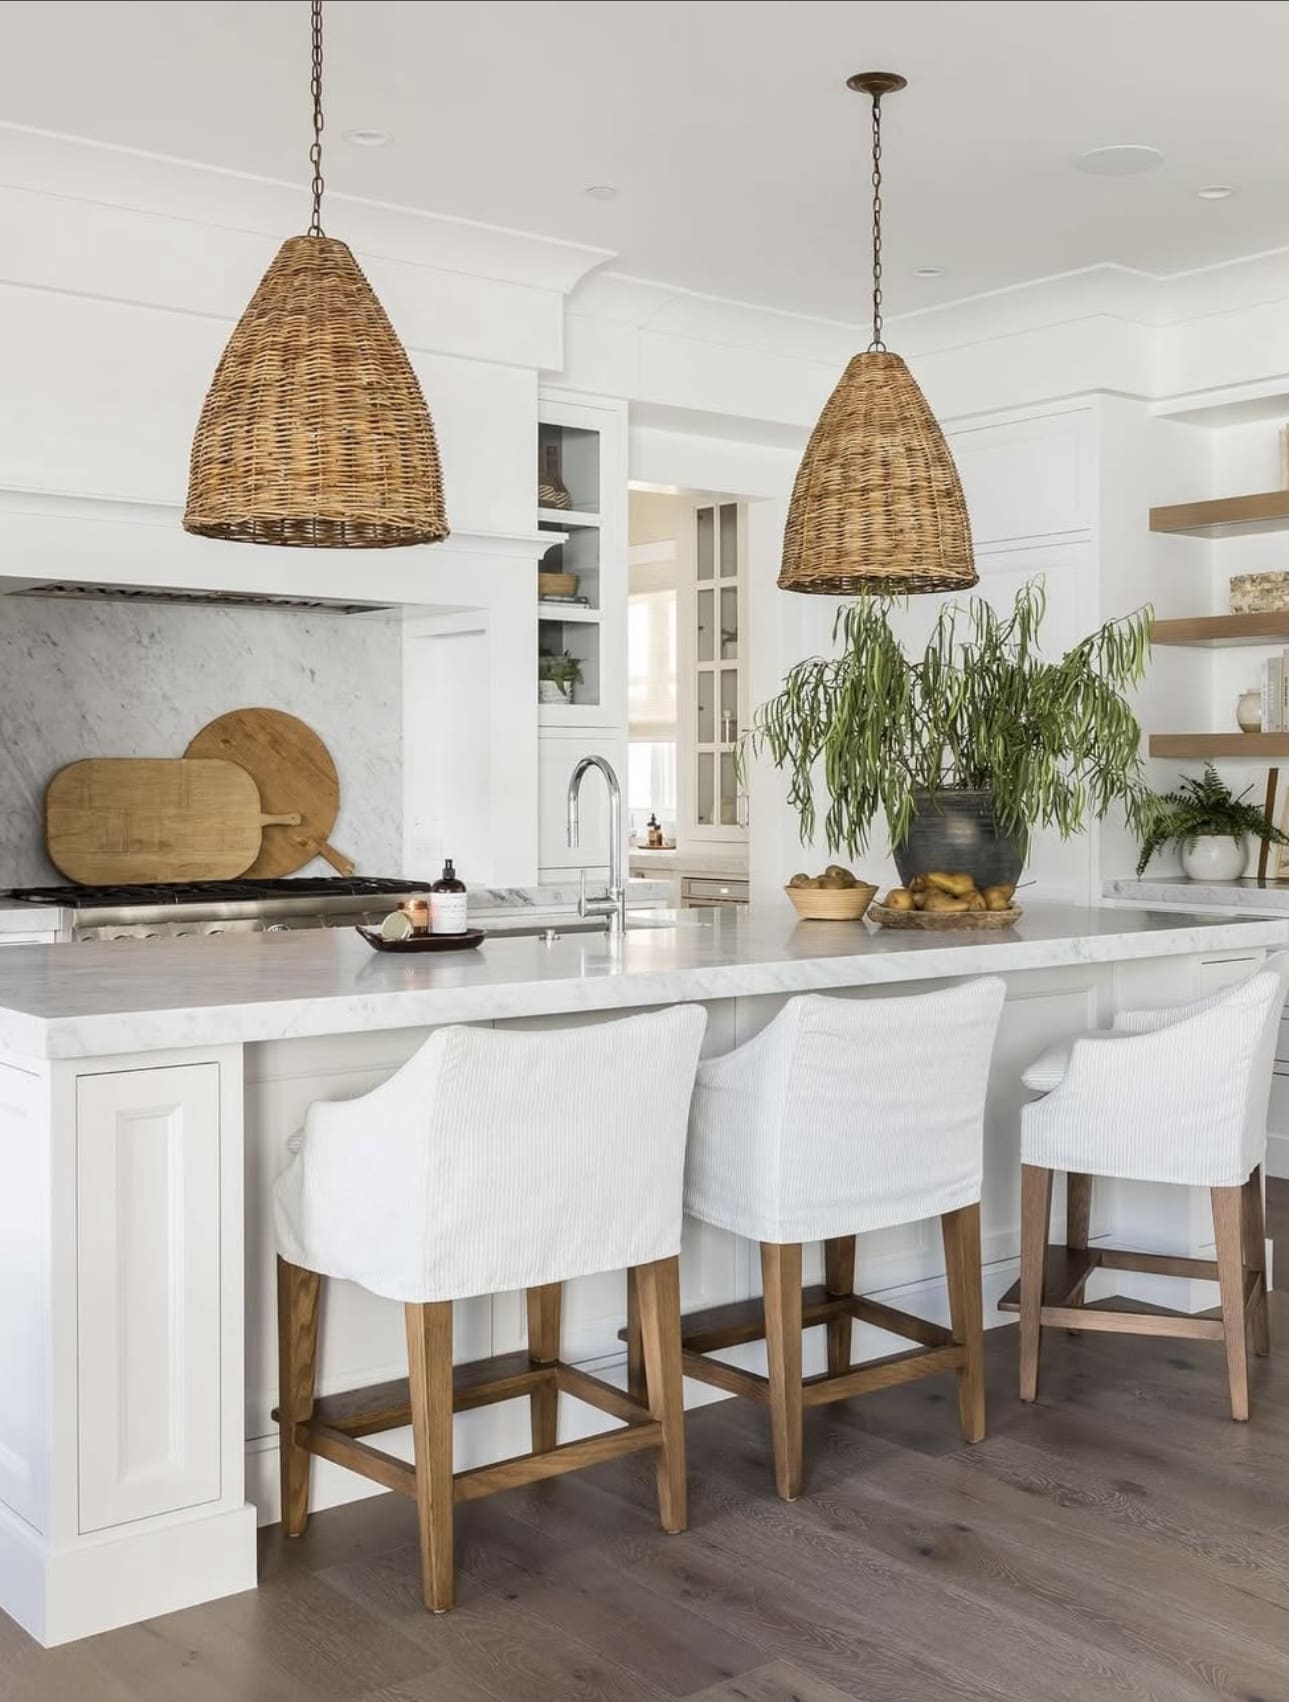
    Installing standout lighting over your kitchen island creates an immediate visual impact and enhances the room’s ambience. From sleek pendants to vintage-inspired clusters or elegant chandeliers, the perfect fixture can turn your kitchen into a captivating centerpiece.

    Key Design Elements

    • Choose lighting that complements your kitchen’s style while serving as a focal point.
    • Consider layering multiple fixtures for added texture and interest.
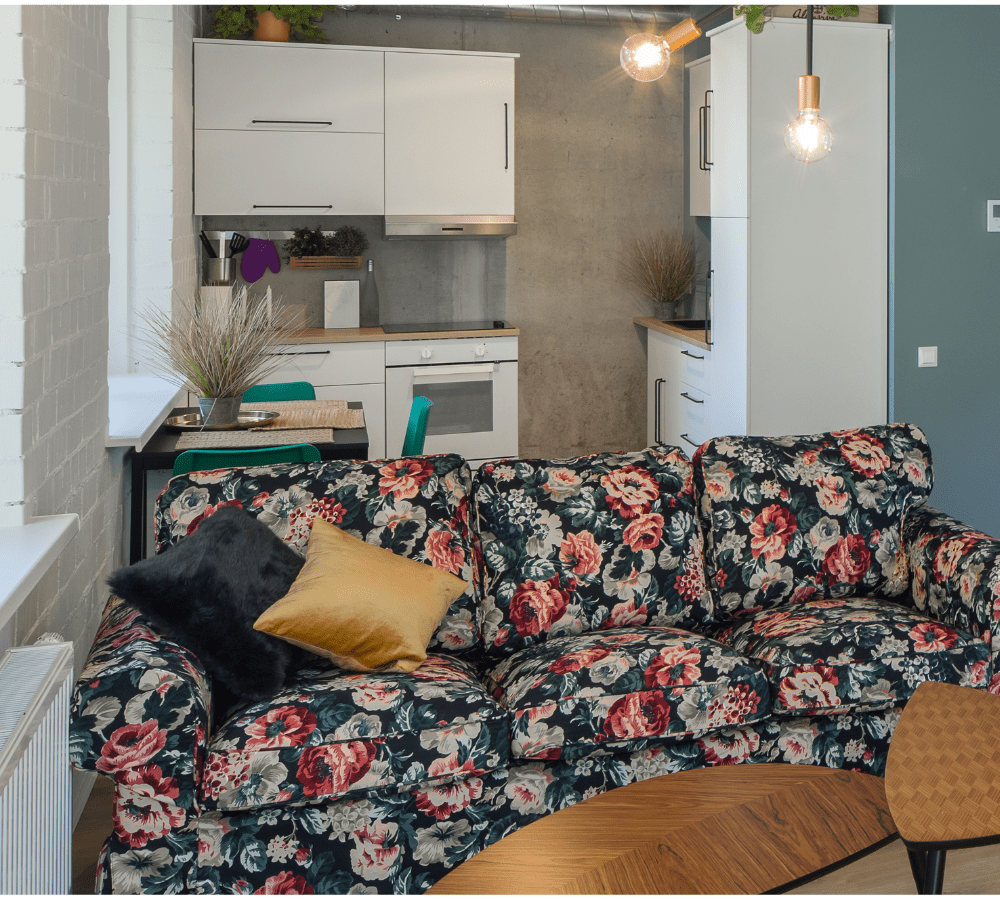
    • Ensure the lighting provides ample task illumination without overpowering the space.

    Pro Tip: Opt for dimmable lights to control mood and functionality throughout the day.

    4. Combine Varied Materials for a Rich Kitchen Feel
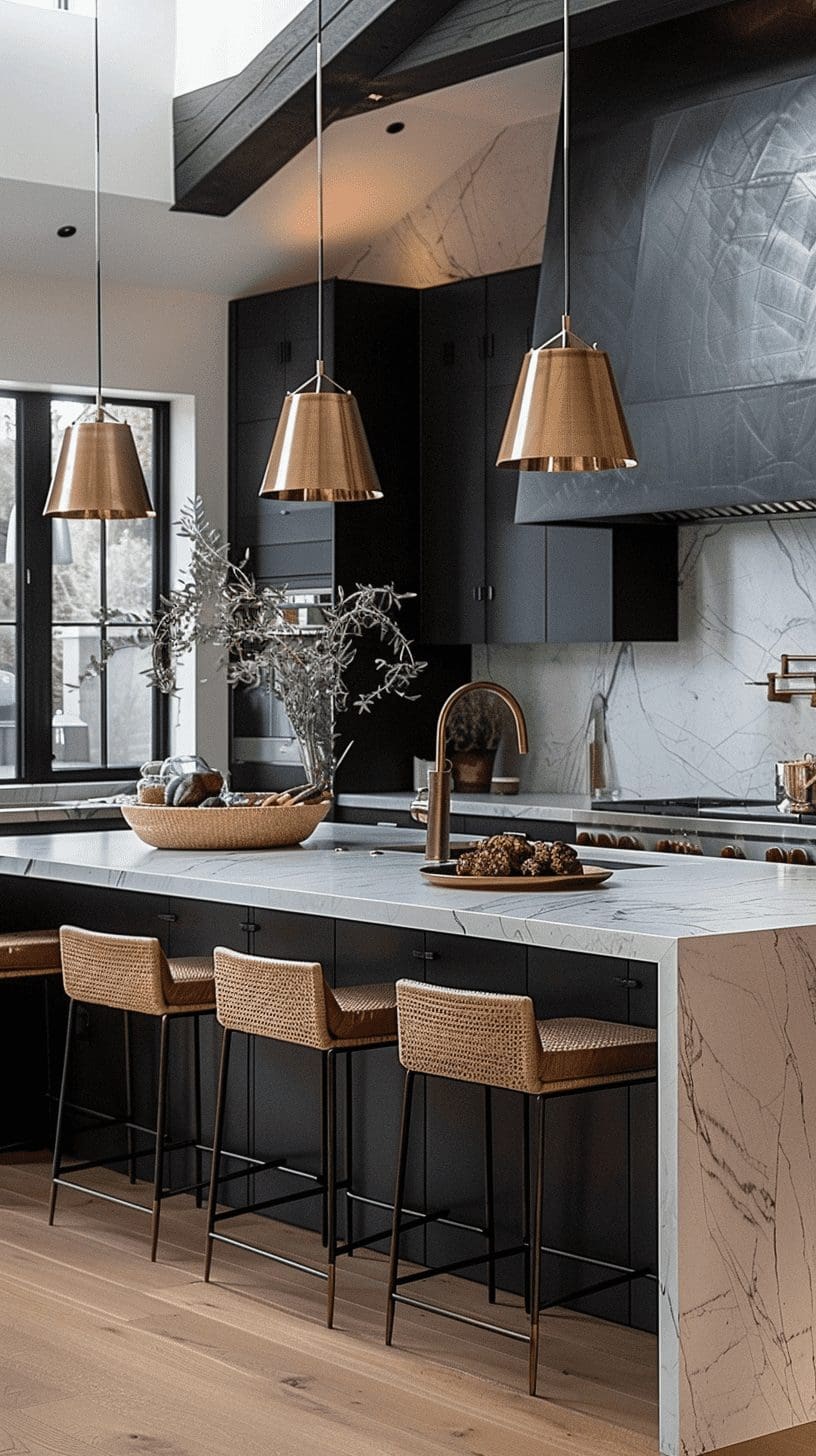
    Combine Varied Materials for a Rich Kitchen Feel

    The appeal of your kitchen lies not only in its appearance but also in its tactile qualities. Integrating diverse surfaces such as rugged wood, smooth metals, soft textiles, and natural stone creates a dynamic and inviting environment that engages multiple senses.

    Key Design Elements

    • Use reclaimed wood cabinetry for a warm, textured foundation.
    • Add brushed or matte metal fixtures for sleek contrast.
    • Incorporate fabric elements like cushioned bar stools or window treatments for softness.

    Pro Tip: Balance different textures by pairing rougher materials with smooth finishes to prevent visual clutter while enriching the space.

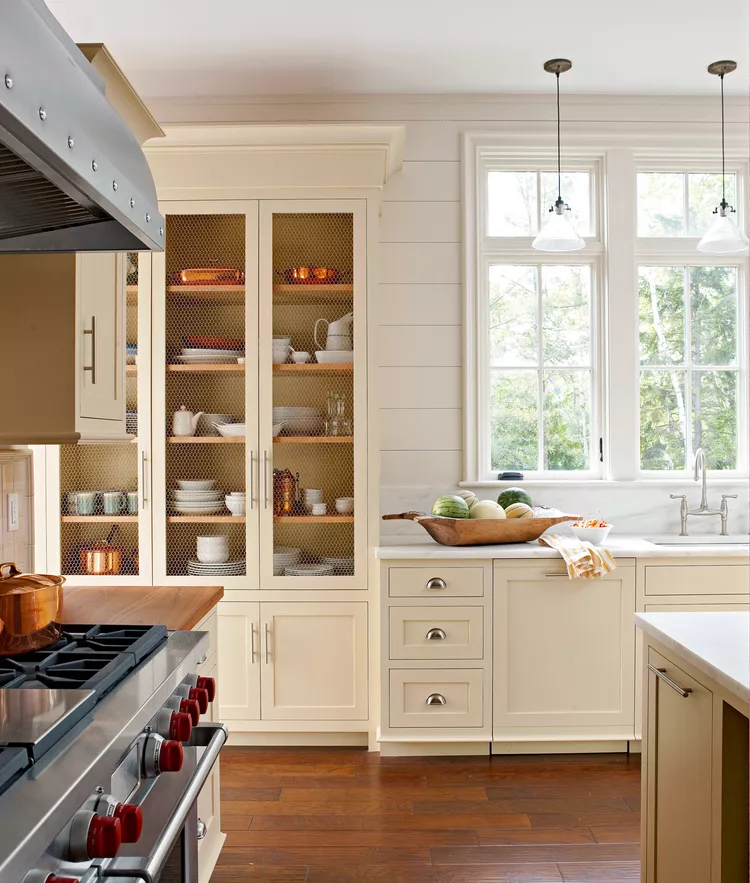
    5. Enhance Openness with Transparent Cabinet Fronts
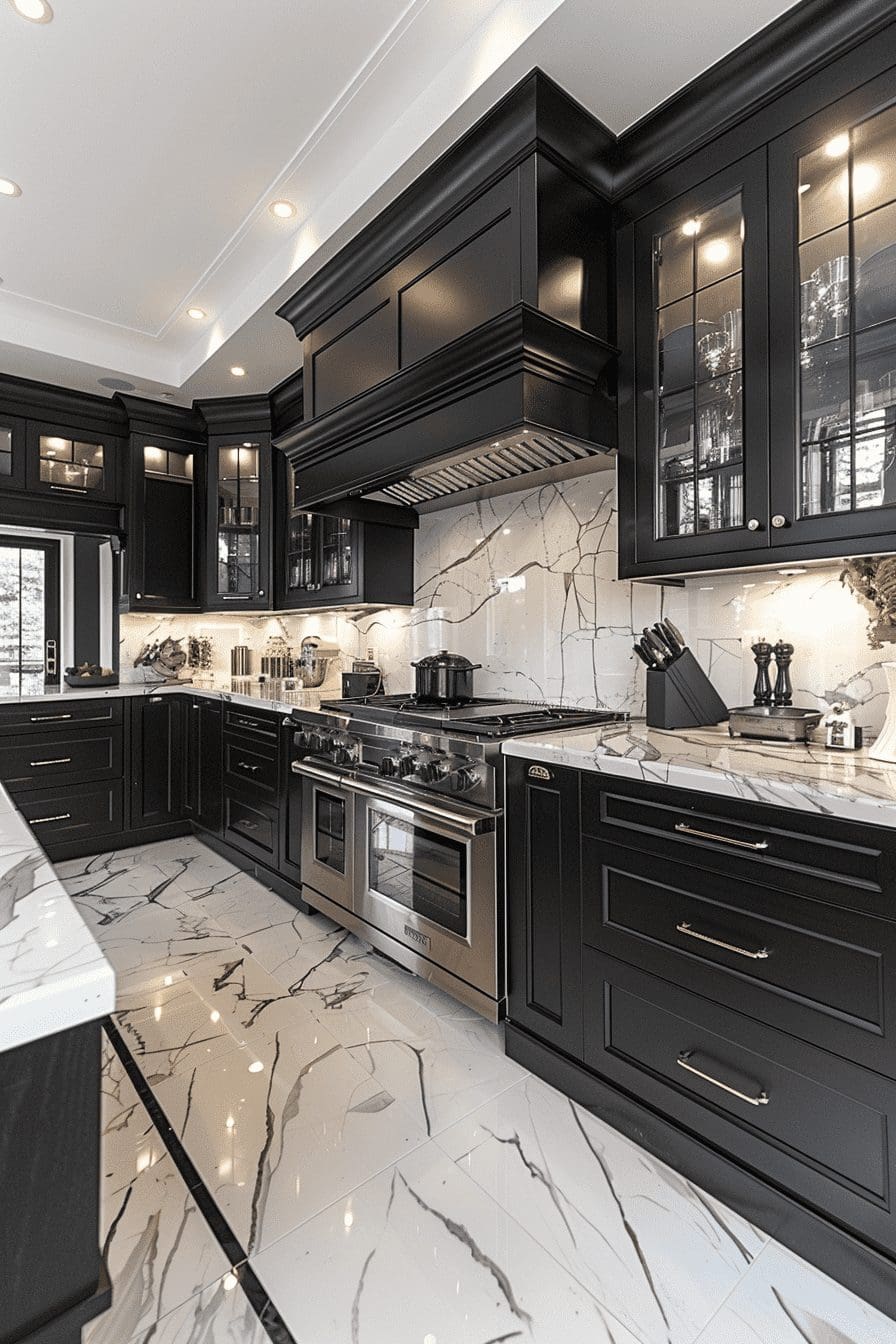
    Enhance Openness with Transparent Cabinet Fronts

    Incorporating glass panels into your cabinet doors can make your kitchen feel more spacious and inviting. The transparency lets light flow freely, adding dimension and a breezy atmosphere to the space.

    Key Design Elements

    • Choose clear or frosted glass to suit your style and privacy needs.
    • Display attractive dishware or collectibles to add visual interest.
    • Ensure good interior cabinet lighting to maximize the glass effect.

    Pro Tip: Opt for tempered glass doors to combine elegance with durability and safety in your kitchen.

    6. Classic Contrast: White Cabinets with Black Countertops

    Classic Contrast: White Cabinets with Black Countertops

    Combining crisp white cabinetry with sleek black countertops delivers an enduringly chic look that elevates any kitchen space. This bold color interplay not only draws attention but also brings a sophisticated edge to your culinary area. Additionally, white cabinets help to brighten the room, creating an open and inviting atmosphere.

    Key Design Elements

    • White cabinets reflect light, making the kitchen appear larger and more open.
    • Black countertops add depth and a luxurious touch to the overall design.
    • The high contrast between colors provides a striking and modern visual appeal.

    Pro Tip: Choose matte black countertops to reduce glare and highlight the cabinetry’s clean lines.

    7. Embrace Simple Elegance

    Embrace Simple Elegance

    Opting for a streamlined kitchen look means less clutter to clean and a more serene cooking environment. With minimal decorative elements, maintaining cleanliness becomes quicker and less labor-intensive, especially in an often messy space. This approach helps keep your kitchen fresh and functional effortlessly.

    Key Design Elements

    • Reduce countertop accessories to free up workspace and simplify cleaning.
    • Choose functional items that double as decor to minimize extra objects.
    • Stick to a neutral color palette for a calm and unified aesthetic.

    Pro Tip: Regularly assess and remove items that don’t serve a practical purpose to maintain a clutter-free kitchen.

    8. Embrace Matte Finishes for a Sleek, Subtle Kitchen
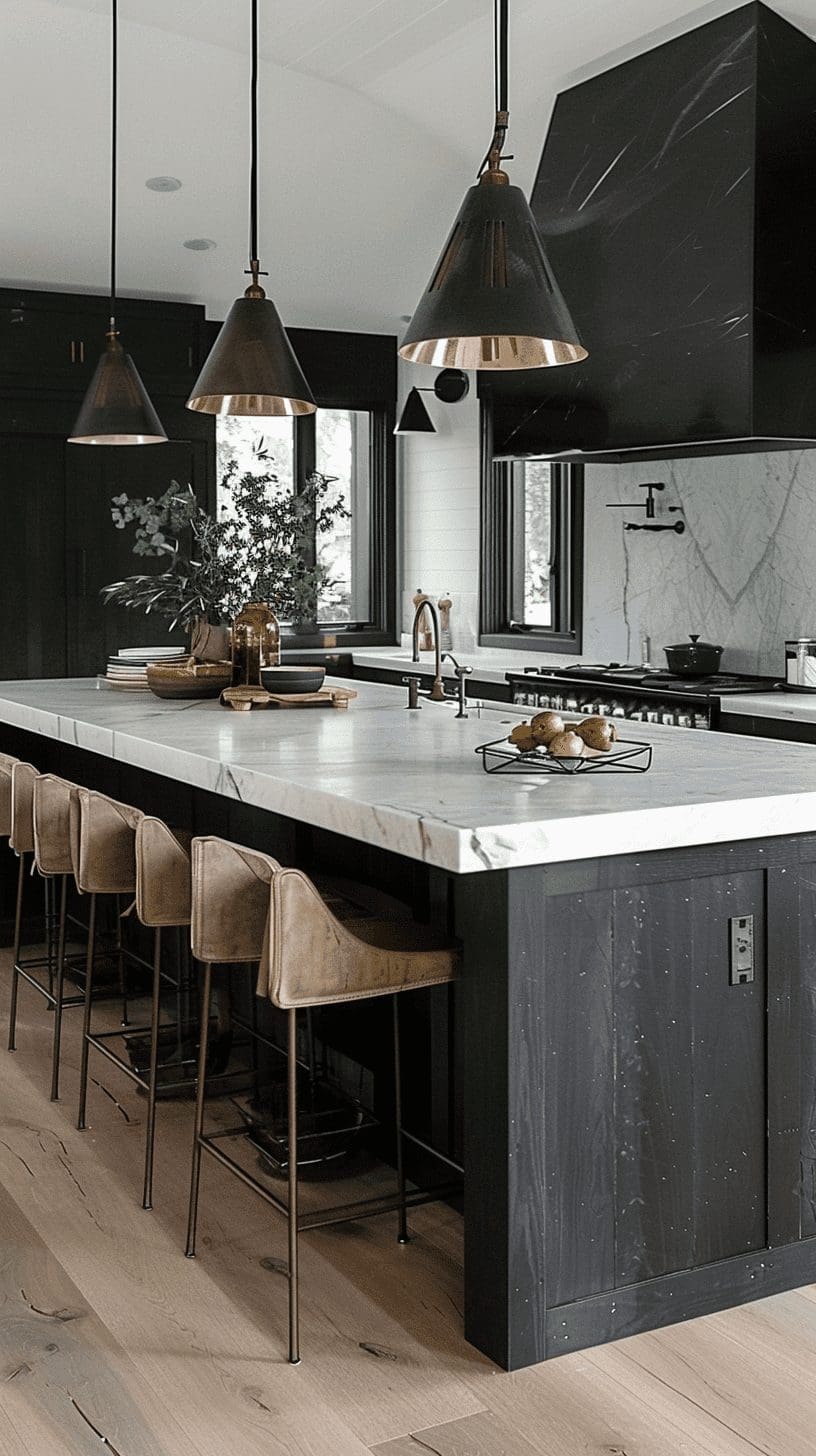
    Embrace Matte Finishes for a Sleek, Subtle Kitchen

    Matte surfaces align perfectly with minimalist and Scandinavian aesthetics, offering a smooth, understated appeal. They help maintain a tidy appearance by minimizing reflections and hiding fingerprints, making them ideal for busy kitchens.

    Key Design Elements

    • Reduce glare for a softer, more inviting atmosphere.
    • Hide smudges and fingerprints better than glossy finishes.
    • Enhance the clean, simple lines typical of modern design styles.

    Pro Tip: Pair matte cabinetry with textured materials like wood or stone to add depth and visual interest without sacrificing simplicity.

    9. Embrace a Single-Color Palette

    Embrace a Single-Color Palette

    Designing your kitchen using varying shades of one color creates a harmonious and peaceful environment. This unified approach minimizes visual clutter and enhances the room’s sense of order and tranquility.

    Key Design Elements

    • Choose different textures and finishes within the same color family to add depth.
    • Incorporate subtle variations in tone to keep the design interesting yet cohesive.
    • Use accent lighting to highlight the nuances of your monochromatic scheme.

    Pro Tip: Balance your monochrome palette by mixing matte and glossy surfaces to create subtle contrasts without disrupting the calm atmosphere.

    10. Embrace Seamless Cabinetry with Built-In Appliances
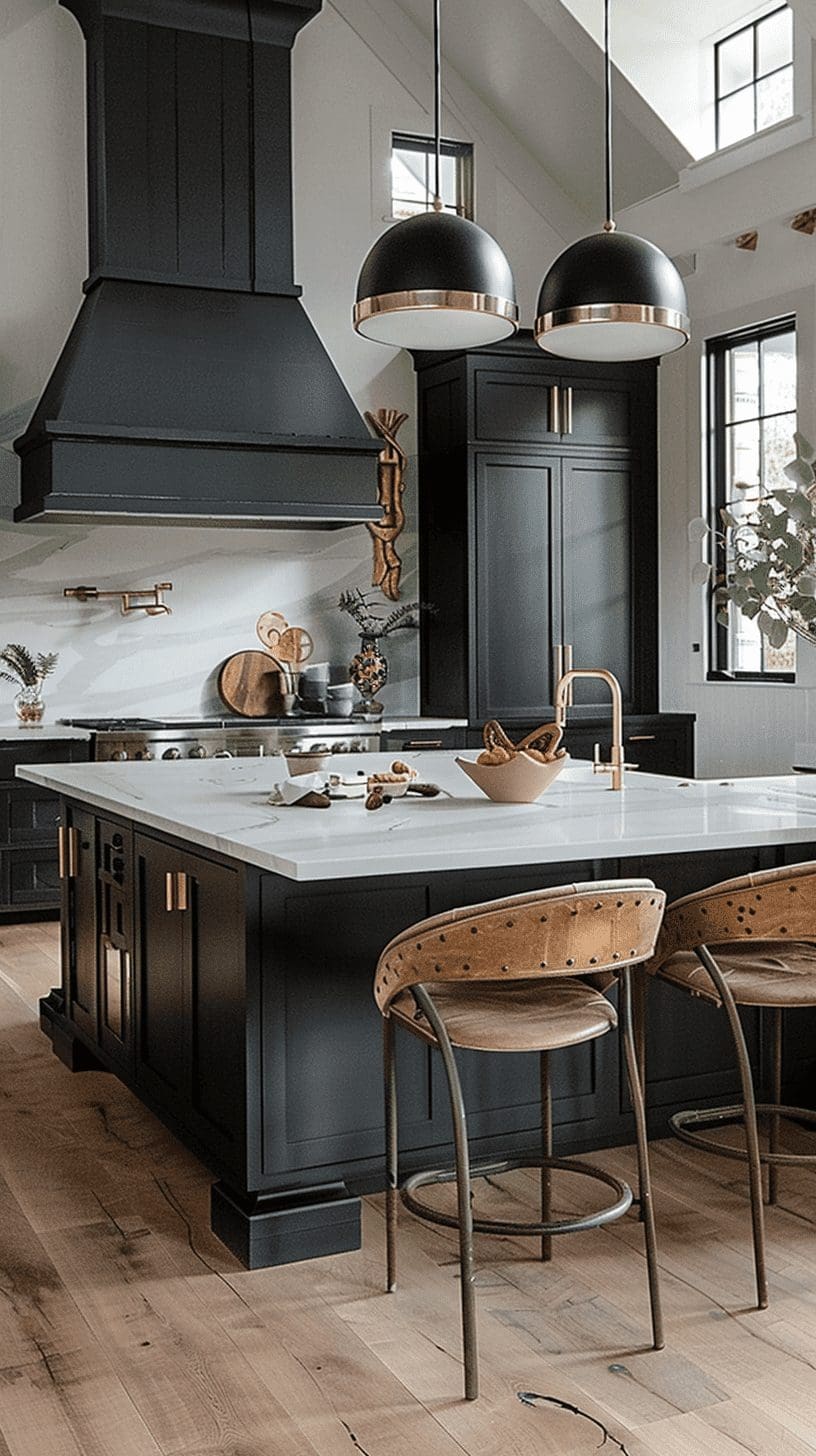
    Embrace Seamless Cabinetry with Built-In Appliances

    Built-in appliances fit harmoniously within your kitchen cabinets, offering a clean and streamlined aesthetic. By concealing appliances behind custom panels, they help maintain a consistent and elegant design throughout your space.

    Key Design Elements

    • Enhances the kitchen’s overall visual flow by hiding bulky appliances.
    • Allows for customized finishes that match your cabinetry perfectly.
    • Creates a modern and uncluttered look that elevates your kitchen’s style.

    Pro Tip: Choose integrated appliances that offer easy access and maintenance to combine style with functionality.

    11. Incorporate Authentic Organic Elements

    Incorporate Authentic Organic Elements

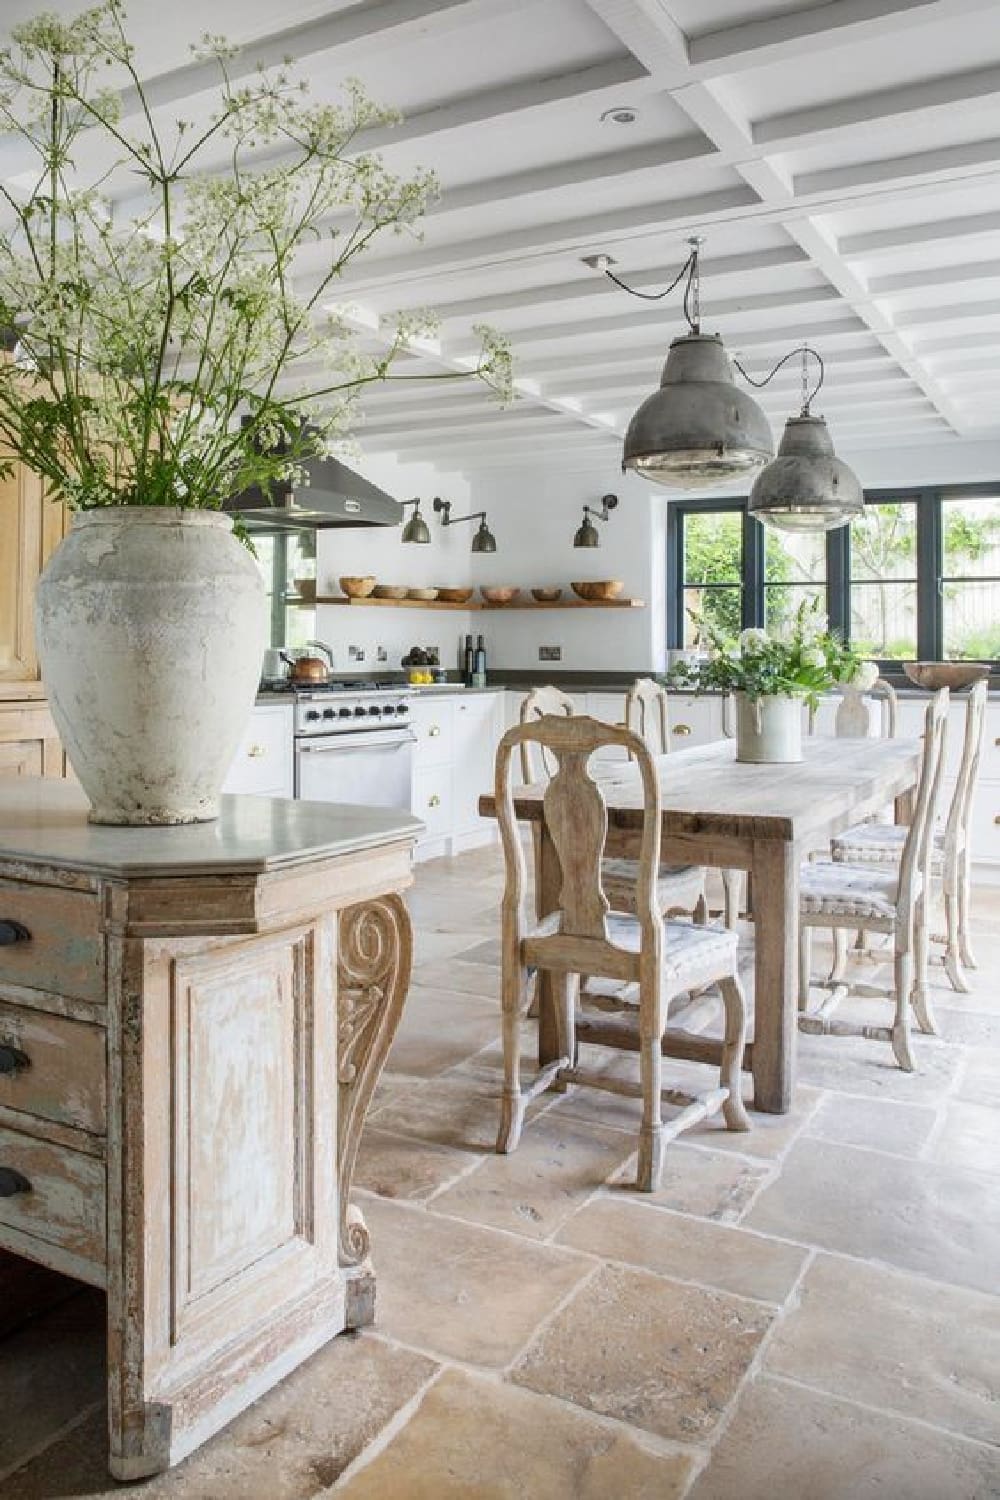
    Bringing in genuine materials such as wood, stone, and rattan introduces an inviting and enduring charm to your kitchen. These elements create a warm ambiance and infuse your space with natural beauty, whether through elegant wooden surfaces, textured stone floors, or gleaming metal details.

    Key Design Elements

    • Choose wooden countertops with distinct grains like walnut or oak for a cozy, natural feel.
    • Install stone flooring such as slate or travertine to add depth and rugged elegance.
    • Add accents in materials like copper or woven rattan to bring texture and shine.

    Pro Tip: Mix different natural textures thoughtfully to create visual interest without overwhelming the design.

    12. Elevate Your Kitchen with Timeless Marble Surfaces
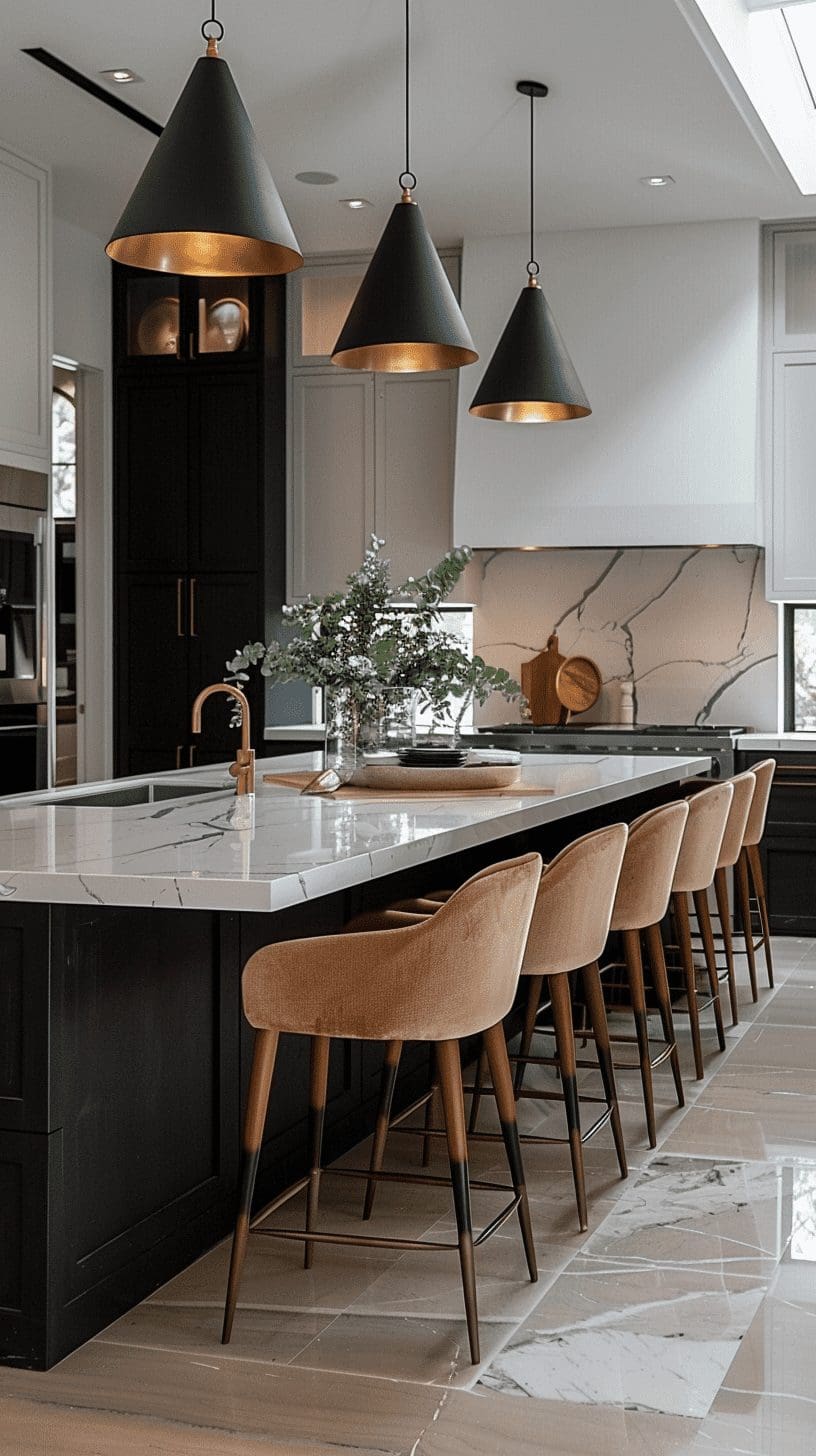
    Elevate Your Kitchen with Timeless Marble Surfaces

    Marble countertops bring an elegant, enduring charm that instantly uplifts any kitchen space. Their unique patterns and delicate hues provide a luxurious, artistic touch that enhances the aesthetic appeal. In a monochrome black and white kitchen, marble becomes a captivating centerpiece that ties the design together beautifully.

    Key Design Elements

    • Select marble with distinct veining to create visual interest and depth.
    • Pair marble countertops with matte black or crisp white cabinetry for a balanced look.
    • Seal marble surfaces regularly to protect against stains and maintain their shine.

    Pro Tip: Opt for honed marble finishes in high-traffic kitchens to minimize visible scratches and etching.

    13. Elevate Your Kitchen with a Personalized Range Hood
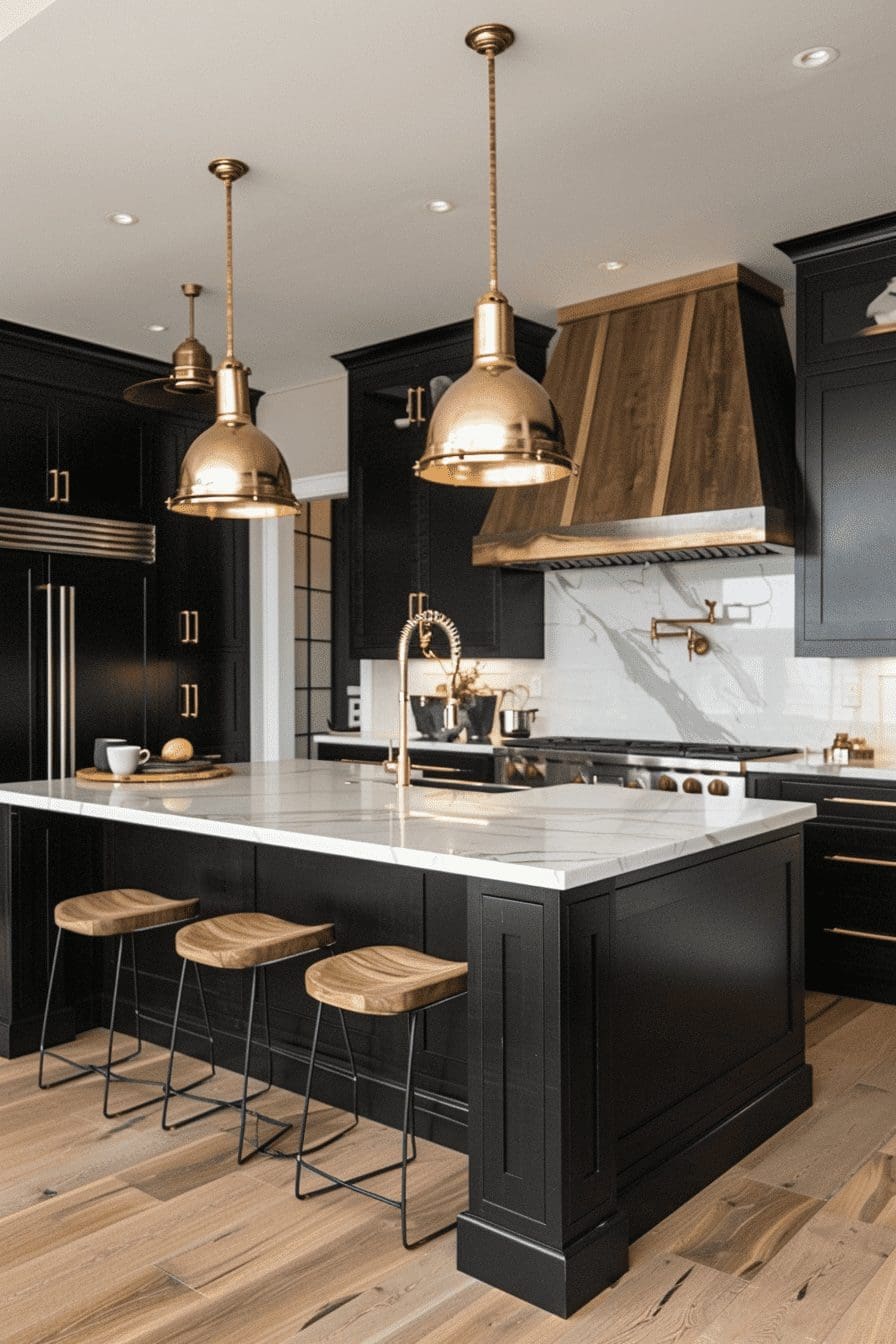
    Elevate Your Kitchen with a Personalized Range Hood

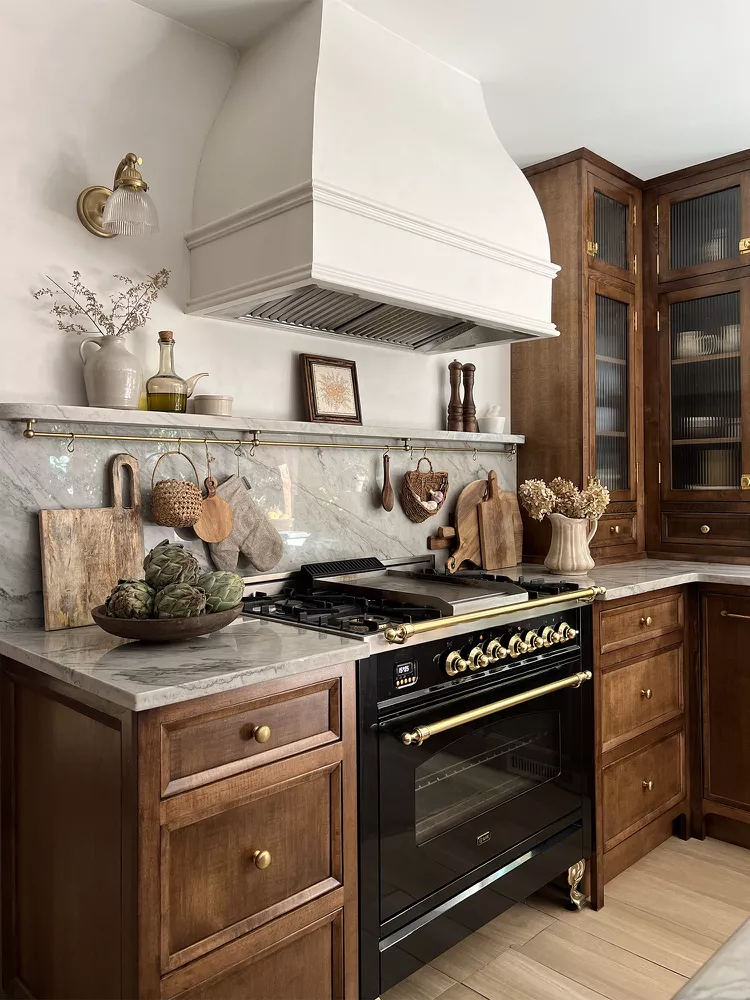
    A tailor-made range hood not only enhances ventilation but also acts as a captivating centerpiece in your kitchen. Designed to match your unique style—be it contemporary, farmhouse chic, or minimalist—it brings cohesion and character to the space.

    Key Design Elements

    • Choose materials and finishes that align with your kitchen’s theme for seamless integration.
    • Consider incorporating decorative elements like moldings or custom paint to add personality.
    • Ensure proper sizing to balance aesthetics with effective smoke and odor extraction.

    Pro Tip: Collaborate with a metal fabricator or carpenter to create a custom range hood that maximizes both style and ventilation efficiency.

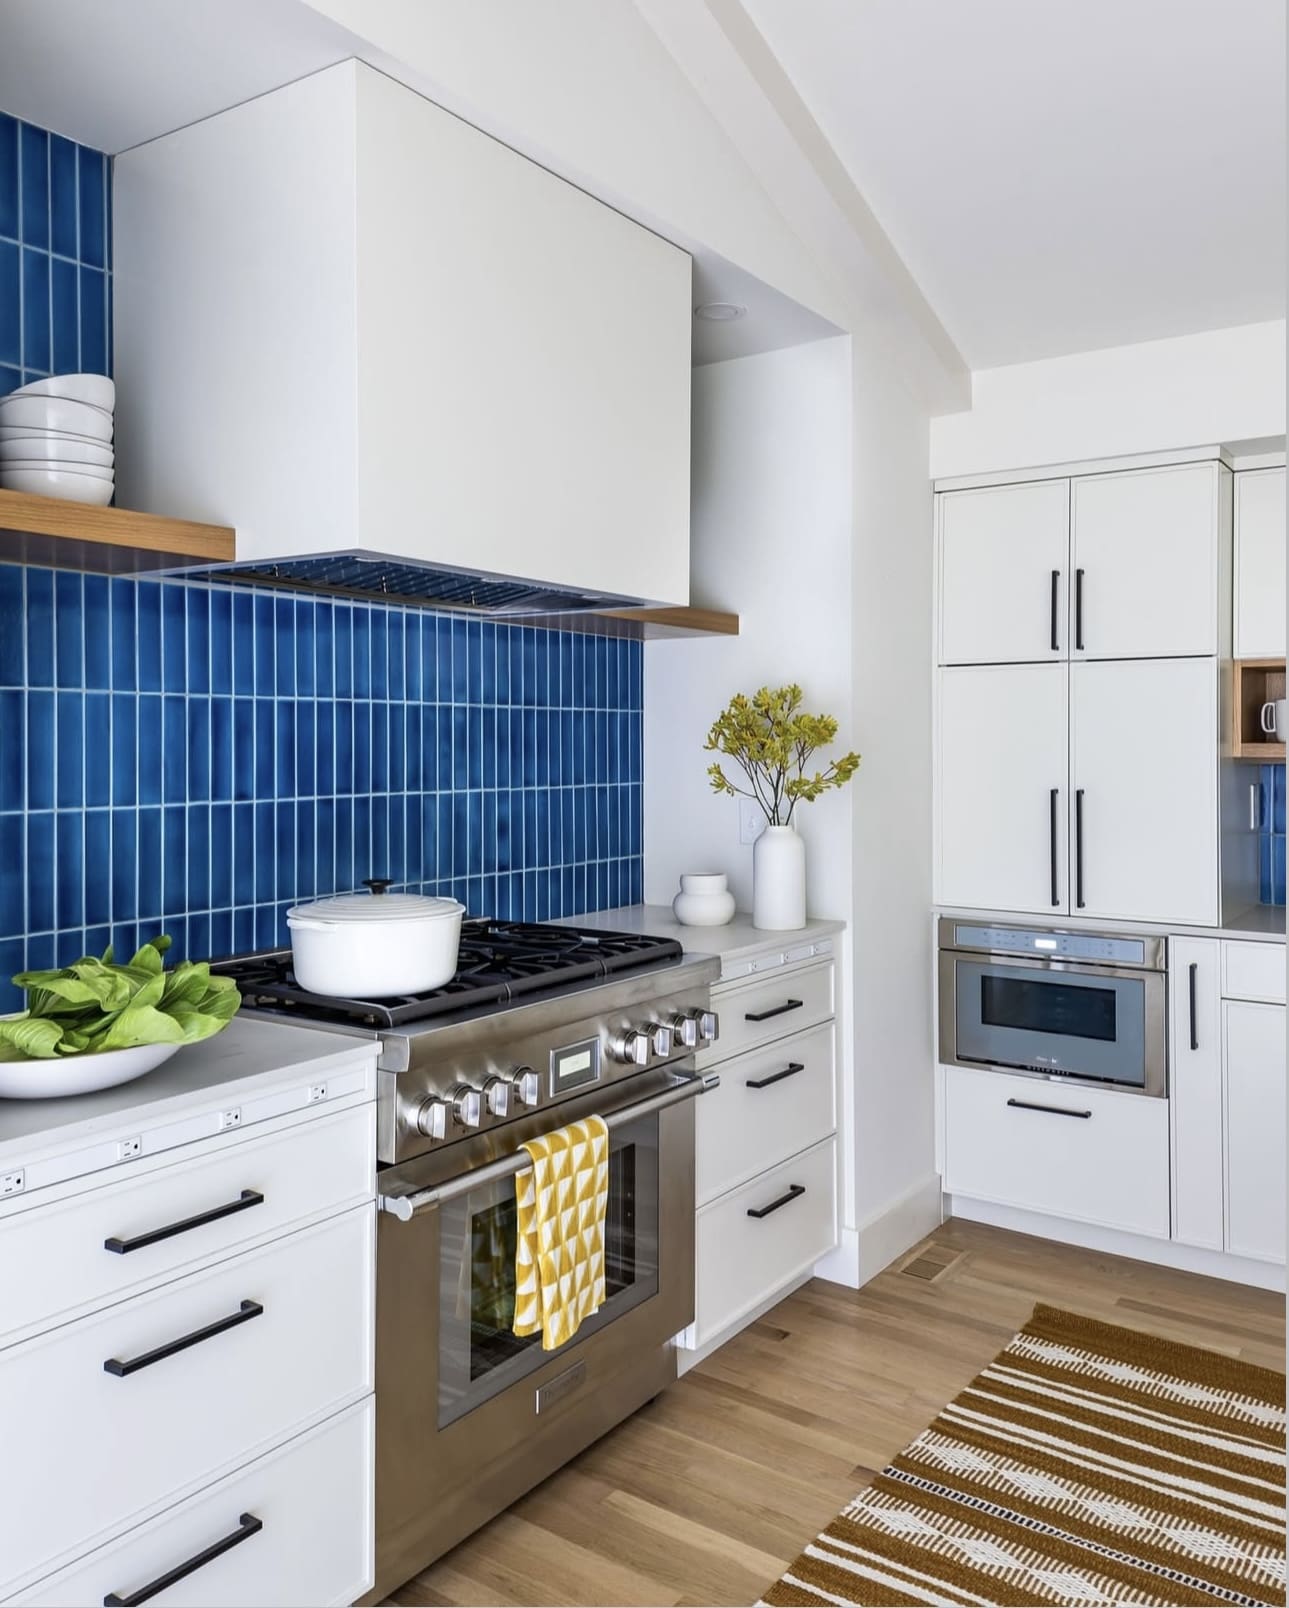
    14. Enhance Your Kitchen with a Chic Runner Rug

    Enhance Your Kitchen with a Chic Runner Rug

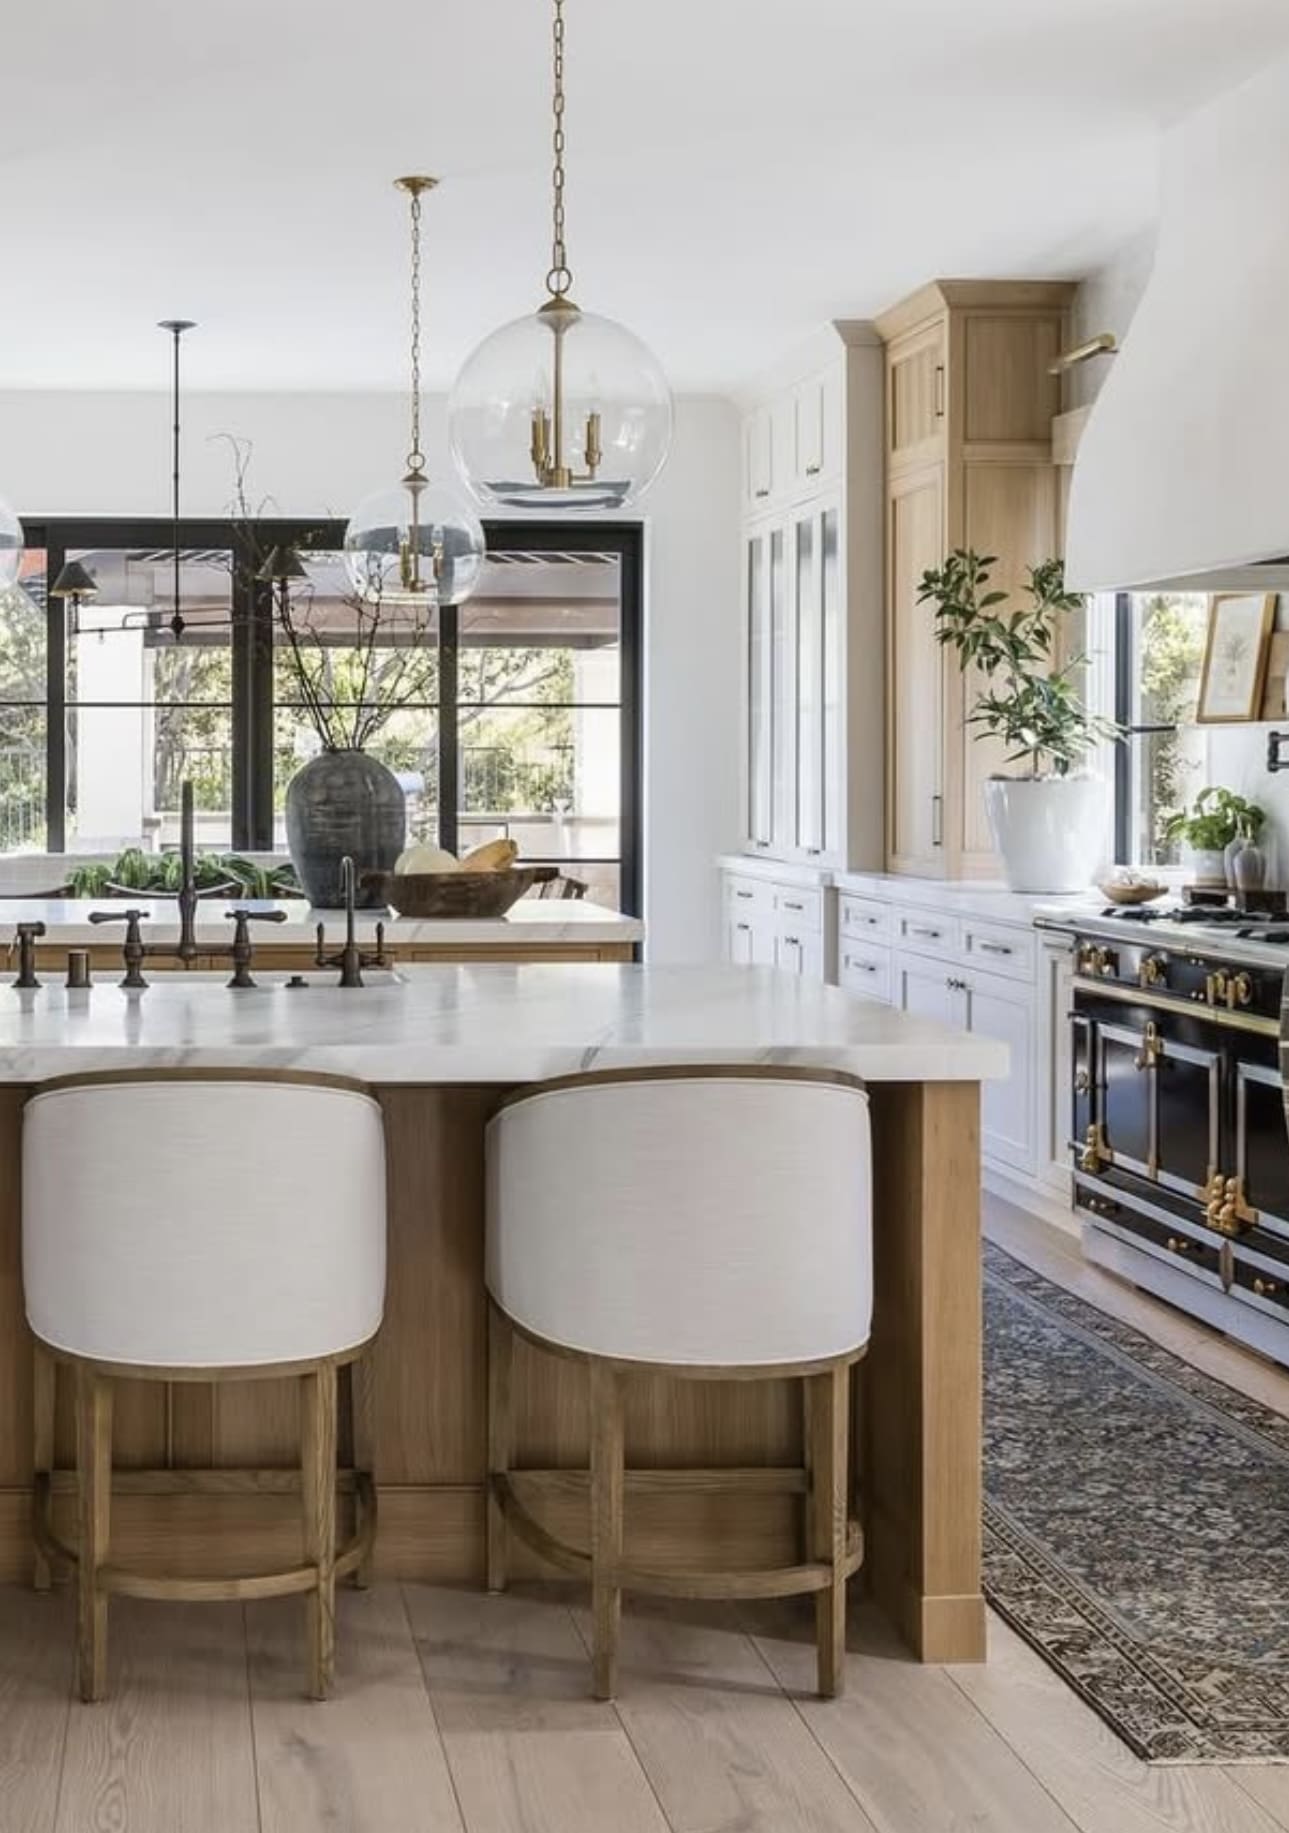
    Incorporating a runner rug into your kitchen instantly infuses warmth and personality, turning a simple floor into a captivating design element. From bold Moroccan motifs to timeless Persian patterns or sleek geometric shapes, a thoughtfully chosen rug can unify your kitchen’s style and boost its visual appeal.

    Key Design Elements

    • Select a rug material that’s durable and easy to clean, perfect for high-traffic kitchen areas.
    • Opt for colors and patterns that complement your cabinetry and countertops to create harmony in the space.
    • Choose a runner length that fits comfortably within the walkway without crowding cabinets or appliances.

    Pro Tip: Place a non-slip rug pad underneath your runner to keep it securely in place and protect your floors.
    15. Elevate Your Kitchen with Dual-Color Cabinetry
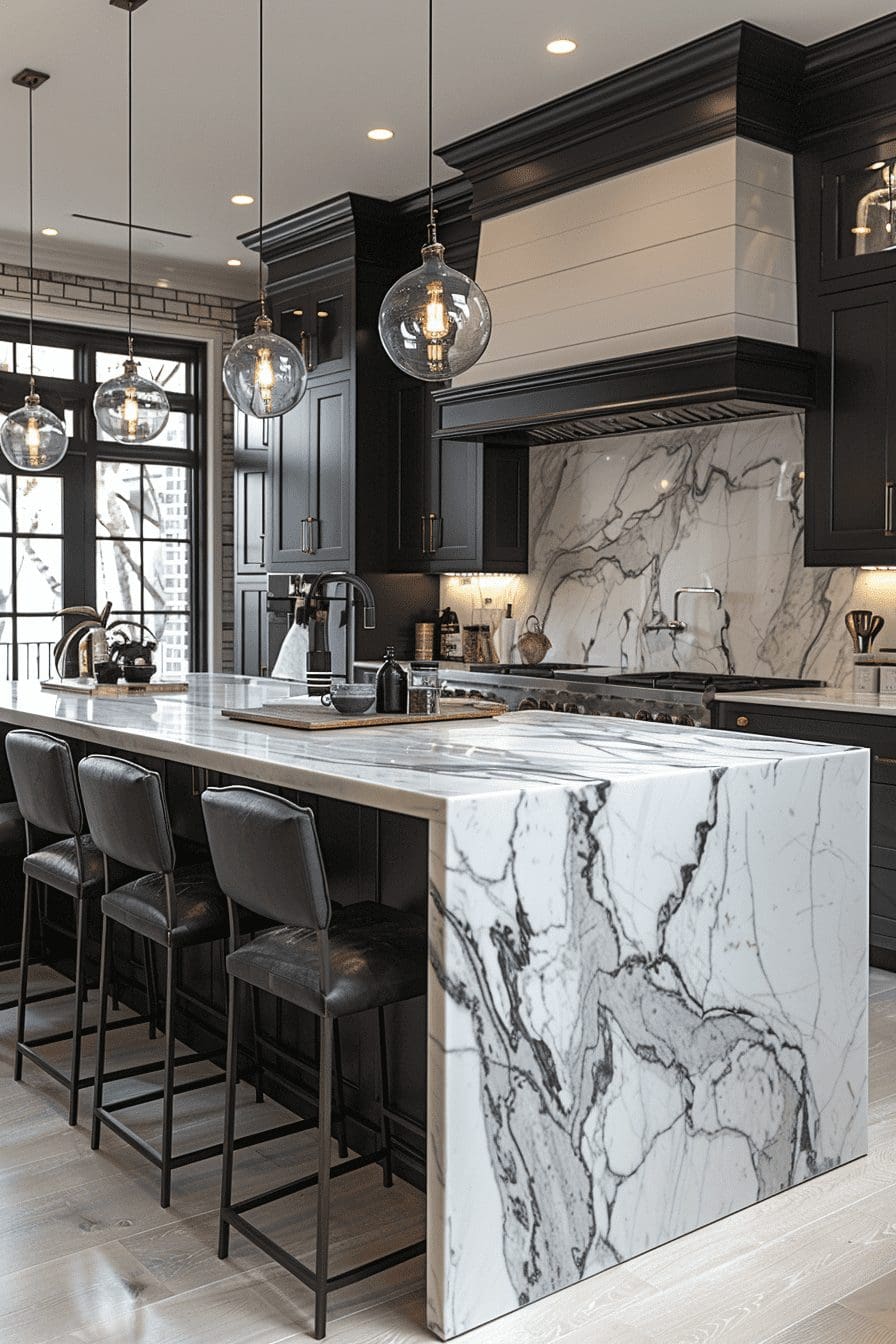
    Elevate Your Kitchen with Dual-Color Cabinetry

    Incorporating cabinets in two distinct shades can add depth and visual interest to your kitchen layout. Opting for lighter colors on the upper units can enhance brightness and create an open, inviting atmosphere.

    Key Design Elements

    • Choose contrasting colors to define different cabinet zones.
    • Use lighter hues on upper cabinets to reflect light and open up the space.
    • Balance darker lower cabinets to ground the design and add richness.

    Pro Tip: Select complementary colors with similar undertones to ensure a harmonious and cohesive look throughout your kitchen.

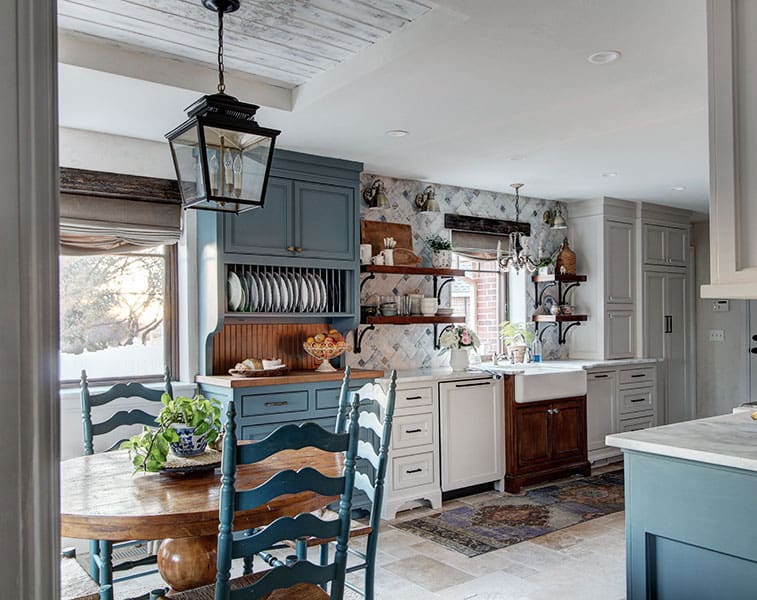
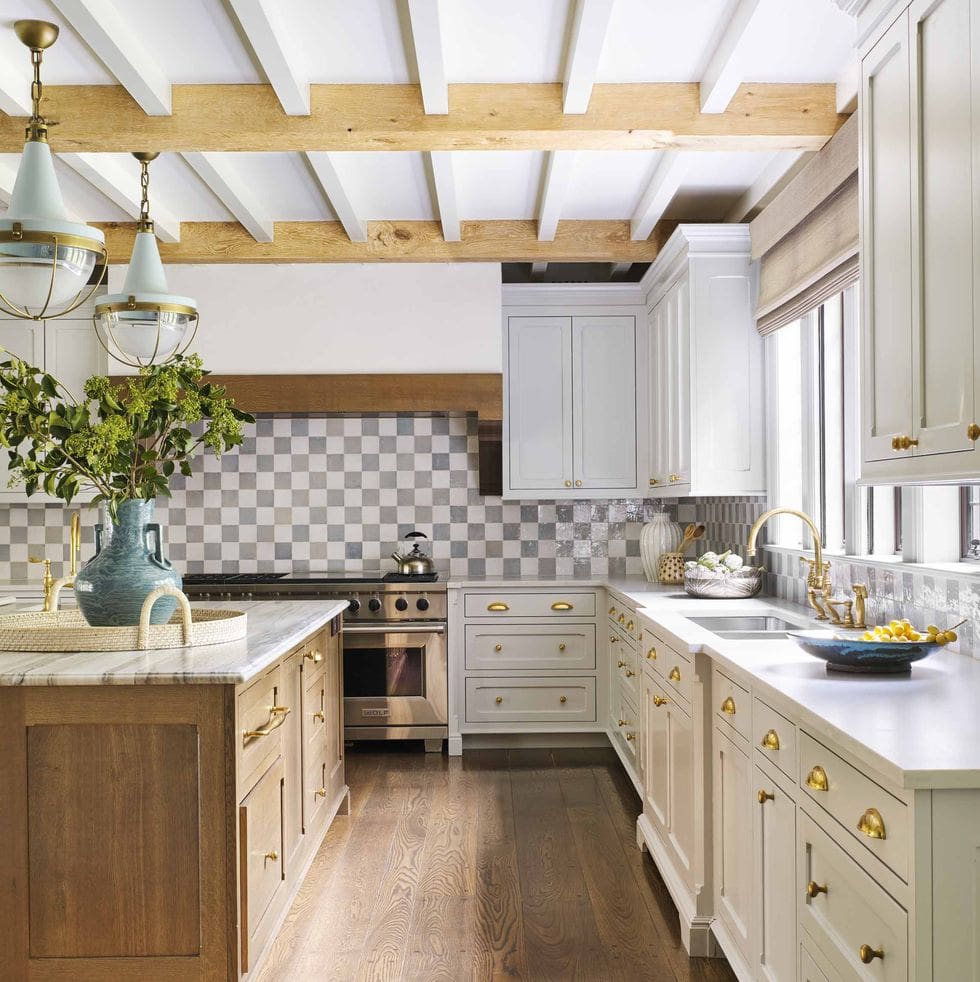
    16. Enhance Your Kitchen with Natural Wood Ceiling Beams
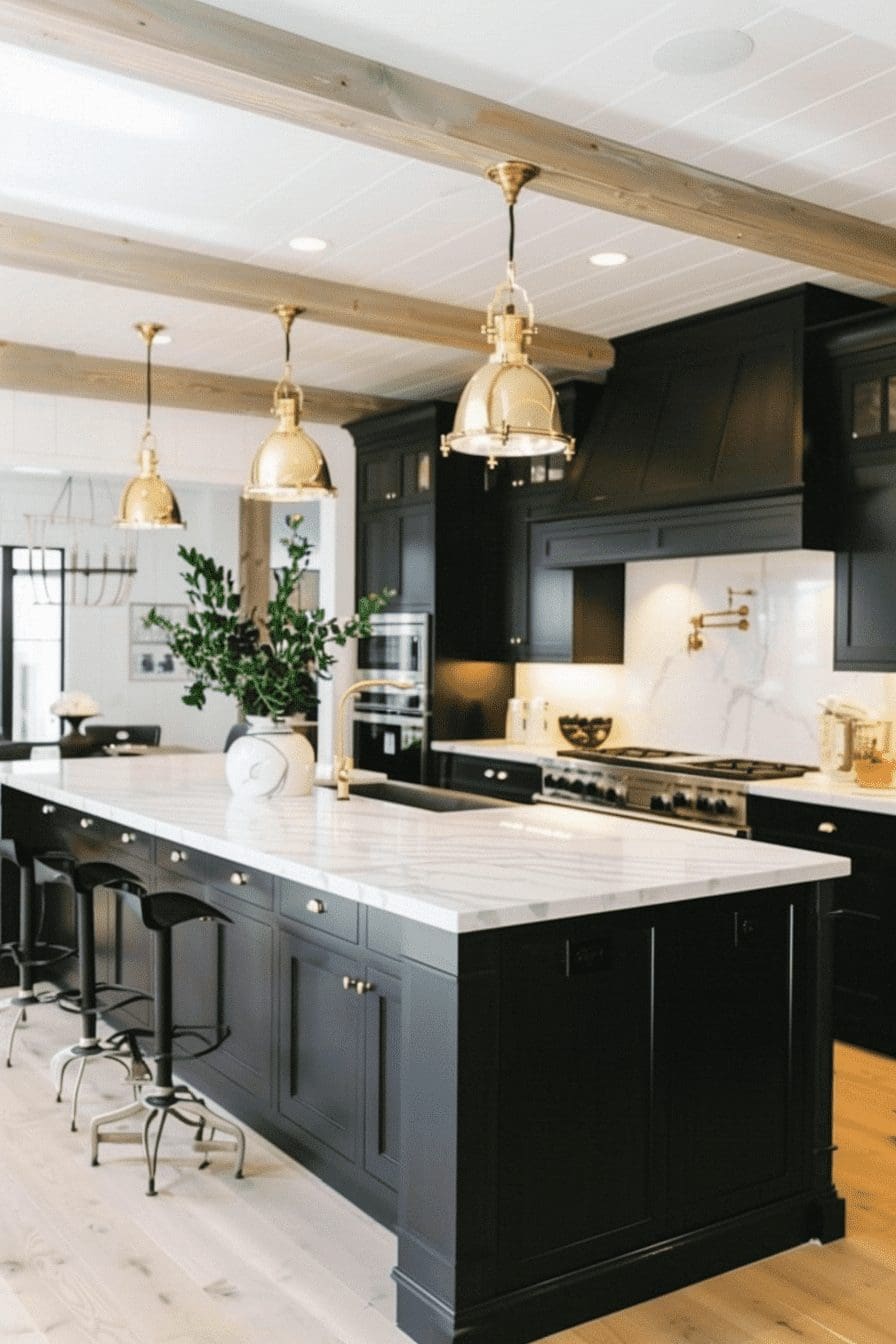
    Enhance Your Kitchen with Natural Wood Ceiling Beams

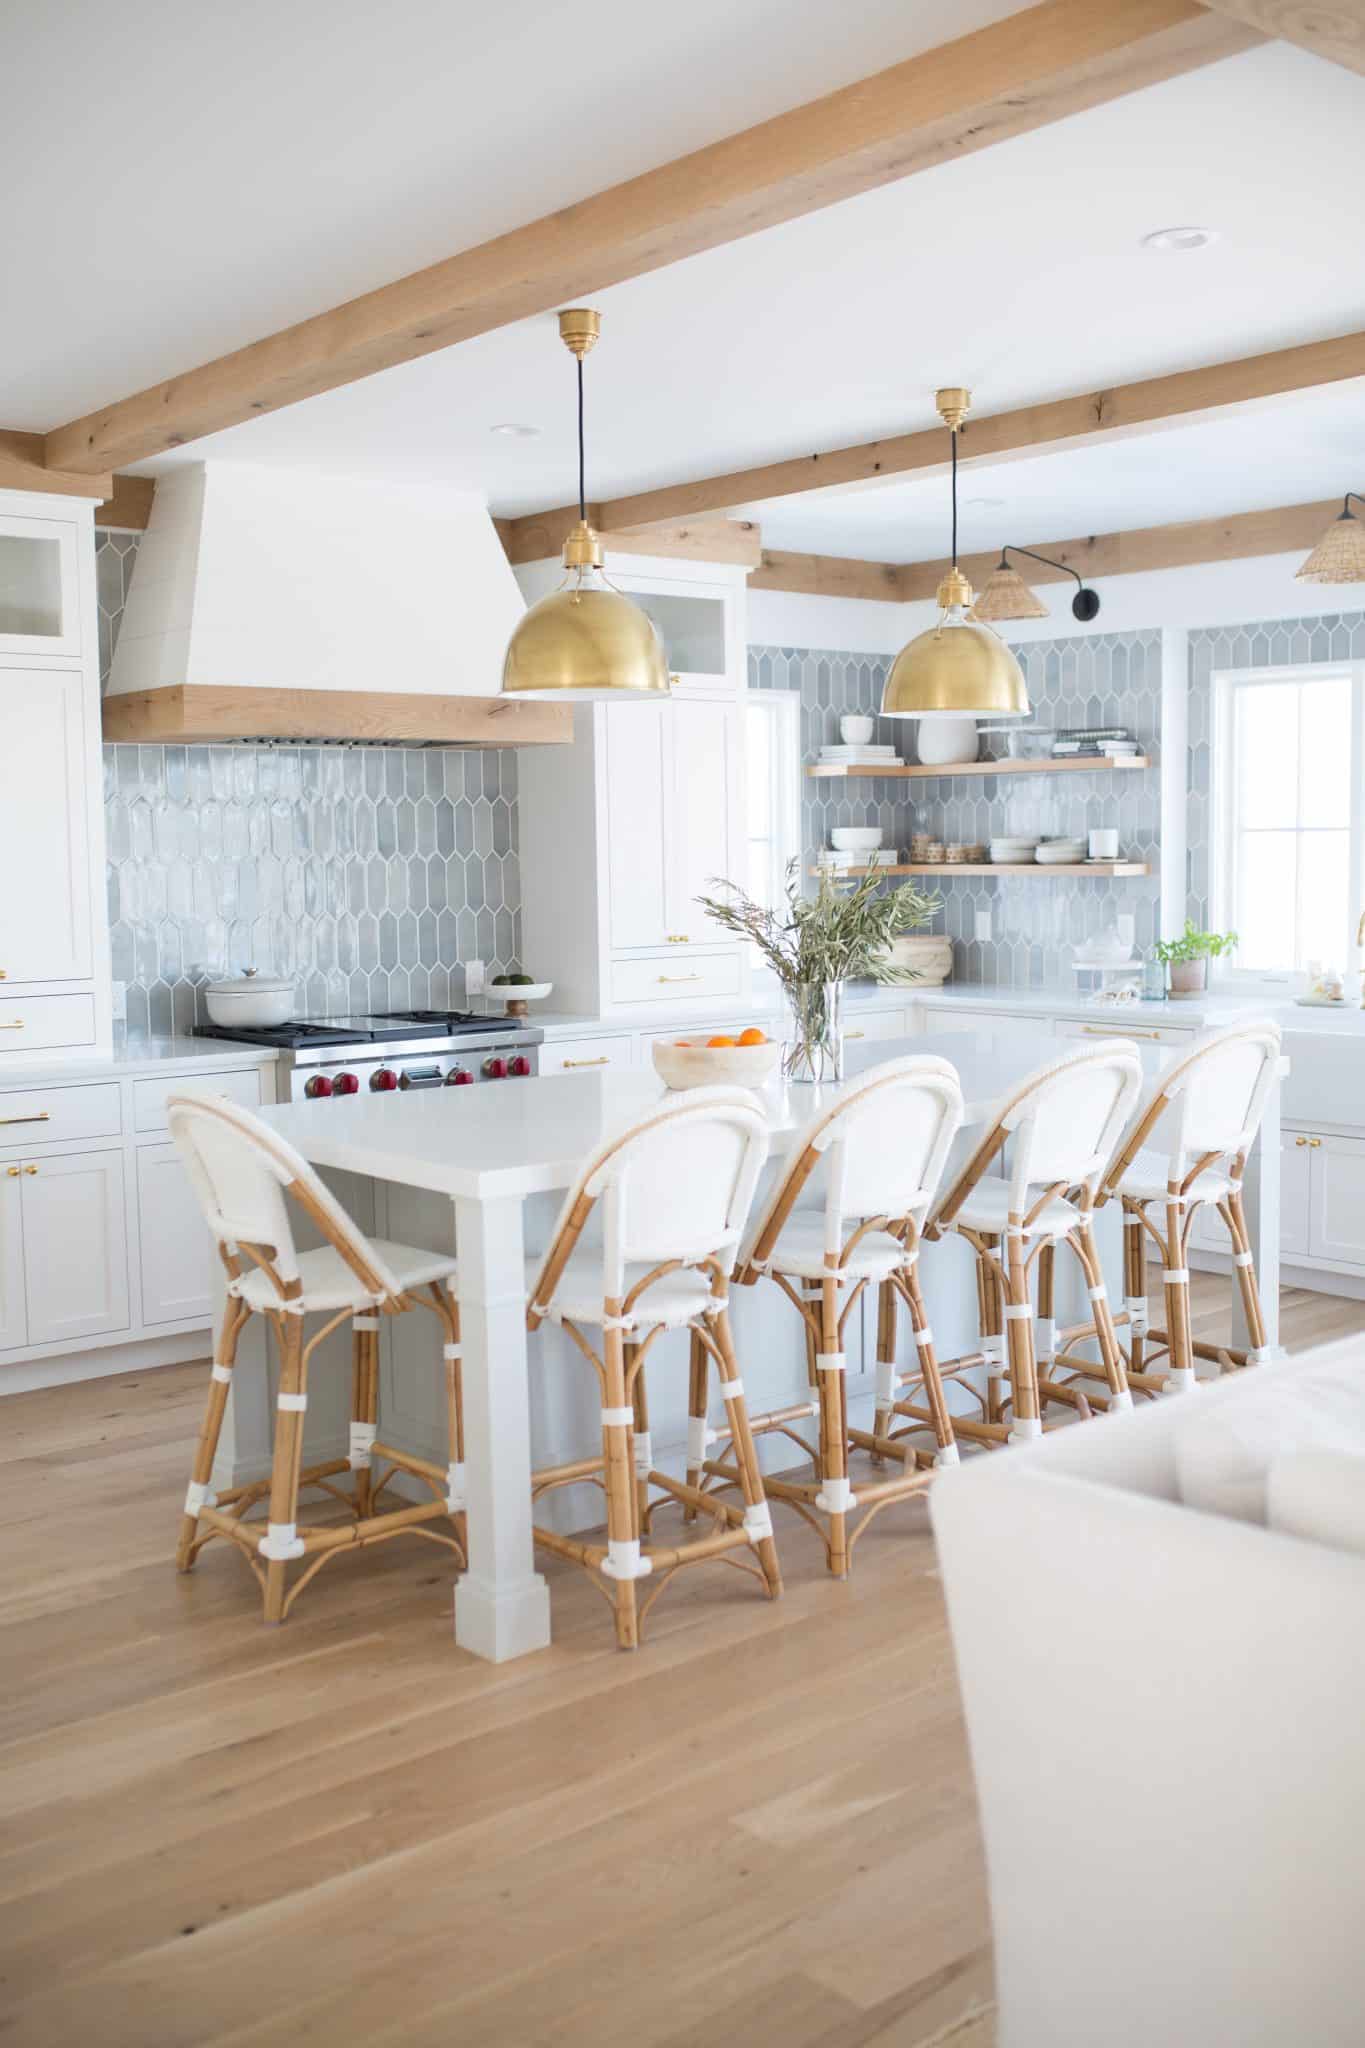
    Incorporating wooden beams into your kitchen ceiling introduces a cozy, inviting atmosphere that blends rustic appeal with timeless elegance. These structural accents complement a variety of styles, from traditional farmhouse to modern minimalist, adding texture and depth to the room.

    Key Design Elements

    • Choose reclaimed wood for an eco-friendly and authentic look.
    • Opt for lighter finishes to brighten the space or darker stains to create contrast.
    • Ensure beams are properly sealed to protect against kitchen humidity and grease.

    Pro Tip: Consider installing faux wood beams for an easier, lighter-weight alternative that still provides the same visual warmth and charm.

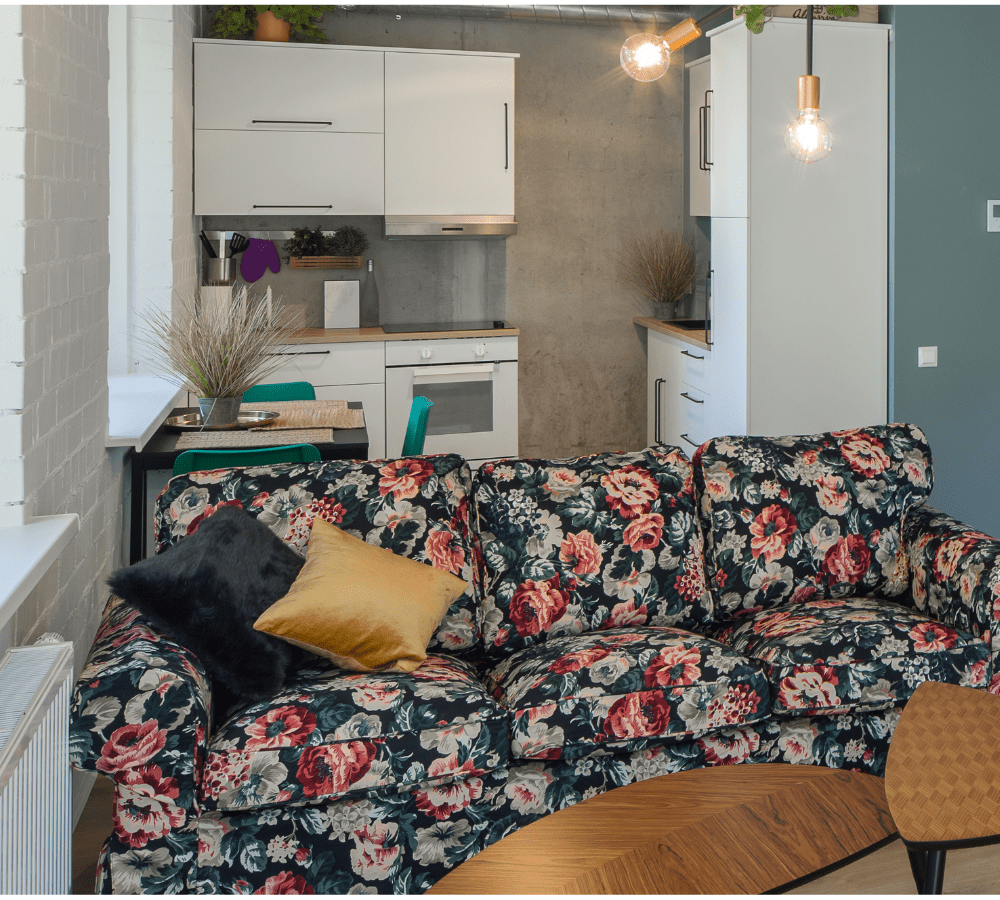
    17. Create a Cozy Eat-In Kitchen Space

    Create a Cozy Eat-In Kitchen Space

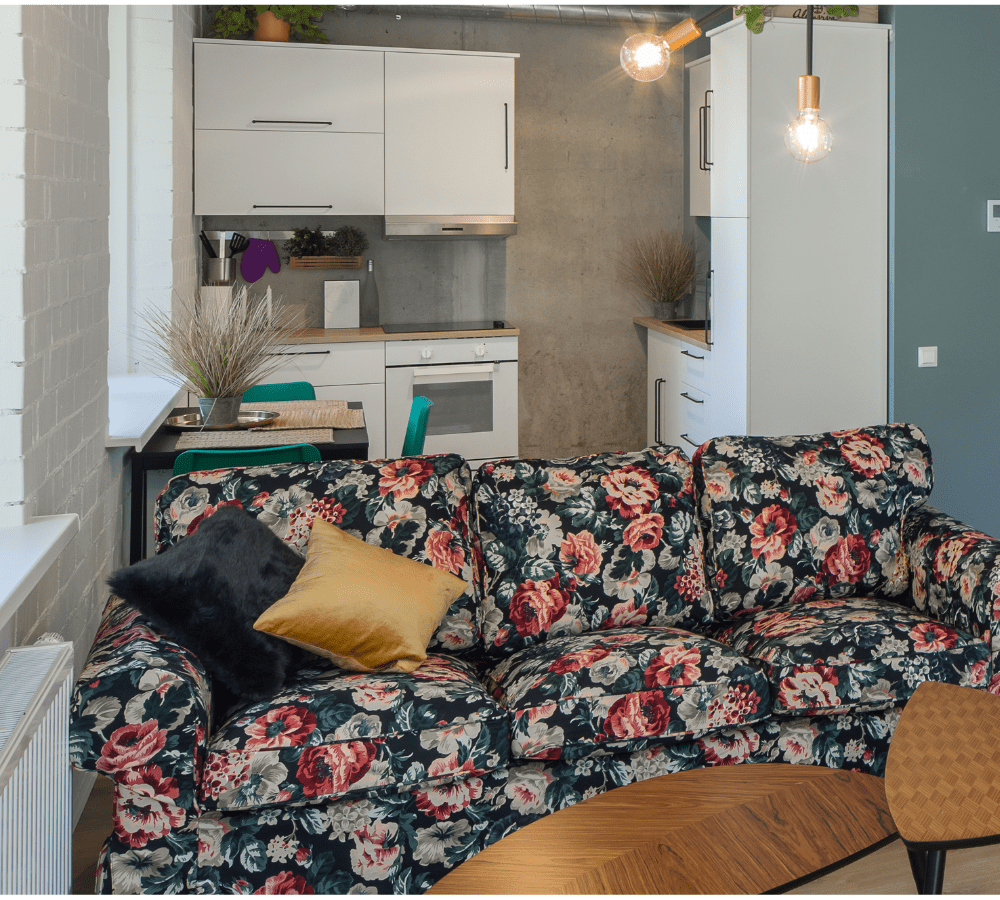
    Making the most of limited square footage is essential, especially in compact living environments. By blending a dining spot into your kitchen layout, you turn one area into a versatile hub for both meal preparation and enjoying food, streamlining your home’s functionality.

    Key Design Elements

    • Choose space-saving furniture like foldable tables or built-in benches.
    • Use a breakfast bar or kitchen island with seating to define the dining area.
    • Opt for cohesive design elements to unify cooking and dining zones visually.

    Pro Tip: Install multifunctional furniture that can double as storage to keep the space tidy and efficient.

    18. Embrace Sleek Minimalist Cabinetry
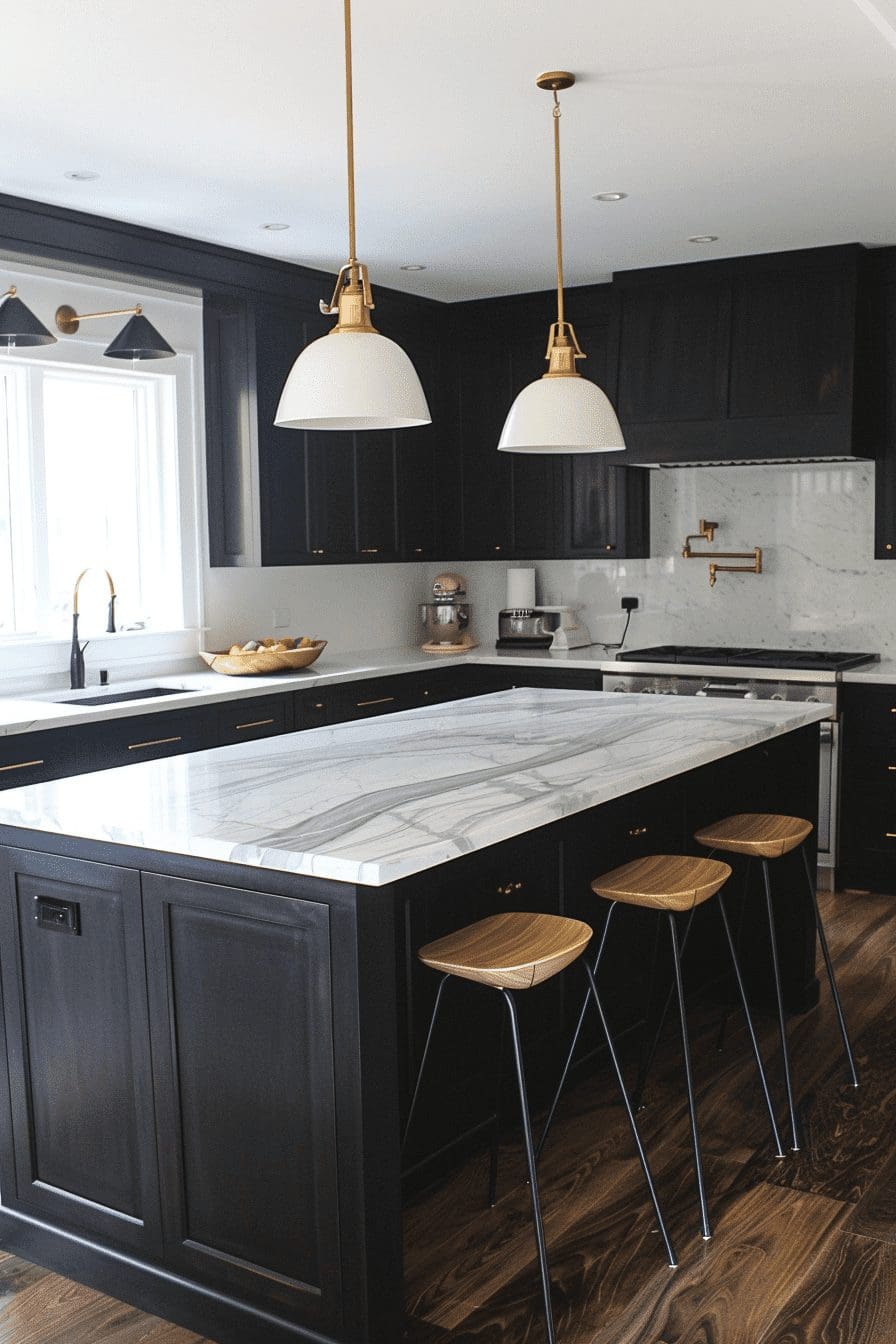
    Embrace Sleek Minimalist Cabinetry

    Opting for minimalist cabinets introduces a timeless elegance to your kitchen space through clean lines and a lack of decorative embellishments. This style promotes a neat, airy ambiance that can make even compact kitchens feel more open and orderly.

    Key Design Elements

    • Choose cabinets with flat fronts and simple hardware to maintain a streamlined look.
    • Use neutral colors to enhance the sense of spaciousness and calm.
    • Keep kitchen surfaces clear to complement the minimalist aesthetic and reduce visual clutter.

    Pro Tip: Incorporate under-cabinet lighting to highlight sleek cabinetry and add depth without disrupting the minimalist vibe.

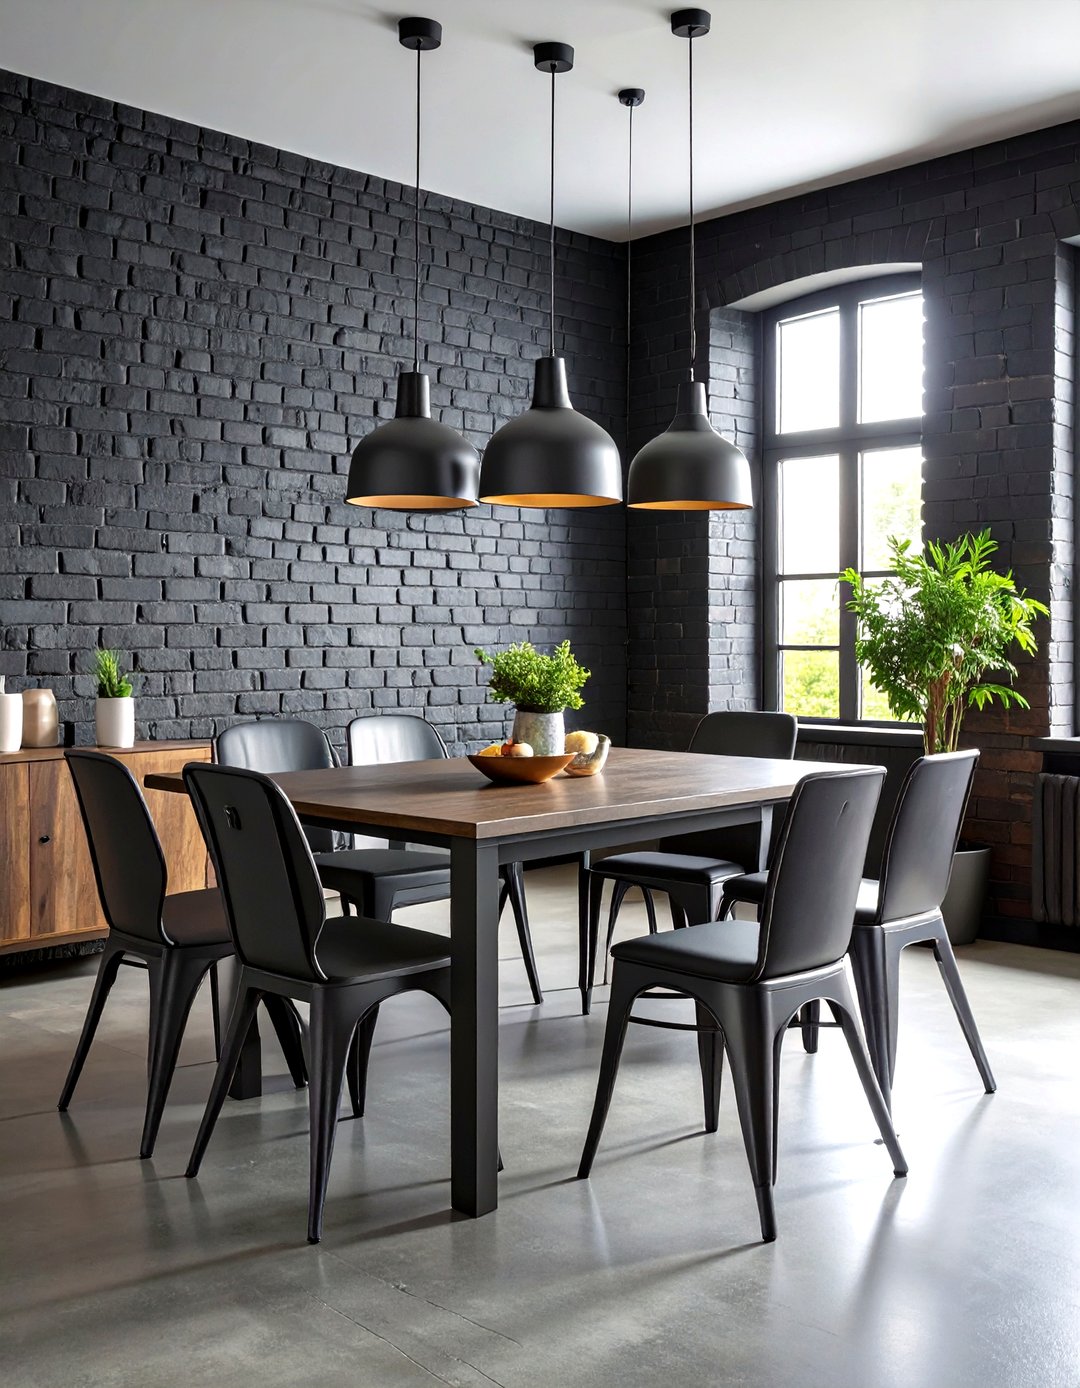
    19. Embrace a Dramatic Dark Palette
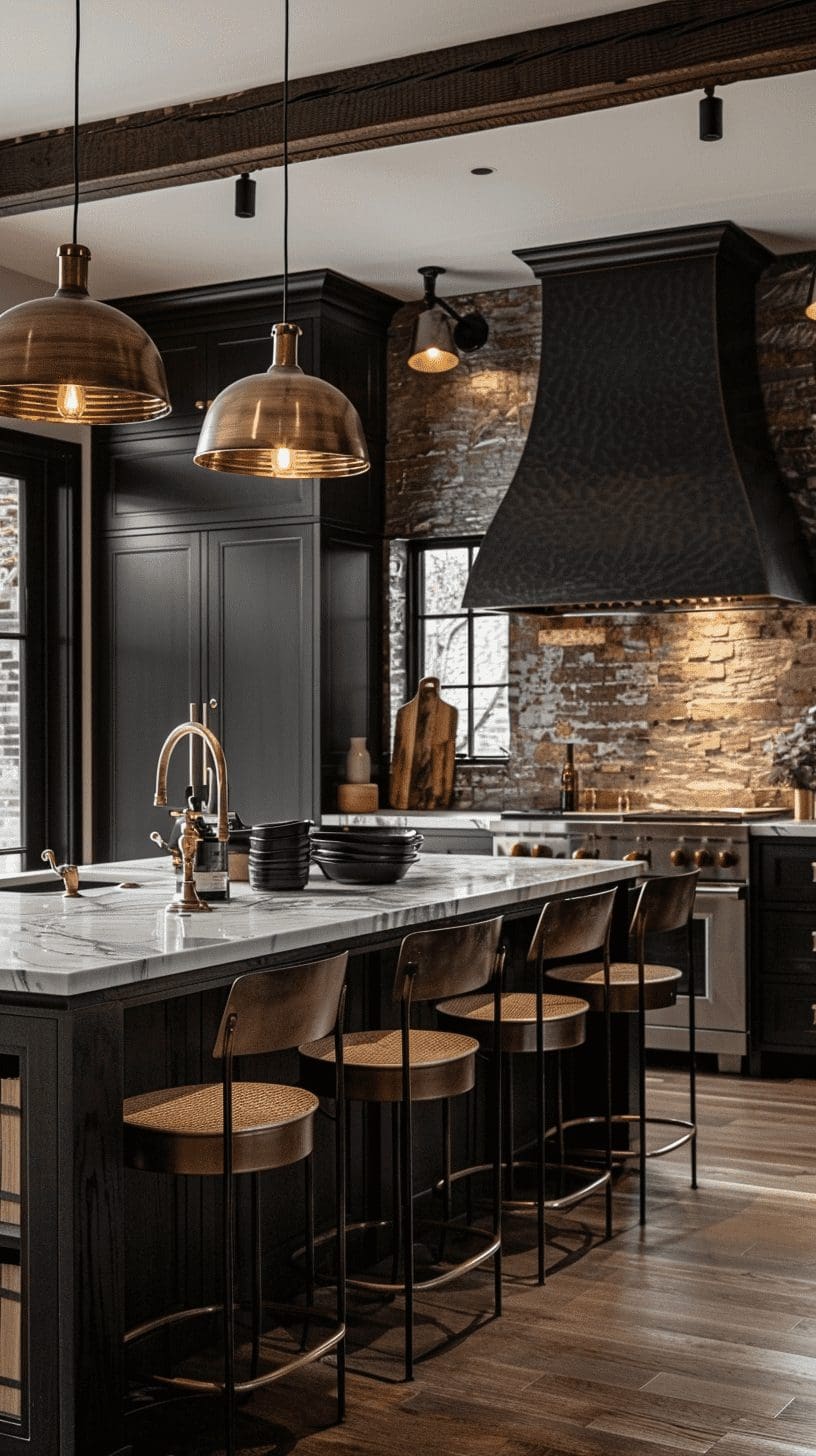
    Embrace a Dramatic Dark Palette

    Incorporating rich, deep colors in your kitchen sets a captivating tone that highlights standout features like polished countertops, bold backsplashes, or refined cabinetry. This interplay of shadows and light adds dimension and a sophisticated flair, transforming your space into an inviting and stylish environment.

    Key Design Elements

    • Use dark shades to accentuate architectural details and textures.
    • Combine matte and glossy finishes to enhance depth and contrast.
    • Balance moody walls with strategic lighting for a welcoming atmosphere.

    Pro Tip: Introduce metallic hardware or fixtures to add subtle shine and elevate the moody design.

    20. Warm Up Your Kitchen with Earthy Browns
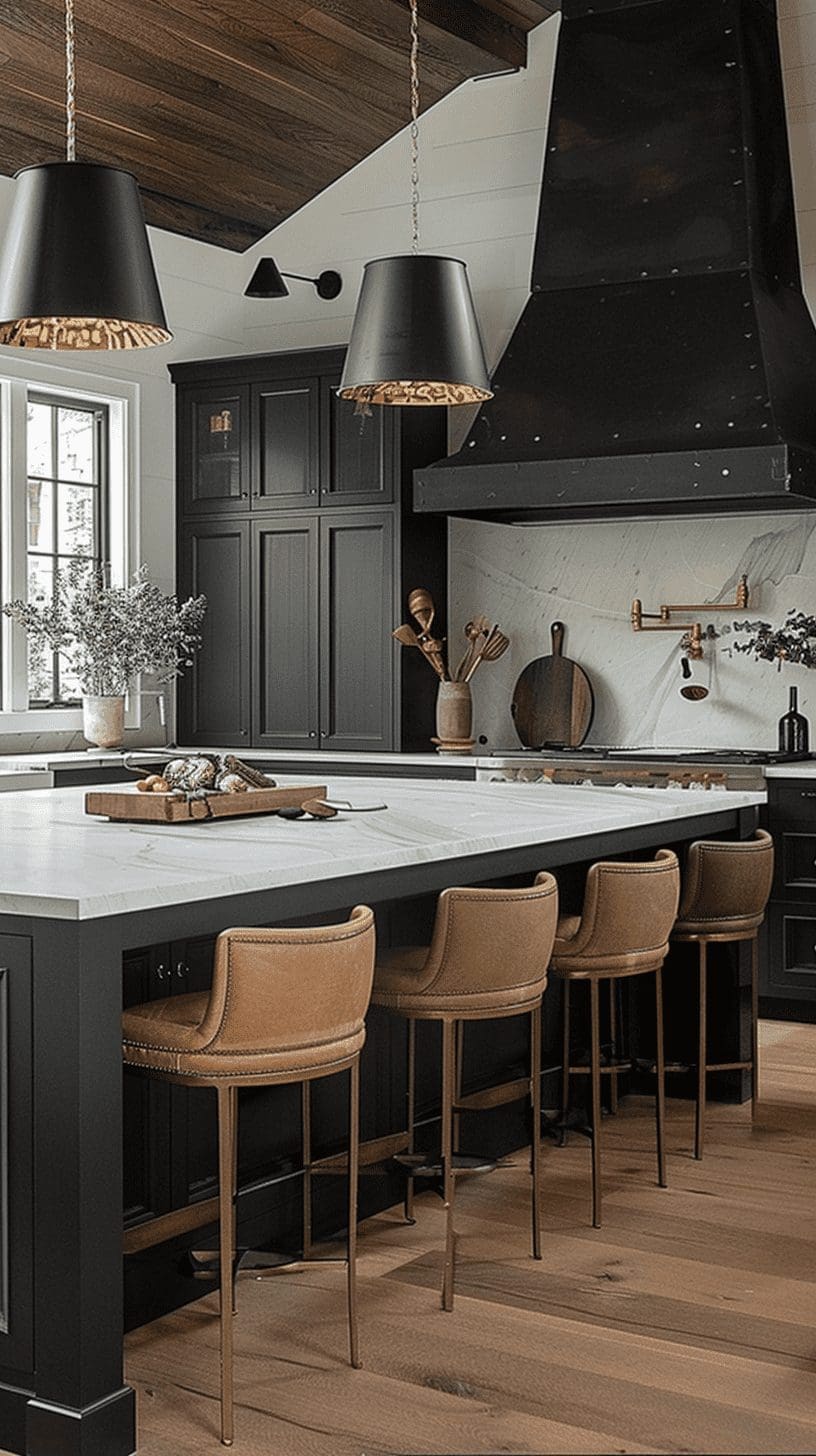
    Warm Up Your Kitchen with Earthy Browns

    Incorporating brown shades brings a cozy, grounded feel that complements the sharpness of black and white elements. Utilizing natural materials in brown hues can transform your kitchen into an inviting and balanced space.

    Key Design Elements

    • Use wooden cabinets or shelves to introduce rich brown tones.
    • Consider hardwood flooring to add texture and warmth underfoot.
    • Incorporate brown furniture pieces like stools or dining tables for cohesive design.

    Pro Tip: Choose wood finishes with visible grain patterns to enhance the natural, organic vibe in your kitchen.

    21. Incorporate Warm Brass Accents
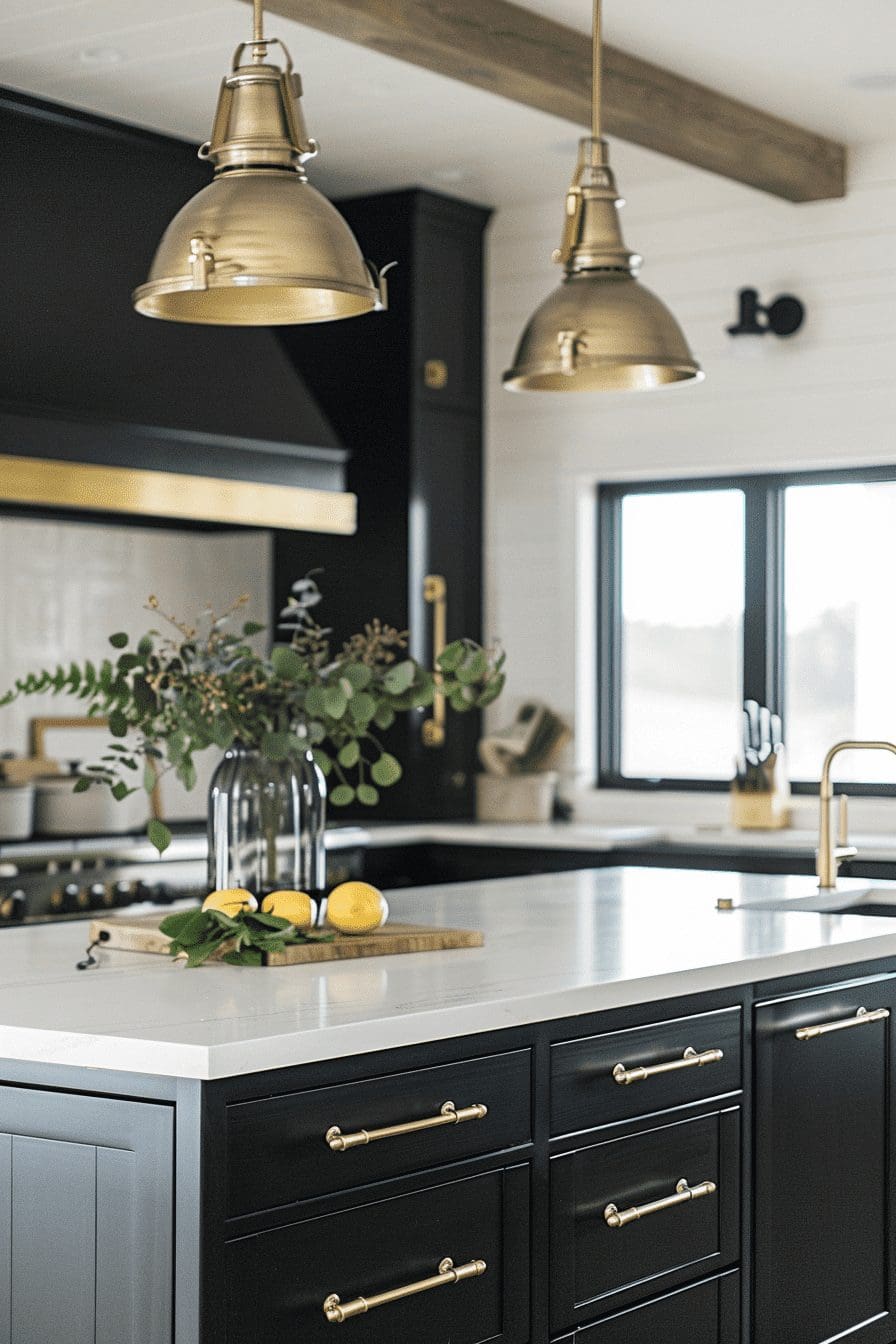
    Incorporate Warm Brass Accents

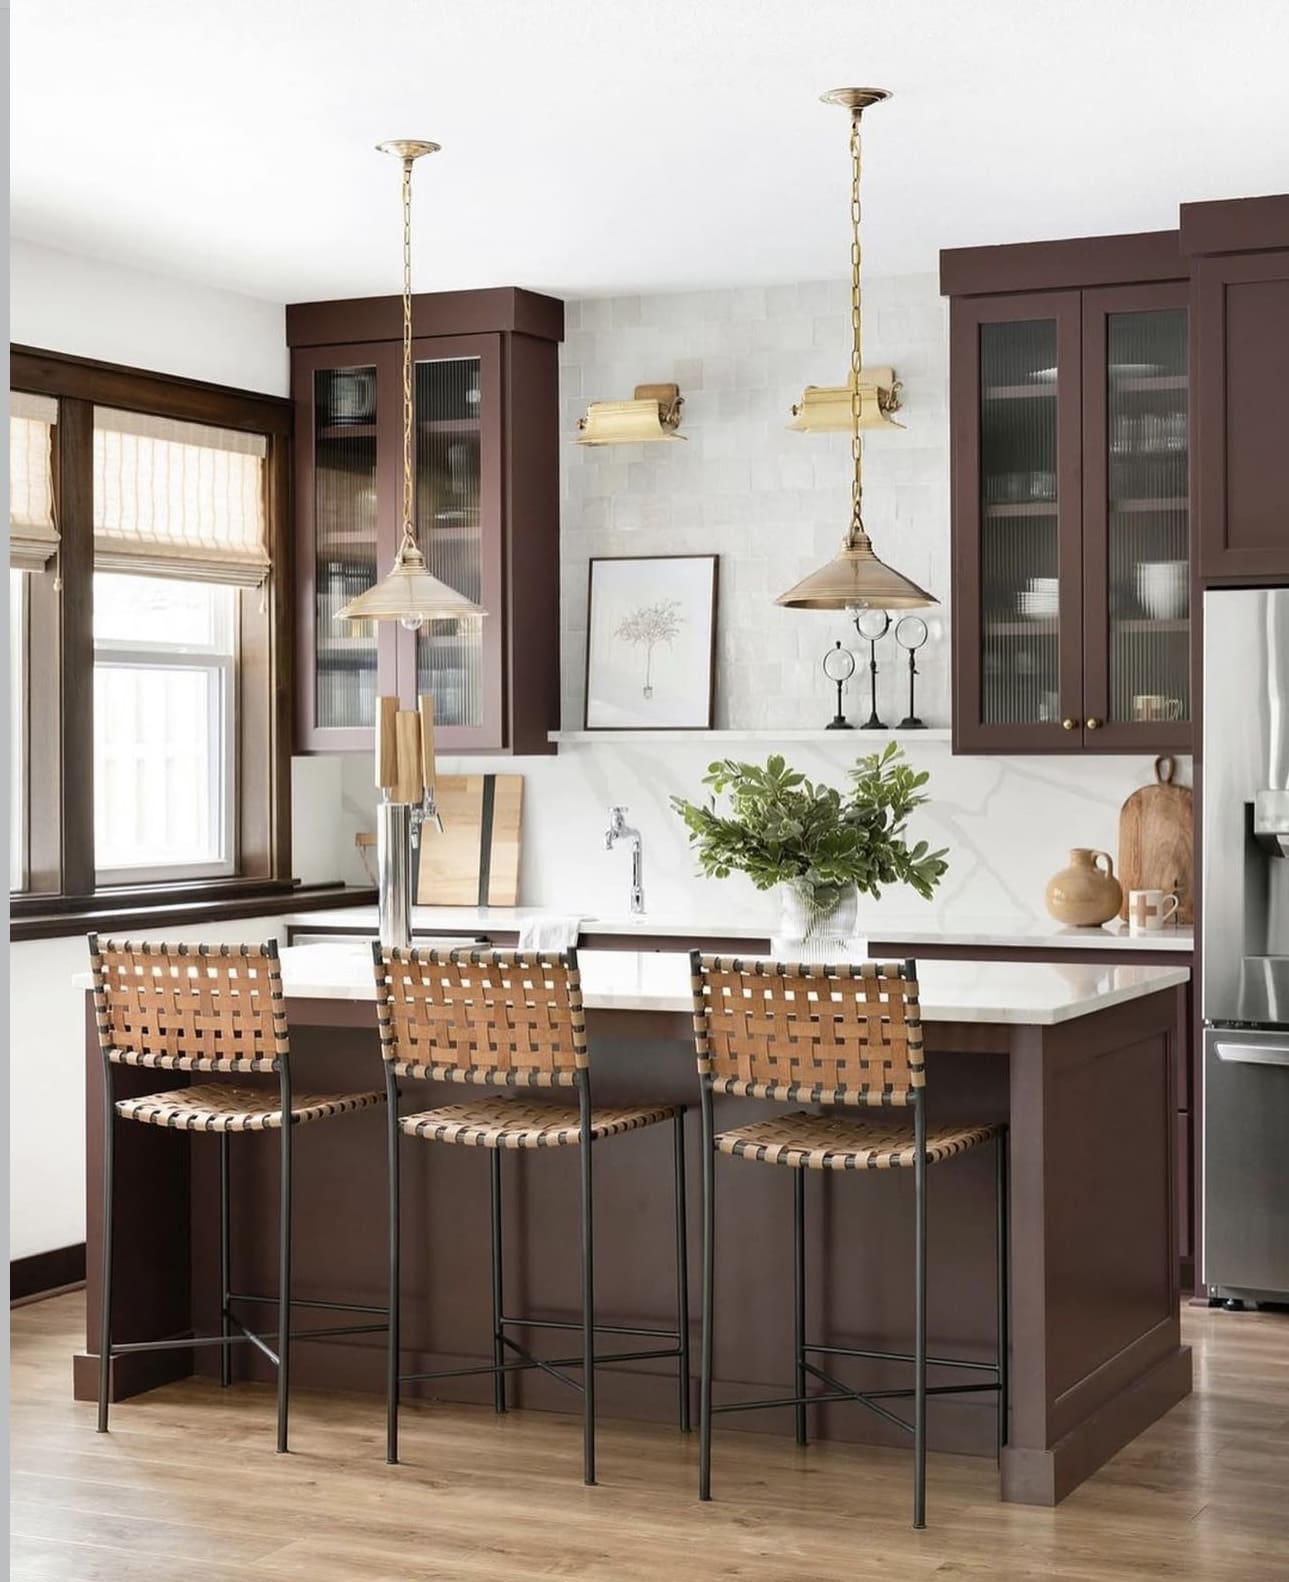
    Introducing brass elements brings a rich, golden glow that complements monochromatic palettes perfectly. This touch of warmth enhances the overall ambiance, giving your kitchen a cozy yet elegant atmosphere.

    Key Design Elements

    • Choose brass hardware like cabinet handles and faucets to elevate your kitchen’s style.
    • Pair brass fixtures with matte black or white surfaces for a striking contrast.
    • Use brass lighting fixtures to create focal points and add sophistication.

    Pro Tip: Combine brass accents with natural wood tones to balance warmth and create a harmonious kitchen design.

    22. Enhance Brightness with Shiny Elements
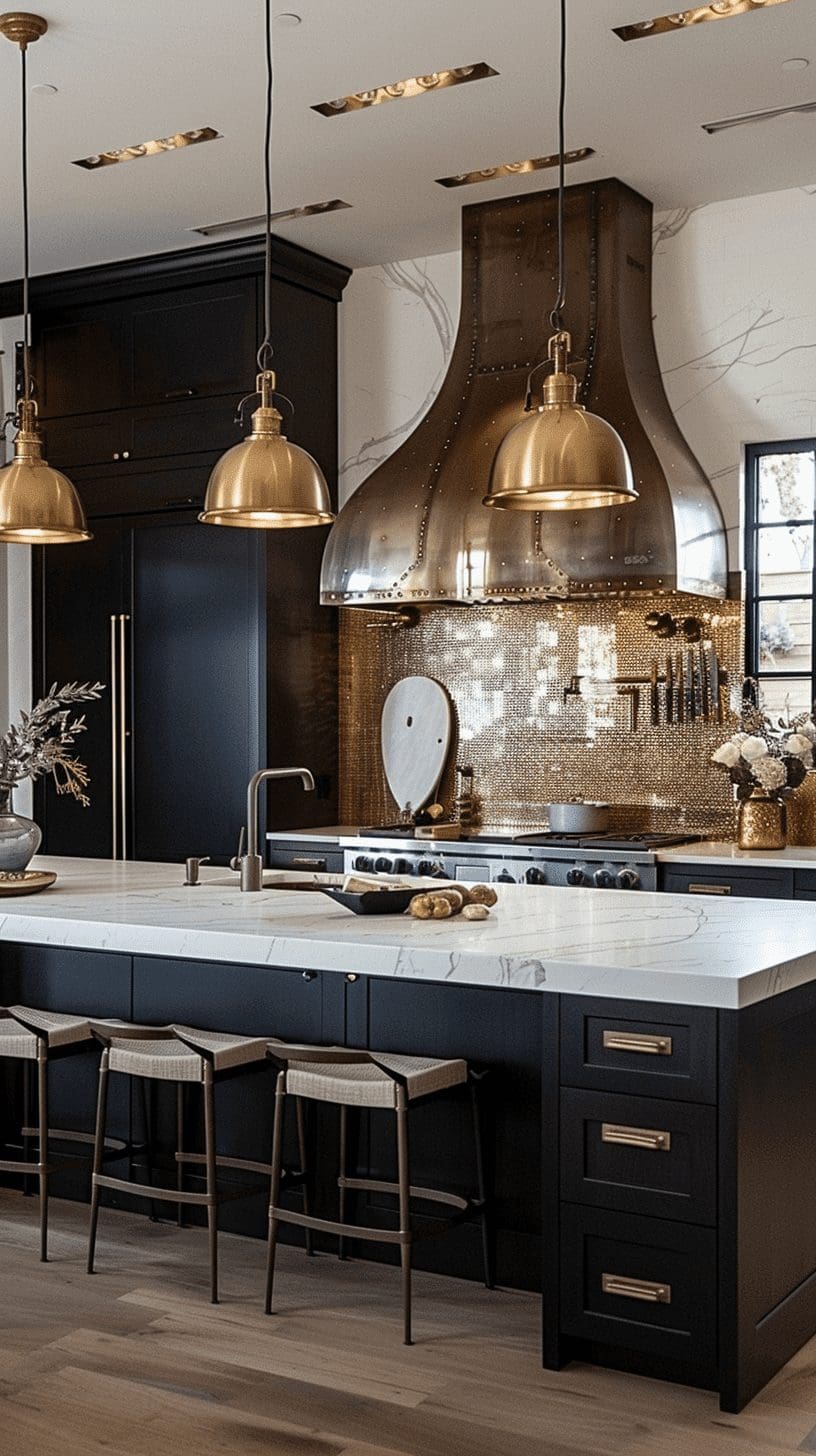
    Enhance Brightness with Shiny Elements

    Incorporating shiny finishes such as lacquered cabinets, mirrored tiles, or sleek stainless steel can dramatically increase light reflection in your kitchen. Especially in a monochrome black and white palette, these elements boost both natural and artificial light, creating a more open and inviting atmosphere.

    Key Design Elements

    • Choose high-gloss cabinetry to effortlessly reflect light and add depth.
    • Install mirrored or glass backsplashes to amplify light and add visual interest.
    • Opt for stainless steel appliances to combine functionality with luminous appeal.

    Pro Tip: Select reflective surfaces strategically near light sources to maximize their brightening effect throughout the kitchen.

    23. Enhance Space with Open Shelves
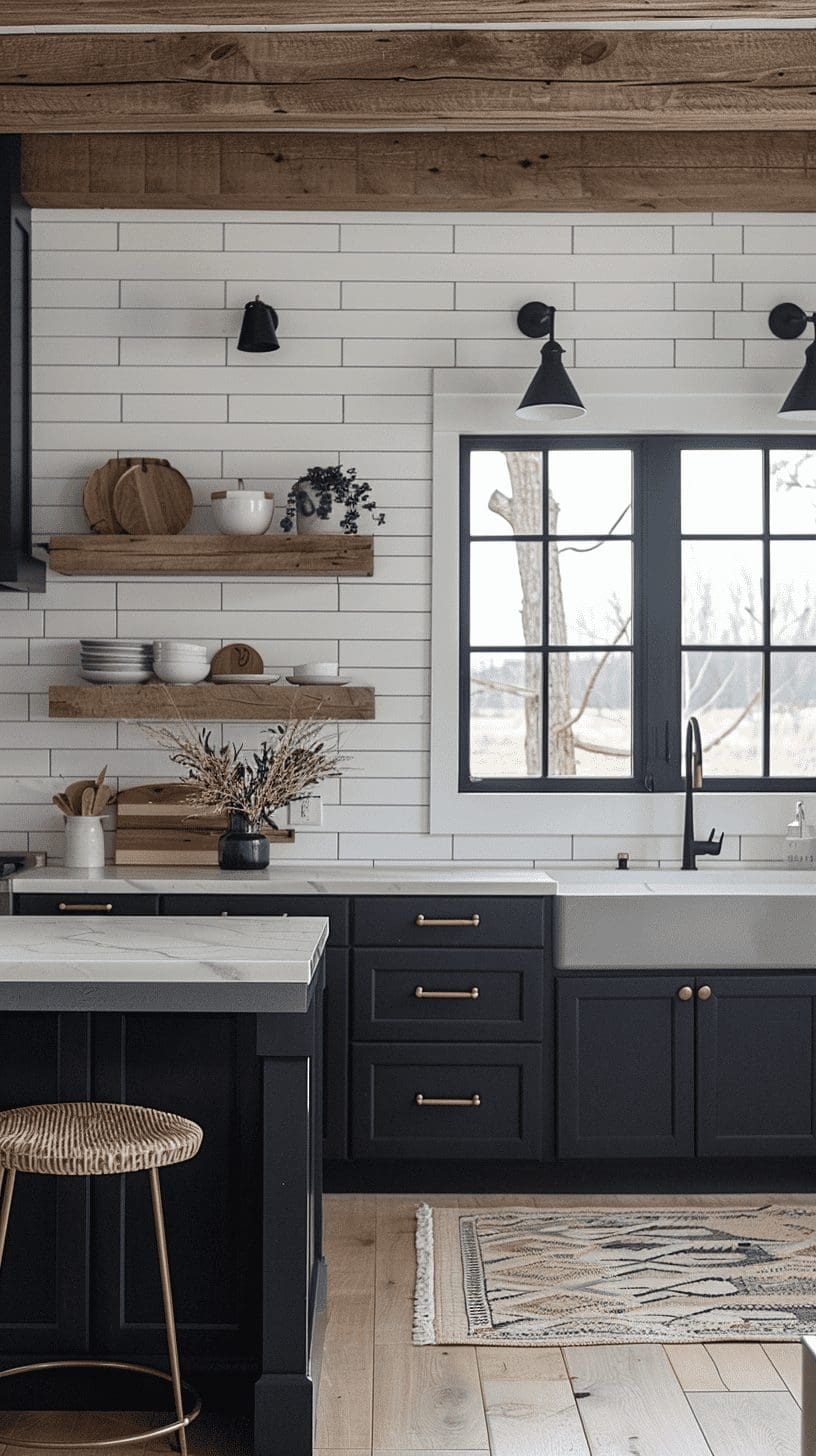
    Enhance Space with Open Shelves

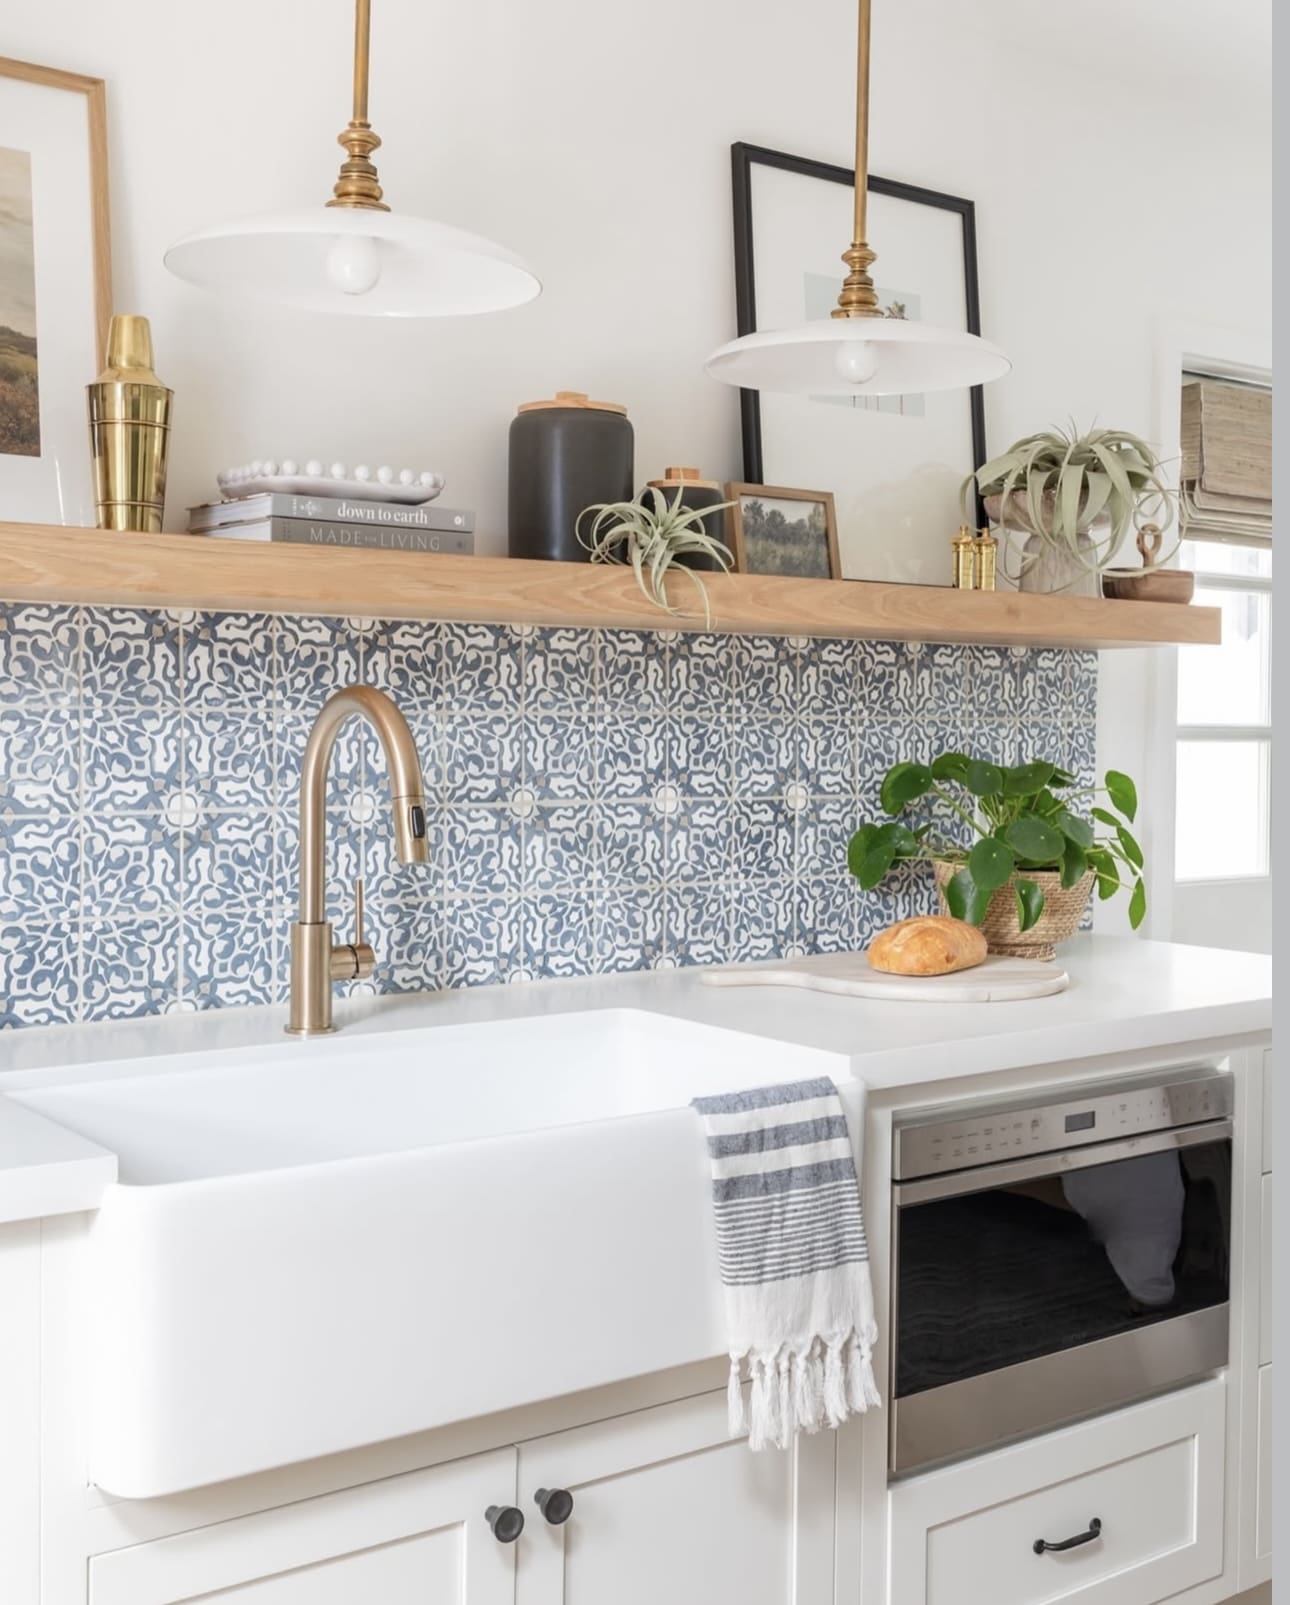
    Incorporating open shelving in your kitchen can make the area feel brighter and more expansive, ideal for smaller or cozier layouts. Swapping out closed cabinets for open shelves introduces an airy atmosphere that visually enlarges the room. This approach is especially beneficial in kitchens lacking abundant natural light, as it helps reflect and amplify illumination throughout the space.

    Key Design Elements

    • Replace upper cabinets with floating shelves to create an open and inviting look.
    • Use light-colored or natural wood shelves to maximize brightness and warmth.
    • Display everyday items and decorative pieces to add personality while keeping the space functional.

    Pro Tip: Keep the shelves organized and clutter-free to maintain a clean, spacious feel in your kitchen.

    24. Harness the Power of Sunlight
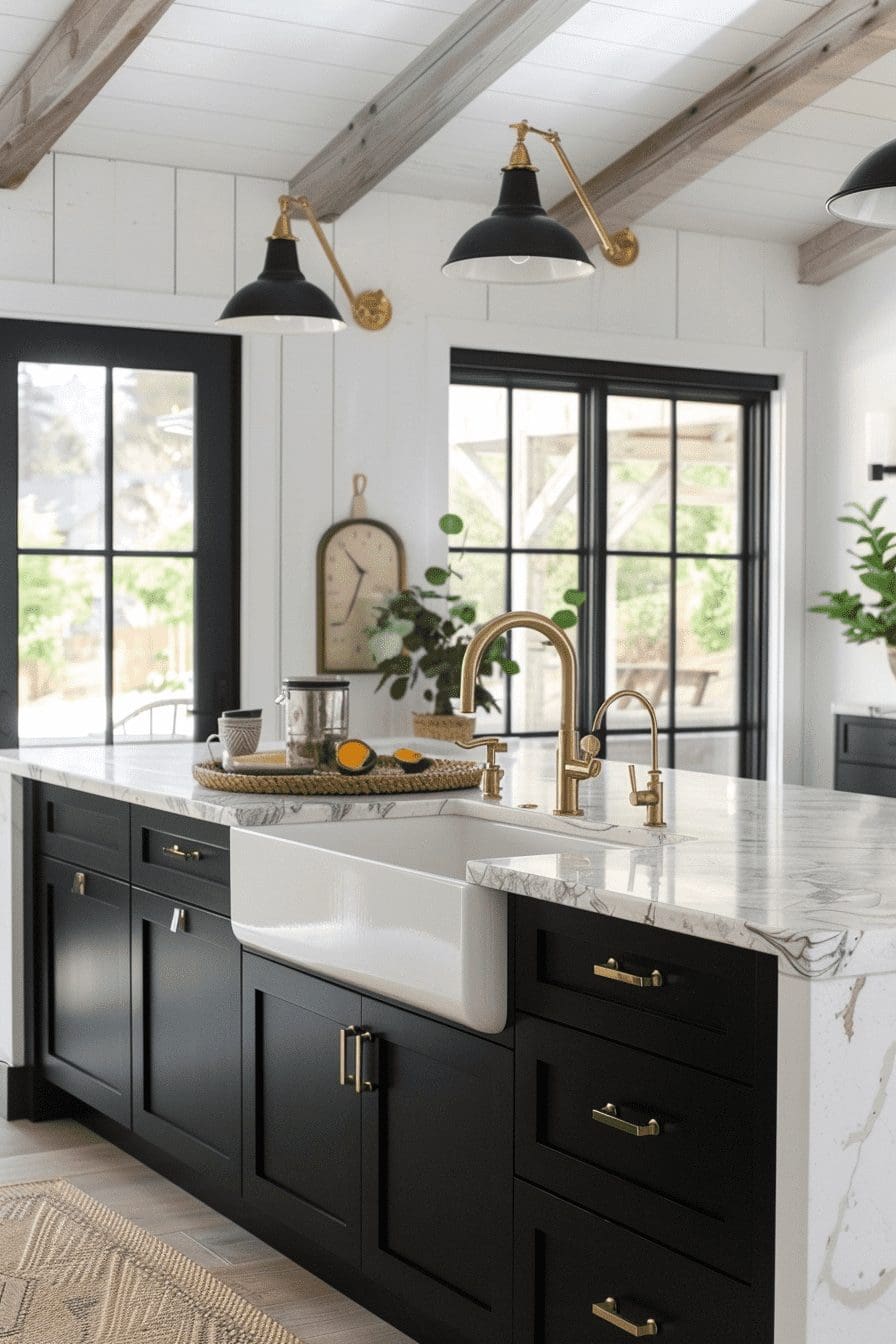
    Harness the Power of Sunlight

    In kitchens featuring a monochrome palette, sunlight beautifully highlights the striking contrast between black and white tones. Beyond illumination, natural light breathes life into the space by brightening colors, warming the room, and fostering an inviting environment ideal for meal prep and social gatherings.

    Key Design Elements

    • Position windows or skylights to allow ample sunlight to flood the kitchen.
    • Use reflective surfaces like glossy tiles or stainless steel to bounce light around.
    • Keep window treatments minimal to avoid blocking natural light.

    Pro Tip: Consider installing large, unobstructed windows facing east or south to maximize daytime light exposure.

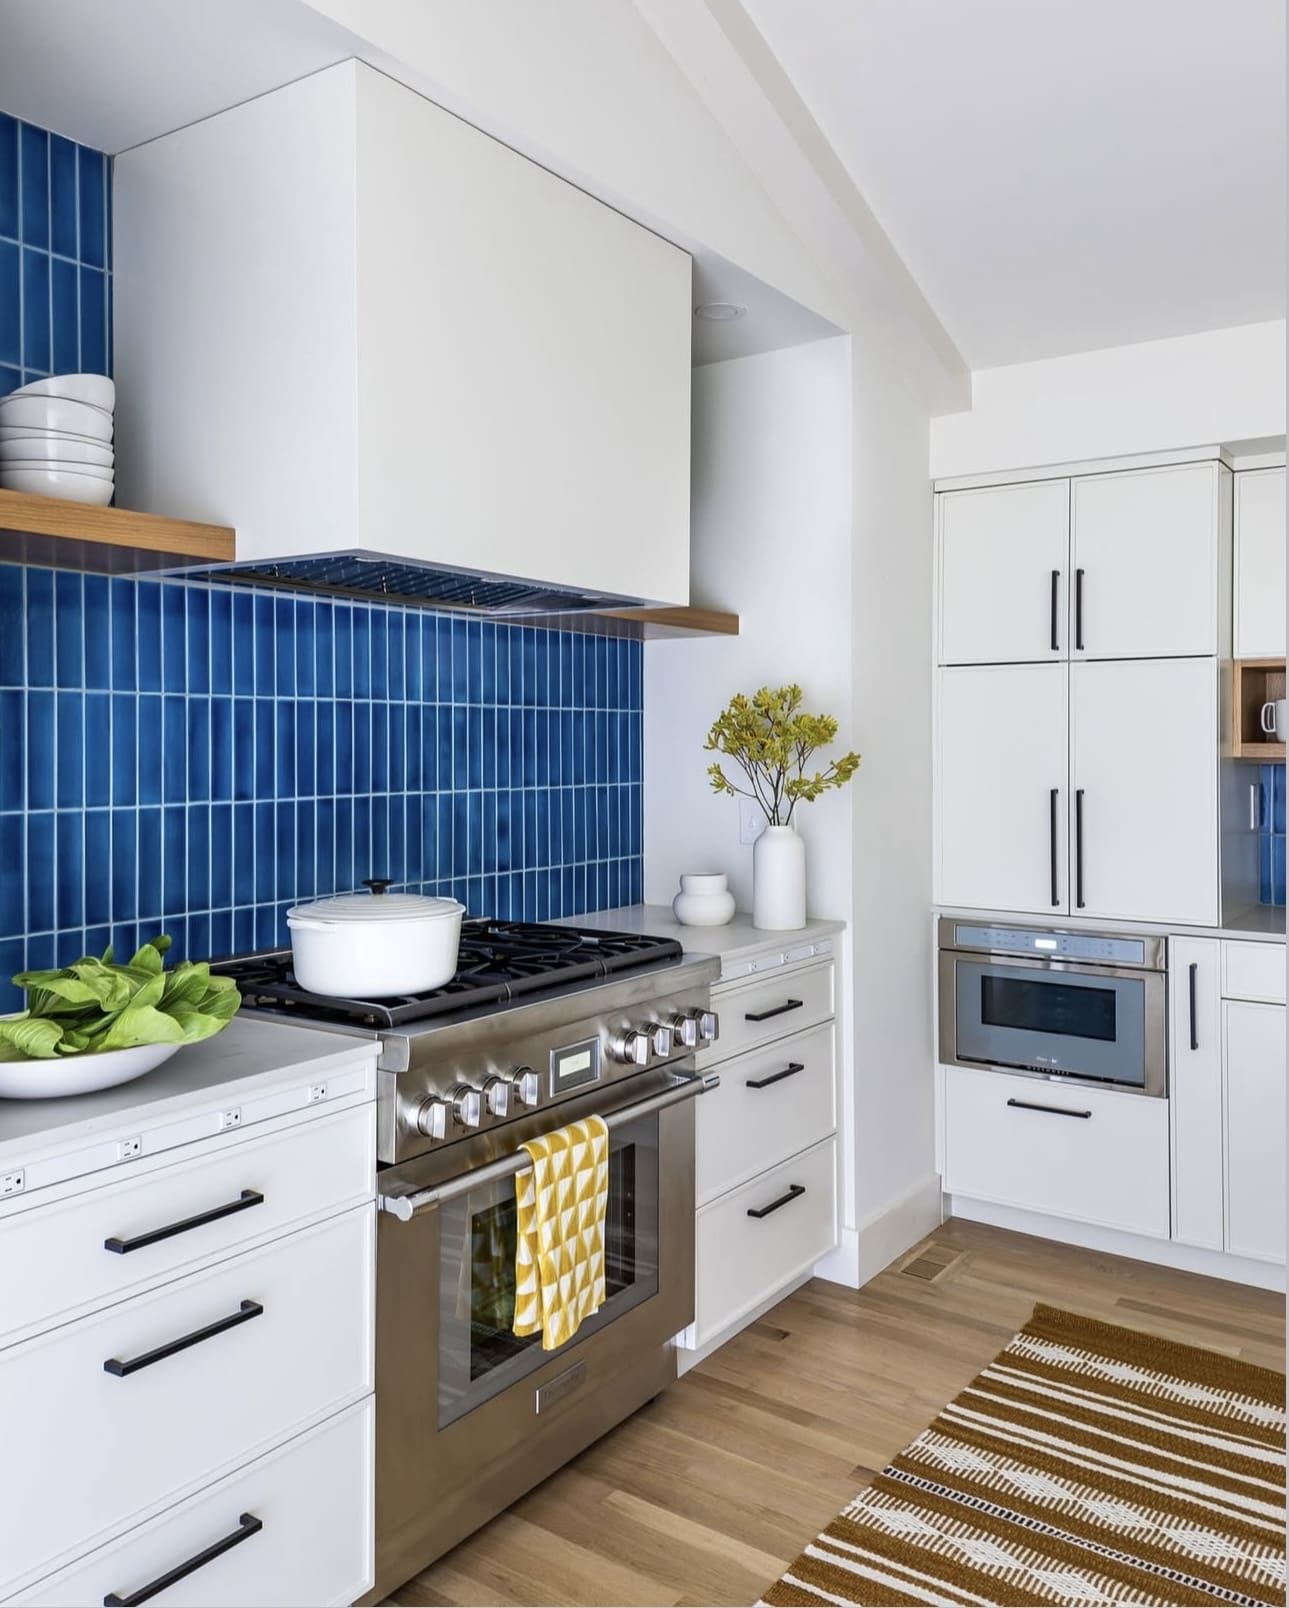
    25. Brighten Your Kitchen with a White Range Hood
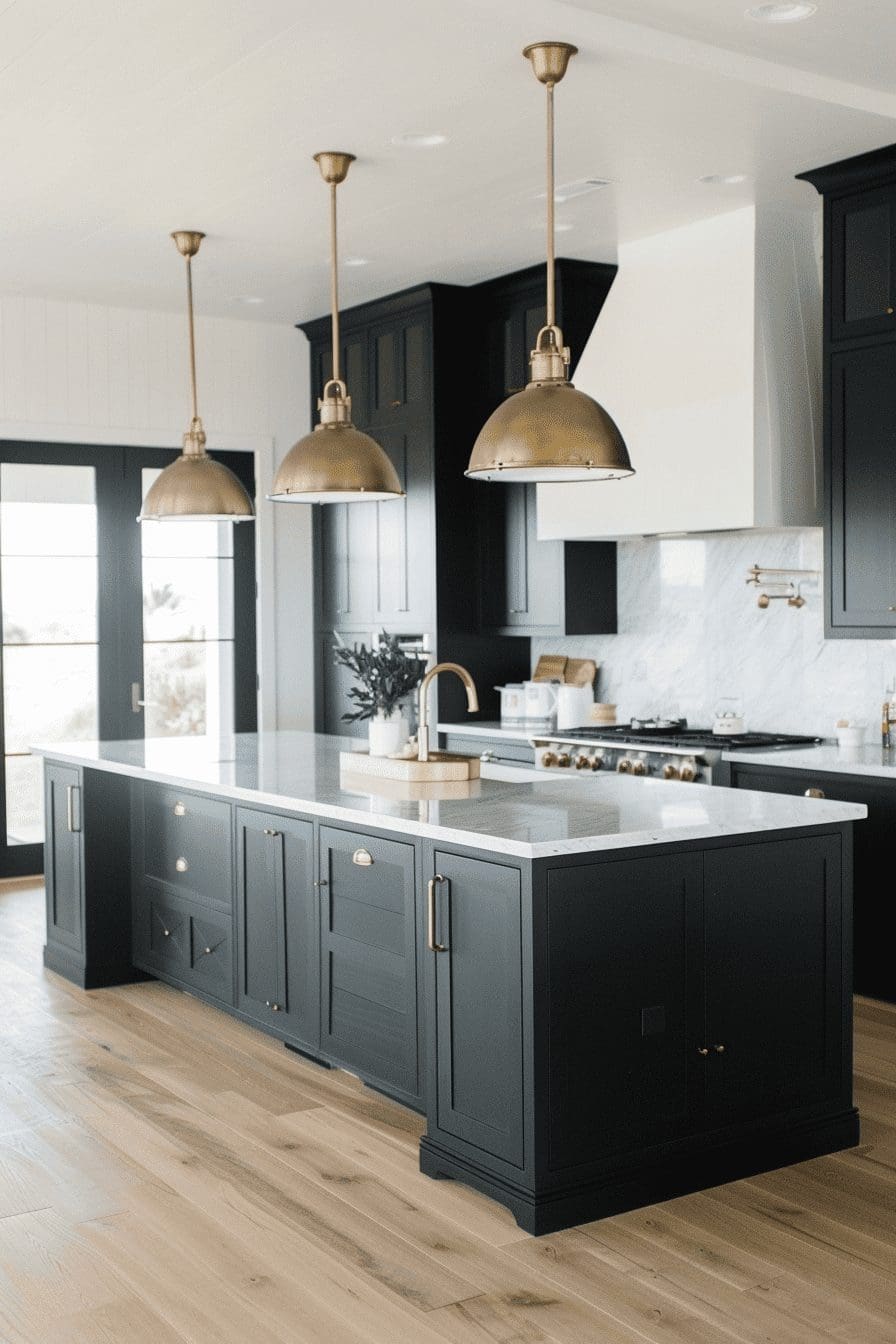
    Brighten Your Kitchen with a White Range Hood

    A white range hood can amplify the sense of space in your kitchen by bouncing light around the room. This feature is especially useful in kitchens that receive minimal natural light or have darker cabinetry, creating a more open and inviting atmosphere.

    Key Design Elements

    • Choose white to enhance light reflection and visually expand your kitchen.
    • Perfect solution for kitchens with limited windows or darker color schemes.
    • Pairs well with various styles, from modern to traditional, for a fresh look.

    Pro Tip: Opt for a matte or semi-gloss finish on your white range hood to minimize fingerprints and maintain a clean appearance longer.

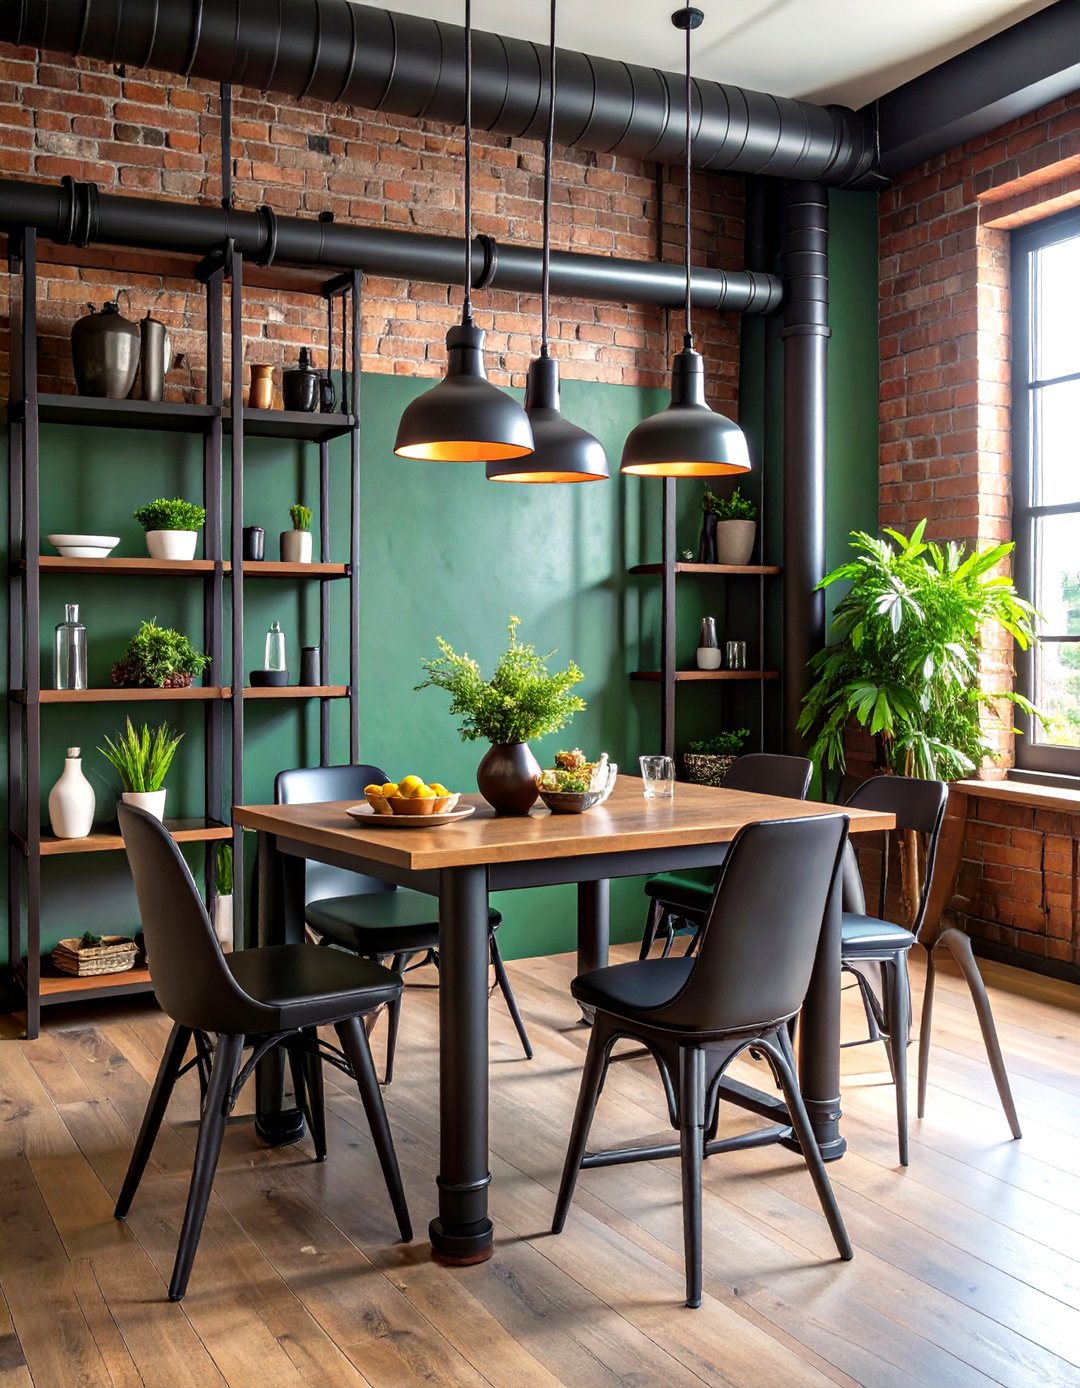
    26. Incorporate Urban Industrial Charm
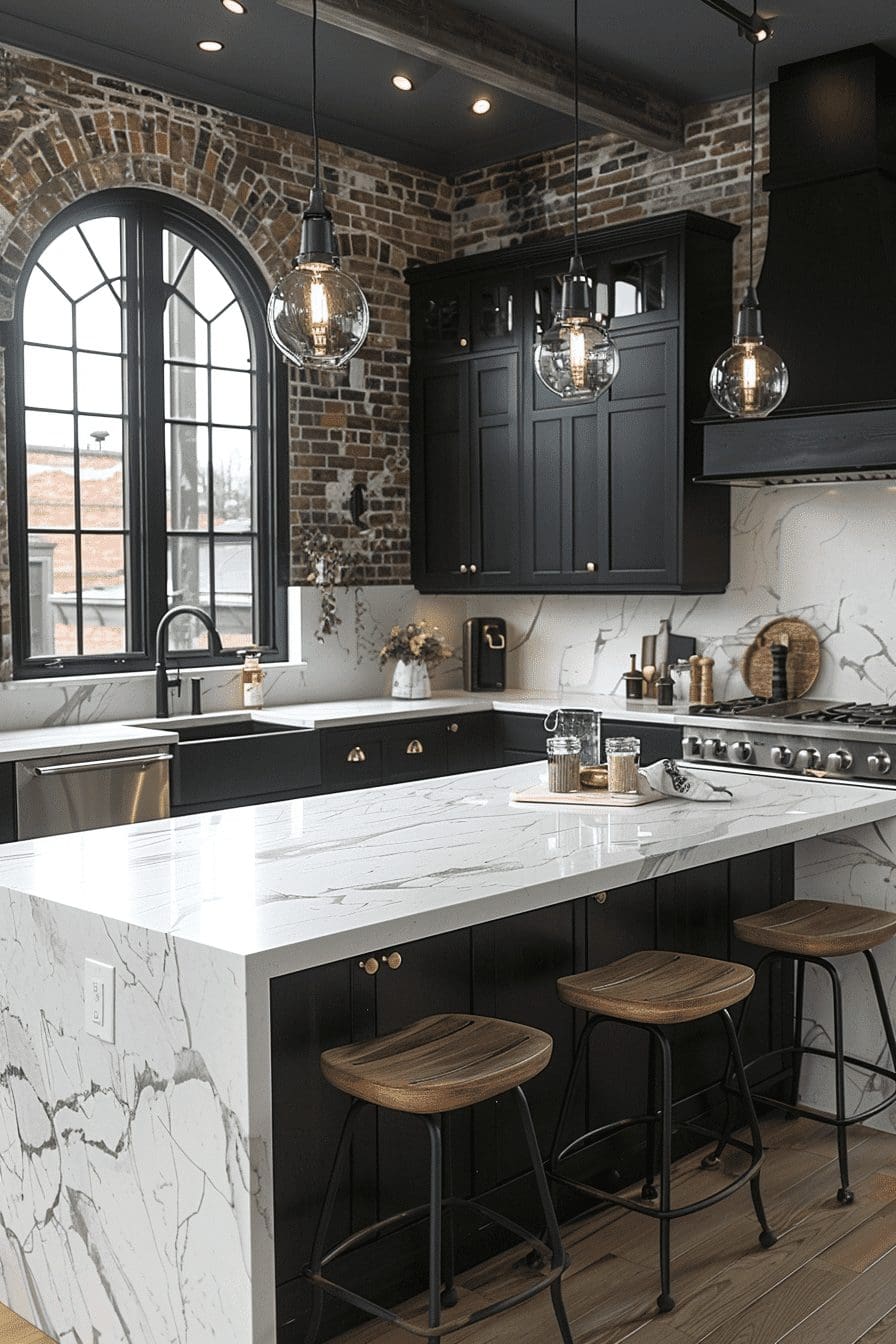
    Incorporate Urban Industrial Charm

    Give your kitchen a trendy, metropolitan edge by integrating industrial features. Utilize raw materials and metal finishes to add depth and character. This approach creates a dynamic and textured environment that stands out.

    Key Design Elements

    • Use exposed brick or concrete walls to establish a rugged backdrop.
    • Introduce metal fixtures like steel shelving or pendant lights for an authentic feel.
    • Incorporate reclaimed wood elements to add warmth and contrast.

    Pro Tip: Balance industrial materials with softer textures like textiles or plants to keep the space inviting.

    27. Introduce Warmth with Wooden Elements

    Introduce Warmth with Wooden Elements

    Incorporating wood details into a modern kitchen filled with shiny surfaces creates a striking and inviting balance. From cabinetry and open shelves to countertops and accessories, wooden features bring warmth and character to the space.

    Key Design Elements

    • Choose wooden cabinets or open shelving to add natural texture against sleek finishes.
    • Consider a butcher block countertop for a durable and stylish workspace.
    • Incorporate small wood items like bar stools or utensil holders to subtly enhance the warmth.

    Pro Tip: Select wood tones that complement your existing color scheme to seamlessly blend rustic charm with contemporary style.

    28. Make a Statement with a Striking Black Kitchen Island
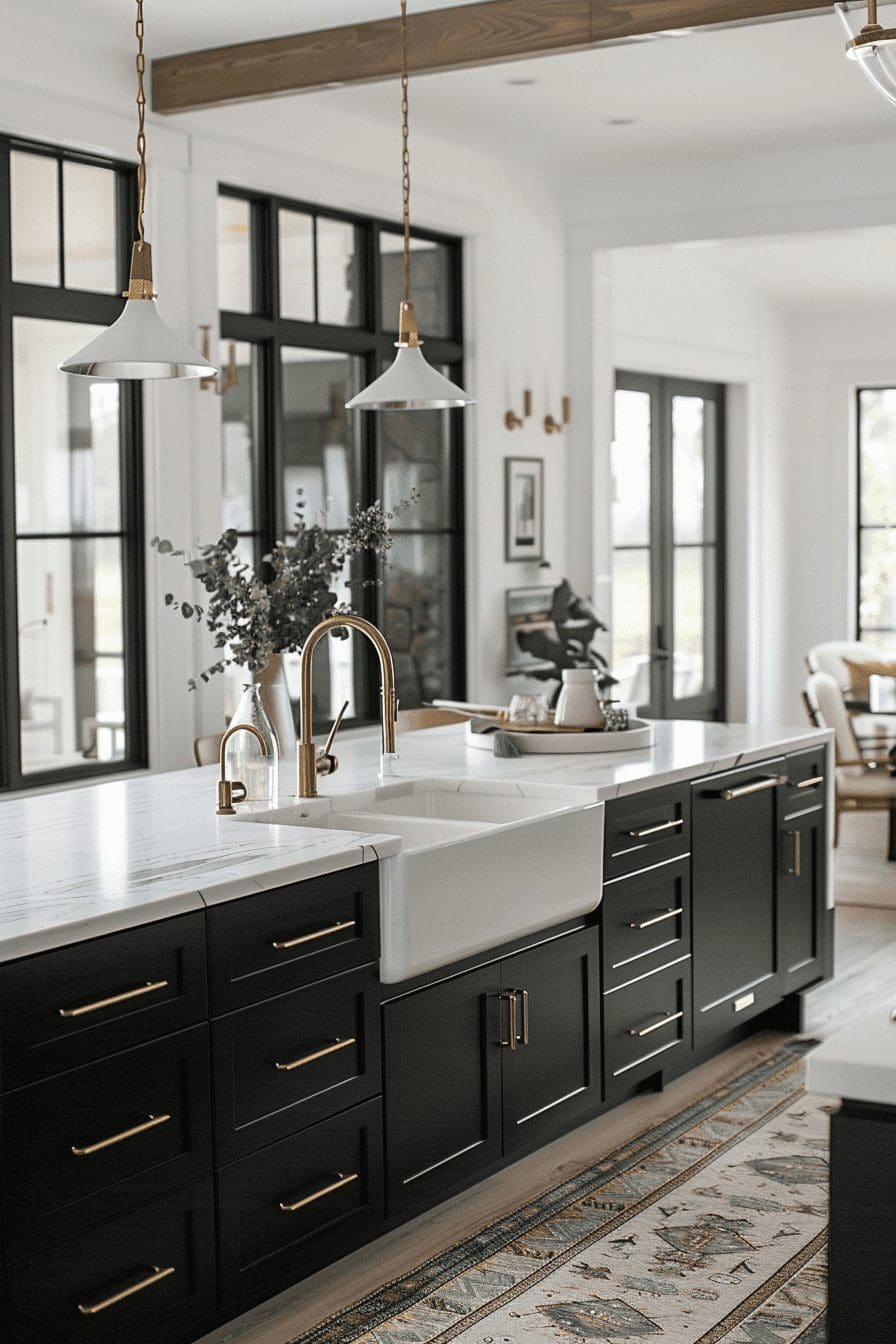
    Make a Statement with a Striking Black Kitchen Island

    Incorporating a black island in your kitchen design adds a powerful centerpiece that draws the eye. Its deep hue provides a sharp contrast to lighter cabinets and countertops, enhancing the room’s overall style with a touch of sophistication.

    Key Design Elements

    • Use a matte or glossy black finish to suit your kitchen’s vibe.
    • Pair with light-colored cabinetry to maximize visual impact.
    • Accessorize with metallic hardware or pendant lighting to highlight the island.

    Pro Tip: Balance the boldness of a black island by incorporating soft textures and warm tones elsewhere in the kitchen.

    29. Enhance Your Kitchen with Stylish Countertop Accents

    Enhance Your Kitchen with Stylish Countertop Accents

    Transform your kitchen by thoughtfully styling your countertop, making it a standout feature that captures attention. Selecting decor pieces that harmonize with your kitchen’s palette and design can bring a polished, inviting atmosphere to the room.

    Key Design Elements

    • Choose accessories that match or complement your kitchen’s color palette for a unified look.
    • Incorporate a mix of functional and decorative items like bowls, plants, or stylish containers.
    • Keep the arrangement balanced to avoid clutter while still showcasing personality.

    Pro Tip: Regularly refresh your countertop decor seasonally to keep your kitchen feeling vibrant and up-to-date.

    30. Embrace Sleek Minimalism
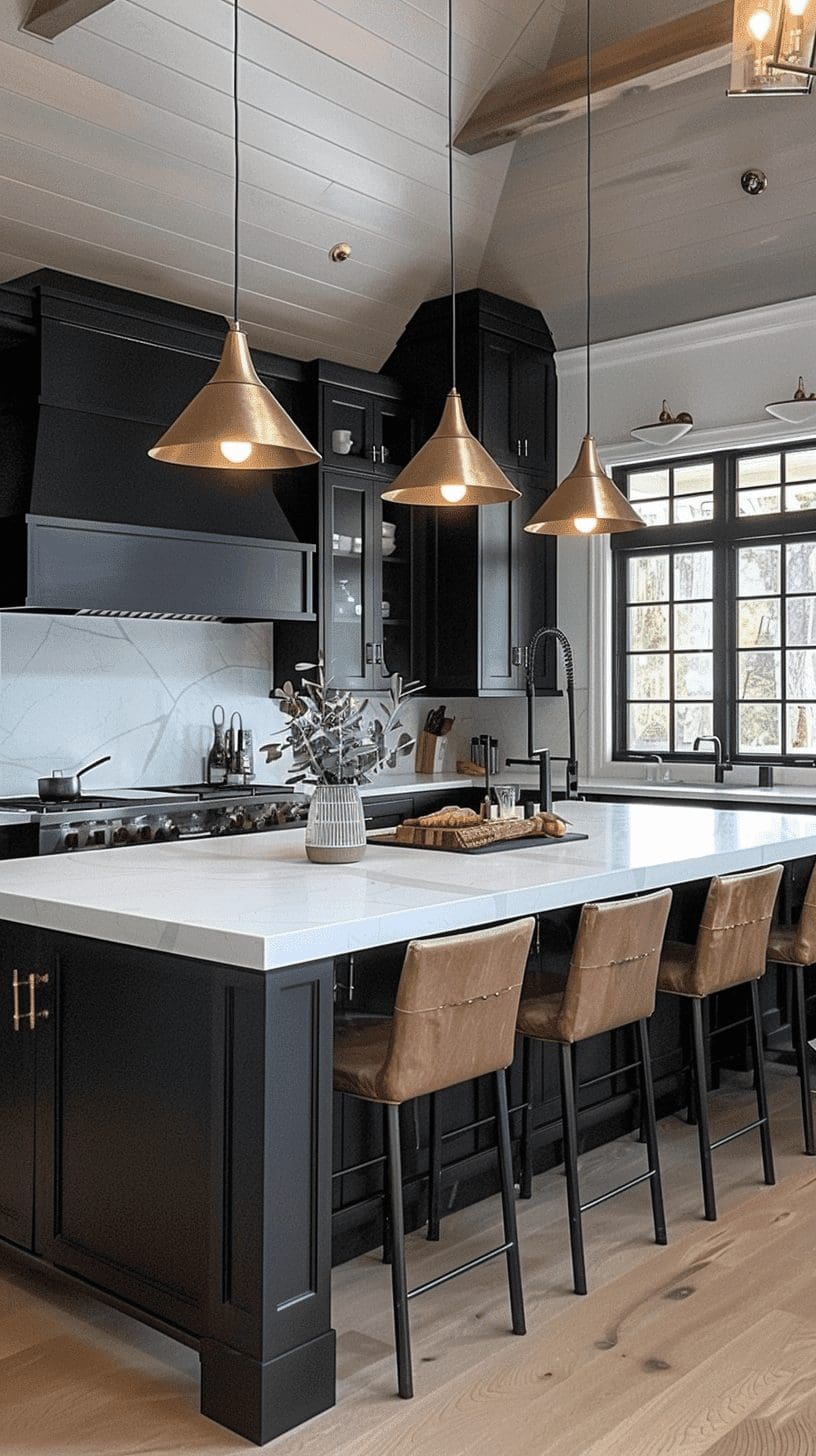
    Embrace Sleek Minimalism

    Contemporary kitchens shine through simplicity and purposeful design. Opting for a monochrome scheme, especially in black and white, establishes a sharp and unified aesthetic. Incorporate smooth, handle-free cabinetry alongside streamlined surfaces and geometric patterns to enhance balance and visual harmony.

    Key Design Elements

    • Select matte finish cabinets without visible handles for a seamless look.
    • Use solid-colored countertops with clean edges to complement the minimalist style.
    • Incorporate geometric elements to add structure and visual interest.

    Pro Tip: Integrate hidden storage solutions to maintain the uncluttered and sleek vibe of a modern kitchen.

    31. Add a Central Kitchen Island for Style and Utility
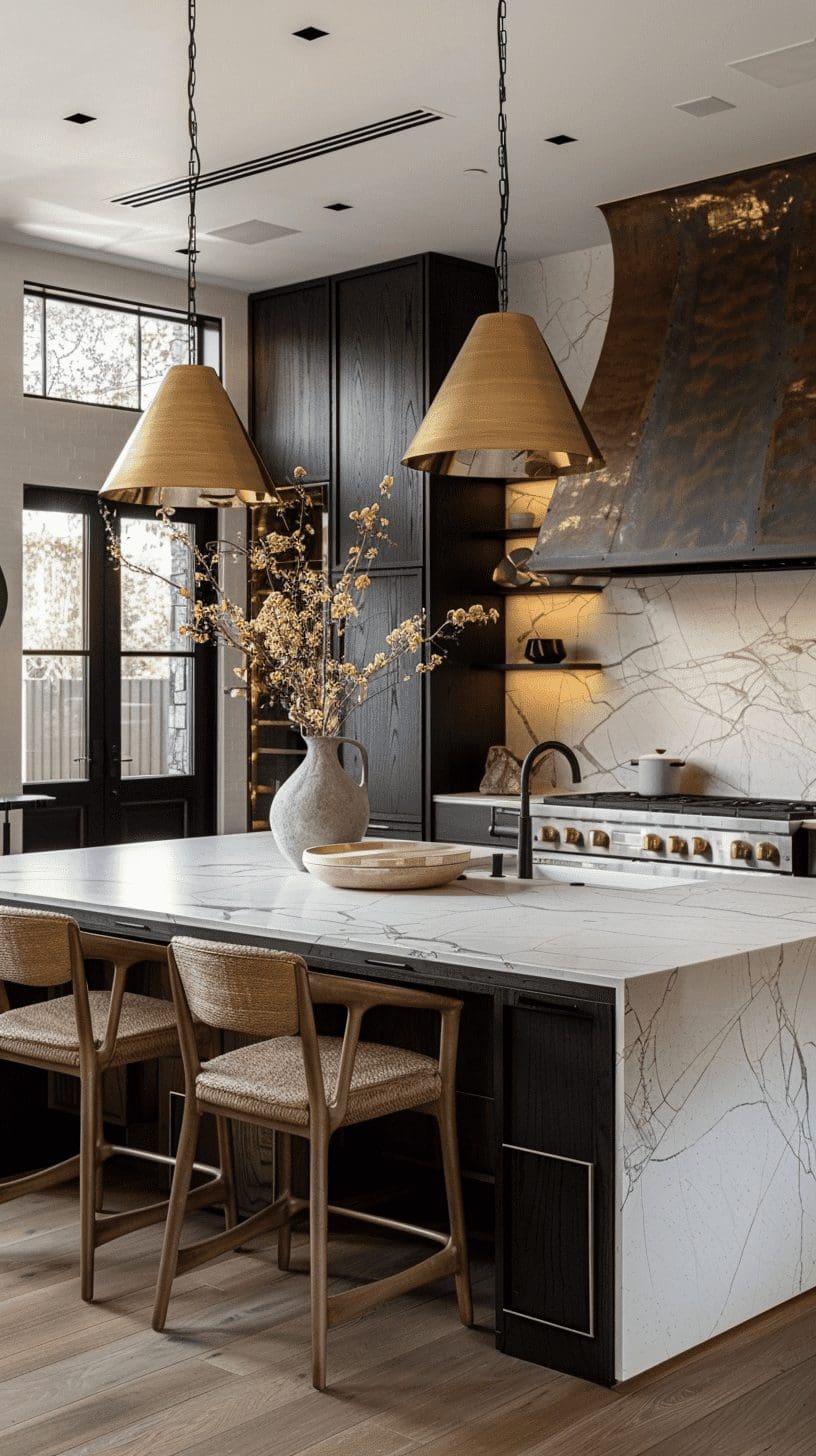
    Add a Central Kitchen Island for Style and Utility

    Installing a kitchen island can transform your space by boosting its practicality and aesthetic appeal. Regardless of your kitchen’s size, an island serves as a versatile centerpiece that enhances cooking, storage, and social interaction.

    Key Design Elements

    • Provides extra countertop space for meal prep and casual dining.
    • Offers additional storage options with cabinets or shelves underneath.
    • Creates a natural gathering spot for family and guests.

    Pro Tip: Choose an island design that complements your kitchen layout and incorporate seating to maximize its functionality.

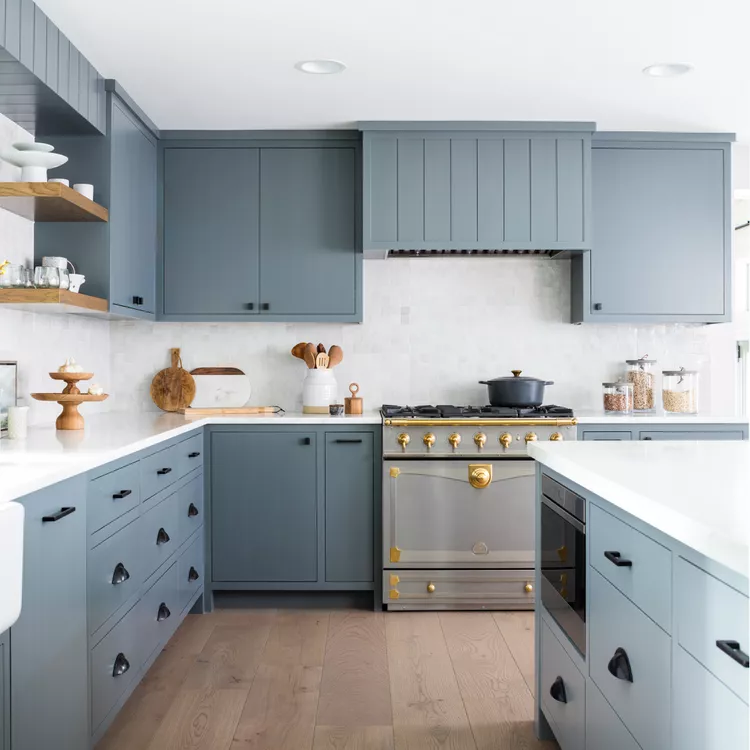
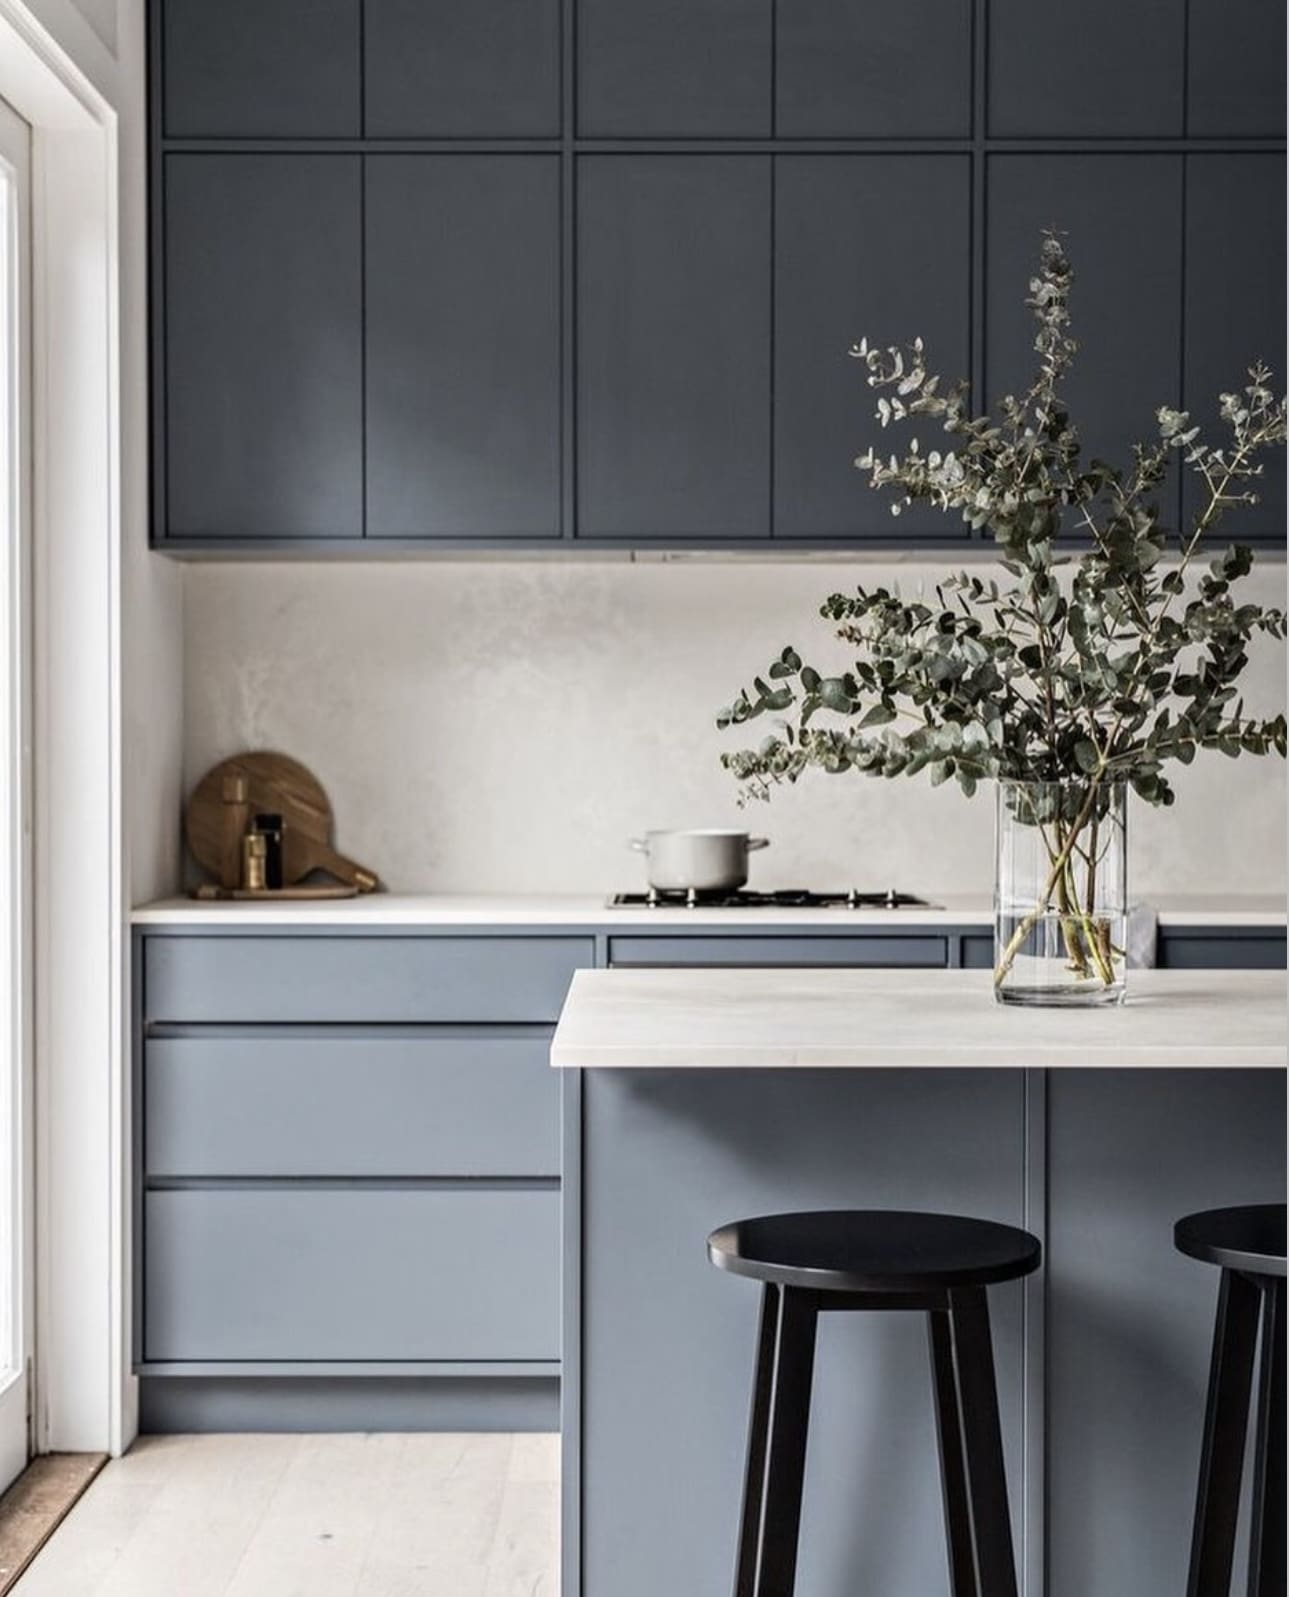
    32. Elevate Your Kitchen with Deep Blue-Black Cabinets
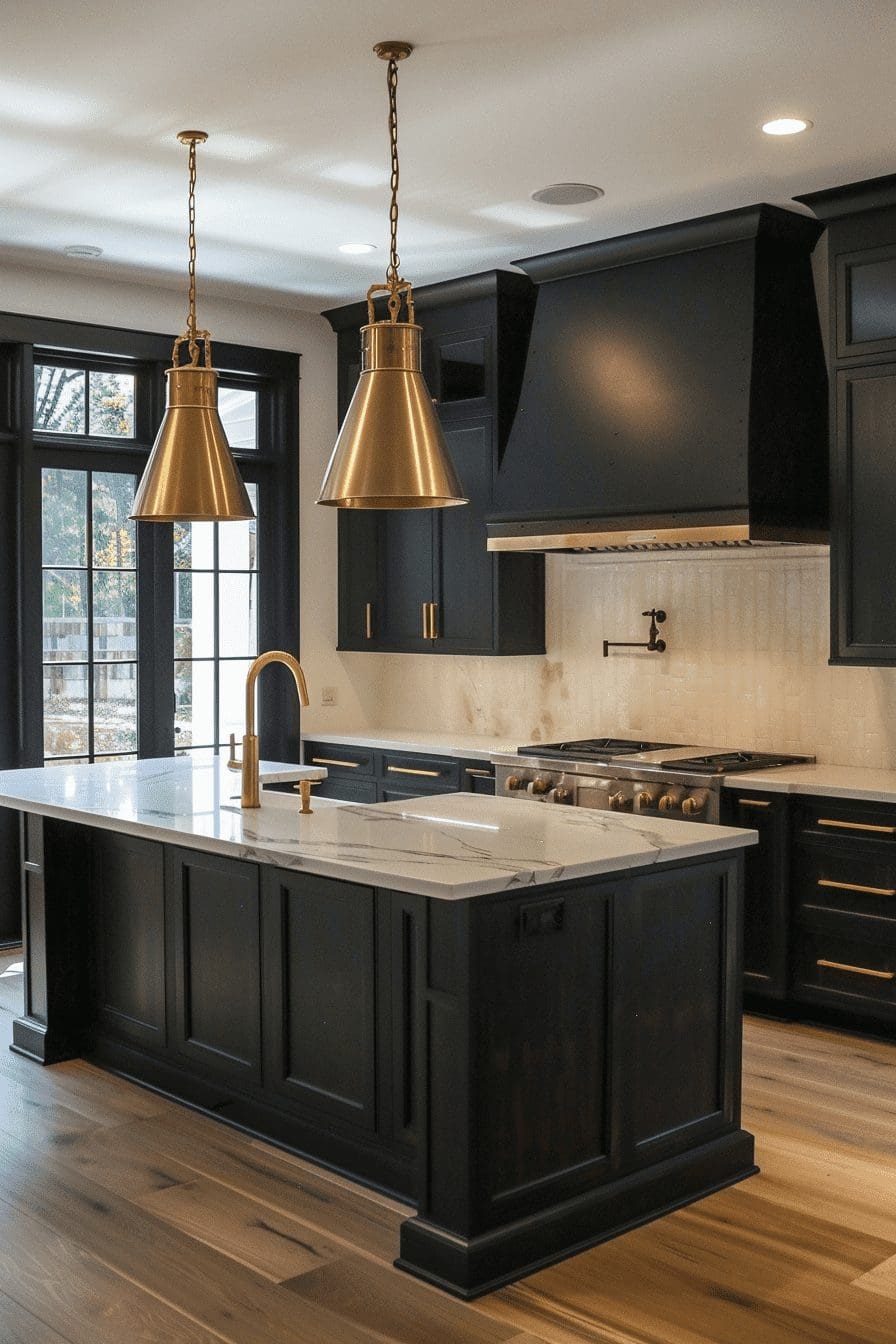
    Elevate Your Kitchen with Deep Blue-Black Cabinets

    Choosing cabinets in a deep blue-black hue introduces a sophisticated and nuanced character to your kitchen. This unique shade subtly shifts with the light, offering a captivating and ever-changing ambiance. It’s a perfect way to add depth and personality beyond traditional black or white tones.

    Key Design Elements

    • Creates a rich, multidimensional effect that adapts throughout the day
    • Offers a modern alternative to standard monochrome cabinetry
    • Pairs well with both warm and cool kitchen accents for versatility

    Pro Tip: Test the blue-black shade under different lighting setups before finalizing to ensure its dynamic tones complement your space perfectly.

    Final Thoughts

    Embracing the timeless elegance of a black and white kitchen is more than just a design choice—it’s an invitation to create a space that’s both striking and endlessly versatile. Whether your style leans toward sleek modernism or classic charm, this monochromatic palette offers a stunning backdrop that highlights textures, shapes, and personal touches with breathtaking clarity. By choosing black and white, you’re not only crafting a kitchen that feels fresh and sophisticated today but also investing in a look that will stay effortlessly stylish for years to come. So go ahead—let this dynamic duo inspire your culinary sanctuary and transform your home into a space where contrast and harmony beautifully coexist.
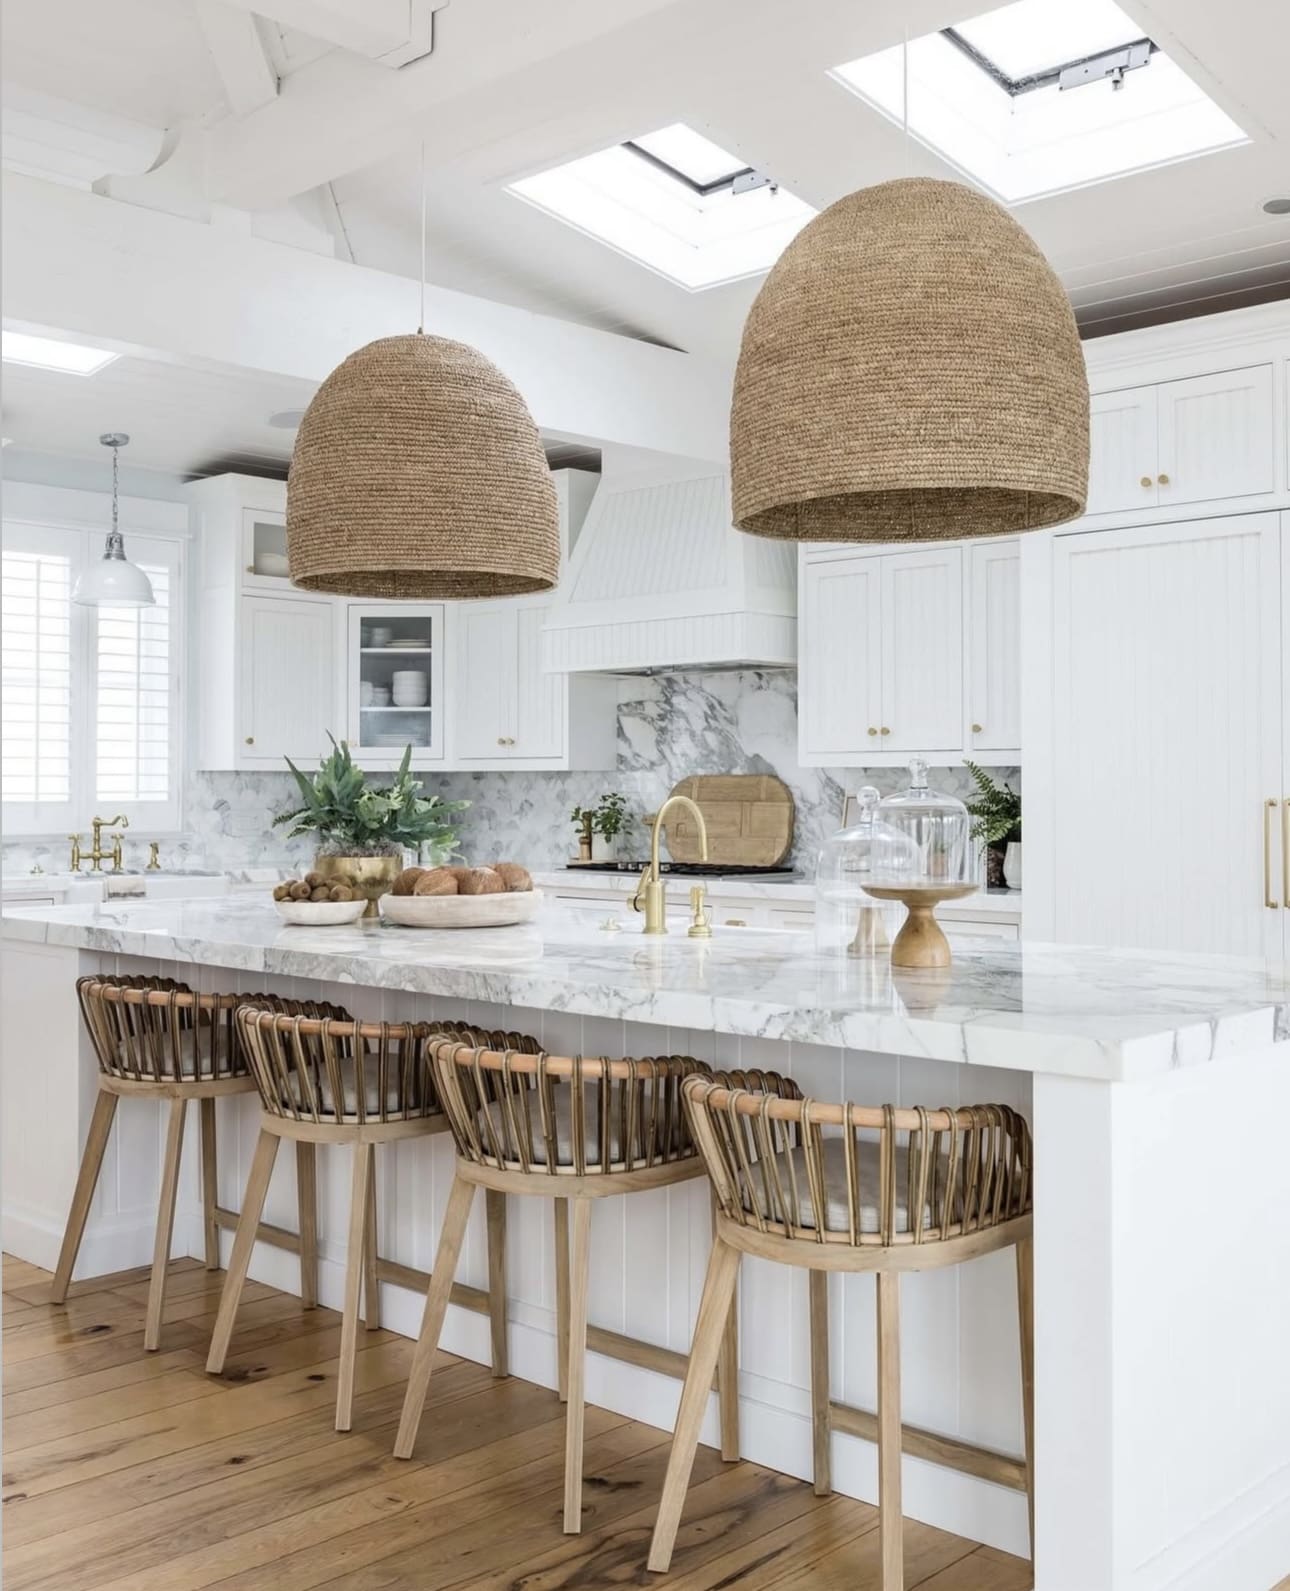
  • Transform Your Kitchen with Fresh Coastal Design Inspirations

    From cabinetry choices to décor accents, subtle details can make a big impact in capturing the coastal spirit. With the right balance of textures, colors, and practical features, your kitchen will not only look stunning but function beautifully for daily life or entertaining. Discover easy ways to infuse your kitchen with coastal charm and create a space that celebrates the carefree beauty of the shore.

    1. Introduce a Rug with Coastal Character

    Introduce a Rug with Coastal Character

    A stylish rug can add warmth and personality to your kitchen while grounding the coastal design. Opt for patterns or textures inspired by nautical themes or natural elements to create a focal point that ties the room together seamlessly.

    Key Design Elements

    • Choose rugs with stripes, rope motifs, or ocean-inspired patterns.
    • Select durable materials suitable for kitchen use, like flatweave or indoor-outdoor fibers.
    • Incorporate colors that complement your cabinetry and backsplash.
    • Balance texture with smooth surfaces for visual interest.
    Pro Tip: Pick a rug size that fits well under your main kitchen area without obstructing cabinet doors or appliances.

    2. Embrace Rustic Coastal Elements

    Embrace Rustic Coastal Elements

    Rustic features harmonize beautifully with coastal style by highlighting the natural beauty of materials. Incorporate reclaimed wood, distressed finishes, and organic textures to echo the rugged charm of seaside landscapes.

    Key Design Elements

    • Use reclaimed wood beams, shelves, or countertops for an authentic feel.
    • Opt for distressed paint or whitewashed surfaces on cabinets and furniture.
    • Mix in woven baskets or natural fiber accents to enhance texture.
    • Pair rustic pieces with softer coastal colors for balance.

    Pro Tip: Introduce rustic elements gradually to maintain a fresh, airy atmosphere without overwhelming the space.

    3. Incorporate Subtle Nautical Details

    Incorporate Subtle Nautical Details

    Adding restrained nautical touches can reinforce the coastal vibe without feeling kitschy. Elements like rope hardware, maritime decor, or vintage seafaring prints evoke the spirit of the sea in a tasteful way.

    Key Design Elements

    • Install drawer pulls or cabinet knobs wrapped in rope or with anchor designs.
    • Hang framed maps, ship wheels, or lighthouse artwork as accents.
    • Include decorative glass floats or model sailboats sparingly.
    • Balance nautical pieces with neutral coastal colors to avoid overdoing the theme.

    Pro Tip: Less is more with nautical décor—select a few impactful pieces rather than cluttering the space.

    4. Select Cabinets with Classic Coastal Flair

    Select Cabinets with Classic Coastal Flair

    Cabinetry with a simple yet timeless design sets the foundation for a coastal kitchen. Styles like Shaker or beadboard painted in soft blues, whites, or seafoam greens create an inviting and enduring look.

    Key Design Elements

    • Choose shaker-style or beadboard cabinet doors for a classic touch.
    • Paint cabinets in pale coastal colors such as white, light teal, or muted blue.
    • Add vintage-style hardware in brass or brushed nickel to complement the look.
    • Keep cabinet designs clean and unadorned for a fresh, open feel.

    Pro Tip: Consider glass-front cabinets to showcase coastal dishware and enhance light flow.

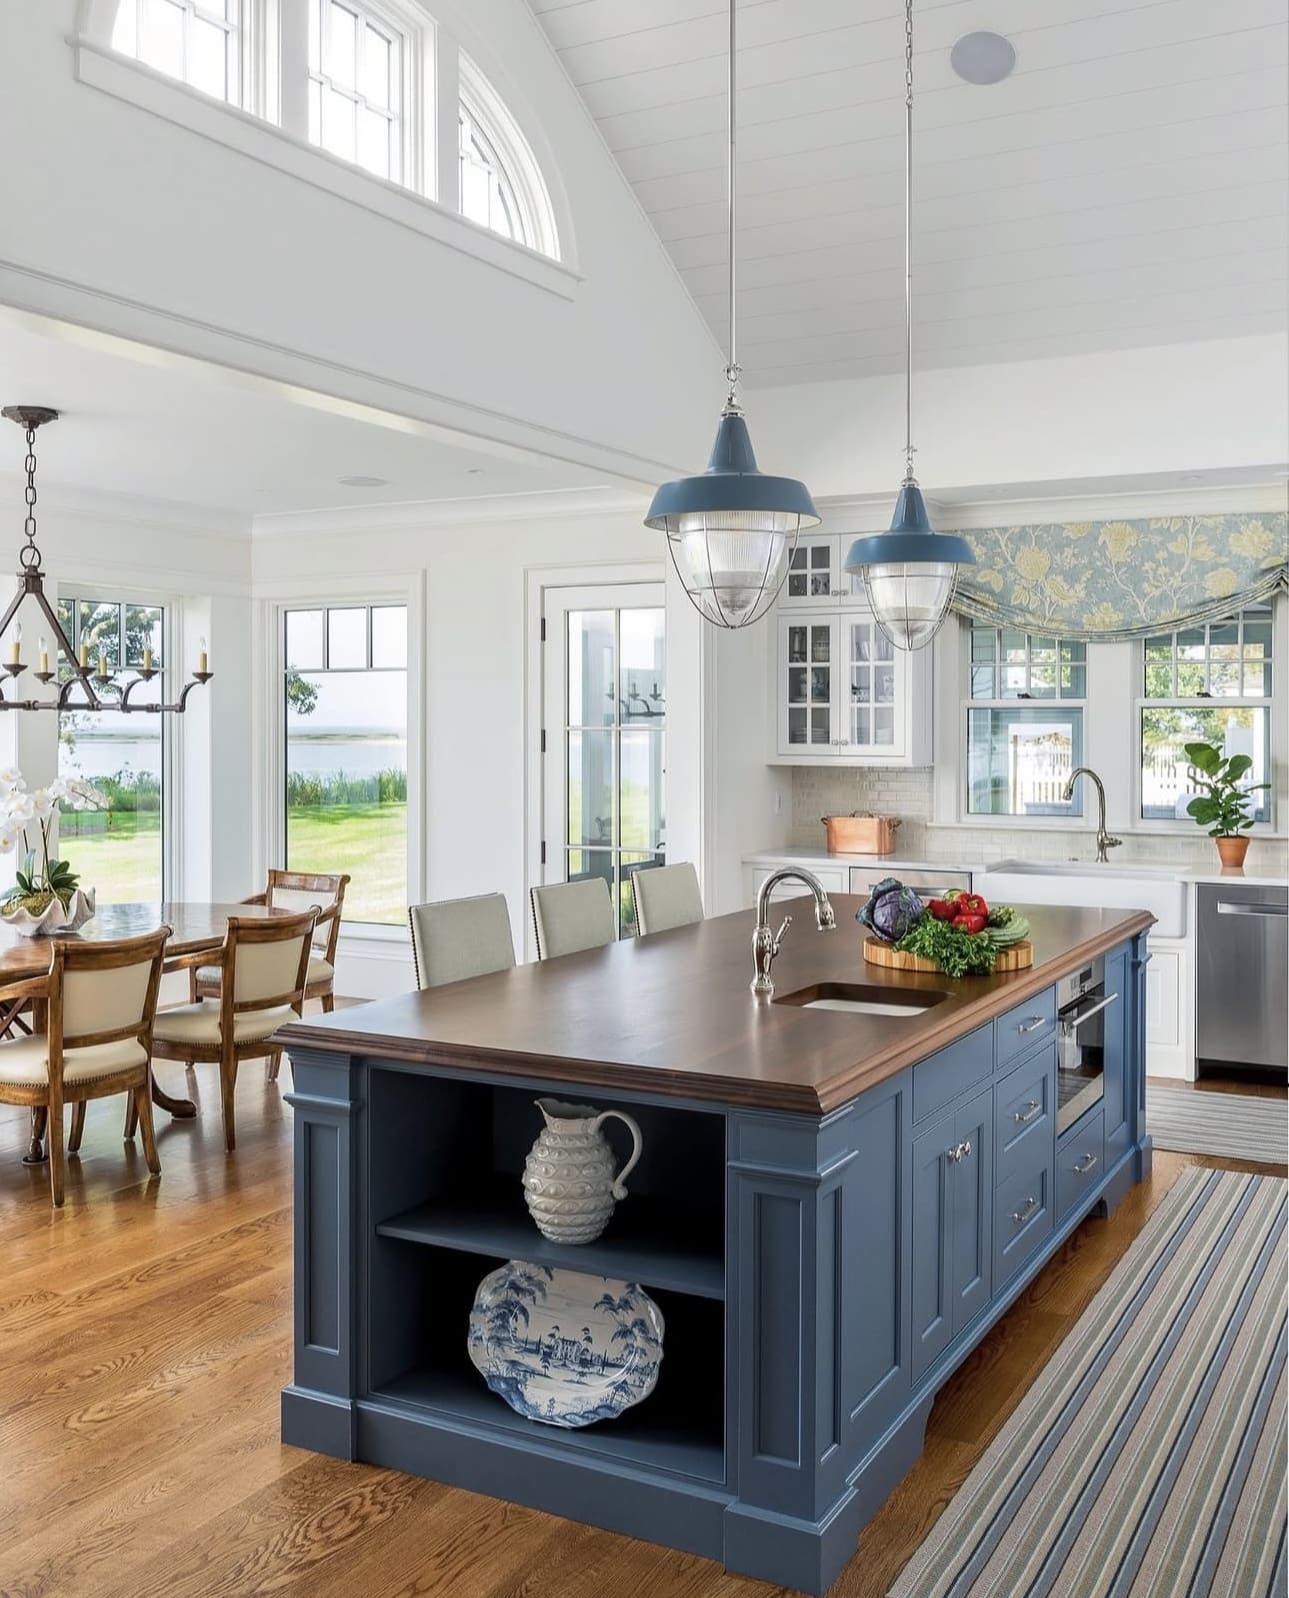
    5. Add a Functional Kitchen Island

    Add a Functional Kitchen Island

    A kitchen island expands your workspace while serving as a social hub in coastal homes. It provides ample surface area for meal preparation, casual dining, or hosting beach-inspired gatherings.

    Key Design Elements

    • Choose an island with storage options like drawers or open shelving.
    • Incorporate seating with stools to create a casual dining area.
    • Select materials like reclaimed wood or light-colored stone for the countertop.
    • Use the island as a focal point with pendant lighting overhead.

    Pro Tip: Integrate multi-functional features like built-in wine racks or cutting boards to maximize island utility.

    6. Enhance Your Kitchen with Lush Greenery

    Enhance Your Kitchen with Lush Greenery

    Bringing plants into your coastal kitchen adds vibrant life and refreshes the atmosphere. Tropical varieties like palms or succulents complement the breezy aesthetic while connecting your space to nature.

    Key Design Elements

    • Place easy-care plants such as Kentia palms or yuccas in corners or on shelves.
    • Use hanging planters to save counter space and add dimension.
    • Incorporate herbs like basil or mint for both beauty and utility.
    • Pair plant pots with coastal colors or natural textures.

    Pro Tip: Rotate plants regularly to ensure even sunlight exposure and maintain their health.

    7. Blend Contemporary and Rustic Styles

    Blend Contemporary and Rustic Styles

    Merging modern conveniences with rustic details creates a balanced coastal kitchen that feels both current and cozy. Sleek appliances combined with weathered woods or reclaimed surfaces keep your space fresh and inviting.

    Key Design Elements

    • Pair stainless steel appliances with distressed wooden countertops or accents.
    • Install a modern tile backsplash alongside vintage-inspired lighting fixtures.
    • Mix clean lines with textured, natural materials for contrast.
    • Use open shelving to showcase both contemporary and rustic elements.
    Pro Tip: Maintain cohesion by sticking to a consistent color palette across modern and rustic pieces.

    8. Incorporate Warm Brass Fixtures

    Incorporate Warm Brass Fixtures

    Brass fixtures introduce a warm, inviting glow that complements the light, airy vibe of coastal kitchens. Their golden tones add subtle luxury while harmonizing with natural textures and colors.

    Key Design Elements

    • Choose brass faucets, cabinet knobs, and lighting fixtures for a cohesive look.
    • Mix brass with matte finishes like white or soft blue for balance.
    • Use aged brass for a vintage coastal feel or polished brass for a modern touch.
    • Coordinate brass elements with other warm accents in the room.

    Pro Tip: Polish brass fixtures periodically to maintain their radiant finish and prevent tarnish.

    9. Use Coastal-Themed Tile Designs

    Use Coastal-Themed Tile Designs

    Tiles inspired by the sea, such as fish-scale patterns or oceanic hues, can elevate your coastal kitchen’s design. Applied as backsplashes or accent walls, they reinforce the seaside atmosphere with artistic flair.

    Key Design Elements

    • Select tiles in sea blues, sandy beiges, or pearly whites.
    • Incorporate textures like wavy or scalloped edges to mimic water movement.
    • Combine tile patterns with neutral cabinetry for visual balance.
    • Use tile accents sparingly to avoid overpowering the space.

    Pro Tip: Opt for matte or semi-gloss finishes to reduce glare while highlighting texture.

    10. Incorporate Reflective Glass Accents

    Incorporate Reflective Glass Accents

    Glass elements, such as pendant lights, cabinet doors, or backsplash tiles, add an airy openness by reflecting natural and artificial light. They contribute to the fresh, spacious feeling essential to coastal kitchens.

    Key Design Elements

    • Install glass-front cabinets to showcase colorful dishware and brighten the space.
    • Choose glass pendant lights with clear or lightly tinted shades.
    • Use glass tiles for backsplashes to add subtle shimmer.
    • Combine glass with natural materials for contrast.
    Pro Tip: Keep glass surfaces clean and smudge-free to maximize their light-enhancing effect.
    11. Select Light Fixtures in Soothing Blue Tones
    Select Light Fixtures in Soothing Blue Tones

    Light fixtures with hints of blue or weathered finishes can anchor your coastal kitchen’s style. These subtle touches reinforce the seaside theme and serve as beautiful focal points within the room.

    Key Design Elements

    • Choose woven pendant lights with blue accents or natural fibers.
    • Incorporate glass lanterns featuring sea-glass hues.
    • Opt for fixtures with distressed finishes to complement rustic elements.
    • Mix blue-toned lighting with neutral surroundings for a calming effect.

    Pro Tip: Position statement fixtures above islands or dining areas to highlight key spaces.

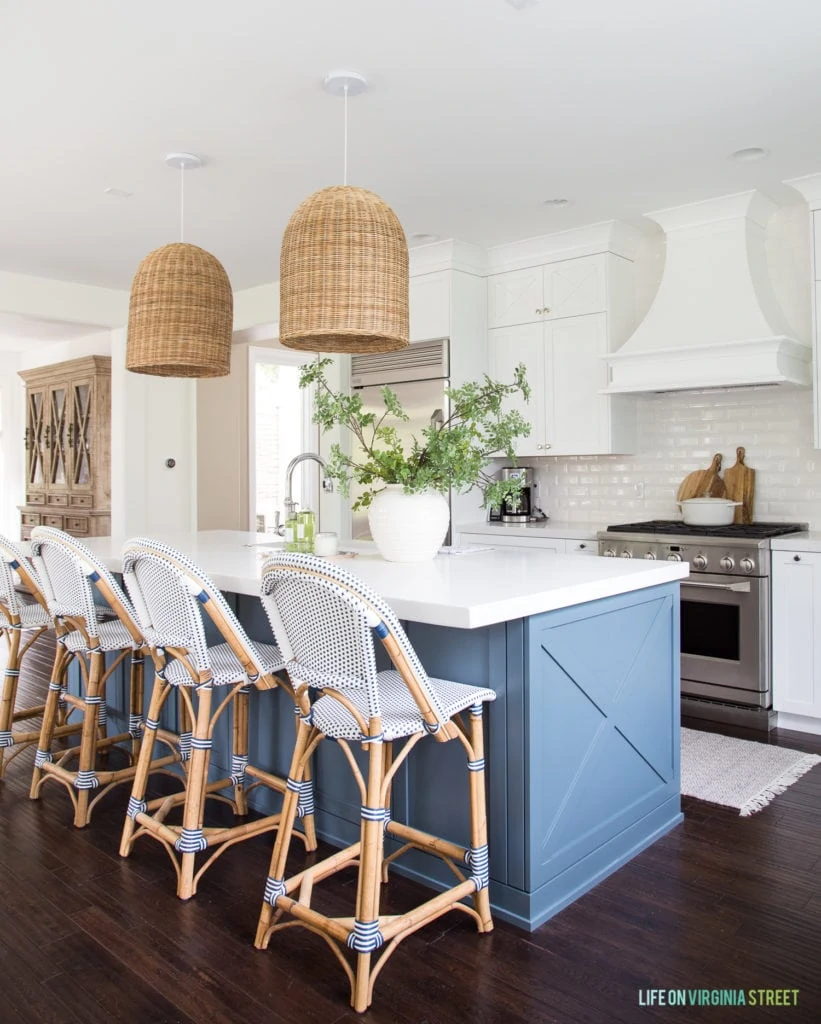
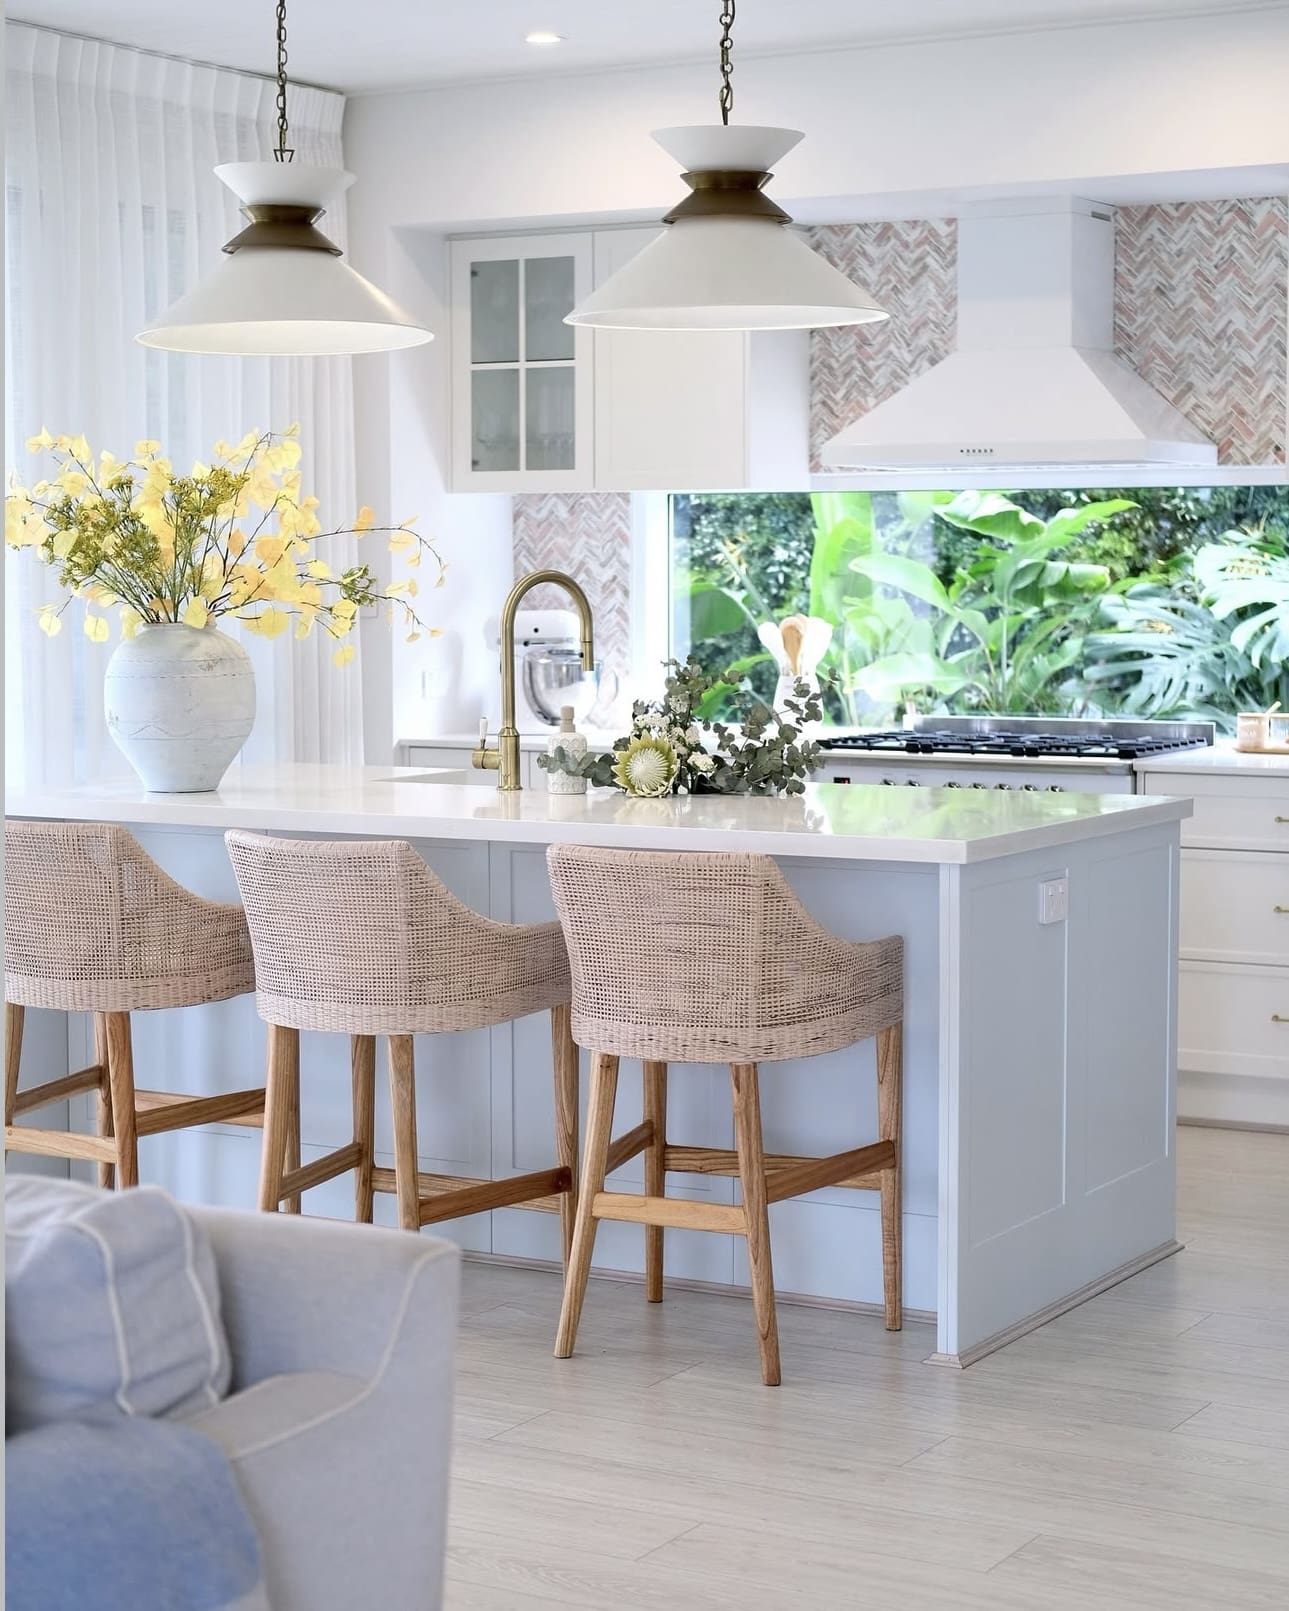
    12. Add Versatile Rattan Seating

    Add Versatile Rattan Seating

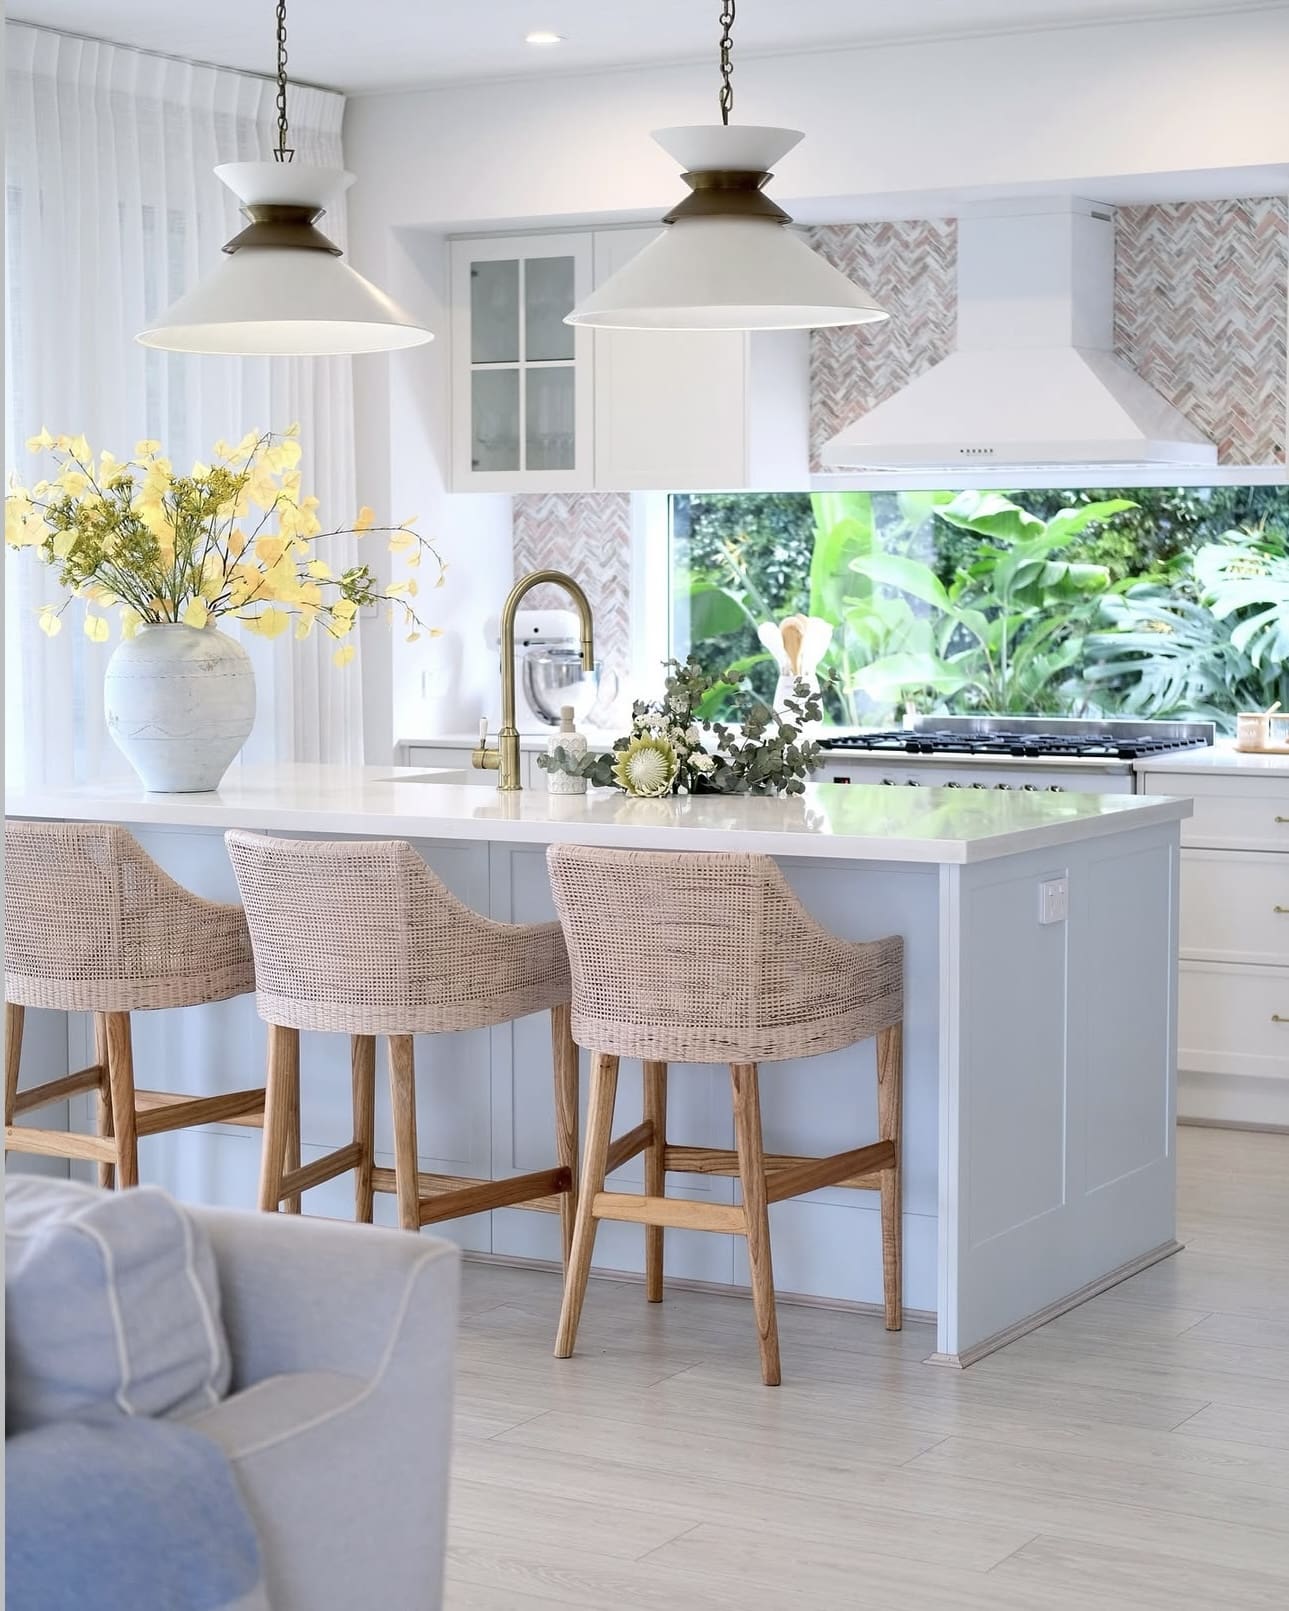
    Rattan stools bring natural texture and warmth to your kitchen, softening the harder surfaces. Their casual yet stylish look suits coastal settings, providing functional seating for meals or socializing.

    Key Design Elements

    • Select stools with comfortable cushions in coastal colors or patterns.
    • Use rattan seats around kitchen islands or breakfast bars.
    • Mix rattan with other natural materials like wood or linen.
    • Choose lightweight designs for easy rearrangement.

    Pro Tip: Consider stools with backs for added comfort during longer gatherings.

    13. Personalize with Unique Coastal Details

    Personalize with Unique Coastal Details

    Incorporating your personal style into a coastal kitchen makes the space truly your own. Customized touches reflect your vision of beach living, whether leaning toward relaxed cottages or modern coastal chic.

    Key Design Elements

    • Display cherished coastal souvenirs or artwork.
    • Choose colors and textures that resonate with your lifestyle.
    • Integrate handcrafted items like pottery or woven baskets.
    • Mix contemporary pieces with vintage finds for a layered look.

    Pro Tip: Rotate accessories seasonally to keep your coastal kitchen feeling fresh and inspired.

    14. Introduce Shiplap or Beadboard Details

    Introduce Shiplap or Beadboard Details

    Adding shiplap or beadboard to walls, backsplashes, or kitchen islands infuses your space with classic coastal cottage charm. These textures enhance visual interest while maintaining a light and airy vibe.

    Key Design Elements

    • Use whitewashed shiplap panels for a clean, beachy look.
    • Incorporate beadboard on island fronts or cabinet doors.
    • Pair textured walls with smooth countertops and cabinetry.
    • Paint shiplap or beadboard in soft coastal hues for subtlety.

    Pro Tip: Install shiplap horizontally to elongate walls and enhance the room’s openness.

    15. Style Your Countertops Thoughtfully

    Style Your Countertops Thoughtfully

    Well-curated countertop décor can elevate your kitchen’s ambiance by adding color, texture, and personality. Thoughtful placement of accessories creates an inviting and functional space that feels connected to the coast.

    Key Design Elements

    • Display small potted plants or fresh herbs for a natural touch.
    • Use decorative bowls or trays to organize utensils and condiments.
    • Incorporate coastal-themed art pieces or shells sparingly.
    • Keep countertops uncluttered to maintain an open, airy feel.

    Pro Tip: Rotate decorative items seasonally to refresh your kitchen’s coastal vibe.

    16. Adopt a Simple, Uncluttered Approach

    Adopt a Simple, Uncluttered Approach

    The essence of coastal design is effortless simplicity, allowing natural light, colors, and textures to shine. By keeping your kitchen layout and decor straightforward, the space remains calm, open, and welcoming.

    Key Design Elements

    • Focus on clean lines and minimal ornamentation.
    • Limit color palette to soft neutrals and gentle coastal shades.
    • Prioritize functionality and ease of movement in layout.
    • Use open shelving or glass cabinets to maintain openness.

    Pro Tip: Regularly declutter and organize to preserve the kitchen’s relaxed coastal feel.

    17. Choose Coastal-Inspired Lighting Fixtures

    Choose Coastal-Inspired Lighting Fixtures

    Lighting can make a major impact on a coastal kitchen’s atmosphere. Fixtures that feature woven materials, glass lanterns, or weathered finishes can become striking elements that complement your seaside theme.

    Key Design Elements

    • Install pendant lights made from natural fibers such as rattan or wicker.
    • Use lantern-style fixtures with clear or frosted glass shades.
    • Select light fixtures with distressed or aged metal finishes.
    • Coordinate lighting with other coastal textures and colors.

    Pro Tip: Layer lighting with task and ambient sources for both style and practicality.

    18. Consider the Elegance of Marble Countertops

    Consider the Elegance of Marble Countertops

    Marble countertops offer a bright, reflective surface that enhances the light and airy qualities of a coastal kitchen. Their natural veining adds sophistication while amplifying the openness of your space.

    Key Design Elements

    • Select marble with soft veining in gray, blue, or beige tones.
    • Pair marble countertops with simple cabinetry to highlight the stone.
    • Maintain marble regularly to protect against staining in a busy kitchen.
    • Consider marble-inspired quartz for a low-maintenance alternative.

    Pro Tip: Use marble as a statement surface, balancing it with matte or textured finishes elsewhere.

    19. Opt for Weathered and Whitewashed Finishes

    Opt for Weathered and Whitewashed Finishes

    Whitewashed and distressed surfaces bring the weathered charm of coastal cottages into your kitchen. These finishes add history and warmth, evoking the natural driftwood and sun-bleached textures found near the shore.

    Key Design Elements

    • Apply whitewash or distressing on cabinets, furniture, or wood accents.
    • Balance these finishes with fresh white or light blue tones.
    • Use finish treatments that highlight wood grain for authenticity.
    • Incorporate vintage accessories to enhance the aged look.

    Pro Tip: Blend whitewashed elements with clean modern pieces to avoid a dated appearance.

    20. Introduce Soft Blue Accents

    Introduce Soft Blue Accents

    Light blue accents bring the tranquil vibe of the ocean into your kitchen. These hues brighten the space and work beautifully with sandy neutrals and crisp whites to create a peaceful, breezy atmosphere.

    Key Design Elements

    • Add blue textiles like kitchen towels or seat cushions.
    • Use painted accessories such as vases or bowls in pale blue.
    • Incorporate blue-toned artwork or wall décor.
    • Pair blue accents with natural wood and white surfaces.

    Pro Tip: Use blue as an accent rather than the dominant color to maintain lightness.

    21. Select Pale Teal Cabinets for a Serene Feel

    Select Pale Teal Cabinets for a Serene Feel

    Pale teal cabinetry evokes the calming shades of sea and sky, infusing your kitchen with a serene, coastal-inspired ambiance. This color choice adds gentle depth without overpowering the space.

    Key Design Elements

    • Pair pale teal cabinets with white or sandy countertops.
    • Choose matte or satin finishes for a soft, natural look.
    • Add brass or brushed nickel hardware for subtle contrast.
    • Balance teal with neutral walls and flooring.

    Pro Tip: Test paint samples in natural light to ensure the teal complements your kitchen’s brightness.

    22. Brighten Your Kitchen with Gray-Blue Cabinets

    Brighten Your Kitchen with Gray-Blue Cabinets

    Gray-blue cabinetry reflects light beautifully, enhancing the open and airy feeling key to coastal kitchens. This shade provides a modern twist on traditional coastal colors, making your space feel fresh and inviting.

    Key Design Elements

    • Combine gray-blue cabinets with white countertops and backsplashes.
    • Use brushed or polished hardware in silver or brass.
    • Coordinate with natural wood accents for warmth.
    • Keep surrounding decor light to maximize brightness.

    Pro Tip: Pair gray-blue with warm lighting to soften the cool tones for a welcoming atmosphere.

    23. Maximize Abundant Natural Light

    Natural sunlight is essential in creating the bright, open feeling of a coastal kitchen. Emphasize windows and minimize heavy treatments to let light flood the space and invigorate every corner.

    Key Design Elements

    • Use sheer curtains or blinds that allow light through while providing privacy.
    • Keep window frames and sills clean and unobstructed.
    • Choose reflective surfaces like glossy tiles or light countertops to bounce light.
    • Position mirrors strategically to enhance daylight.

    Pro Tip: Consider adding a skylight or solar tubes if natural light is limited.

    24. Create Warmth with Soft Lighting

    Create Warmth with Soft Lighting

    Soft, warm lighting adds coziness and intimacy to your coastal kitchen, balancing the fresh, breezy design. Choose light bulbs and fixtures that cast gentle glows to complement the relaxed vibe.

    Key Design Elements

    • Use soft white or warm yellow bulbs in overhead and task lighting.
    • Incorporate dimmers to adjust brightness according to mood.
    • Select fixtures with warm metal finishes like brass or copper.
    • Layer lighting with under-cabinet and accent options.

    Pro Tip: Avoid harsh, cool lighting which can detract from the inviting coastal ambiance.

    25. Enhance Your Space with Coastal Accessories

    Enhance Your Space with Coastal Accessories

    Thoughtfully chosen coastal accessories complete your kitchen’s look by reinforcing the beach-inspired theme. Items like driftwood decor, seashell collections, or ocean-hued glass contribute subtle charm without overwhelming the space.

    Key Design Elements

    • Place driftwood sculptures or art pieces on open shelving or counters.
    • Display shells or coral in glass jars for natural texture.
    • Hang artwork depicting ocean scenes or marine life.
    • Use glass bottles in turquoise or sea glass colors as accents.

    Pro Tip: Rotate accessories seasonally to keep your coastal kitchen feeling fresh and personal.

    26. Choose a Light and Airy Color Palette

    Choose a Light and Airy Color Palette

    Light hues like whites, soft blues, and sandy beiges set the soothing tone for a coastal kitchen. This palette evokes the natural shades of the beach, creating a calm and spacious environment.

    Key Design Elements

    • Paint walls in crisp white or pale neutral tones.
    • Mix in soft blue accents for a cool, refreshing touch.
    • Select cabinetry and furniture in light wood or white finishes.
    • Use natural fiber rugs and textiles in beige or cream.

    Pro Tip: Layer different shades within the light palette to add depth and interest.

    27. Design a Functional, Relaxed Layout

    Design a Functional, Relaxed Layout

    A casual, easy-flowing kitchen layout supports the welcoming spirit of coastal living. Open-plan designs with central islands encourage socializing and efficient movement.

    Key Design Elements

    • Plan for clear walkways and accessible work zones.
    • Incorporate an island for prep, dining, and gathering.
    • Use open shelving or glass cabinets to keep the space airy.
    • Choose comfortable seating to promote lingering and conversation.

    Pro Tip: Keep frequently used items within easy reach to enhance functionality.

    28. Utilize Natural Materials for Warmth

    Utilize Natural Materials for Warmth

    Using natural materials like wood, wicker, and rattan introduces warmth and texture to your kitchen. These elements bring an organic connection to nature that is essential in coastal design.

    Key Design Elements

    • Incorporate wooden countertops or shelving for rustic charm.
    • Use wicker baskets for storage and decorative flair.
    • Choose rattan light fixtures or seating to soften the space.
    • Combine natural elements with light colors to maintain brightness.

    Pro Tip: Balance natural materials with smooth surfaces to avoid heaviness.

    29. Add Warmth with Walnut Cabinets

    Add Warmth with Walnut Cabinets

    Walnut cabinetry brings rich color and elegant grain patterns that add sophistication to your coastal kitchen. The warmth of walnut wood contrasts beautifully with lighter coastal design elements.

    Key Design Elements

    • Opt for walnut cabinets to introduce depth and luxury.
    • Pair walnut with light-colored countertops and backsplashes.
    • Use simple hardware to let the wood’s beauty shine.
    • Balance walnut tones with airy décor and plenty of natural light.

    Pro Tip: Consider walnut accents if full walnut cabinetry feels too heavy for the space.

    30. Incorporate Elegant White or Brass Range Hoods

    Incorporate Elegant White or Brass Range Hoods

    A white or brass range hood adds a polished touch to your kitchen while complementing the coastal aesthetic. White offers timeless sophistication, while brass brings warmth and a nod to natural coastal elements.

    Key Design Elements

    • Install a white hood for a clean, classic look that blends with cabinetry.
    • Choose a brass hood to introduce a warm metallic accent.
    • Pair the hood with matching fixtures or hardware for cohesion.
    • Keep hood designs simple to maintain an airy, unobtrusive feel.

    Pro Tip: Ensure your hood is properly vented and sized for your cooking needs while serving as a stylish focal point.

    Conclusion

    Remember, the key to a successful coastal kitchen lies in balance and simplicity. Focus on maximizing natural light, maintaining an uncluttered layout, and layering textures and colors inspired by the shore. With these design principles, your kitchen will not only be a functional hub but also a tranquil retreat reminiscent of your favorite beachside escape.

  • Elevate Your Space: Top Luxury Living Room Design Inspirations for Modern Homes

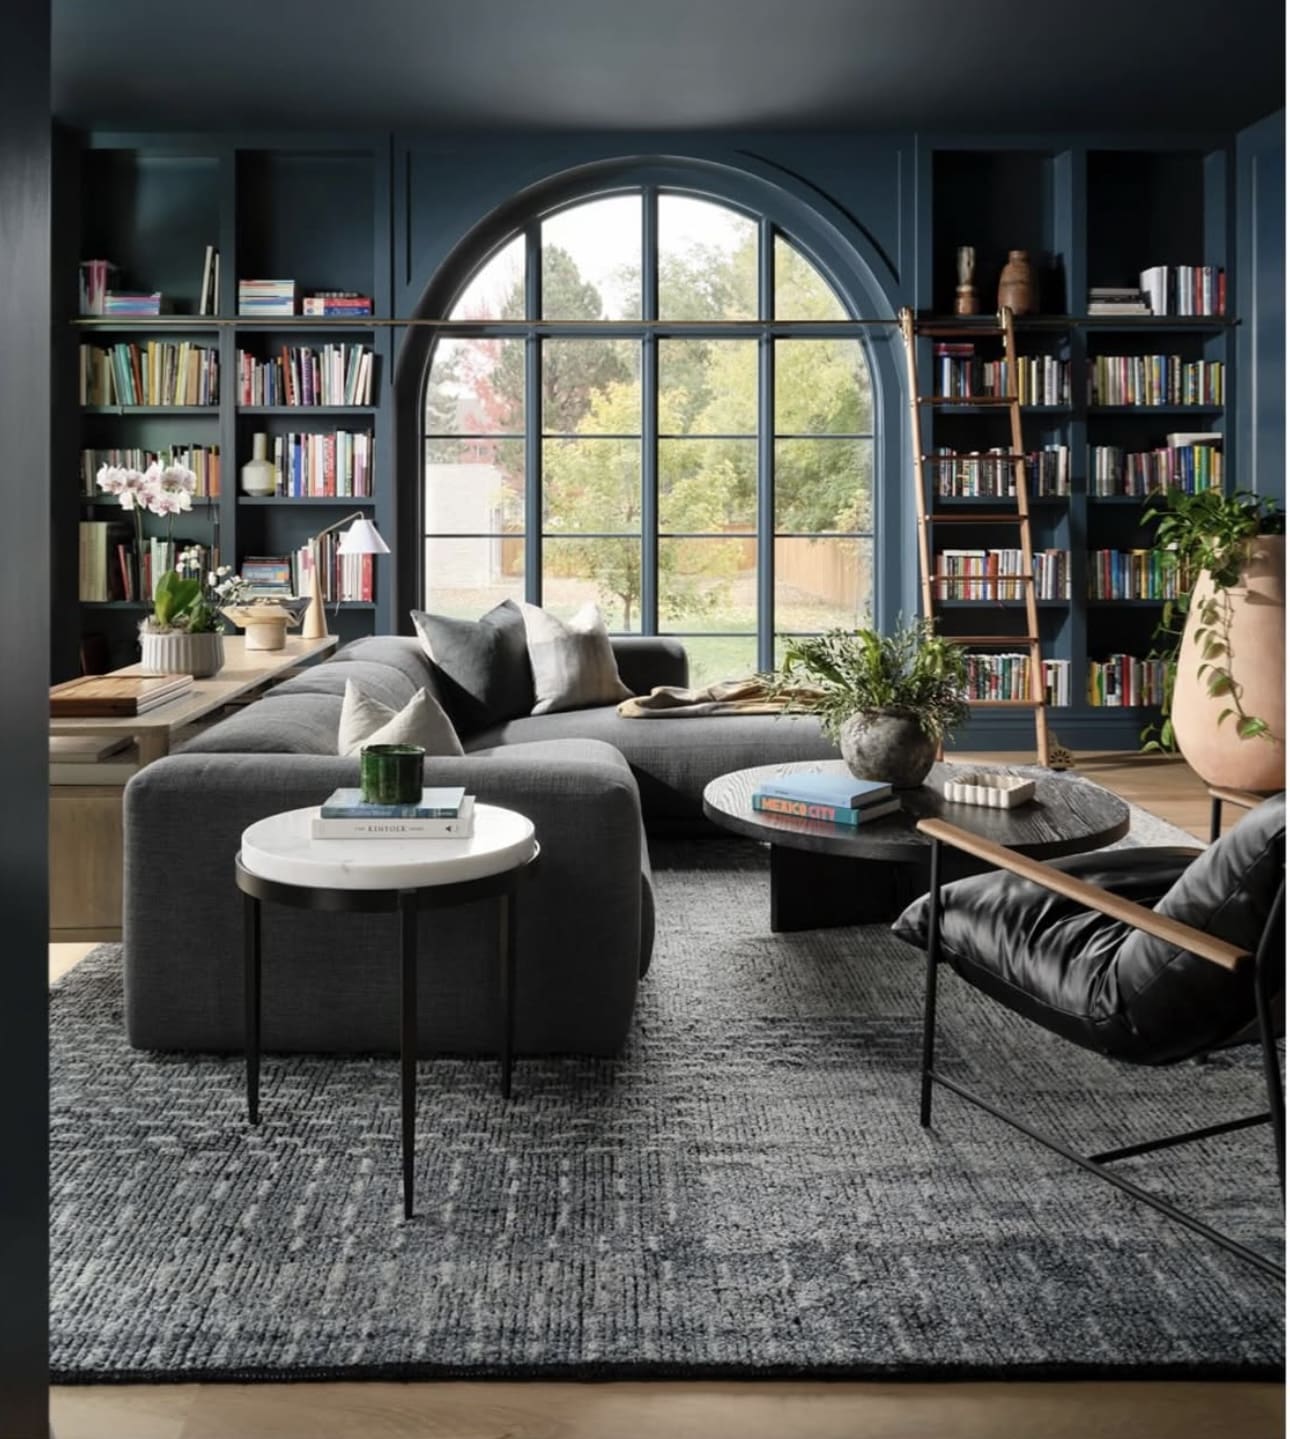
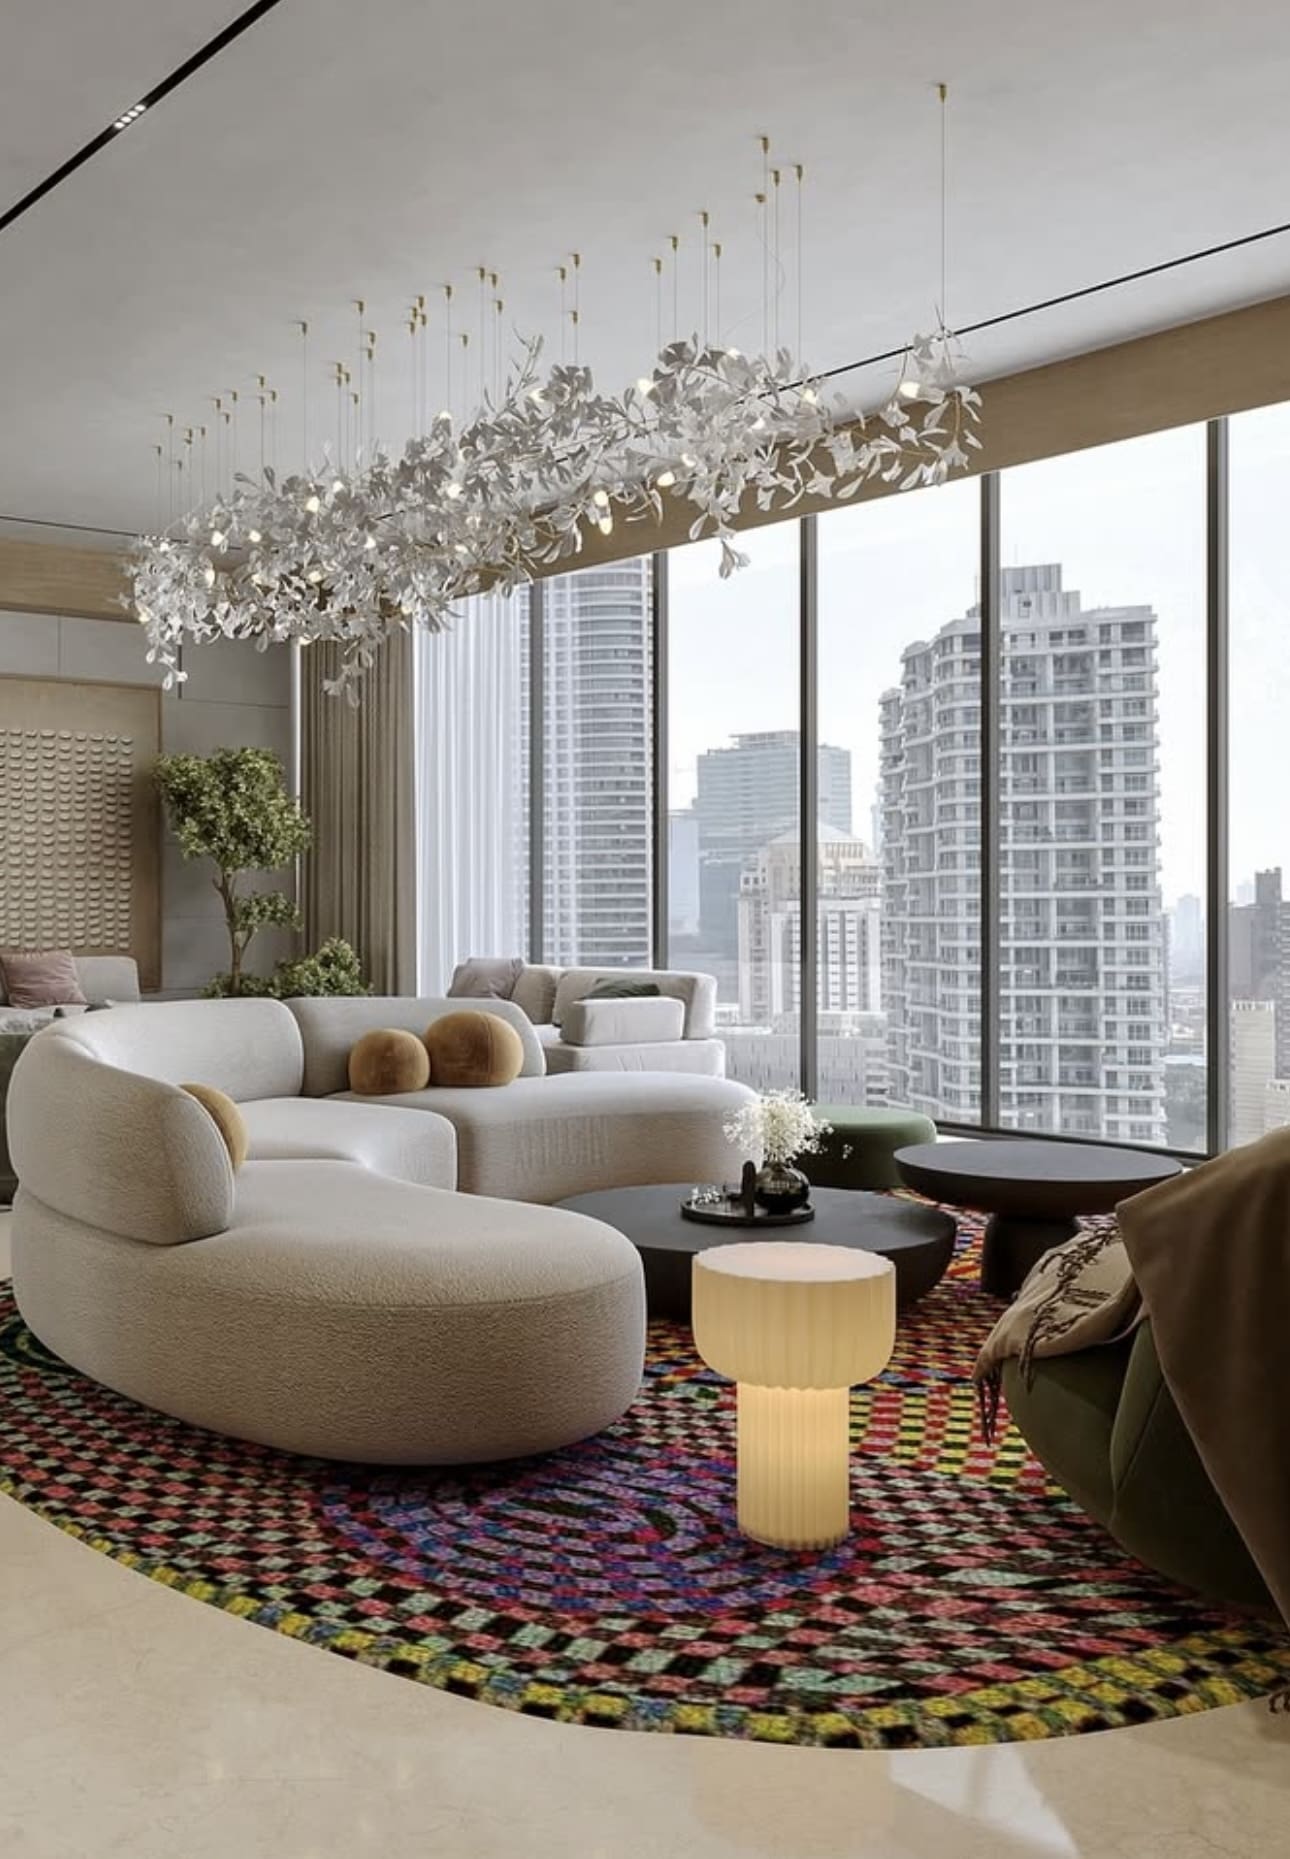
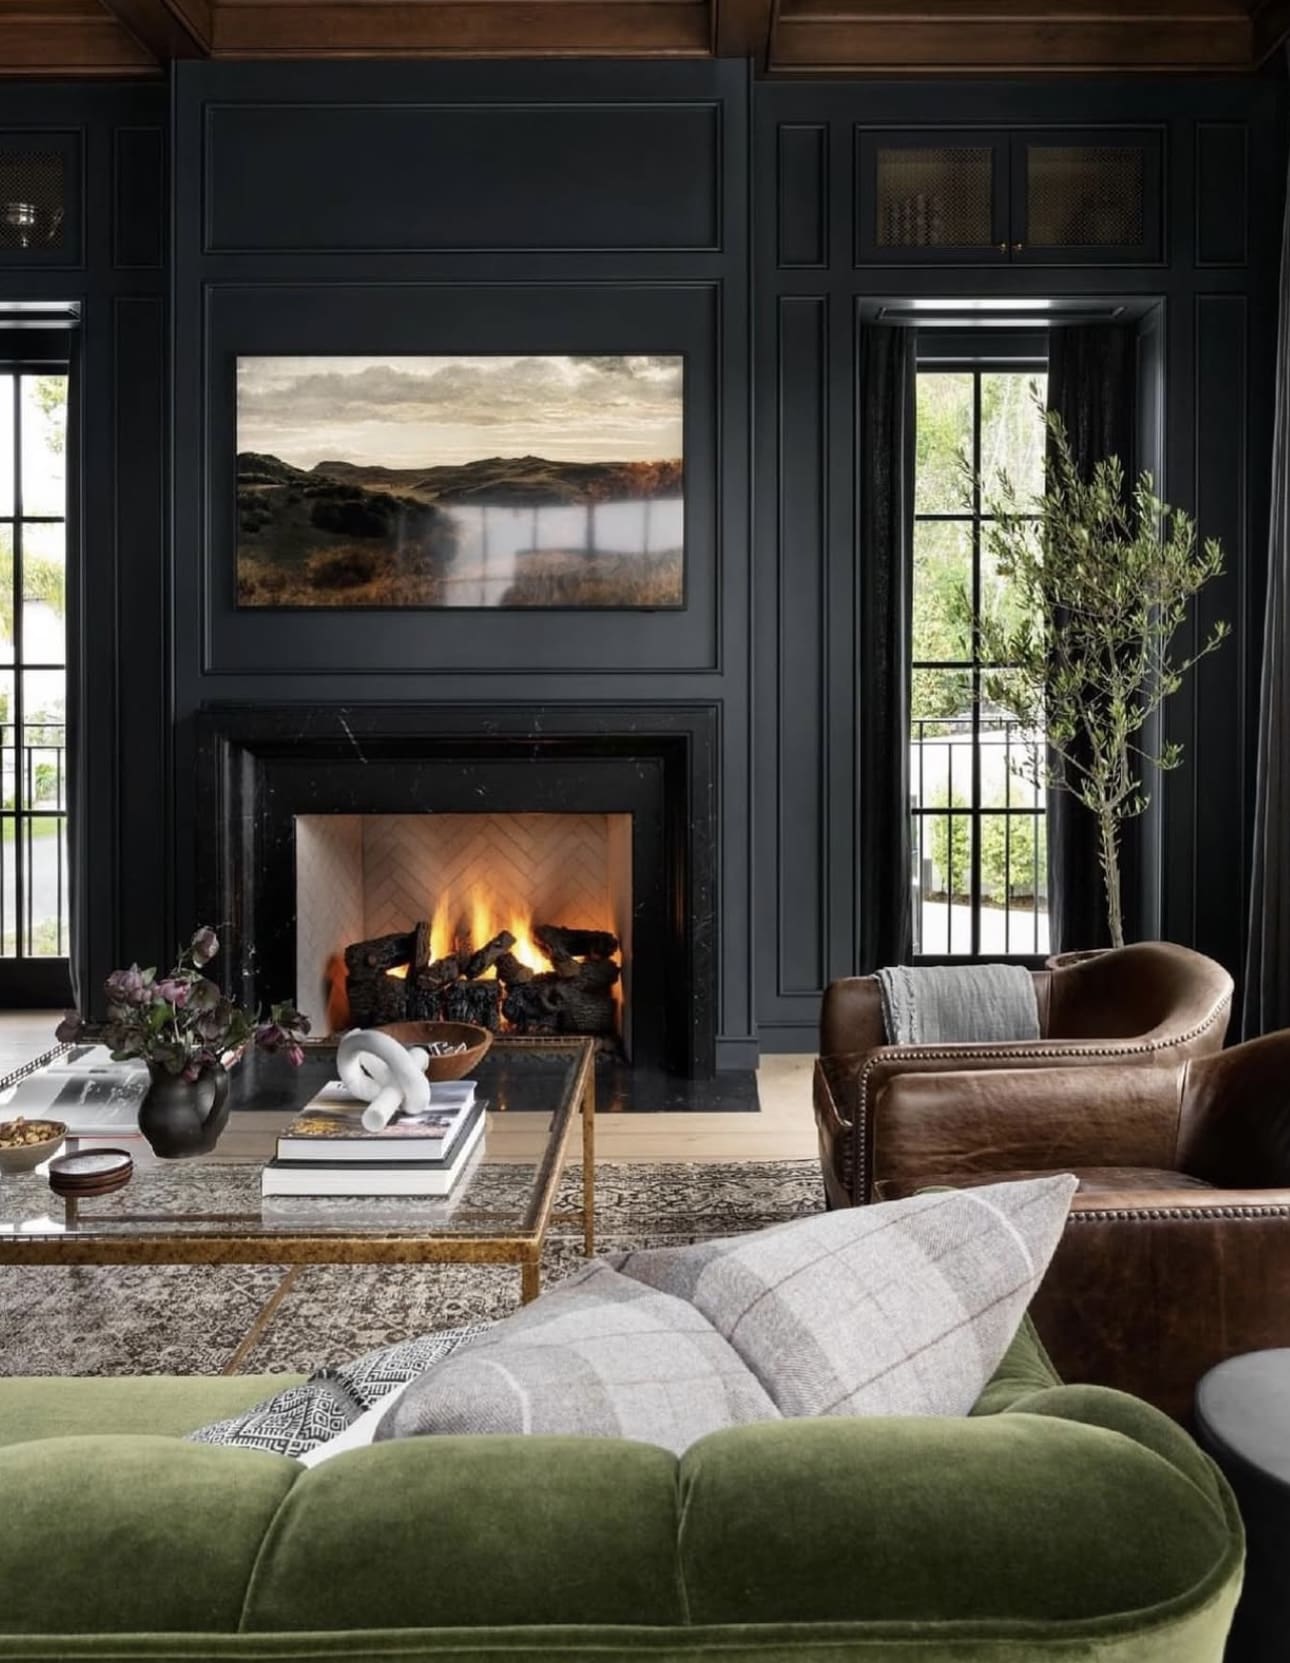
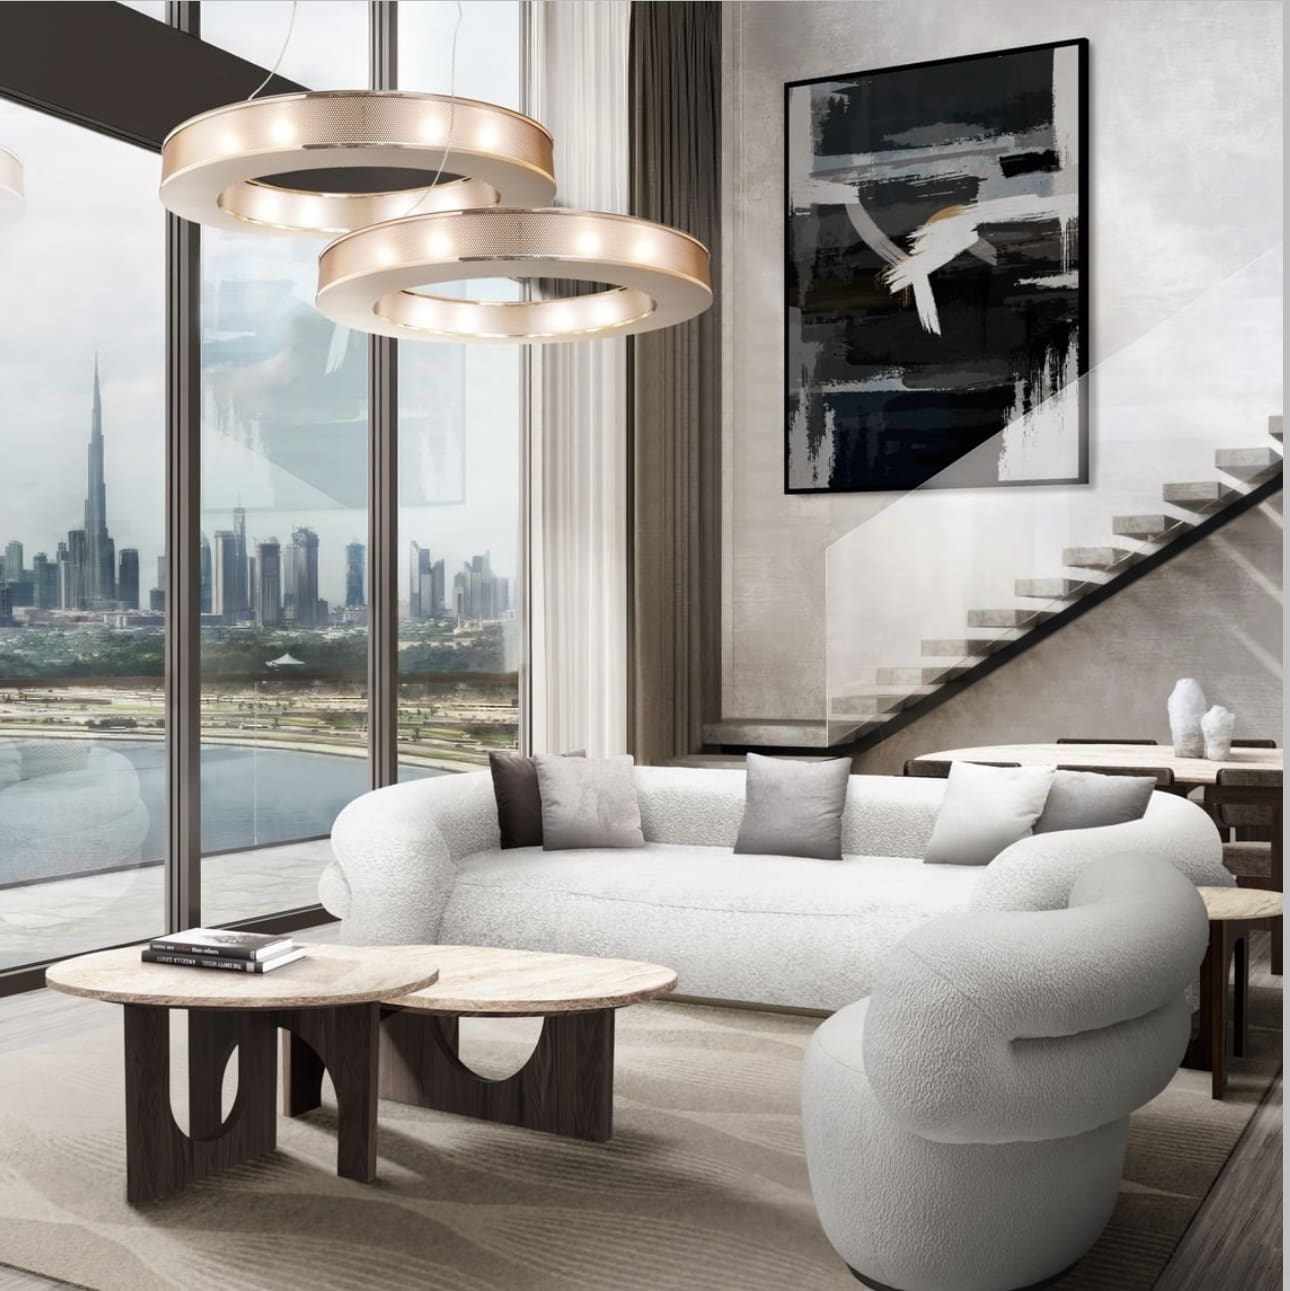
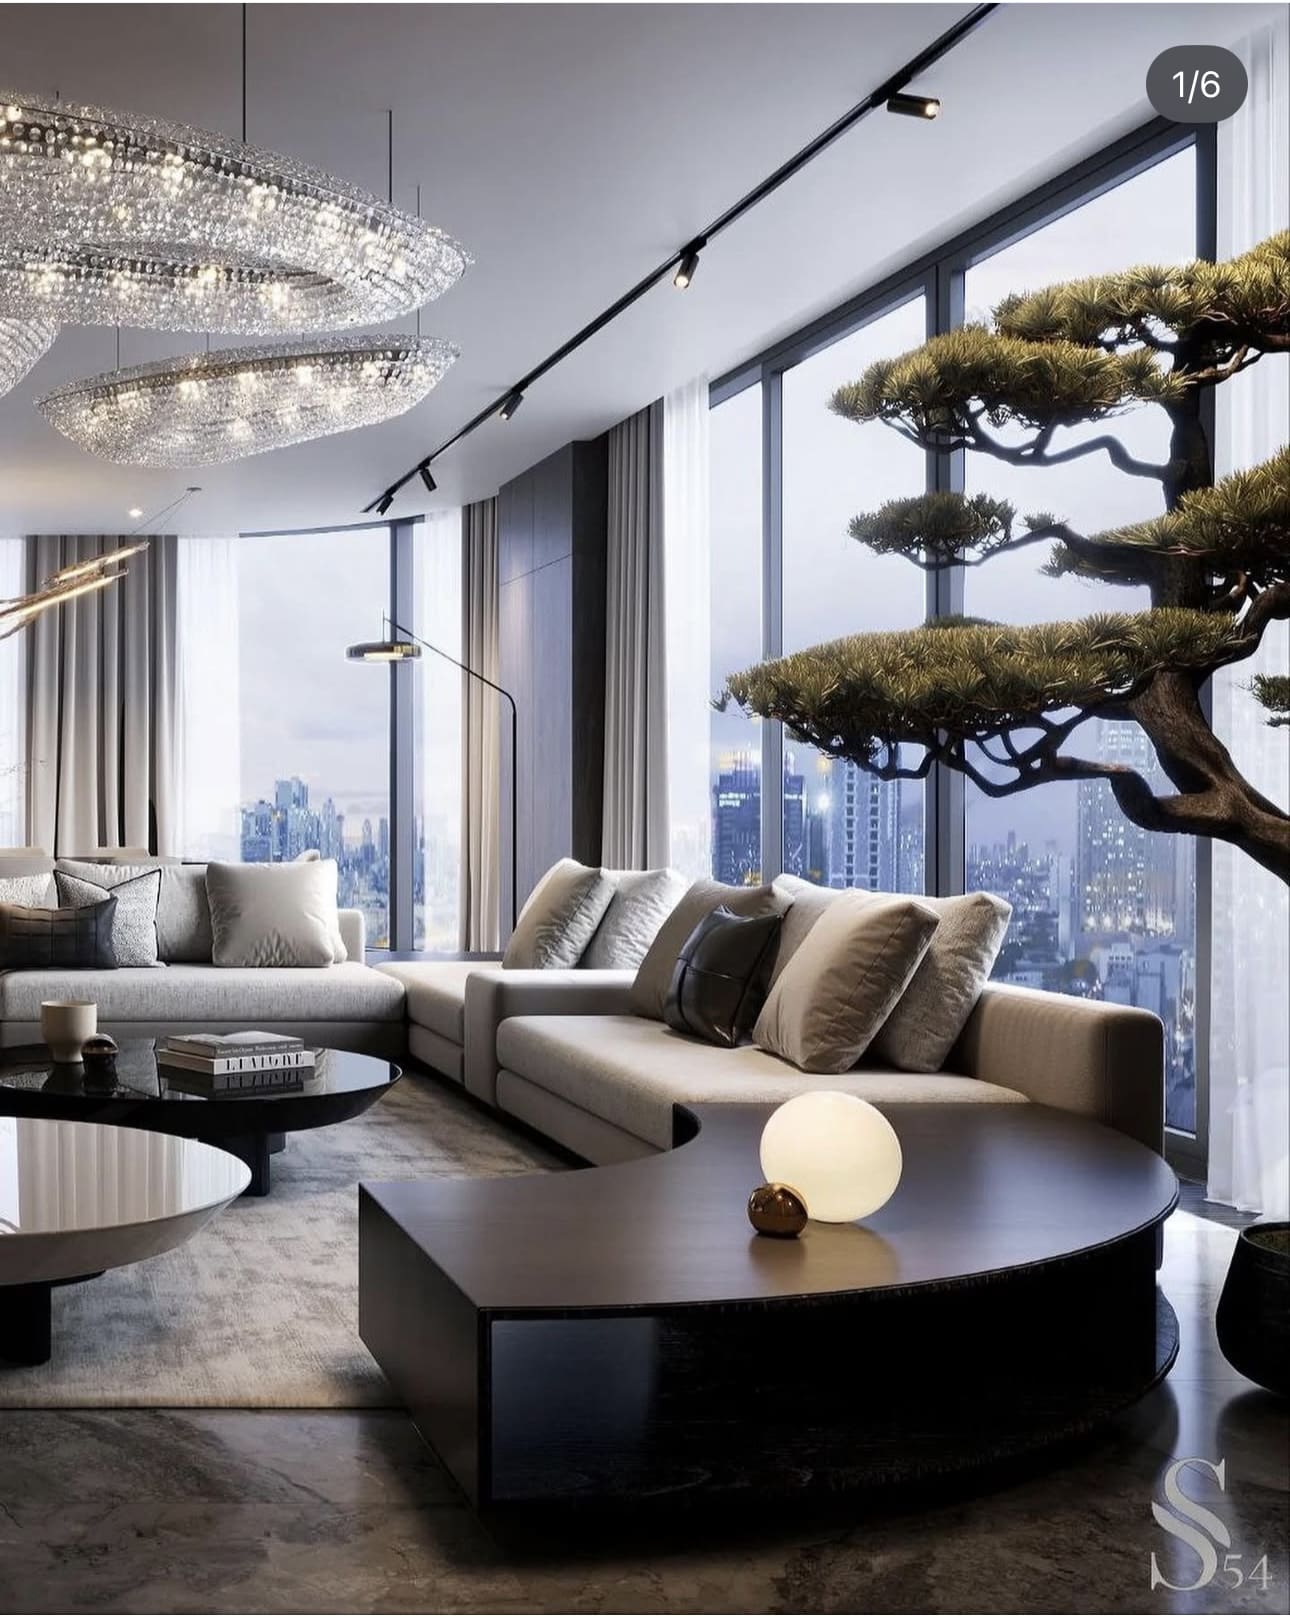
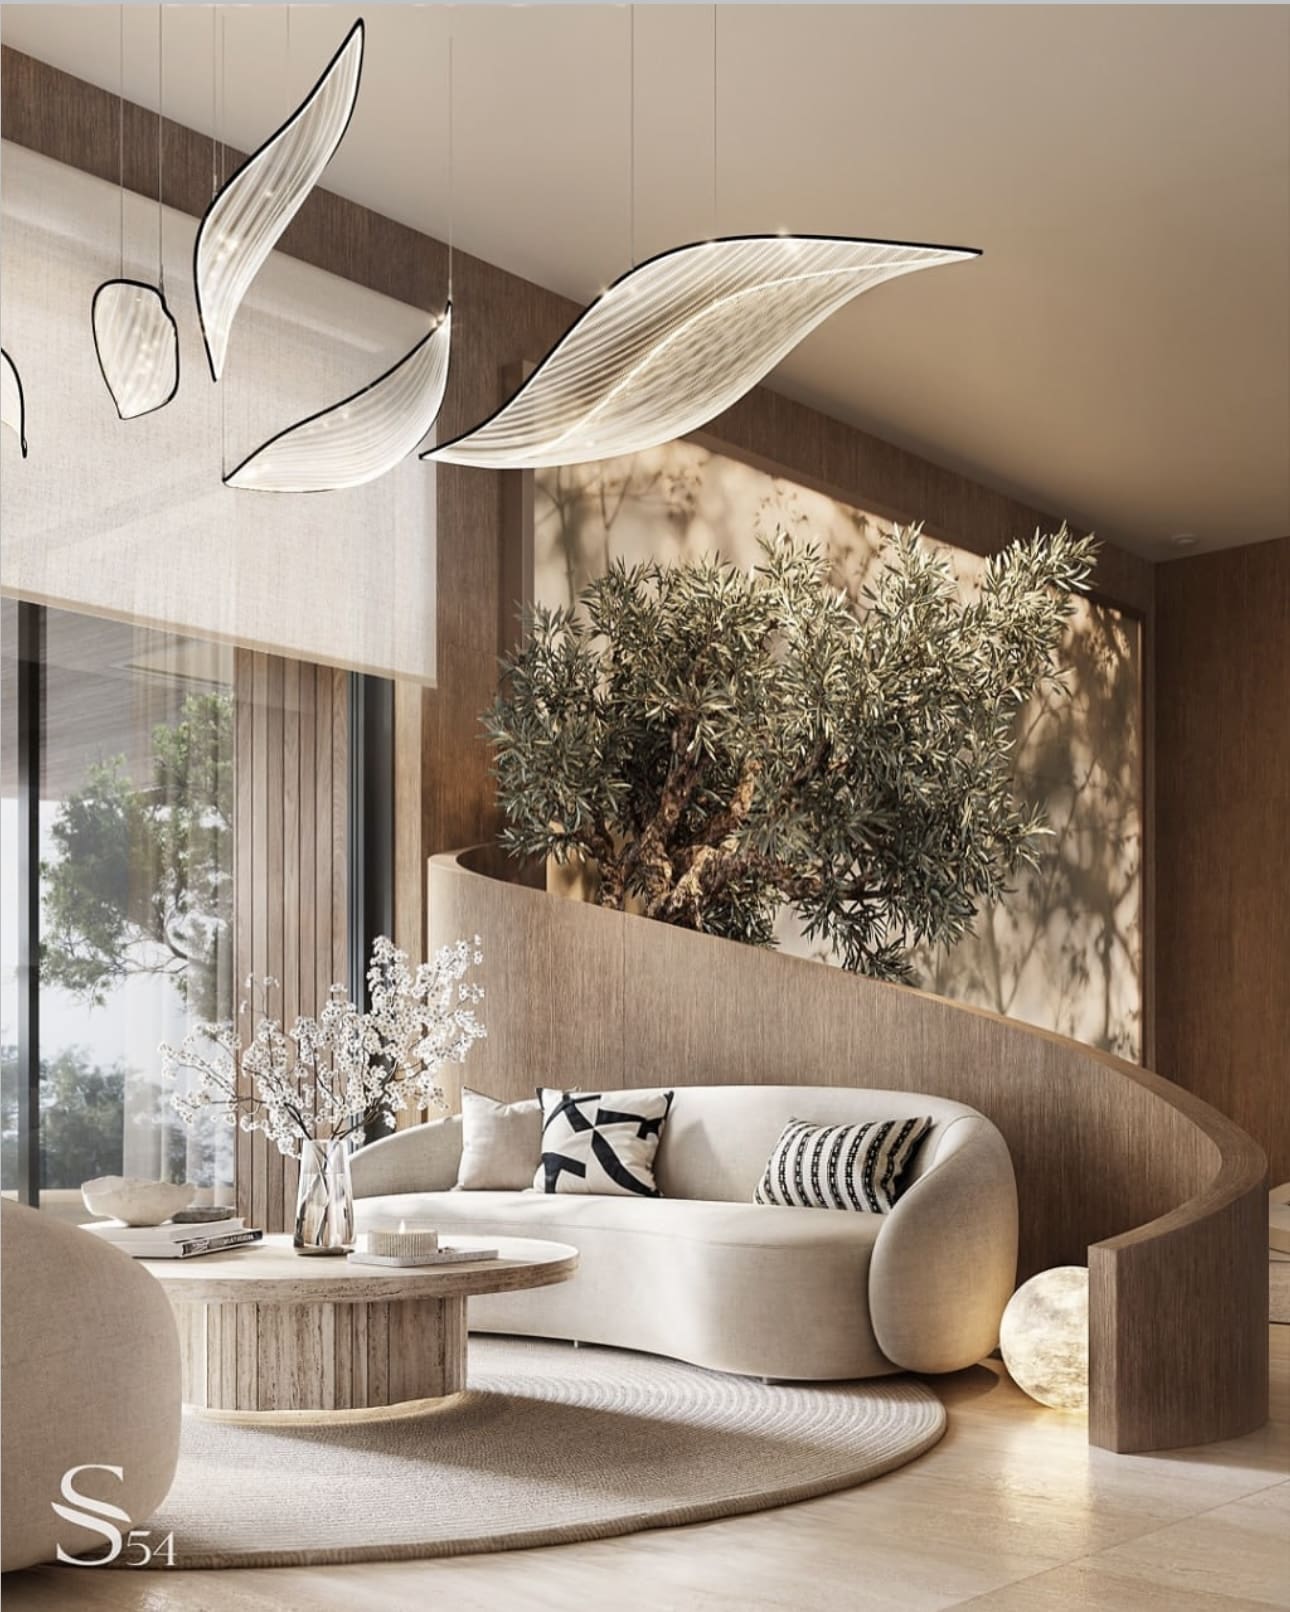
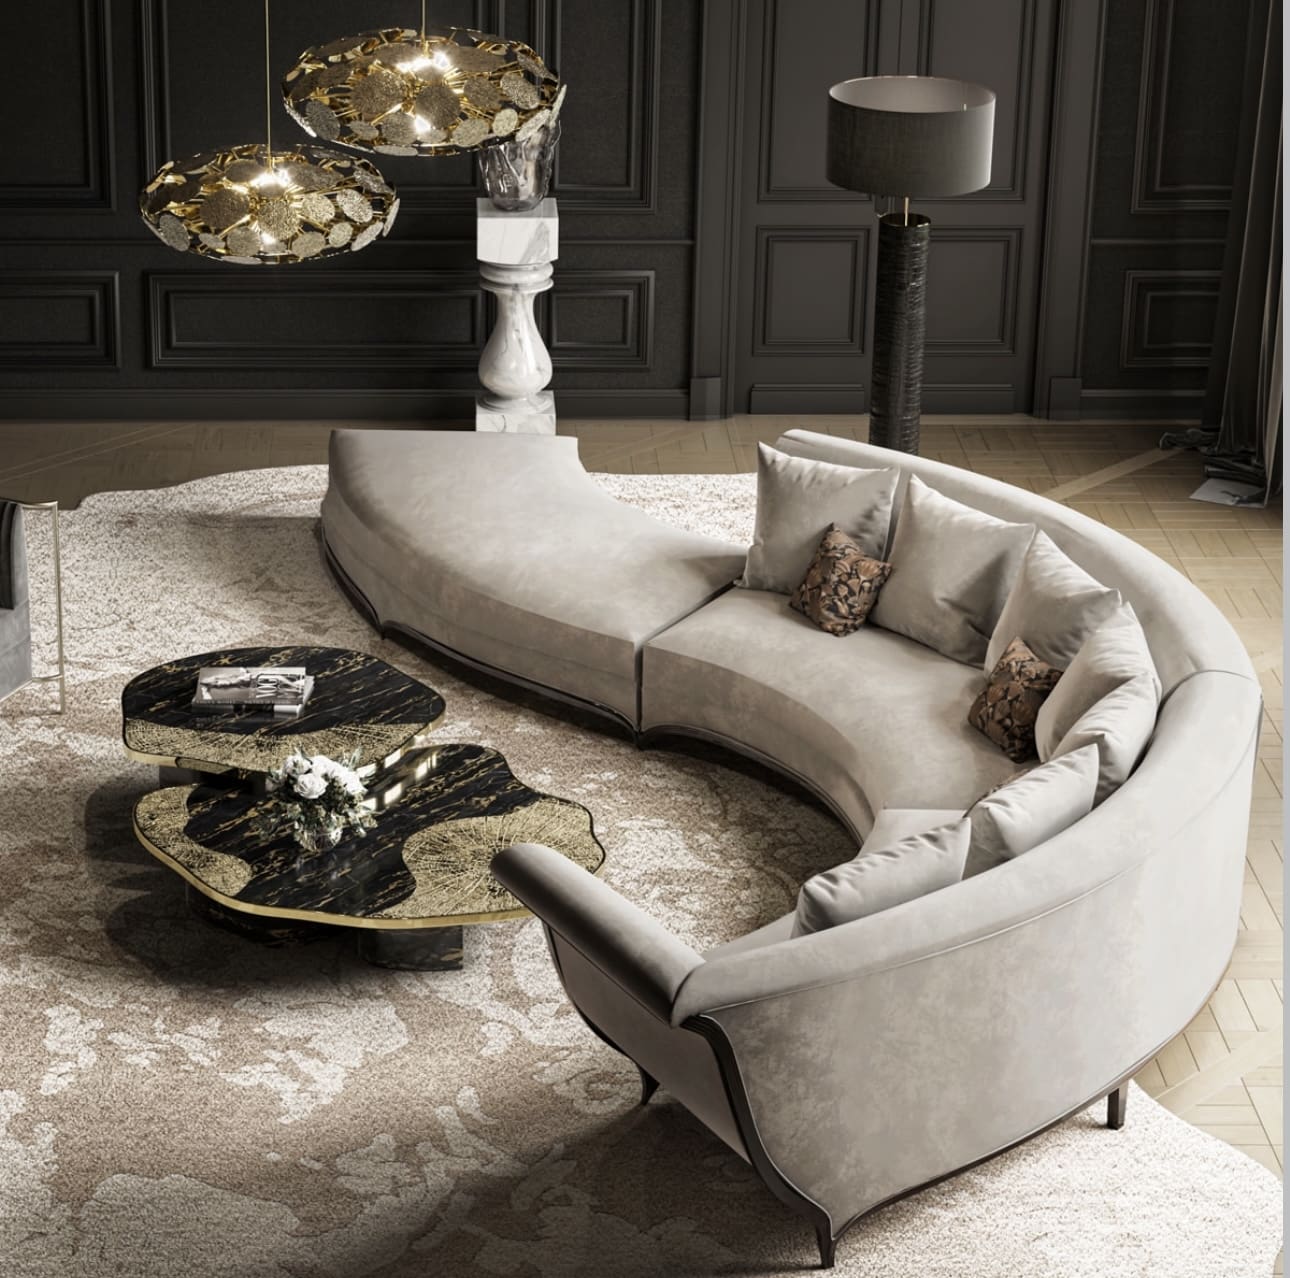
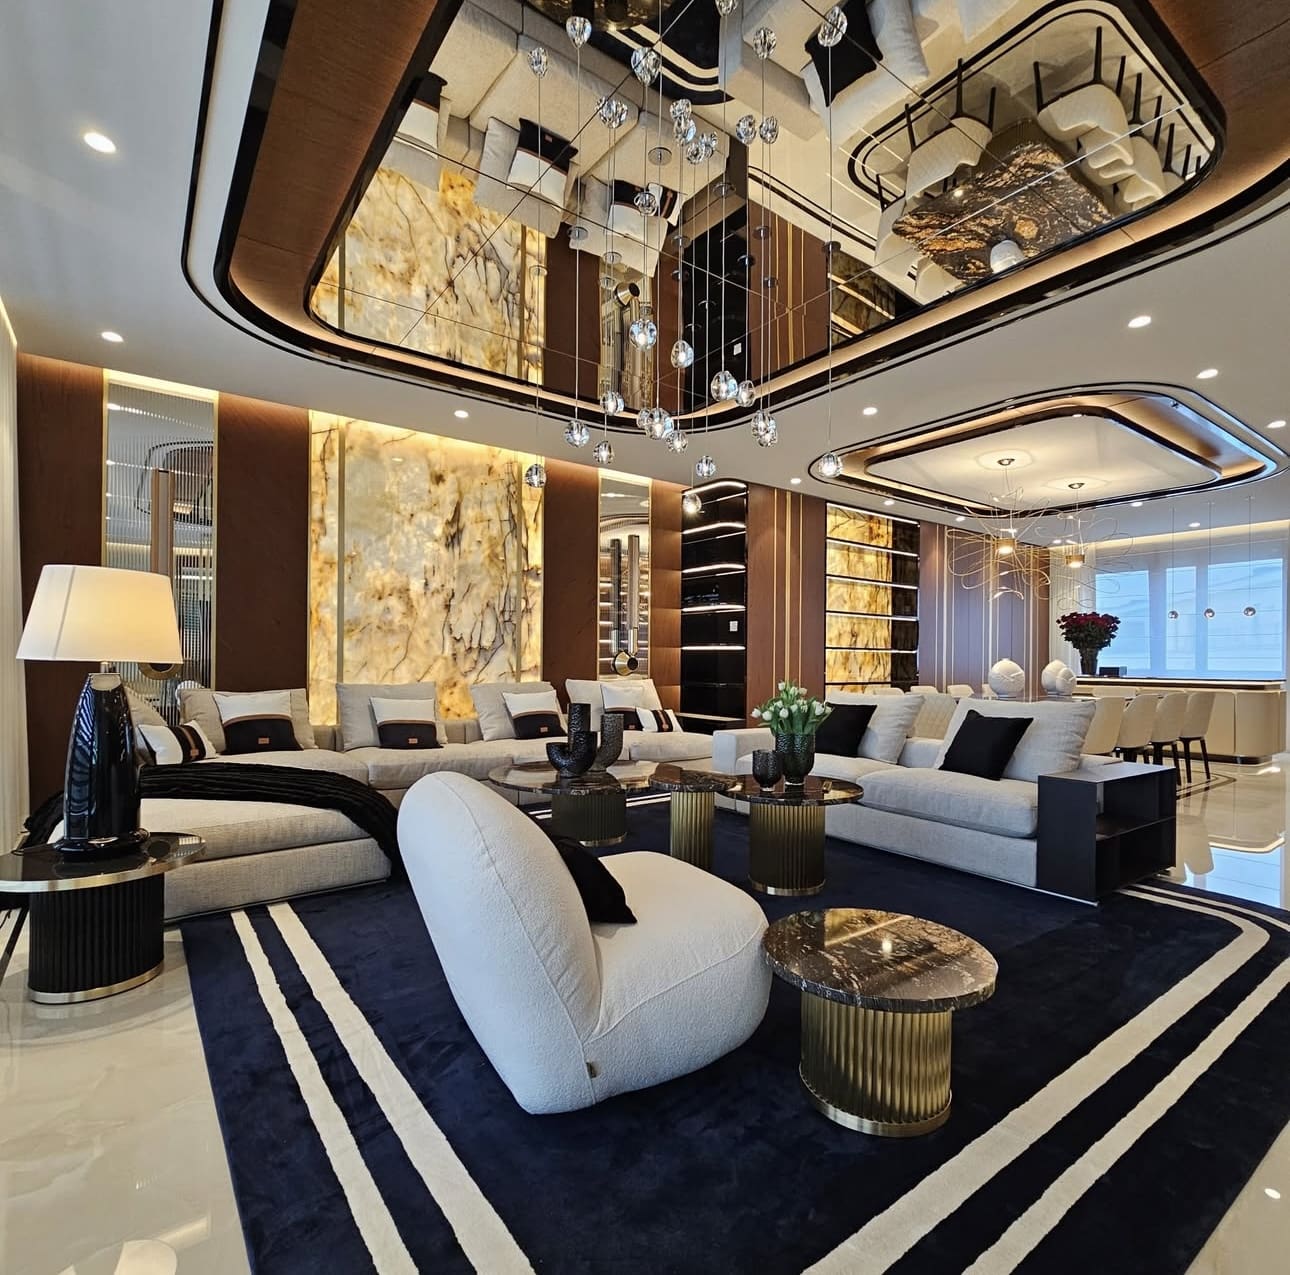
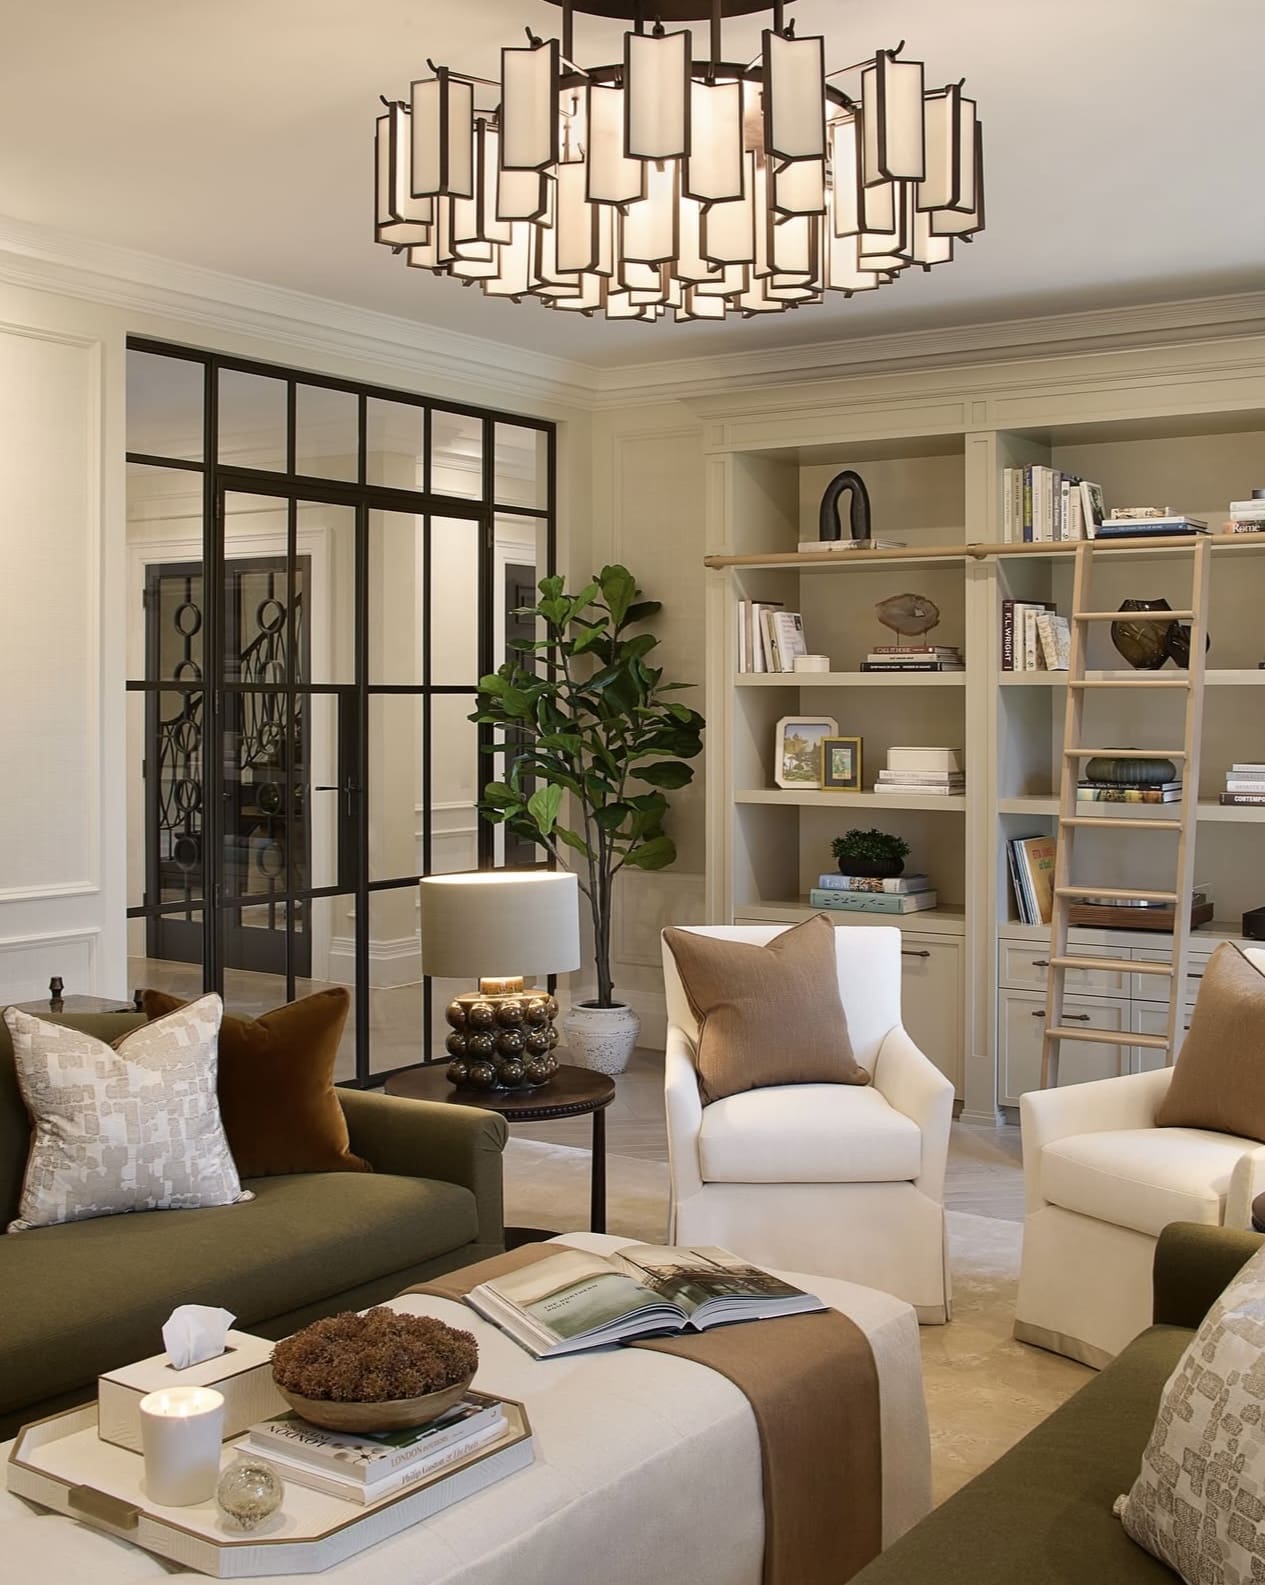
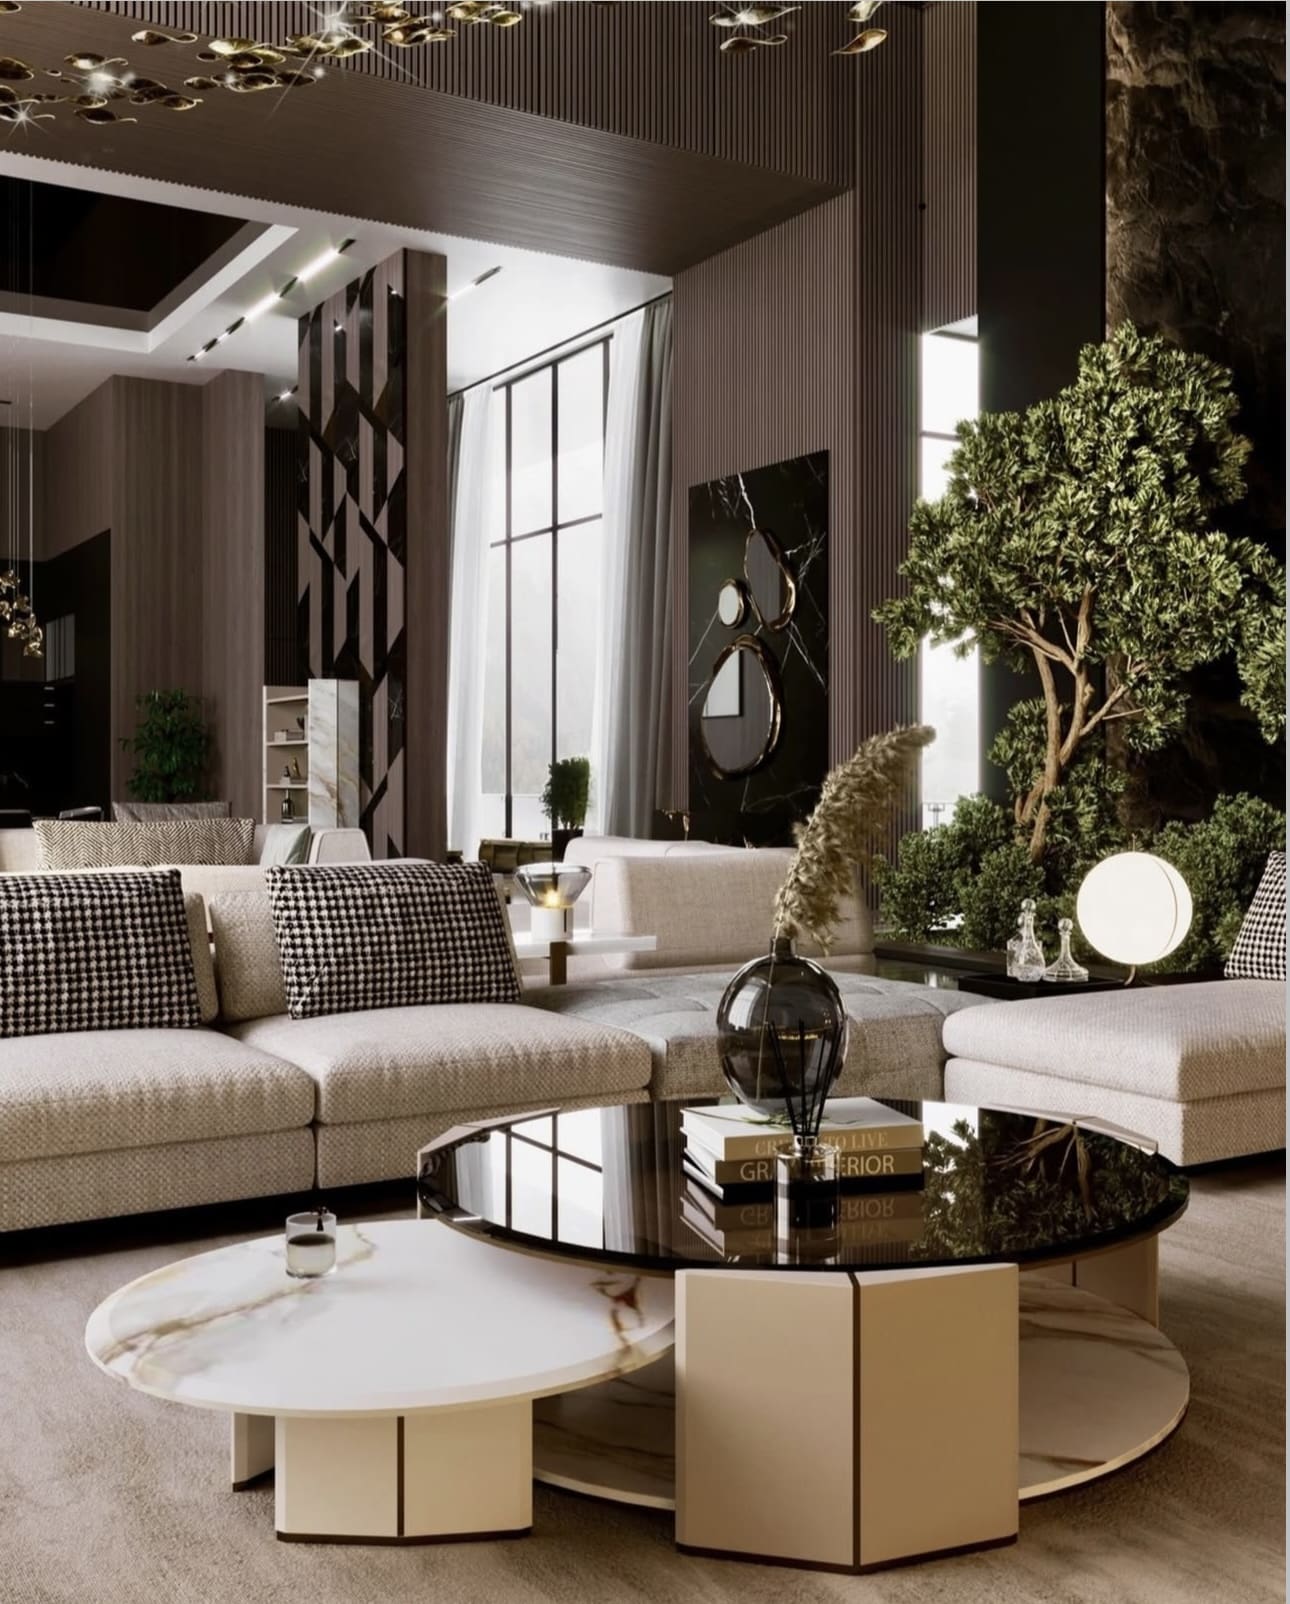
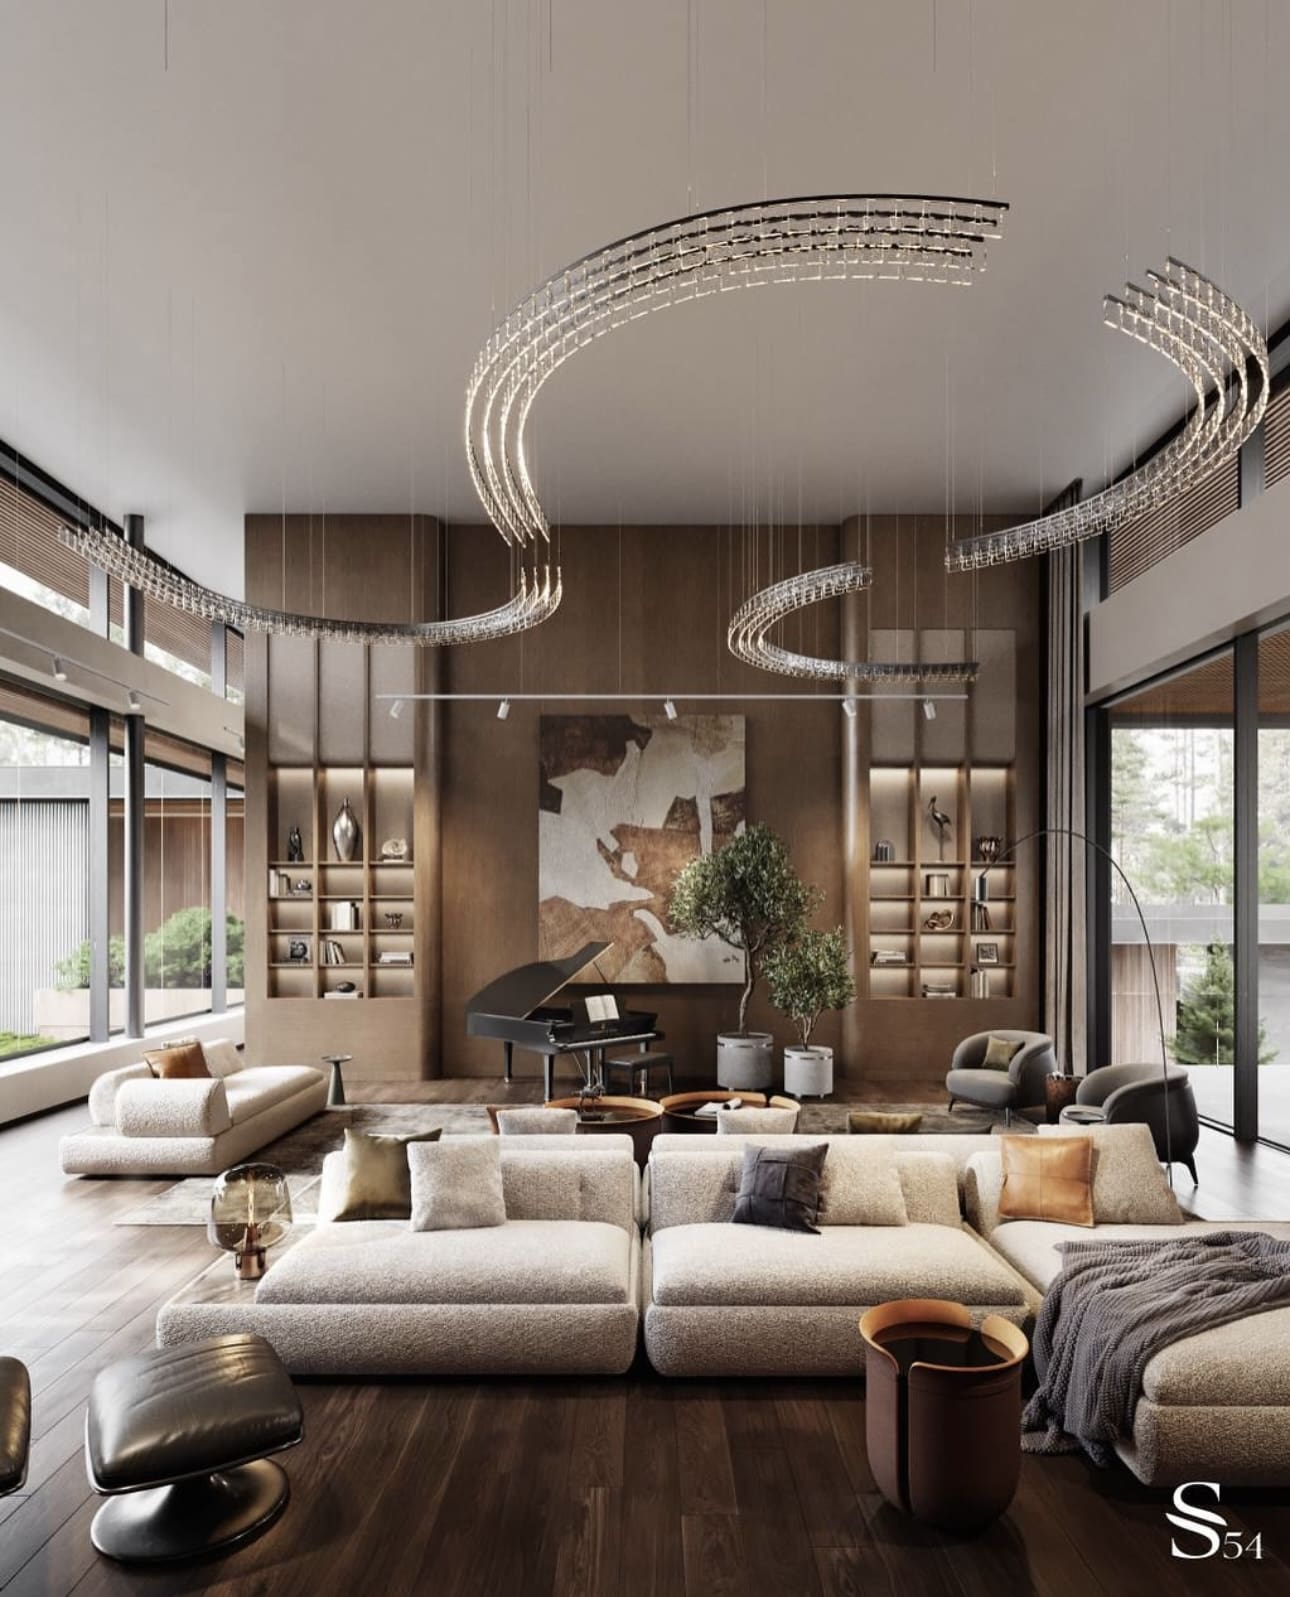
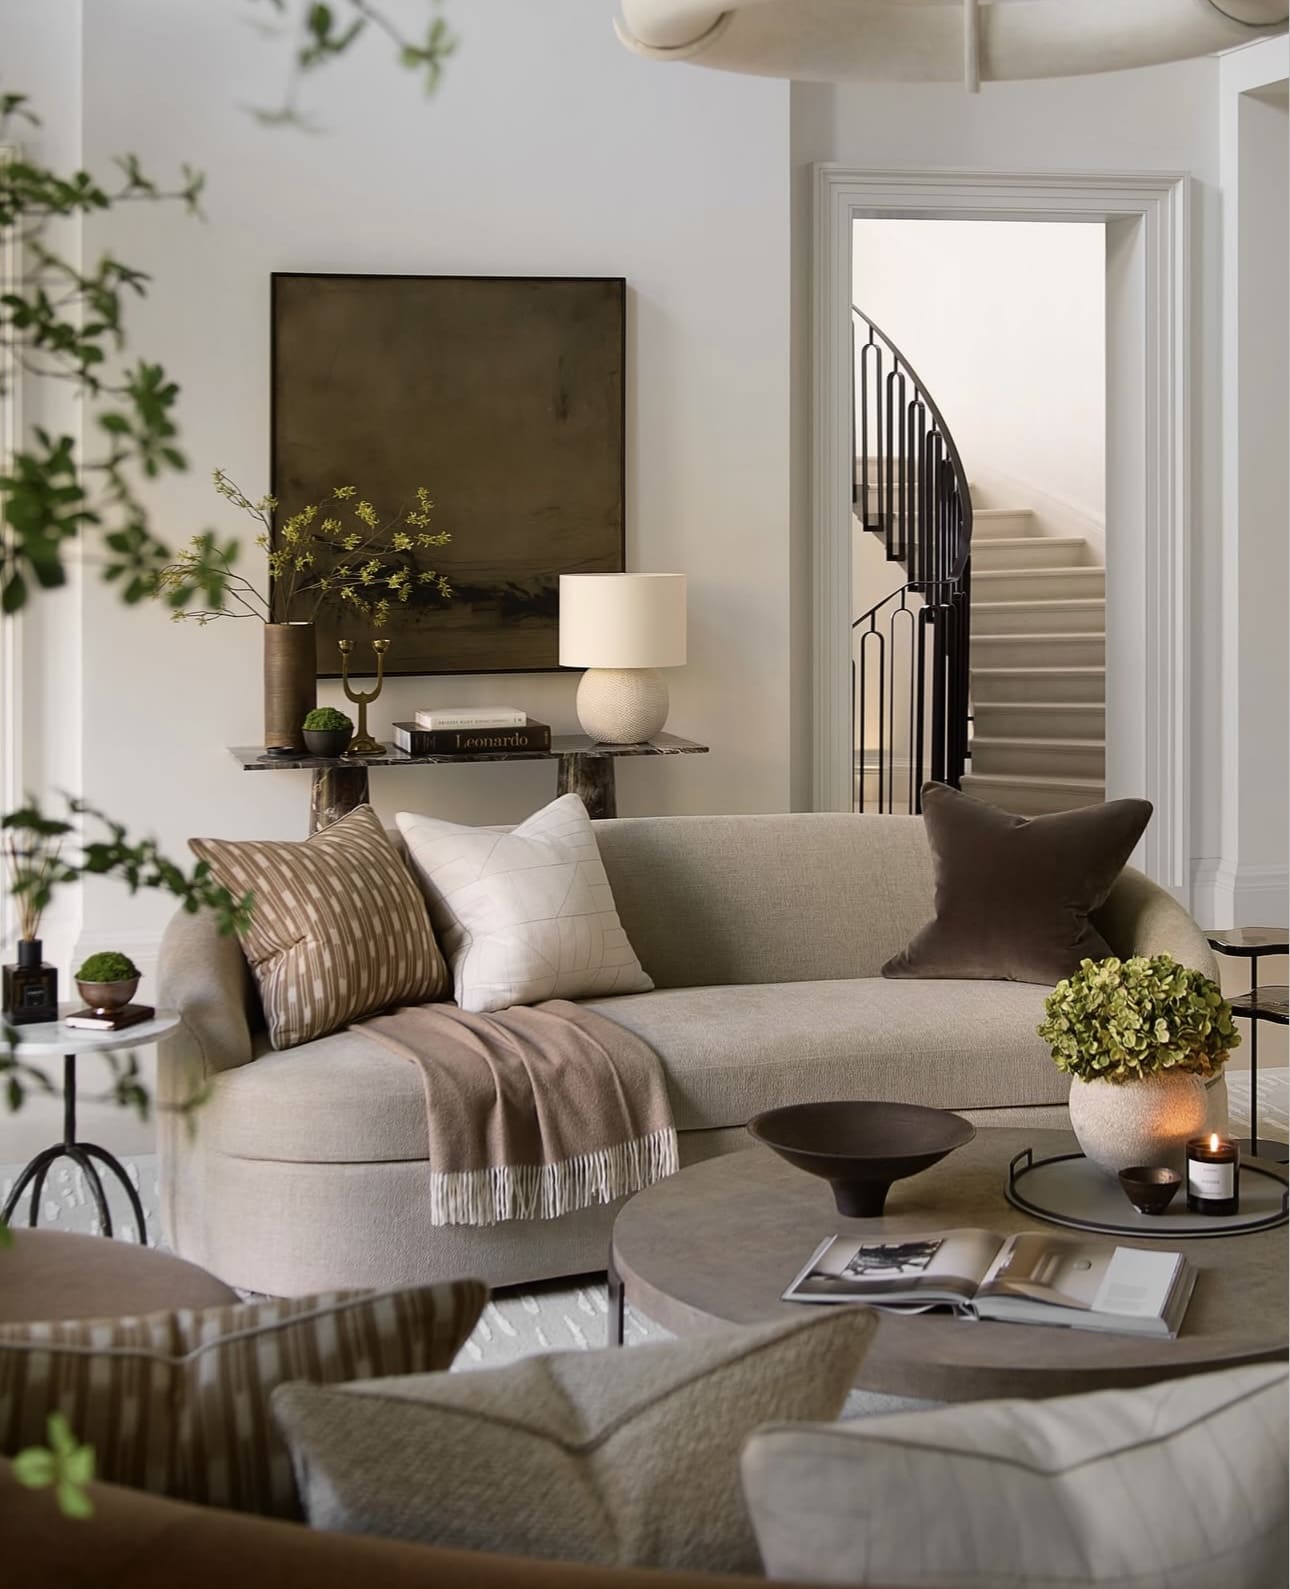
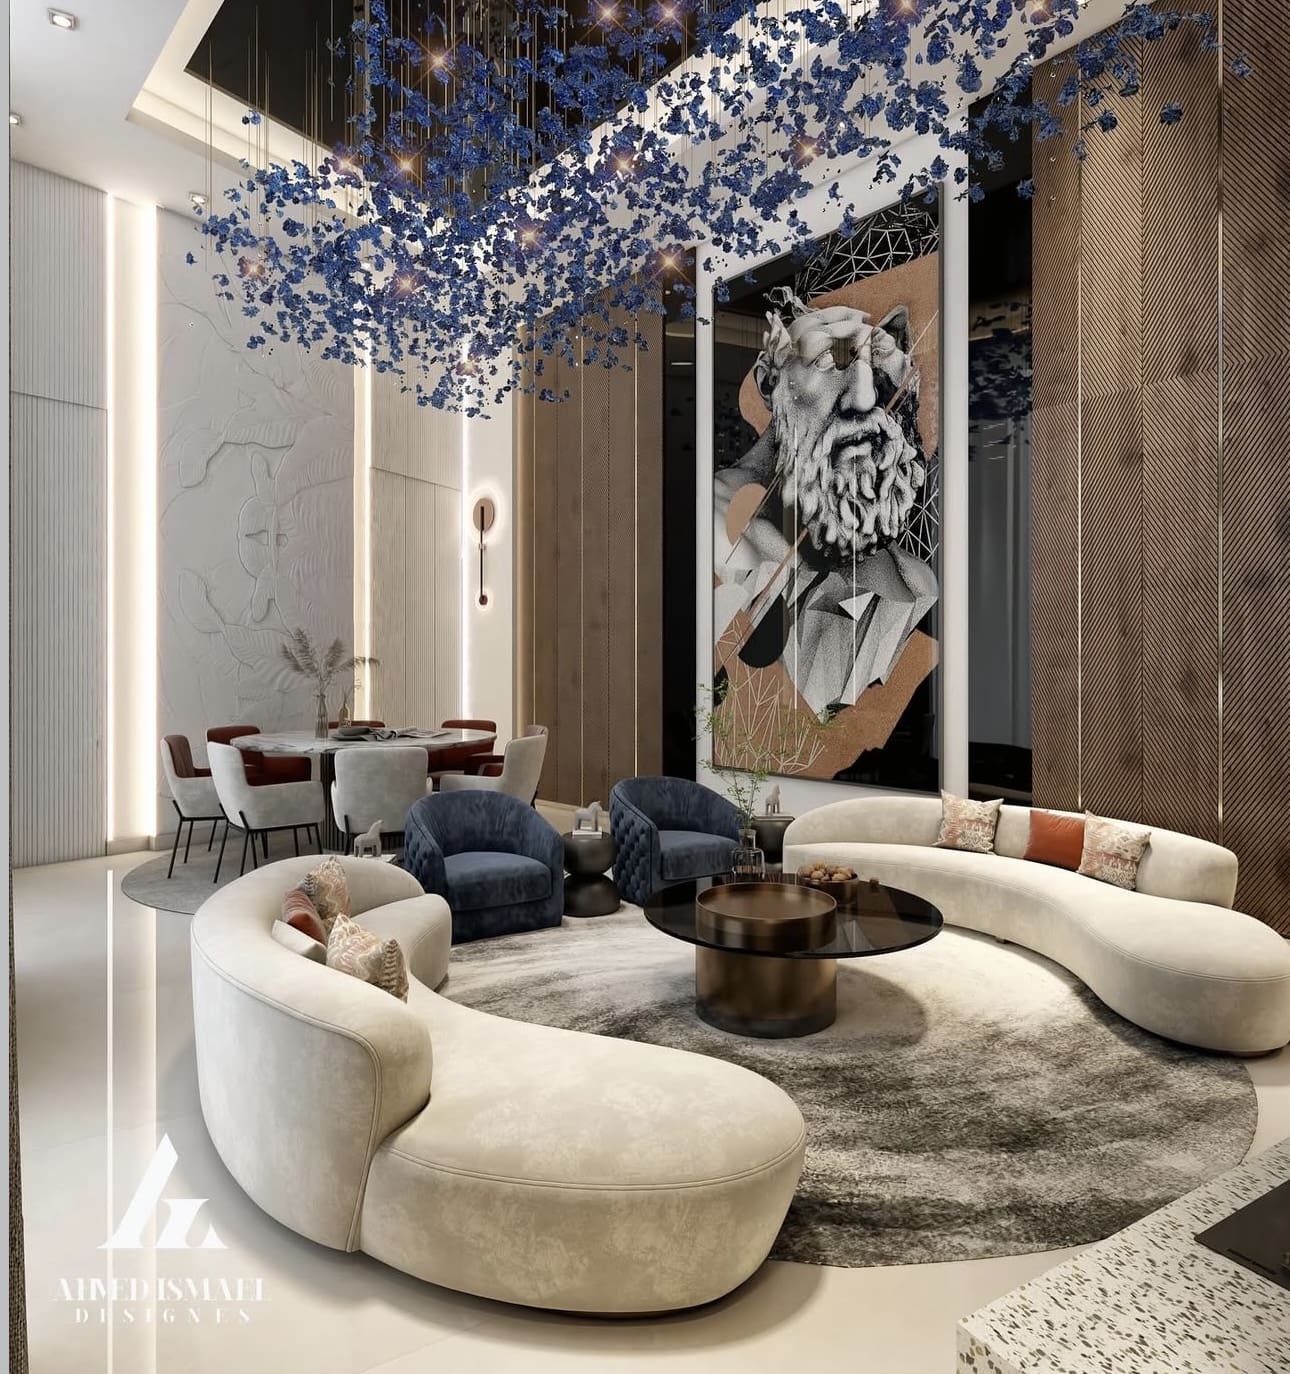
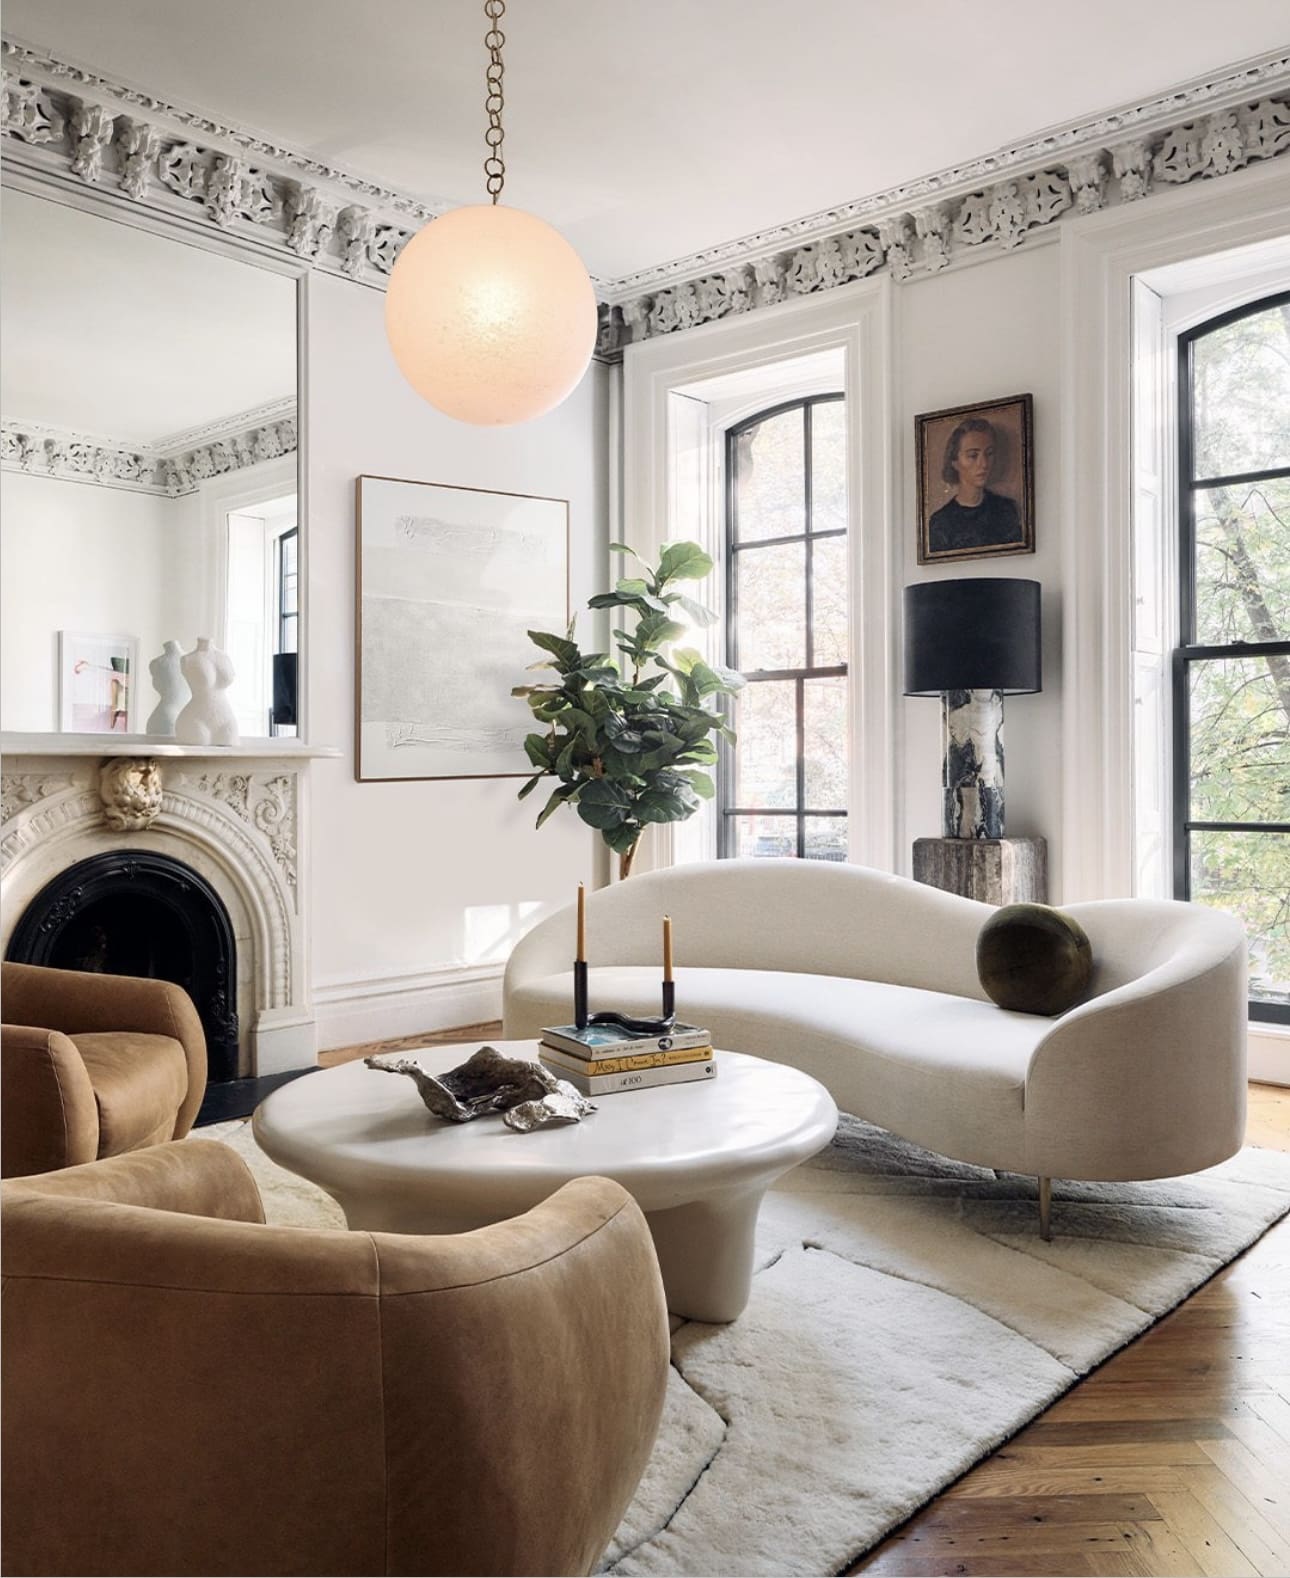
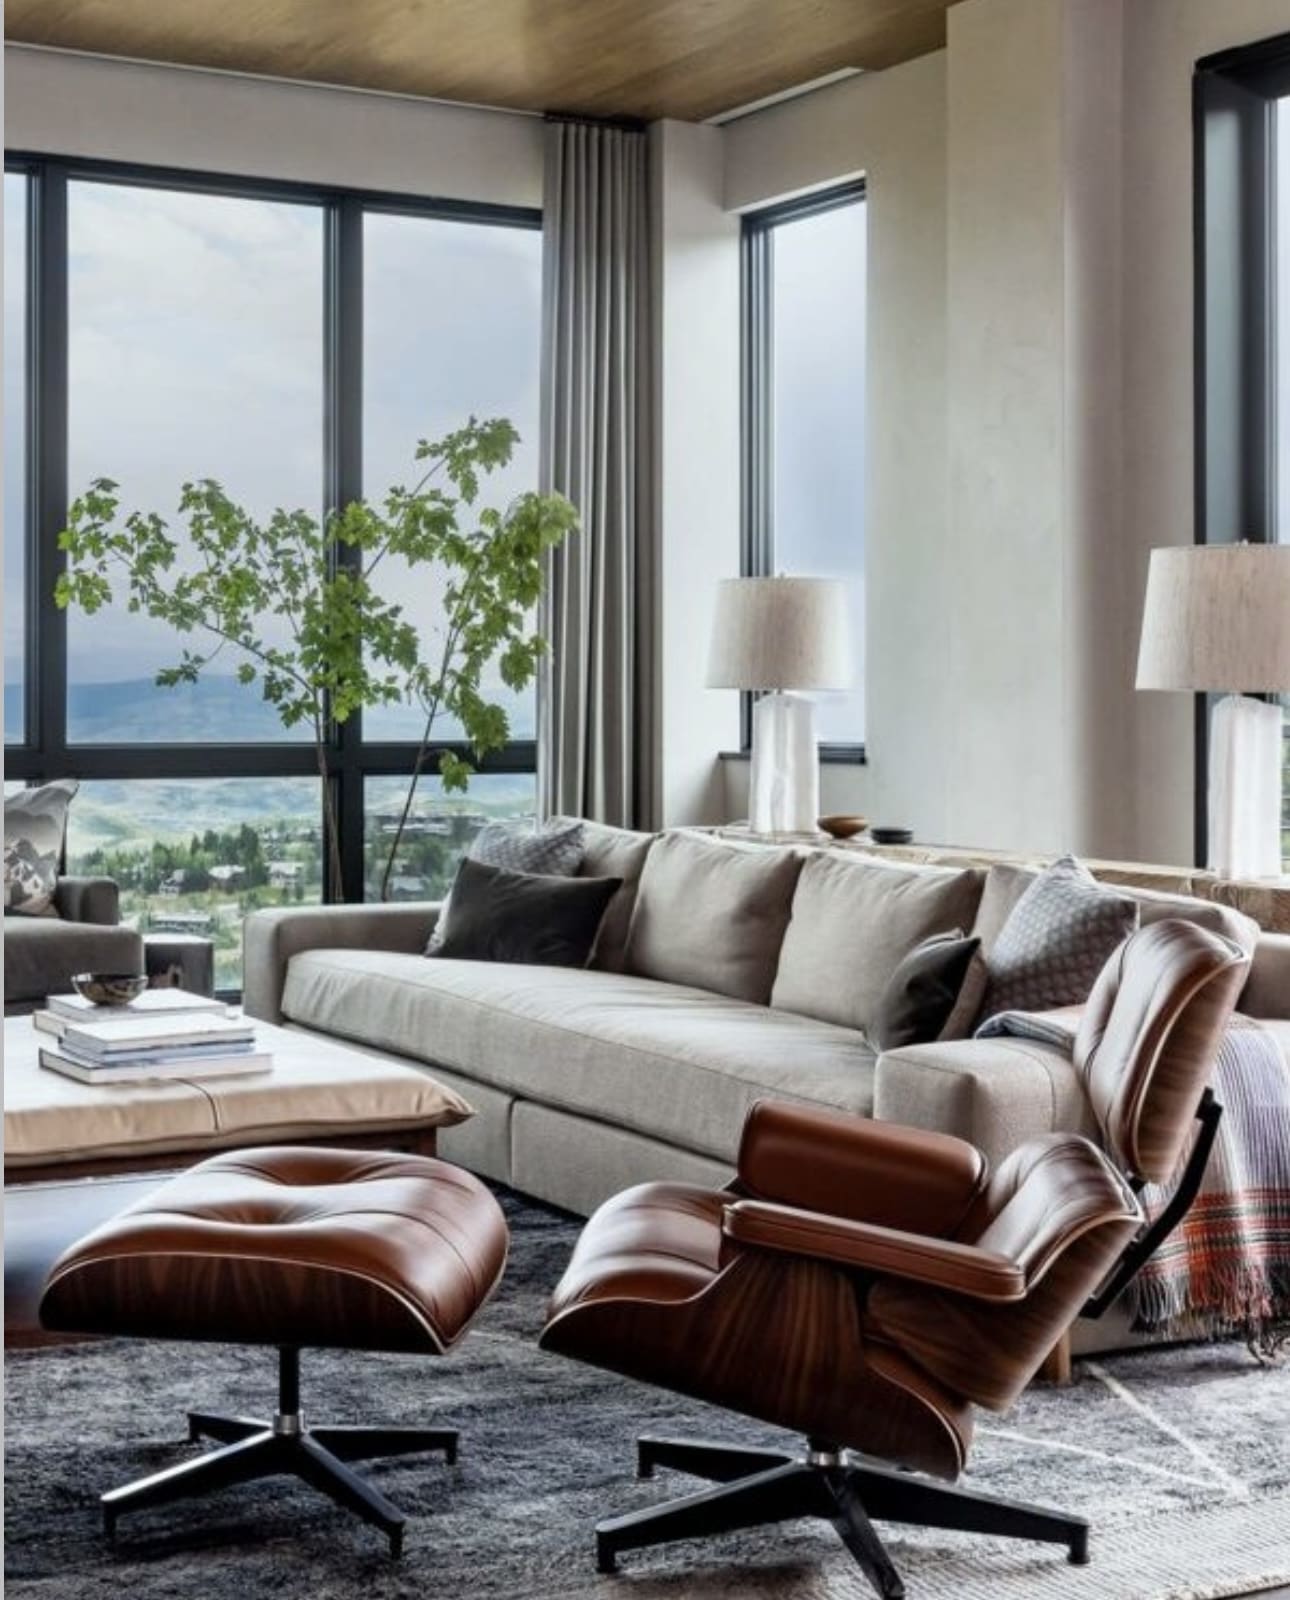
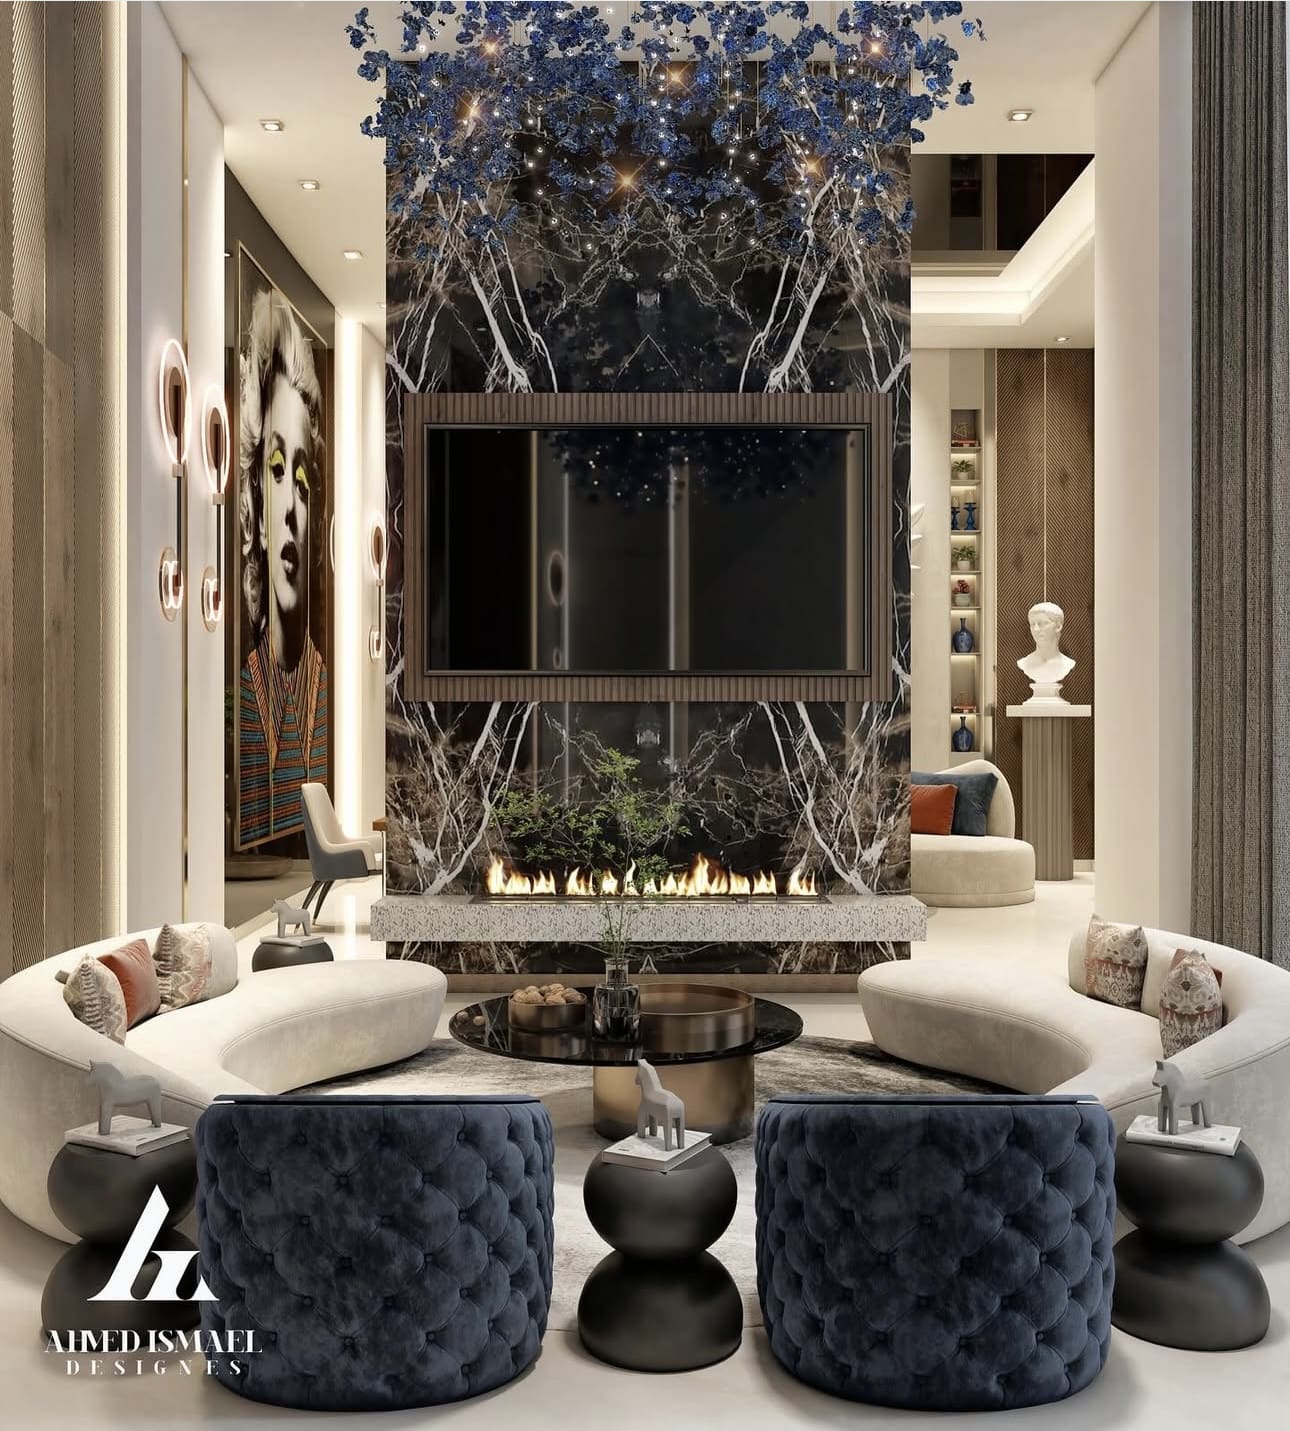
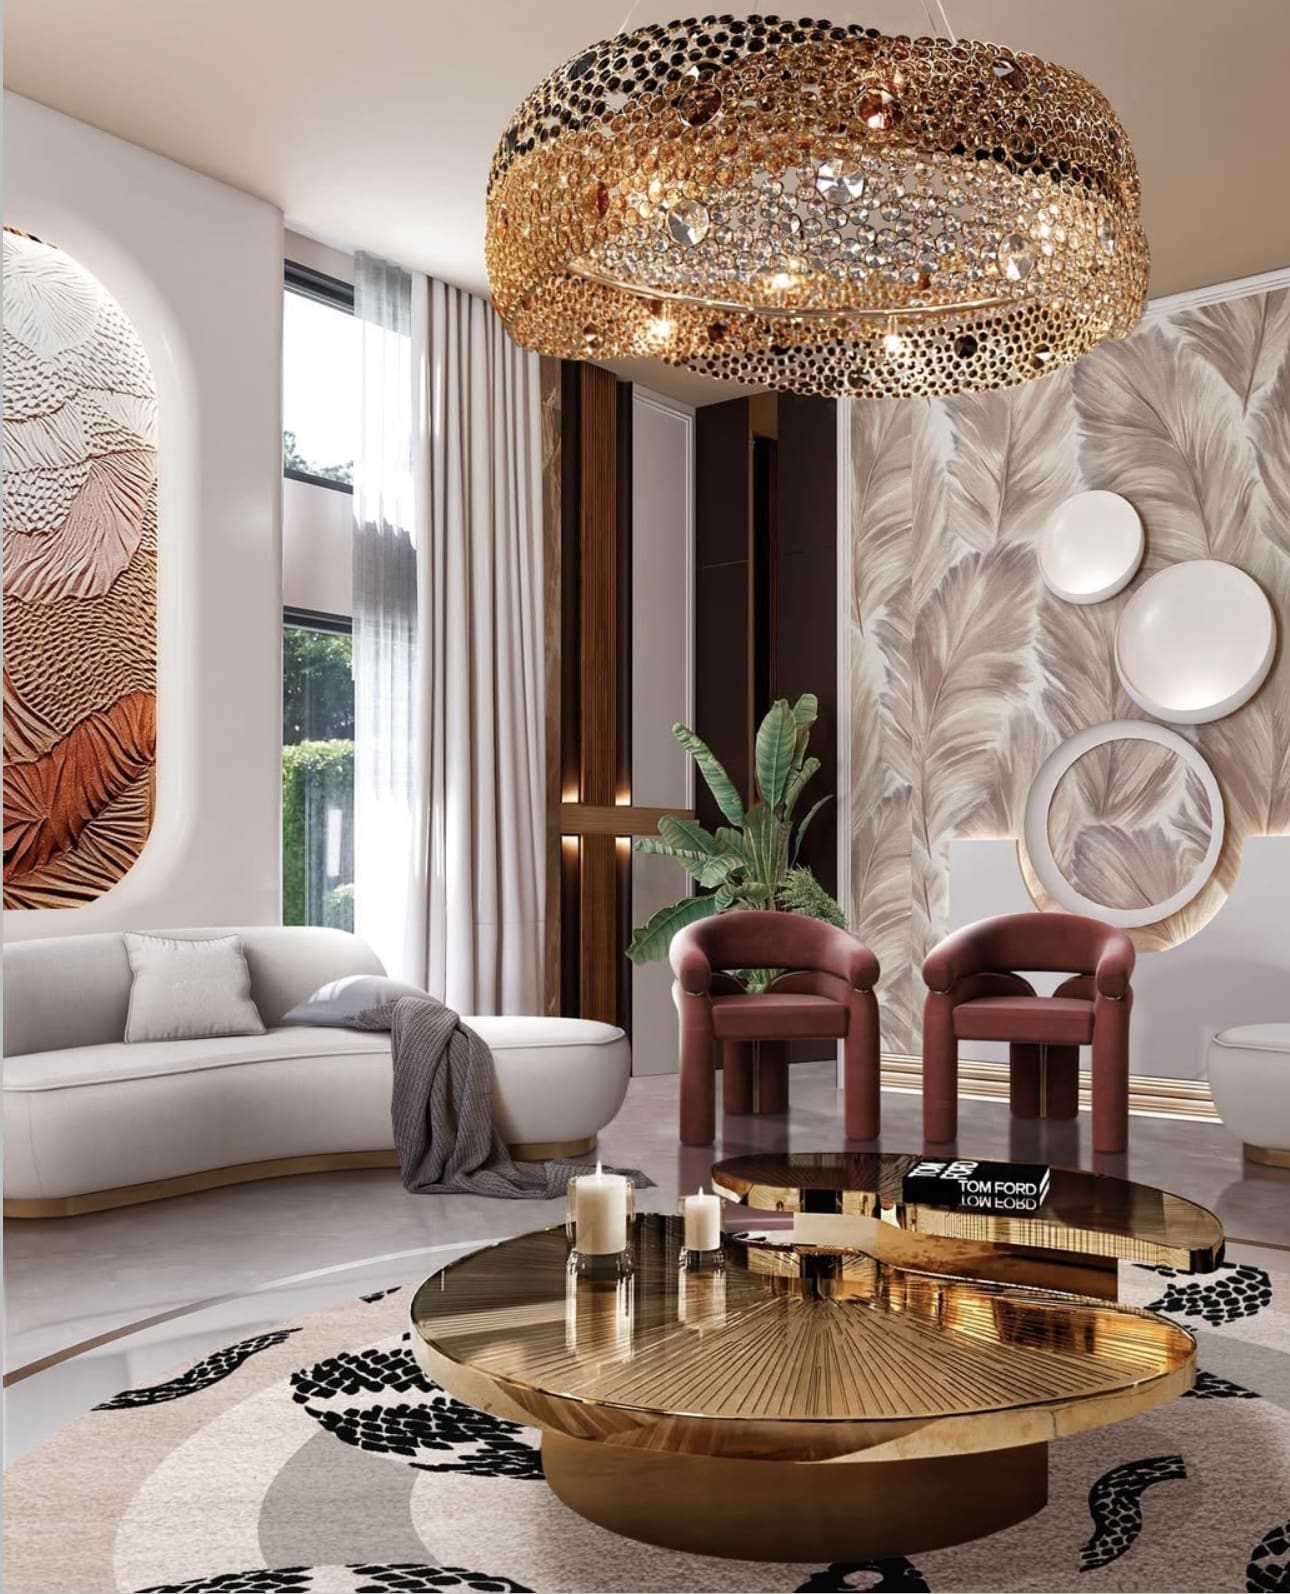
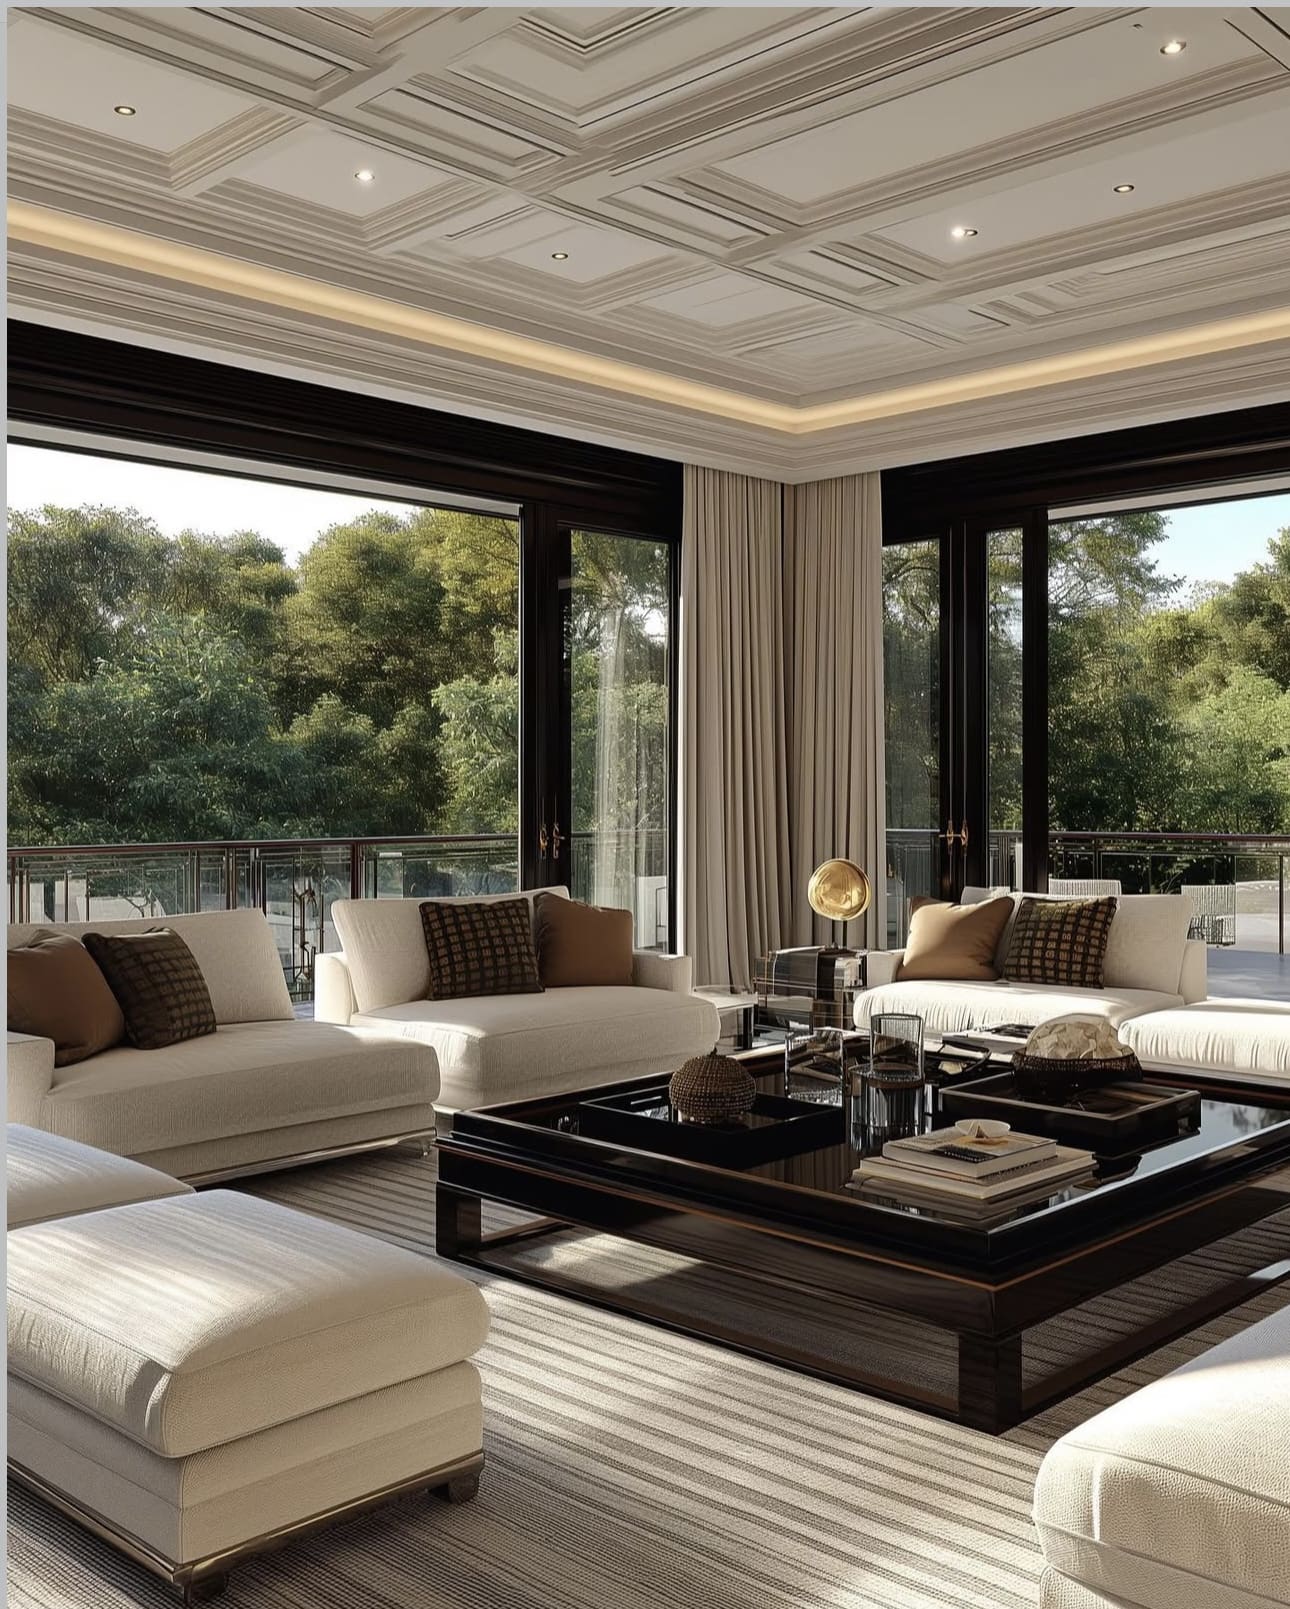
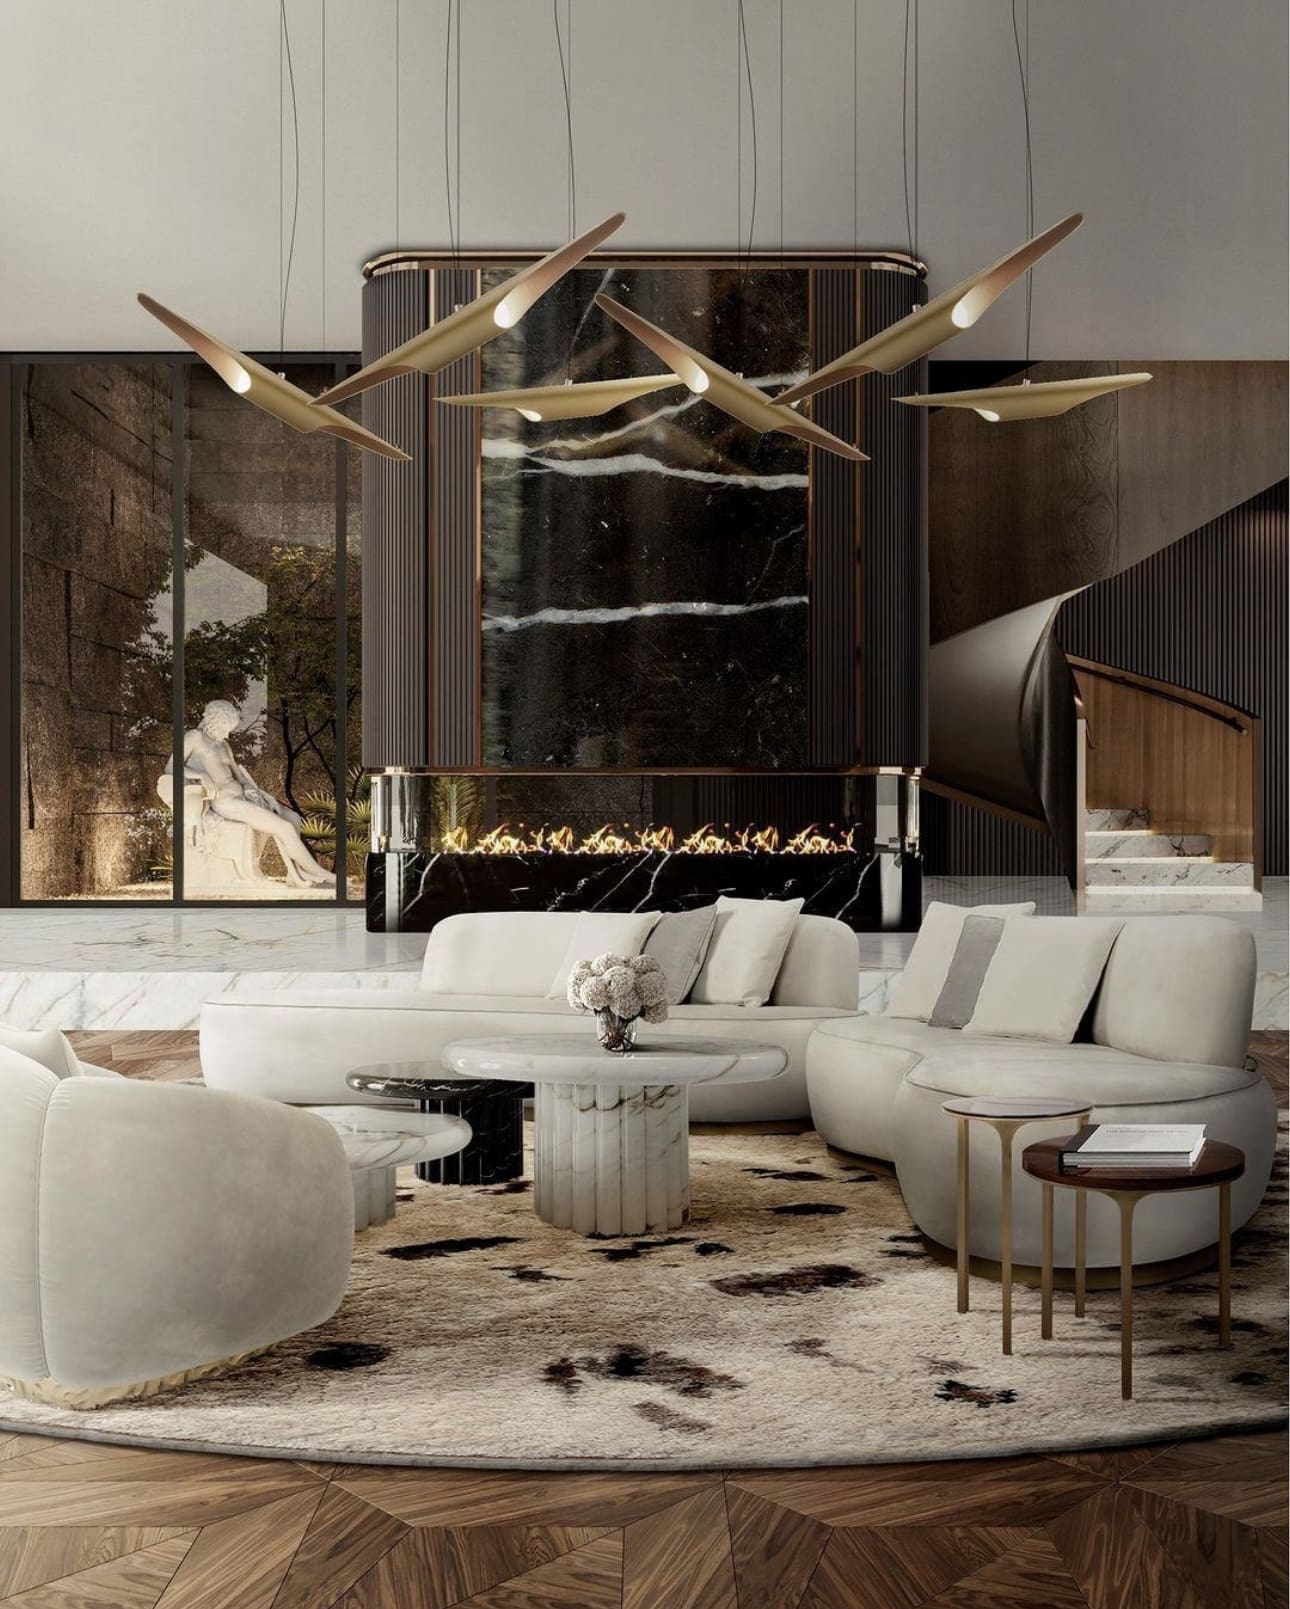
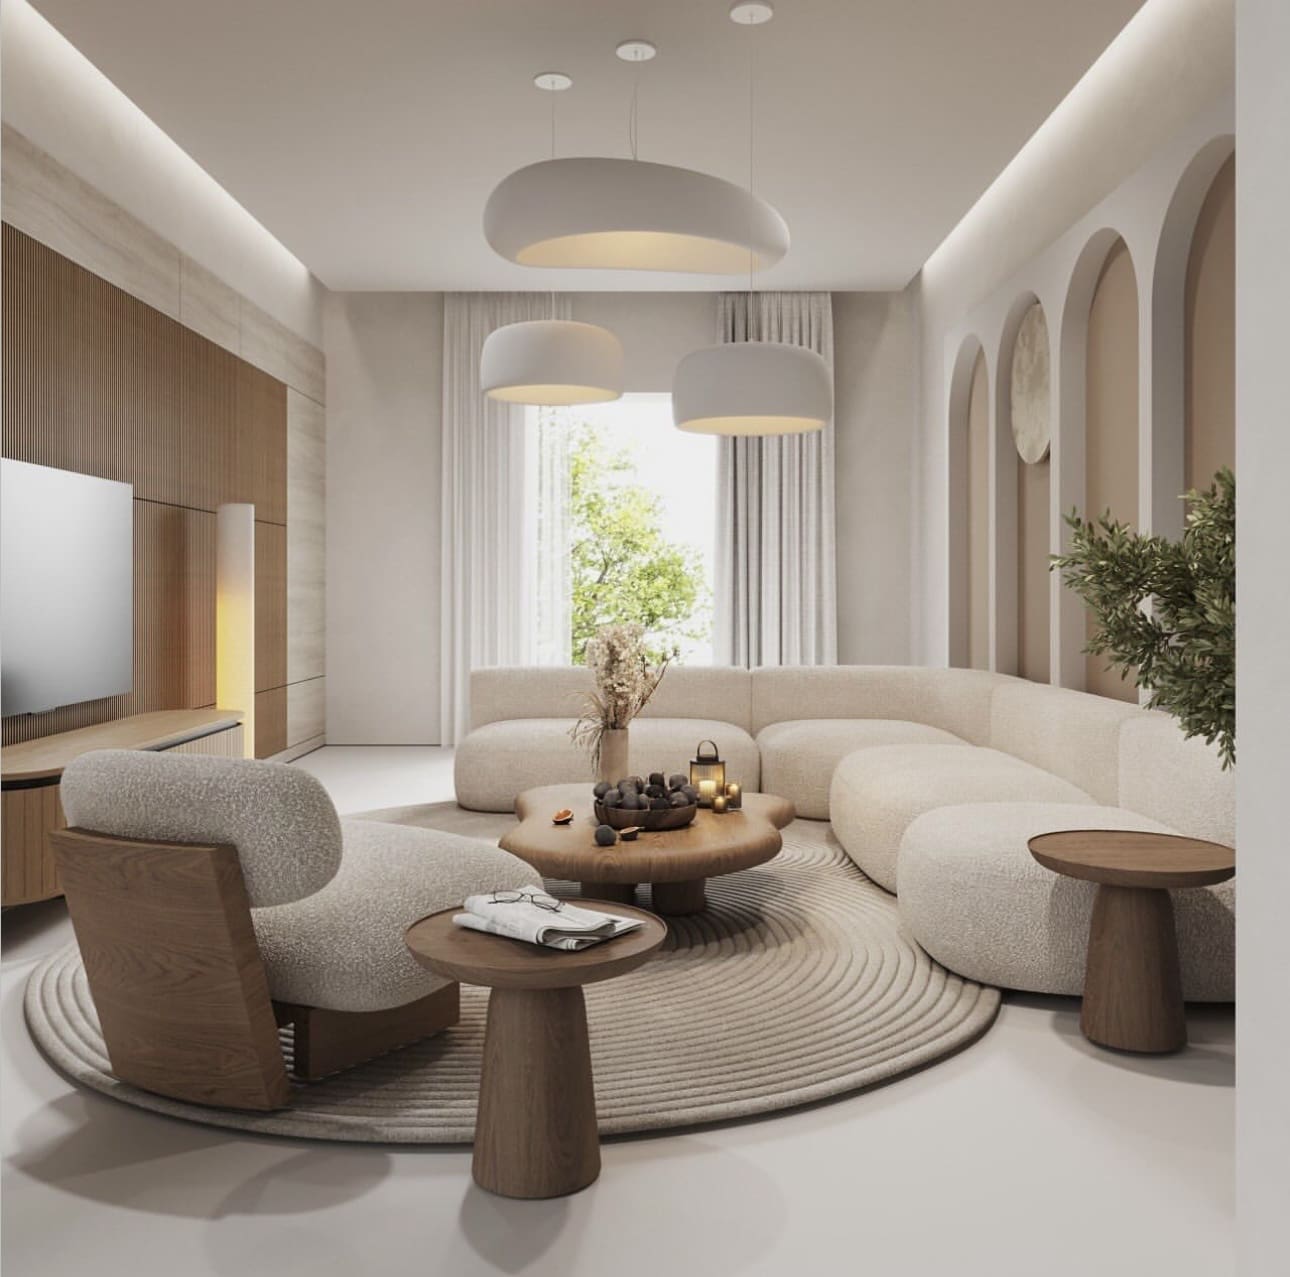
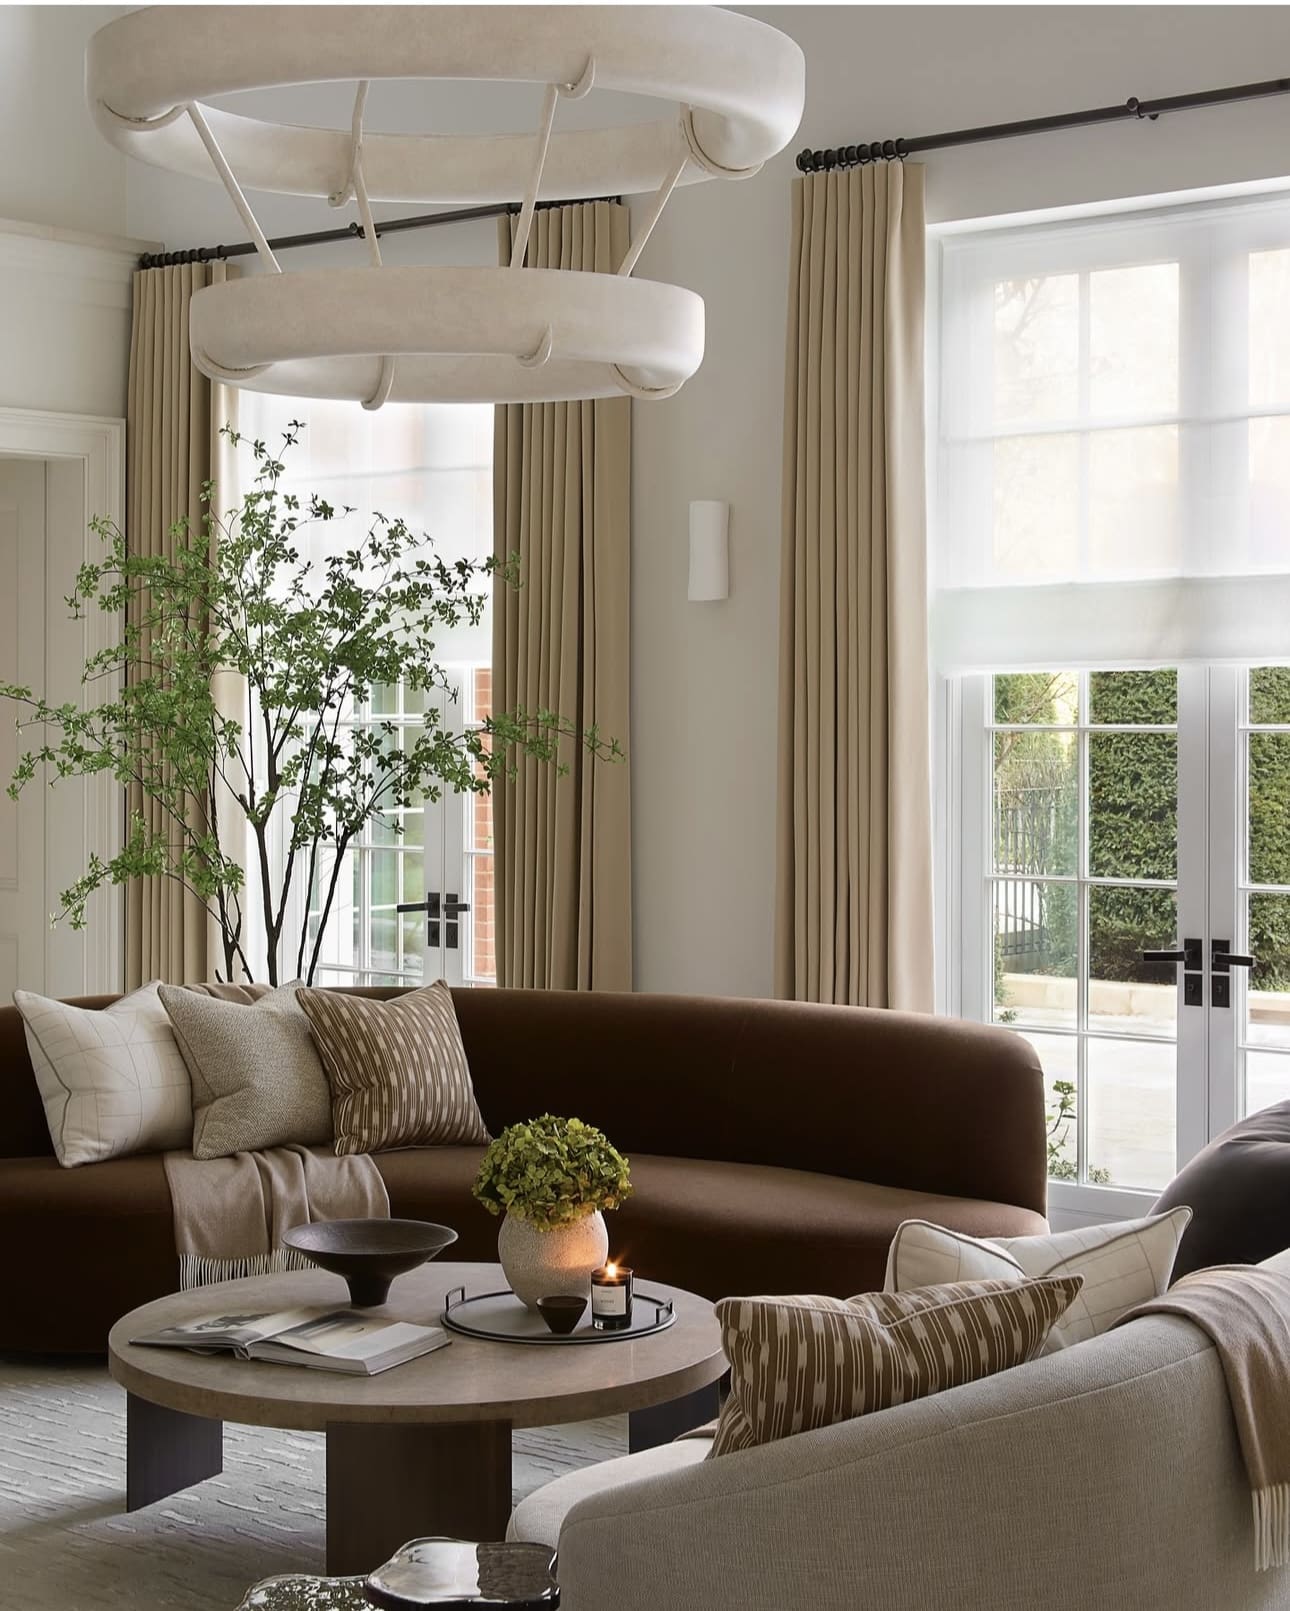
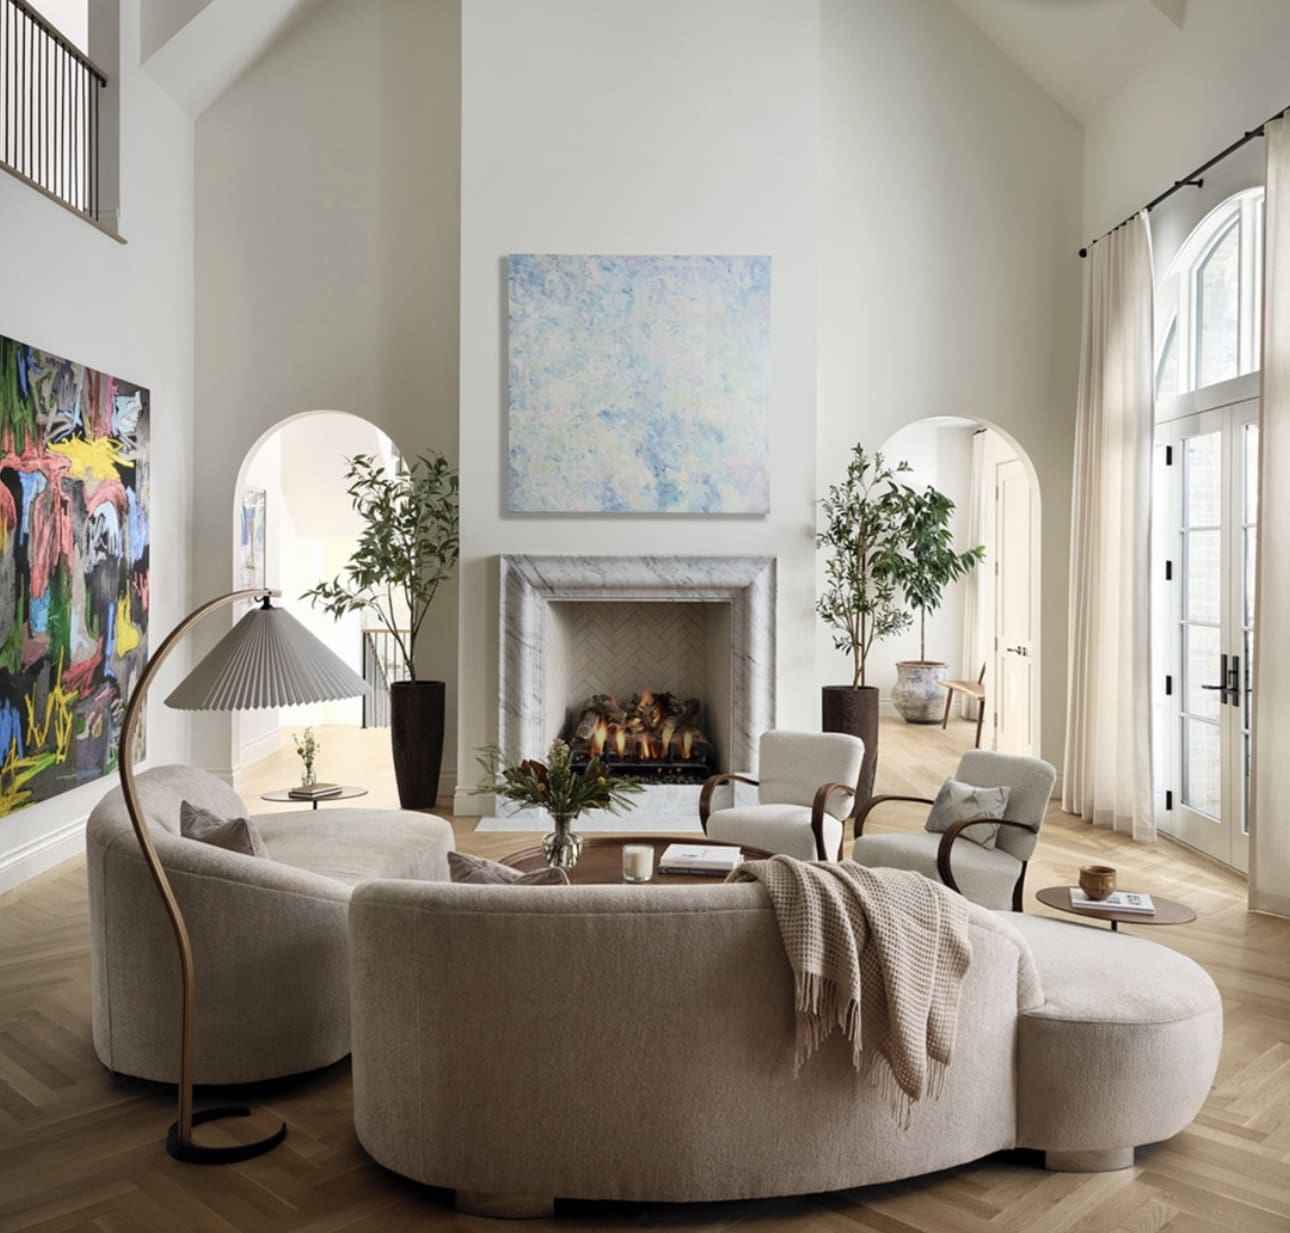
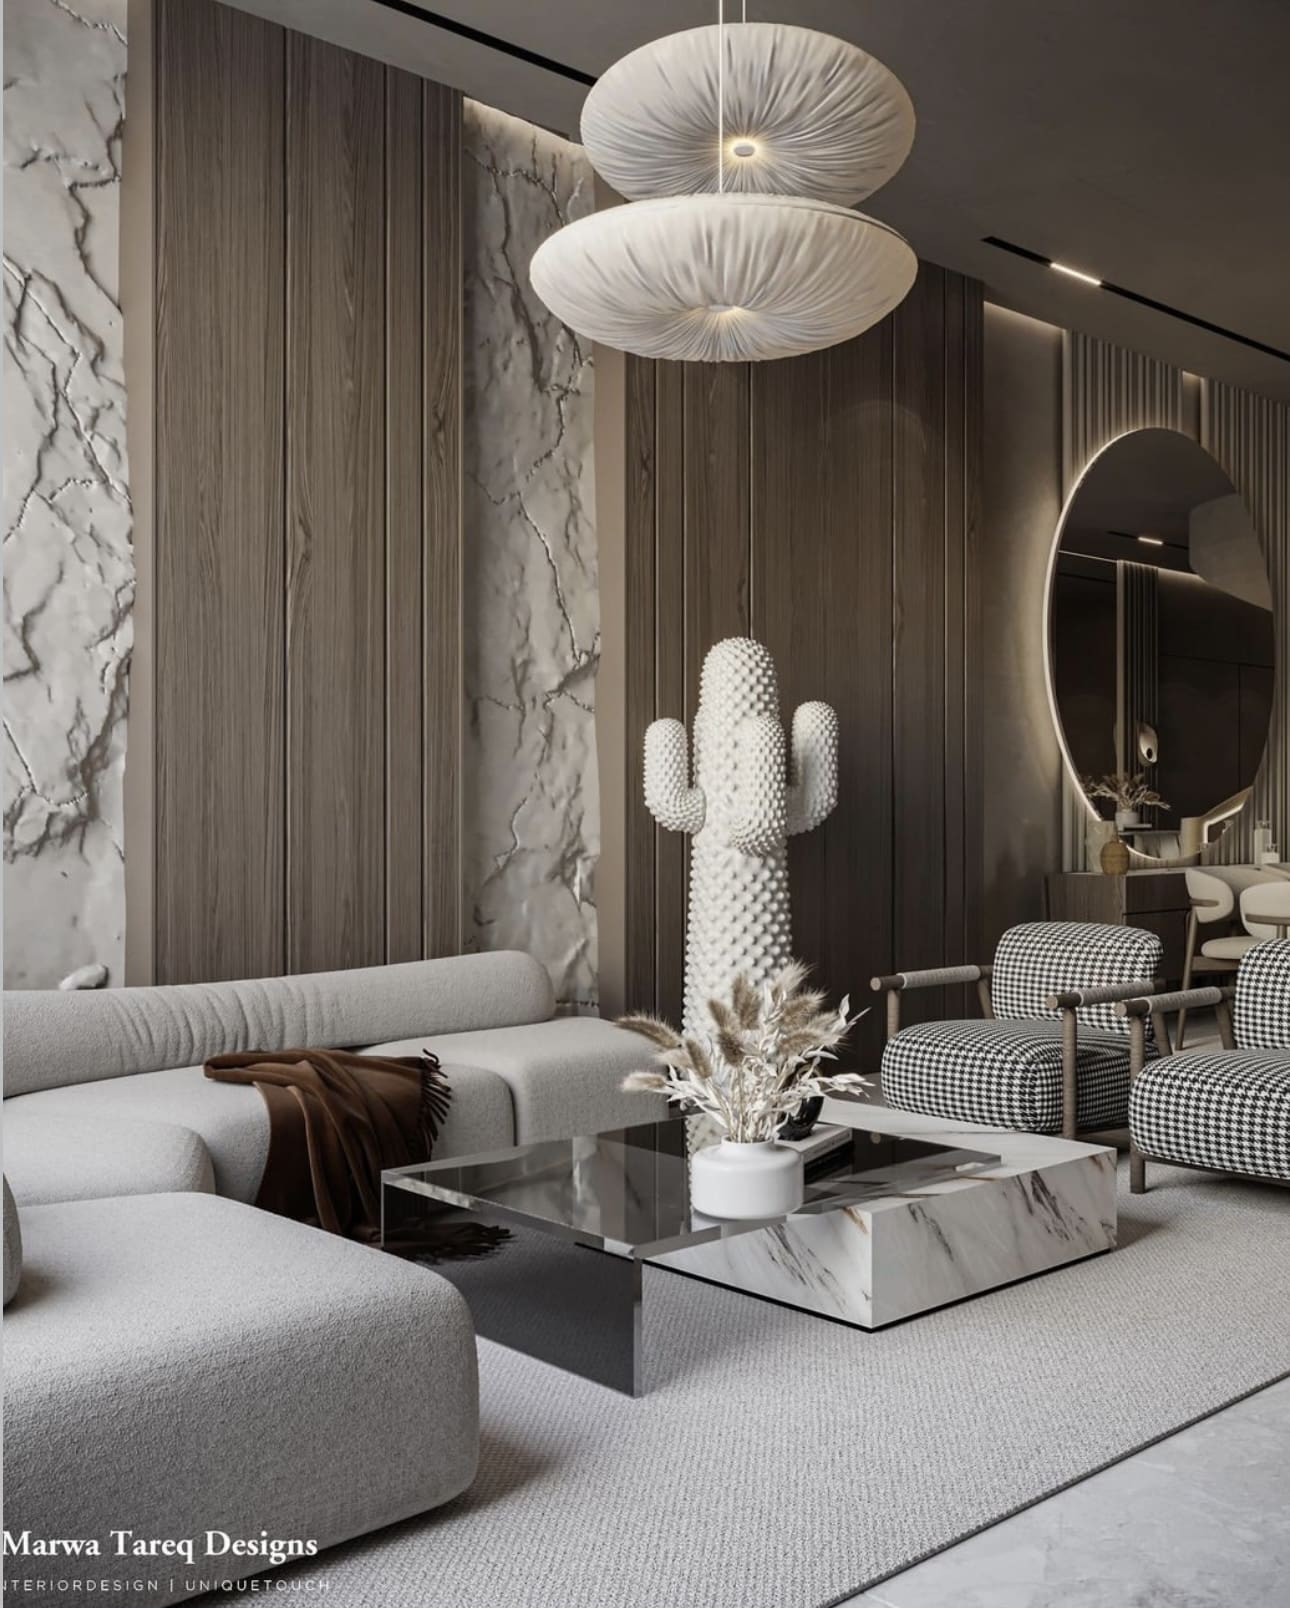
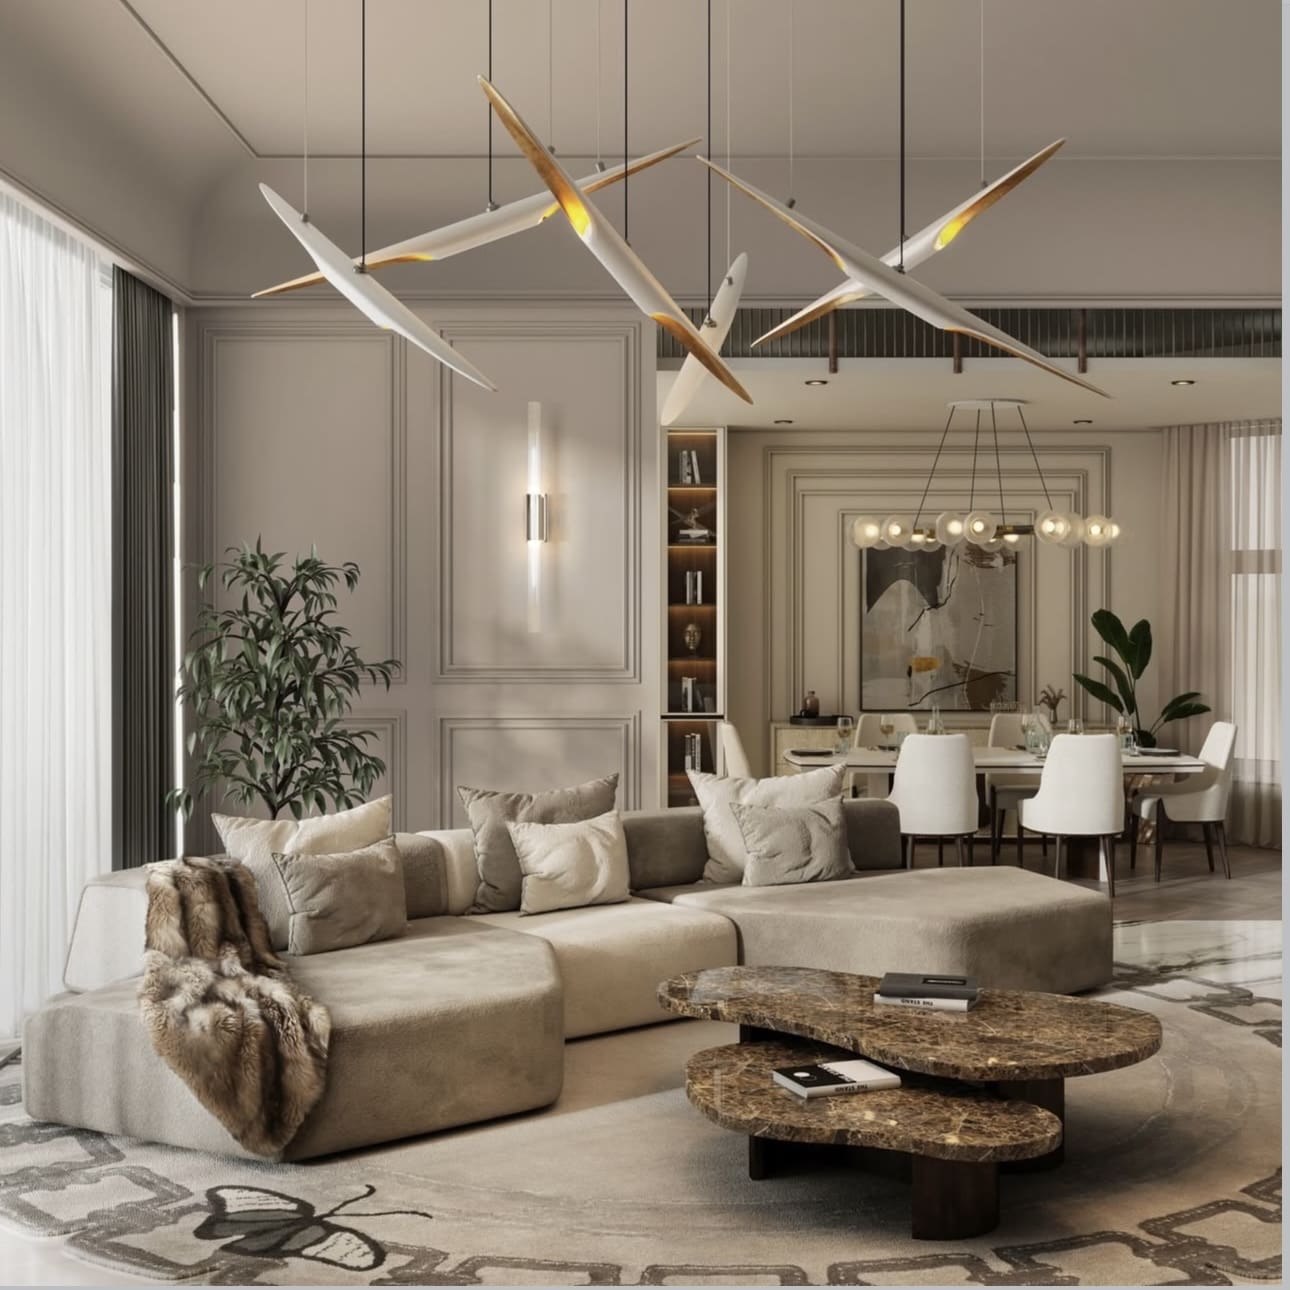
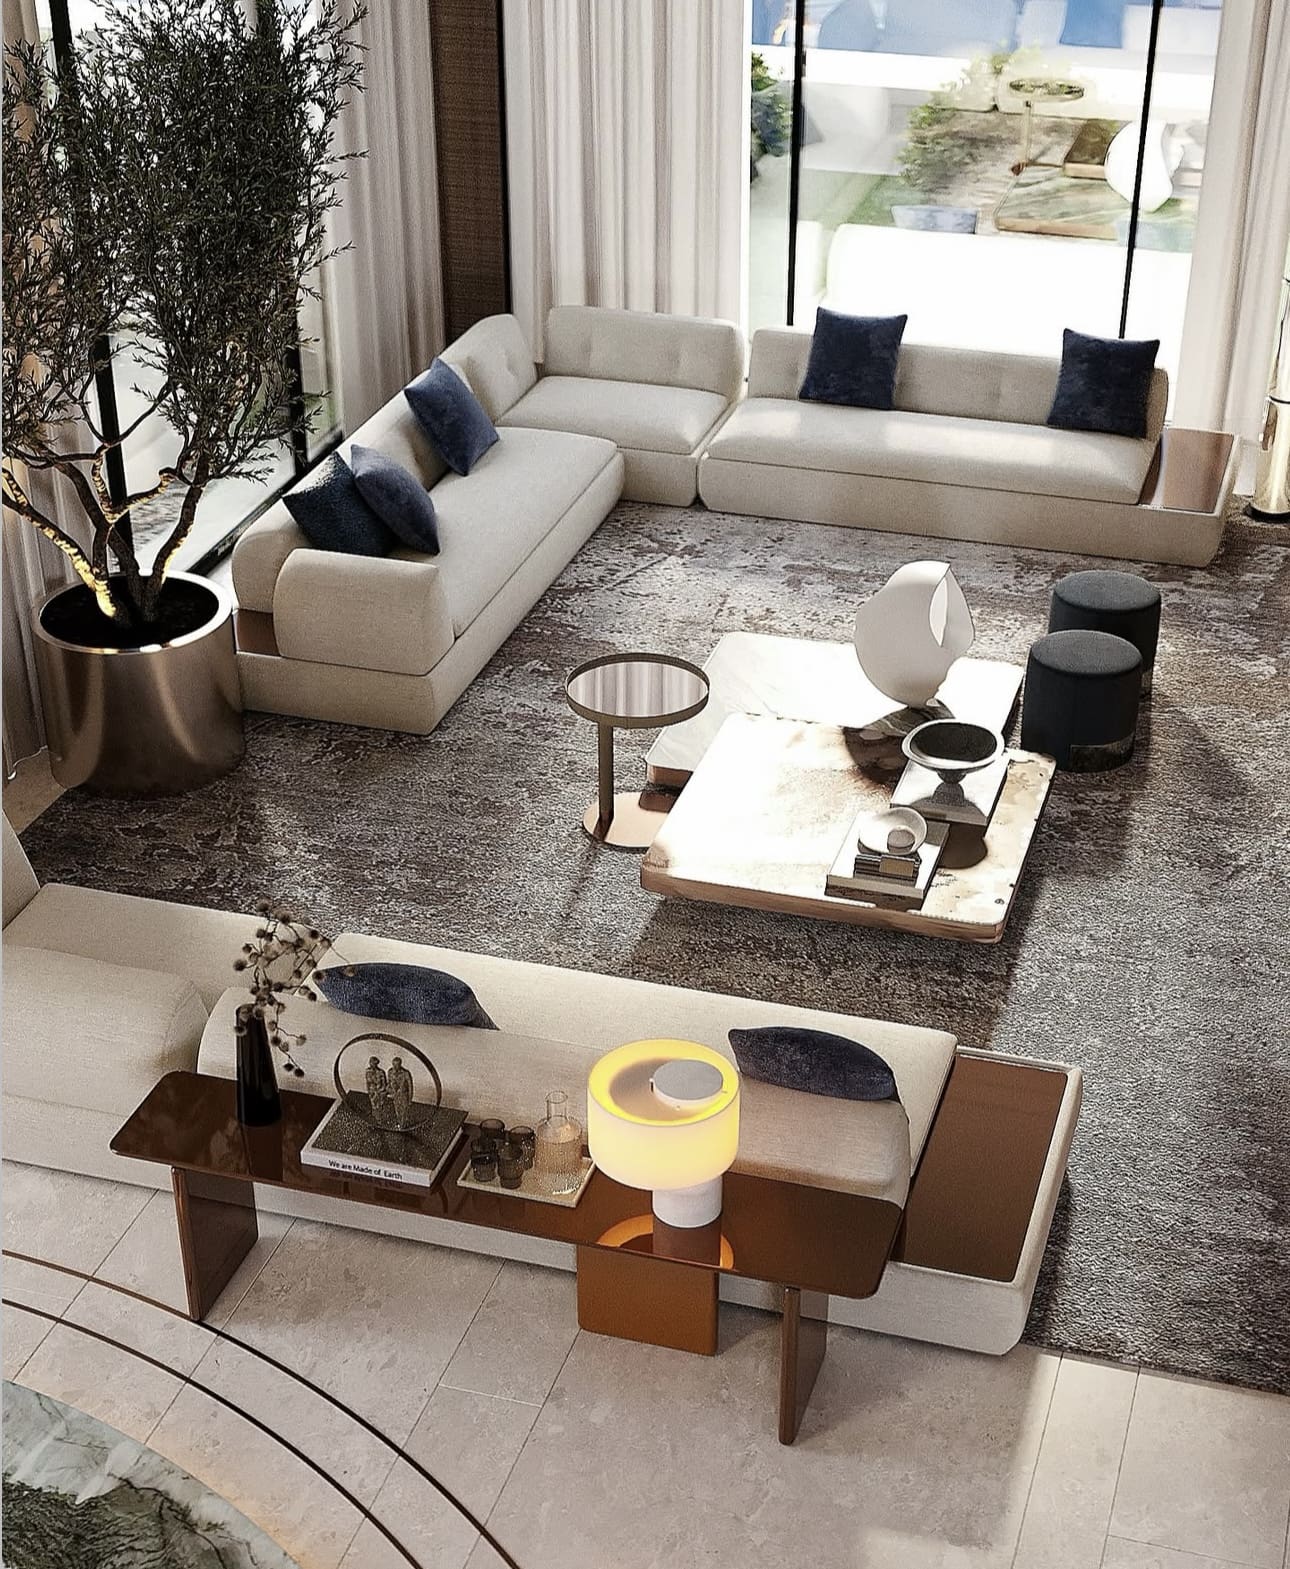
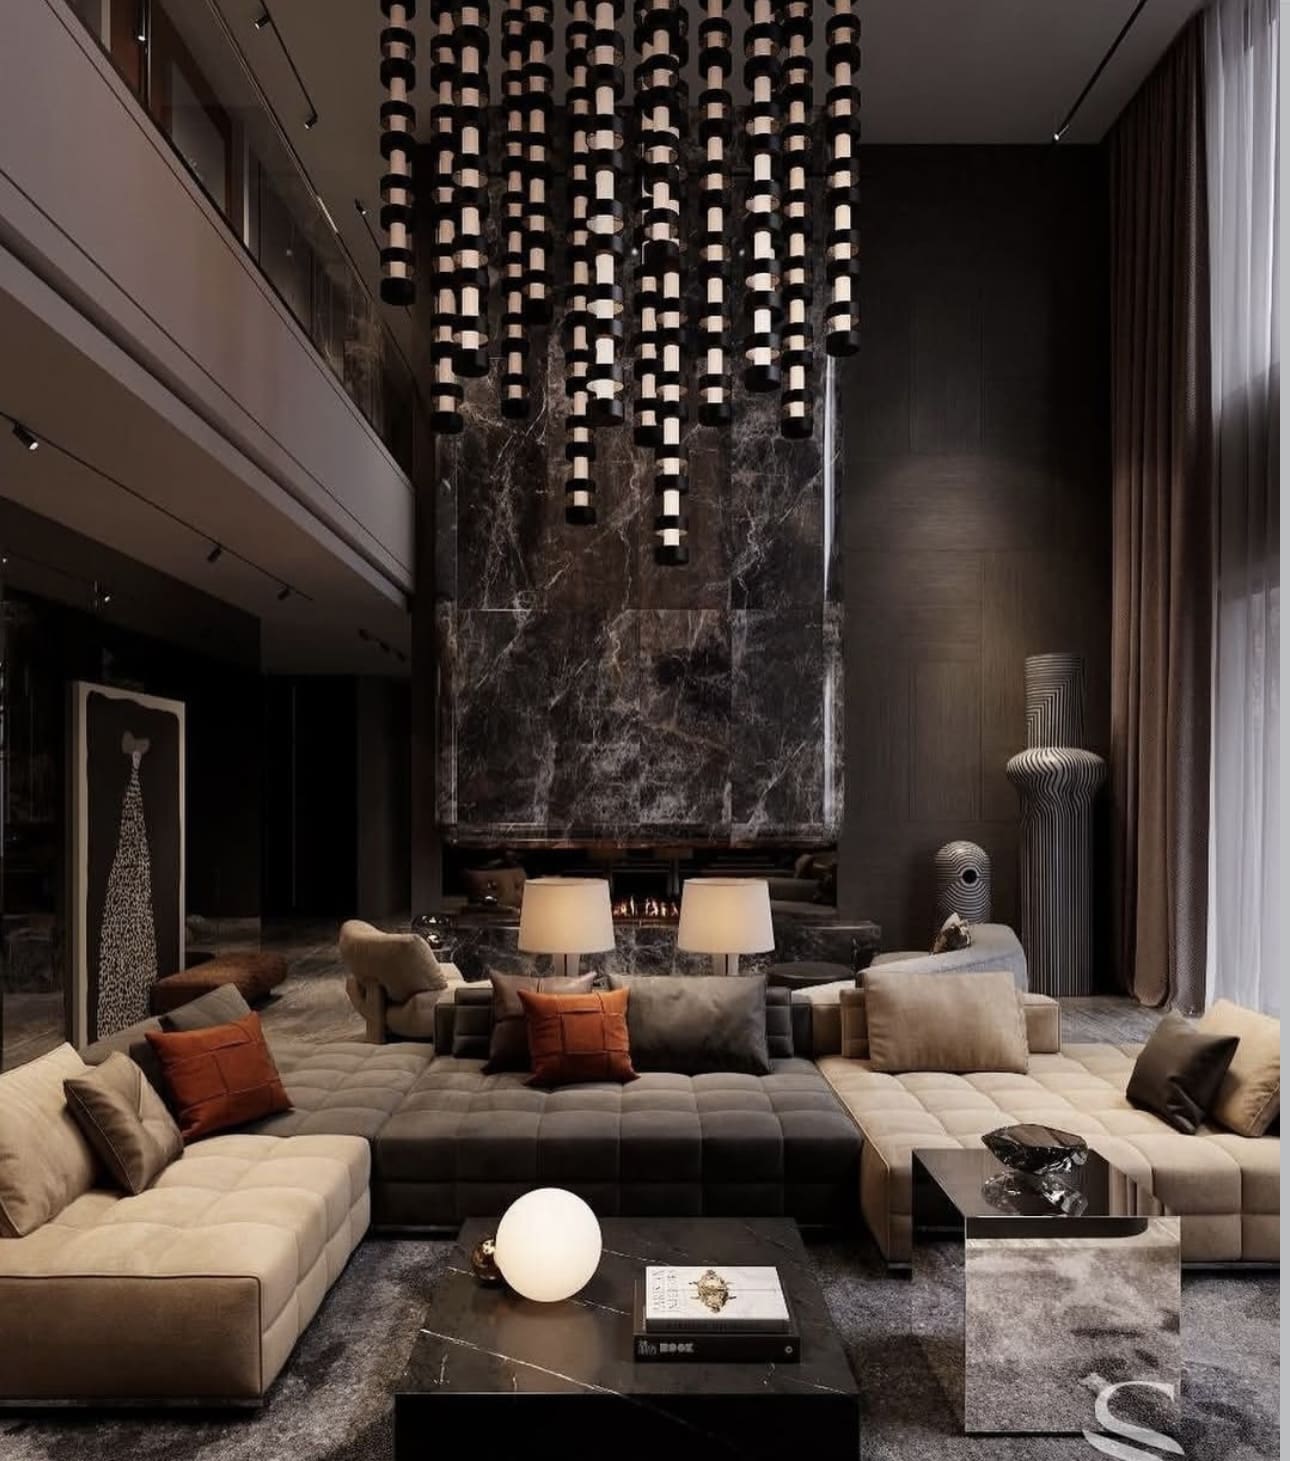
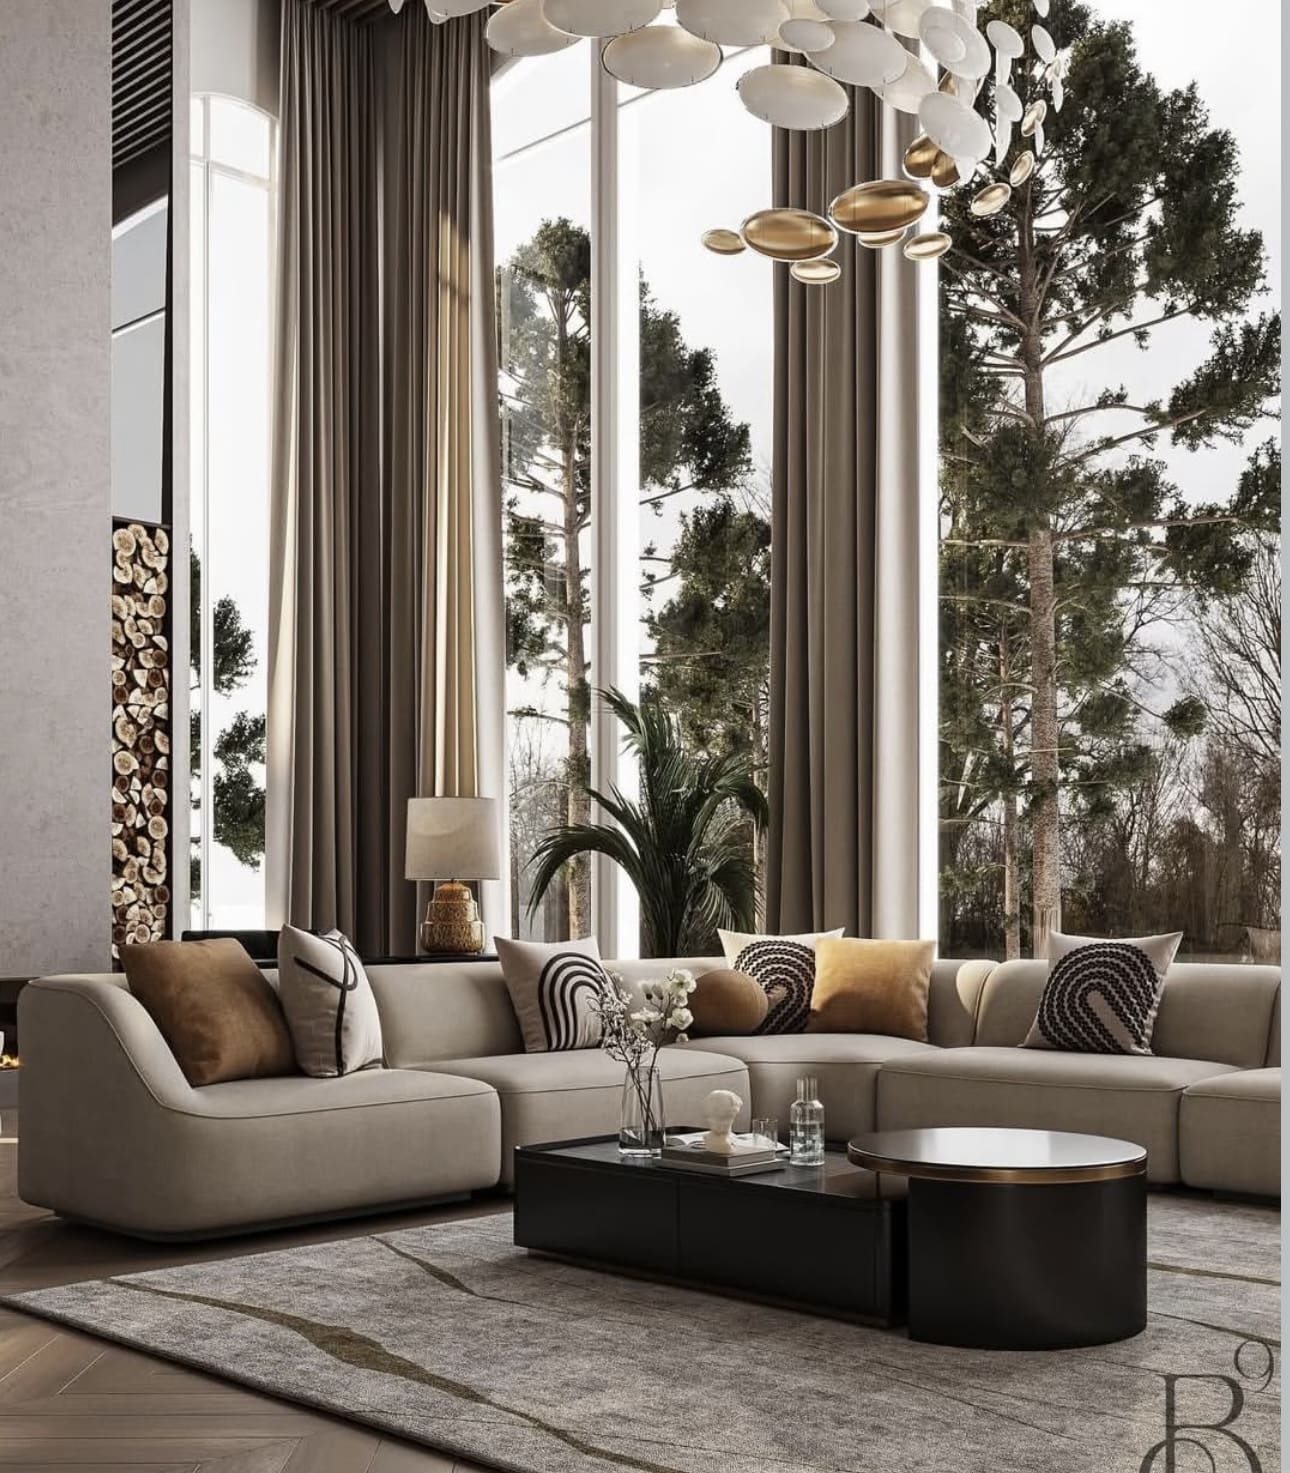
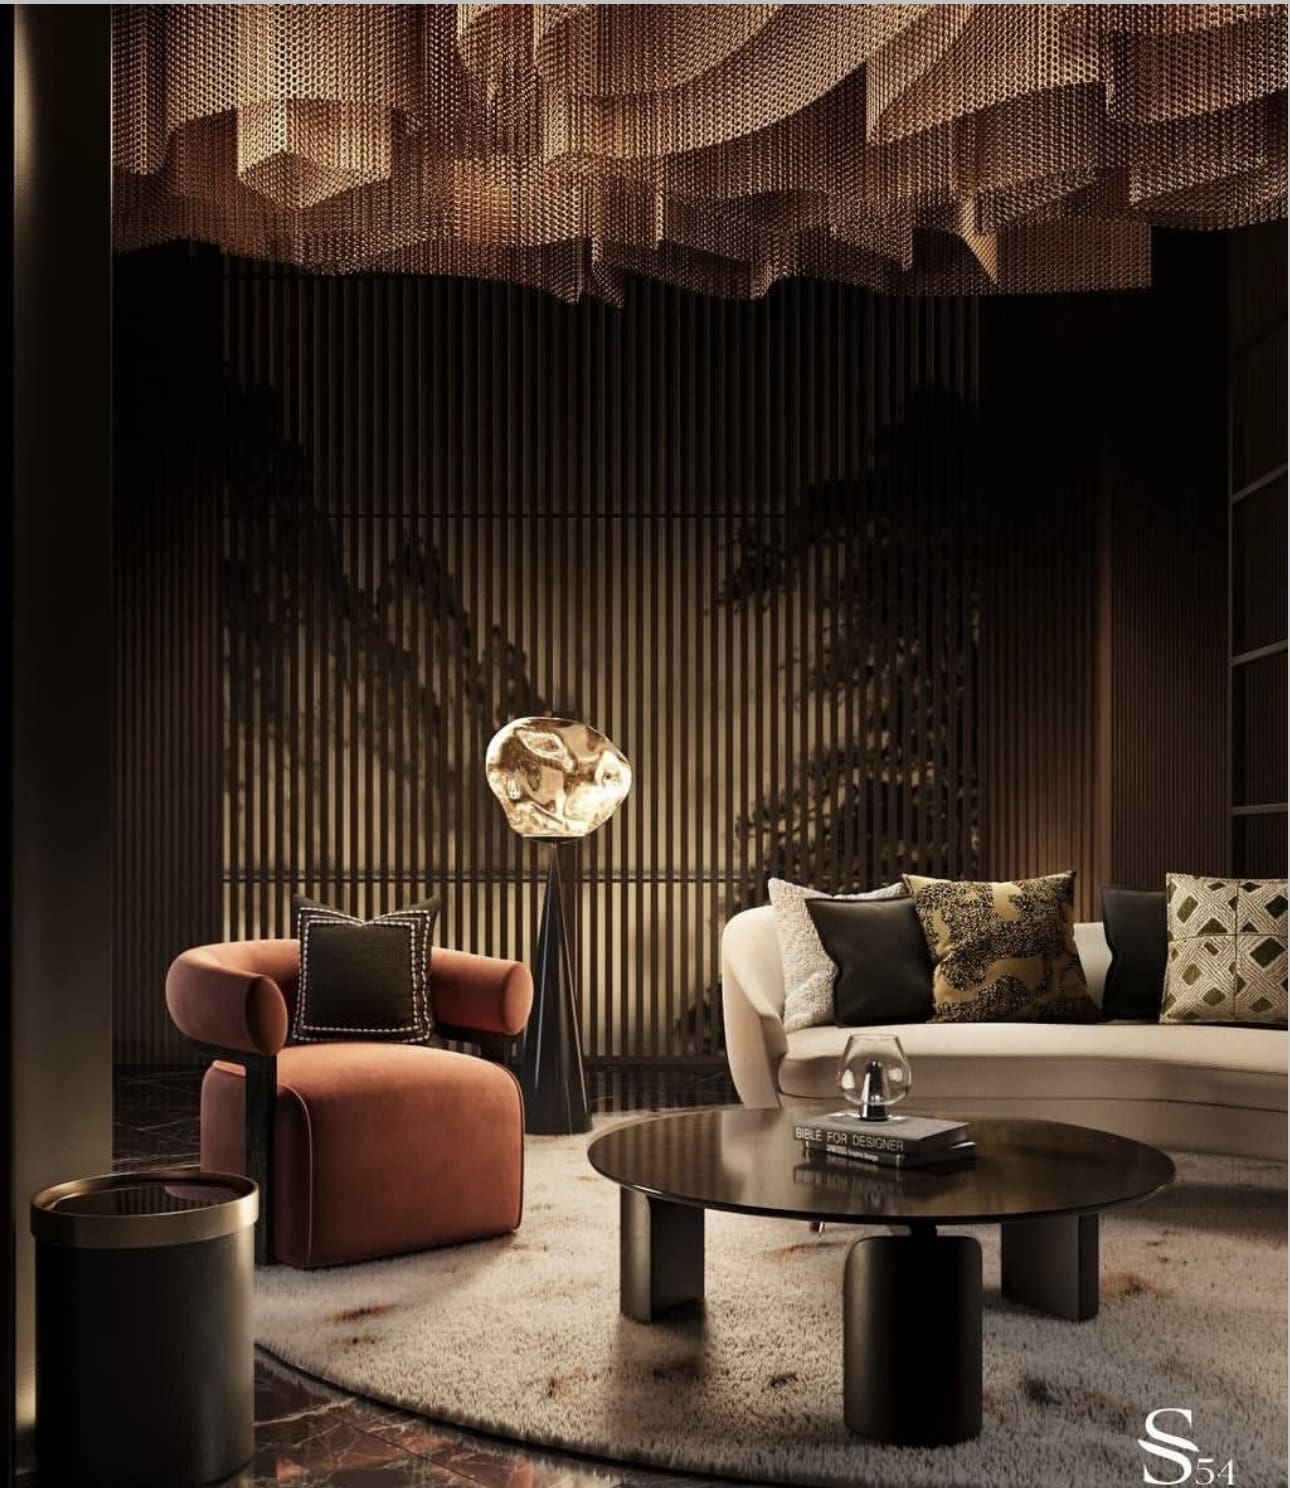
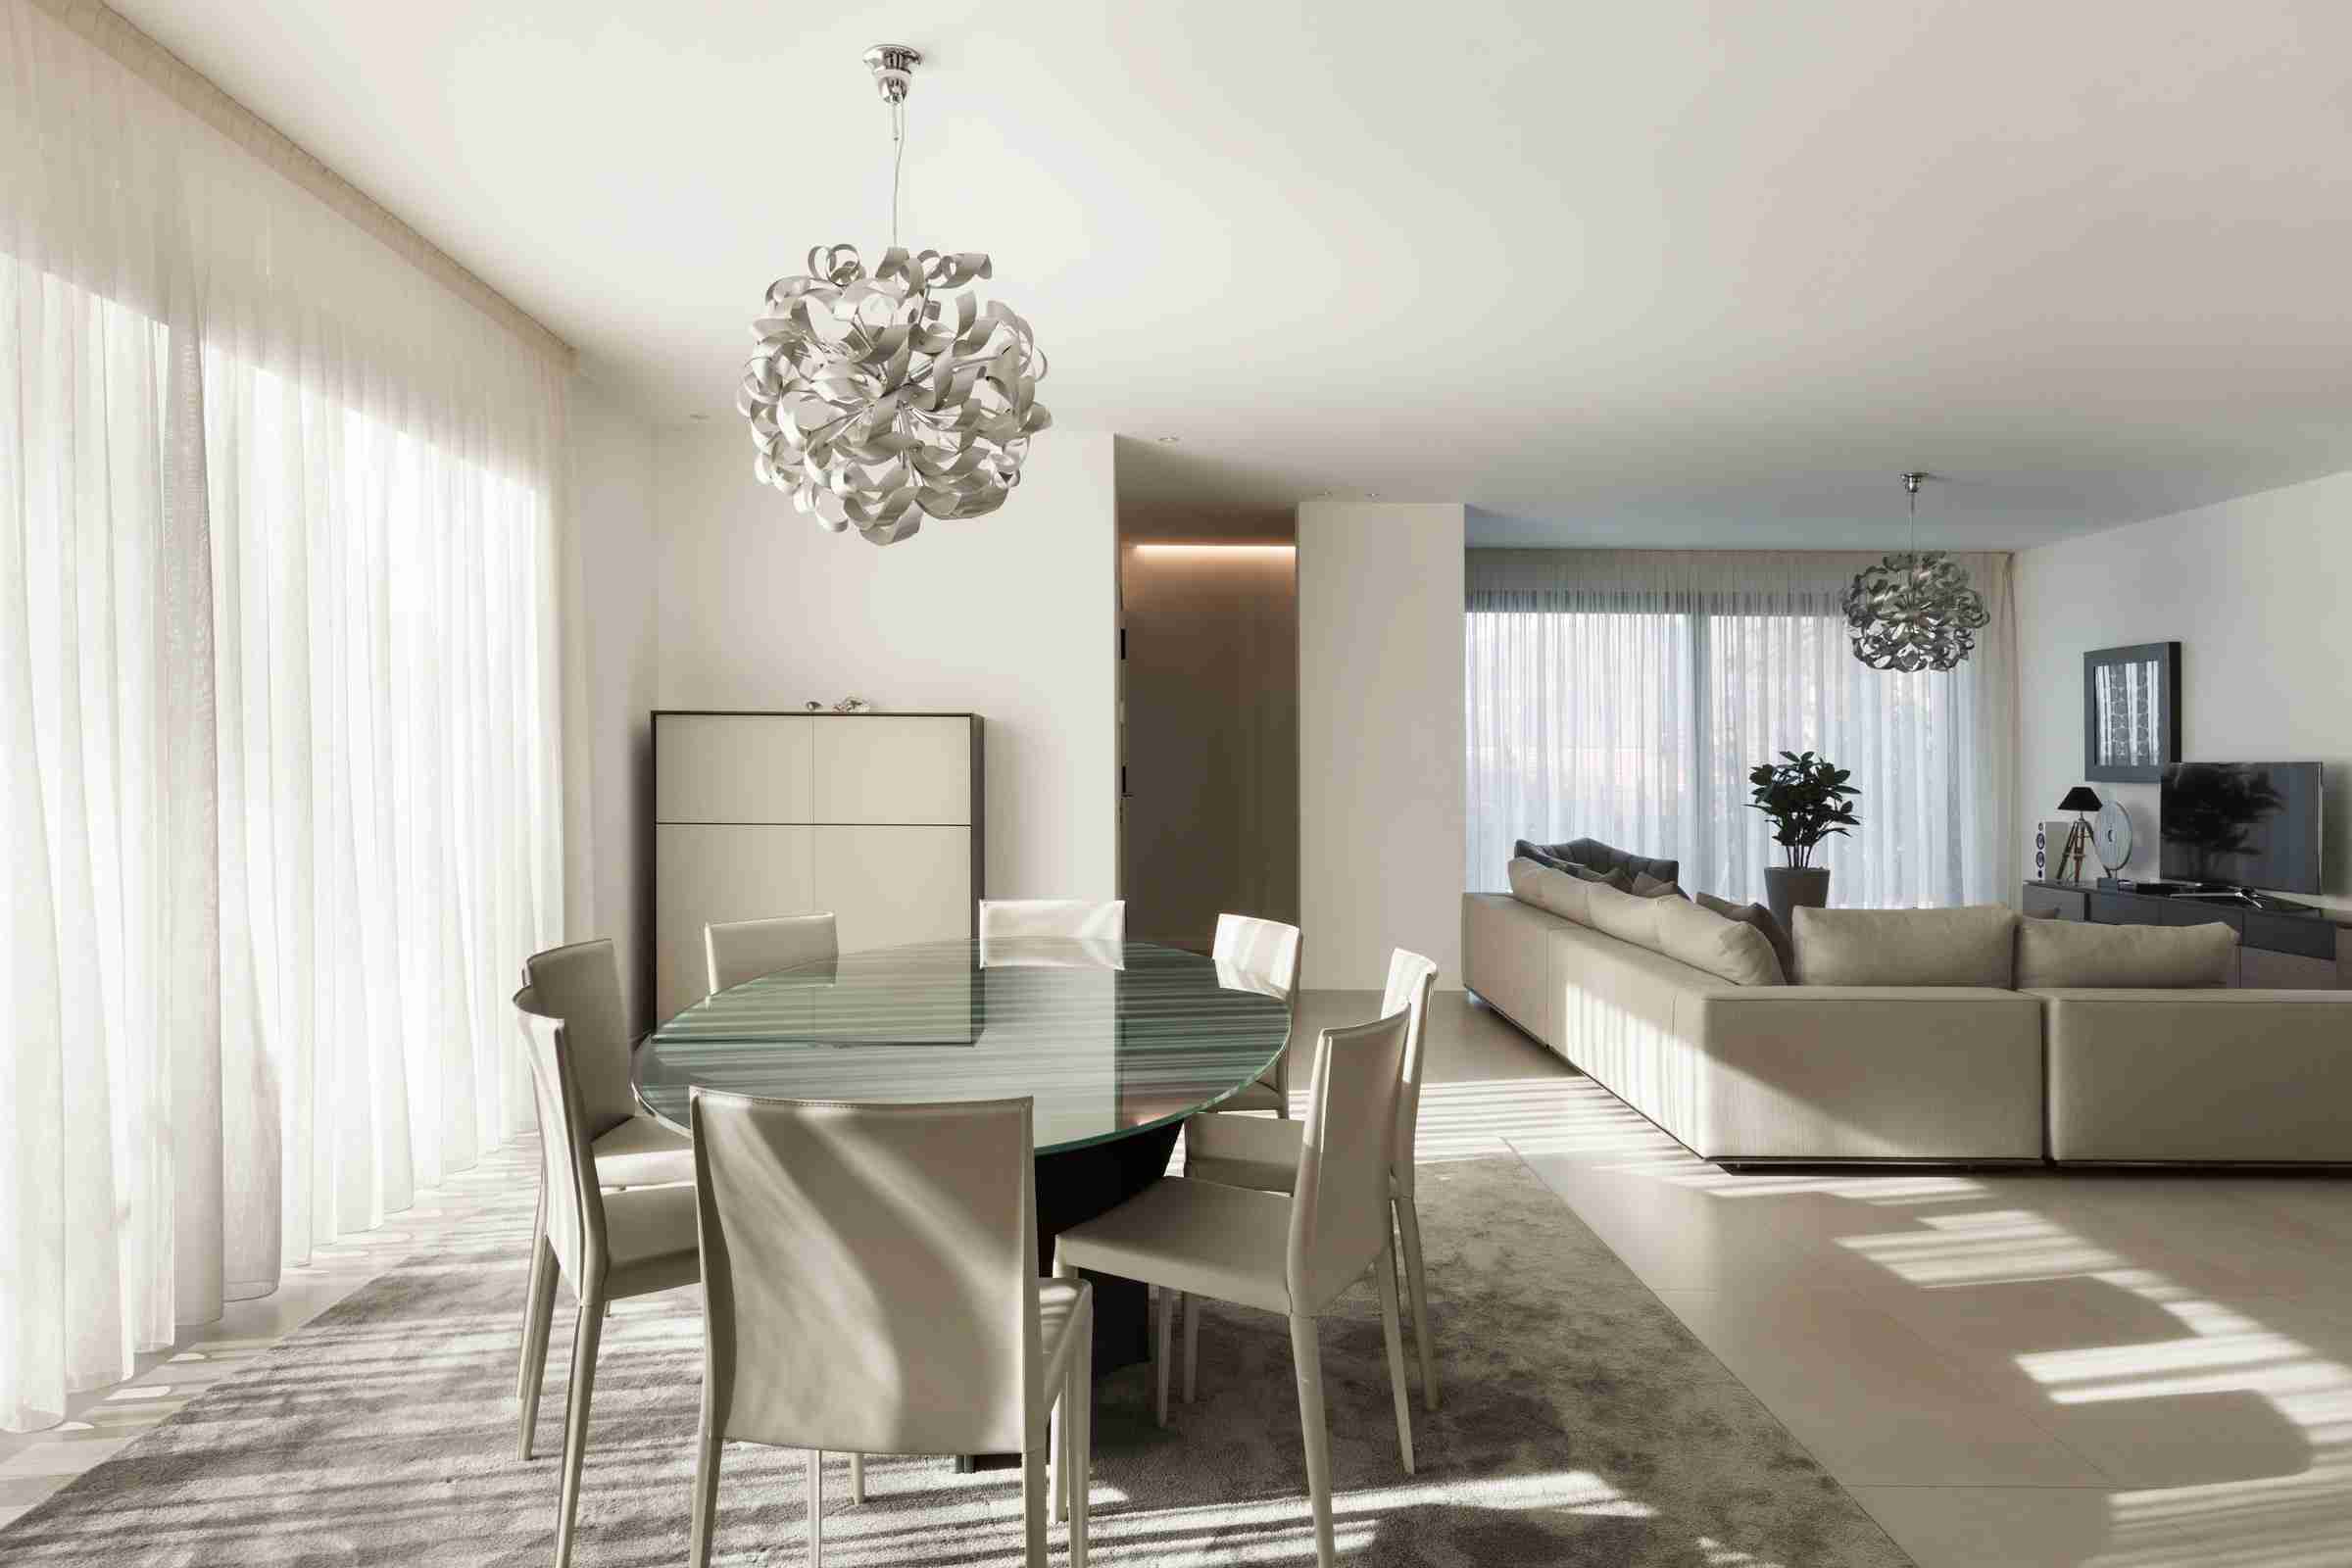
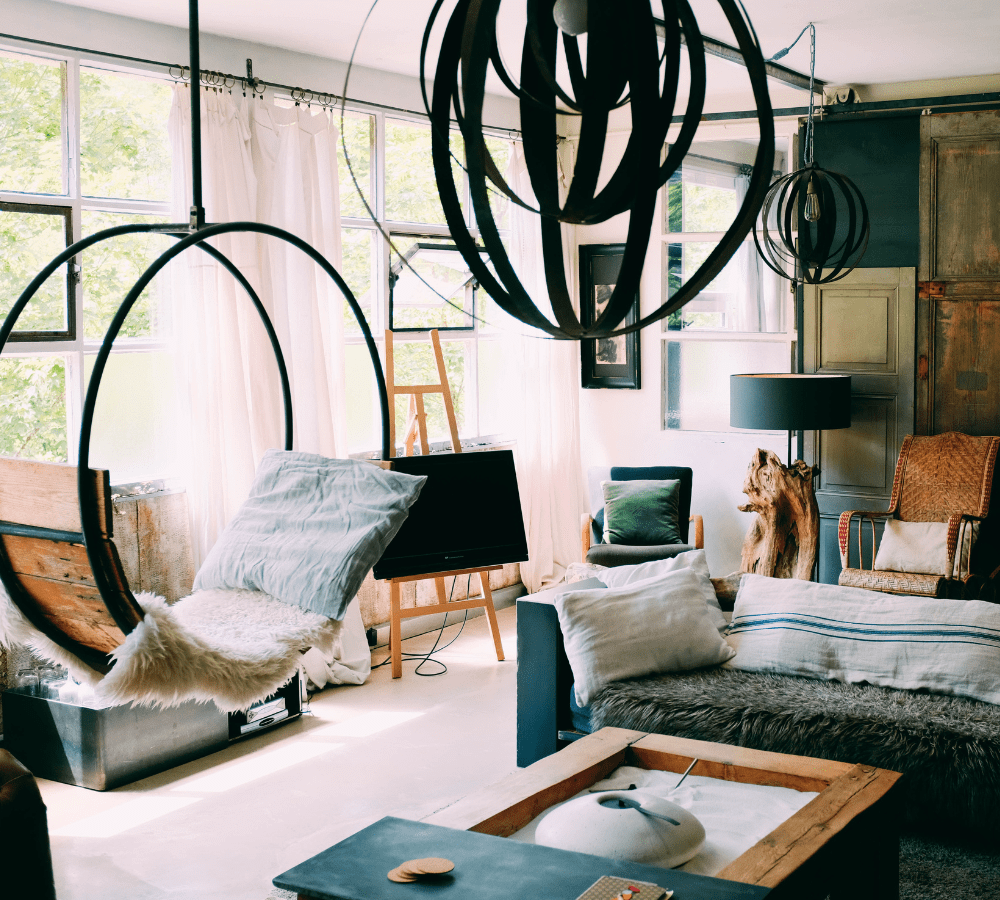
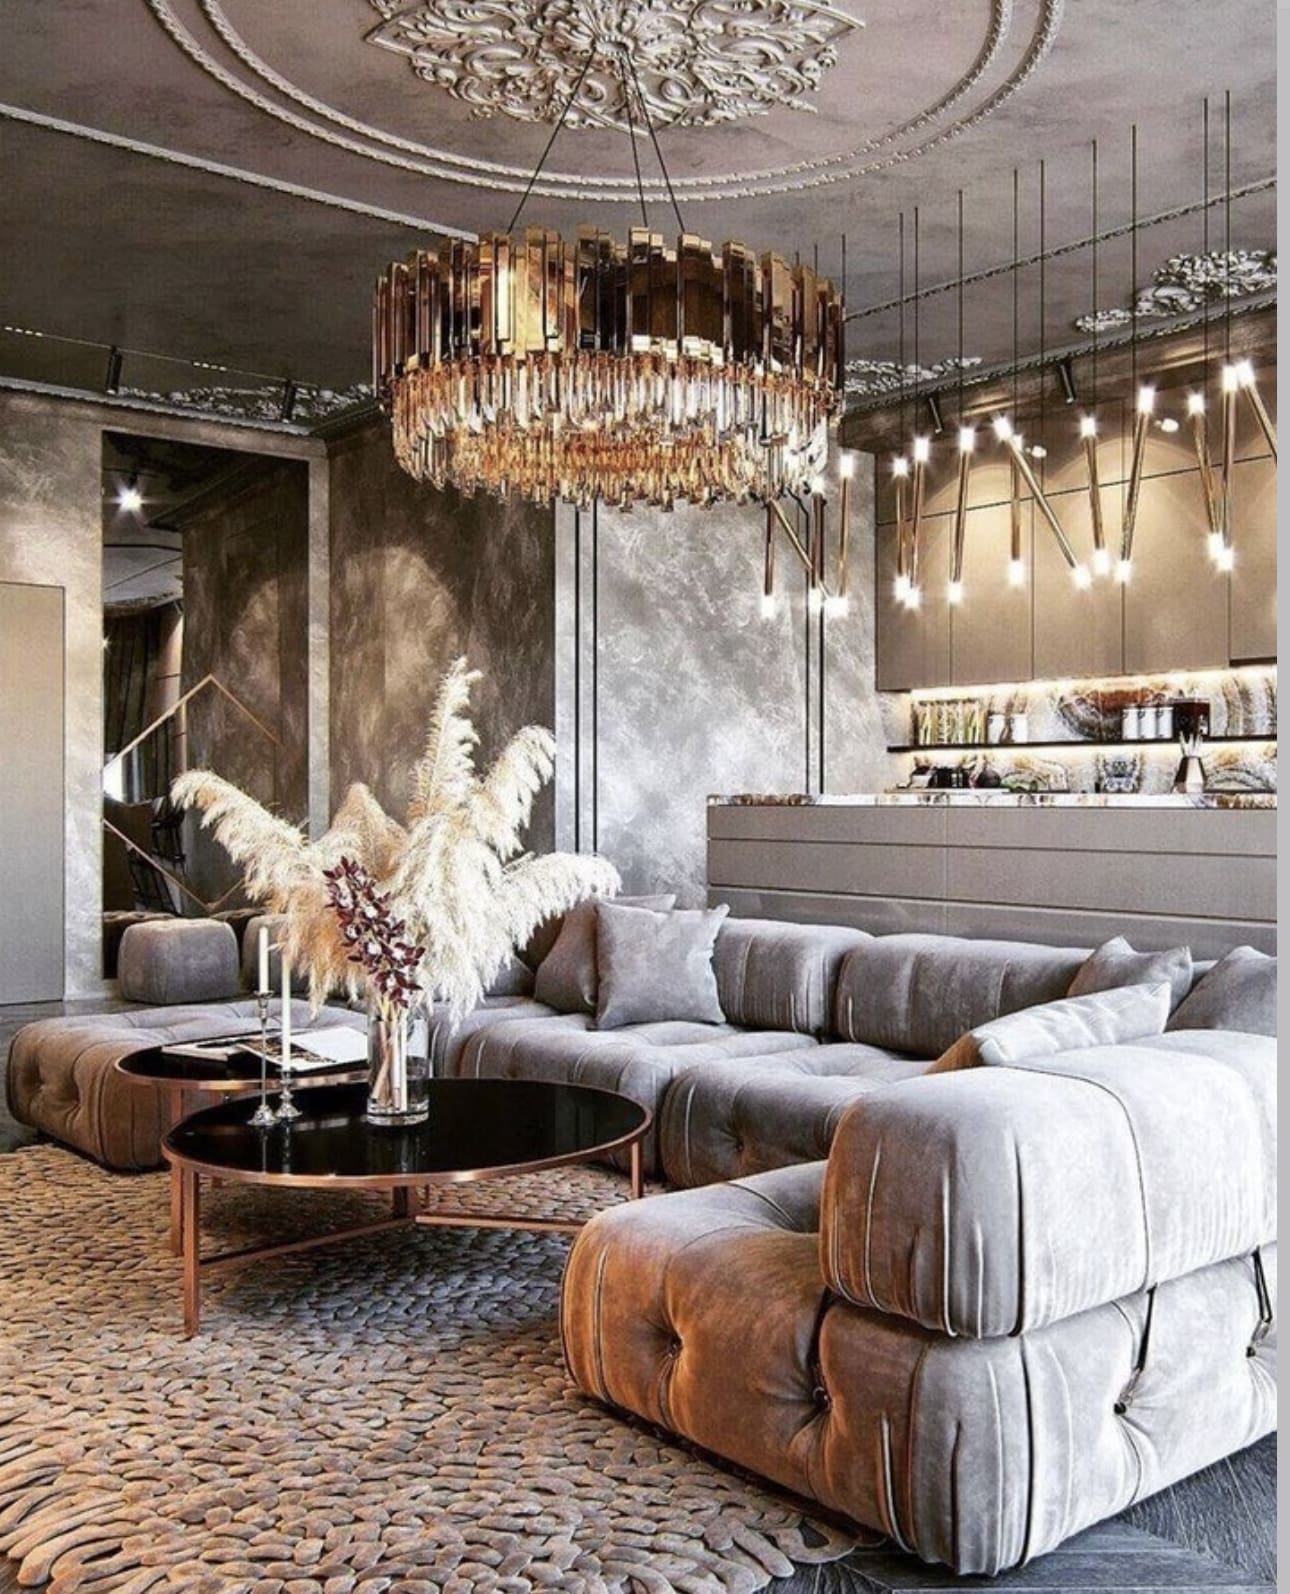
    Transforming your living room into a sanctuary of sophistication and comfort is an art that balances timeless elegance with contemporary flair. In today’s modern homes, luxury is not just about opulence but about creating spaces that speak to your personal style while embracing quality and thoughtful design. From sumptuous fabrics that invite you to unwind, to statement lighting that casts a warm, inviting glow, every element plays a vital role in cultivating an atmosphere of refined beauty. Whether you’re starting from scratch or seeking subtle upgrades, the right combination of rich colors, elegant rugs, and high-end furnishings can elevate your living space beyond mere functionality into a true expression of luxury living.

    This blog post delves into the essential inspirations and design touches that redefine modern living rooms with a sense of grandeur and comfort. We explore how carefully curated art pieces and strategically placed mirrors enhance spatial depth and character, while metallic accents and curated coffee table styling add layers of texture and visual intrigue. Above all, creating a luxurious living room is about harmonizing aesthetics with comfort—ensuring that every piece invites you to relax, entertain, and enjoy your home at its finest. Join us as we uncover the top design ideas that will inspire you to elevate your space and transform your living room into a stunning, effortlessly chic retreat.

    1. Elevate Your Living Space with Stylish Rugs

    Elevate Your Living Space with Stylish Rugs

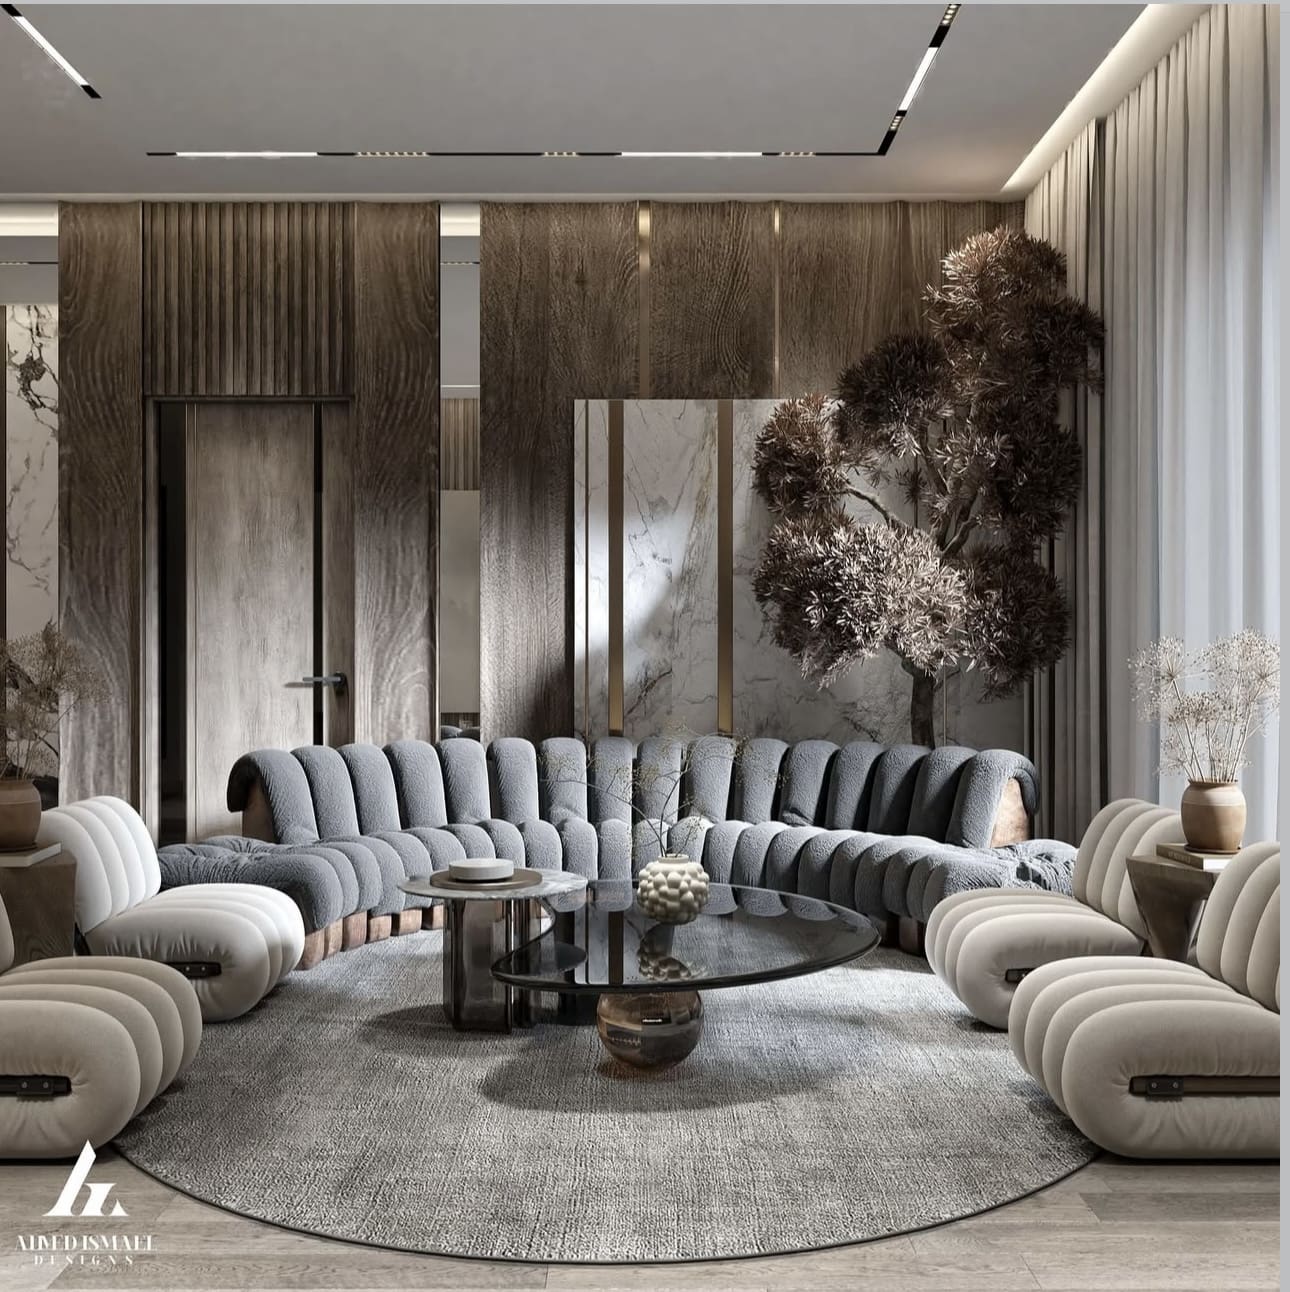
    A beautiful rug can transform your living room from ordinary to extraordinary by adding warmth, texture, and a touch of sophistication. Choosing a well-crafted area rug not only grounds your furniture but also sets the tone for the entire space. Whether you prefer timeless patterns or modern designs, the right rug can become the centerpiece of your room’s aesthetic.

    For those looking to create depth and character, consider combining rugs to build layers of comfort and style. Experimenting with different sizes, patterns, and textures can bring a dynamic visual appeal that invites guests to linger a little longer.

    Elevate Your Living Space with Stylish Rugs

    Key Design Elements

    • Choose a premium area rug with classic patterns or rich colors to serve as the foundation of your living room design.
    • Experiment with layering by placing a smaller, patterned rug atop a larger, neutral-toned rug to add dimension and intrigue.
    • Opt for rugs made from natural fibers like wool or cotton for durability and a cozy feel underfoot.

    Pro Tip: Position your rug so that at least the front legs of your seating furniture rest on it to create a cohesive look.

    2. Curate Your Style with Art and Accents

    Curate Your Style with Art and Accents

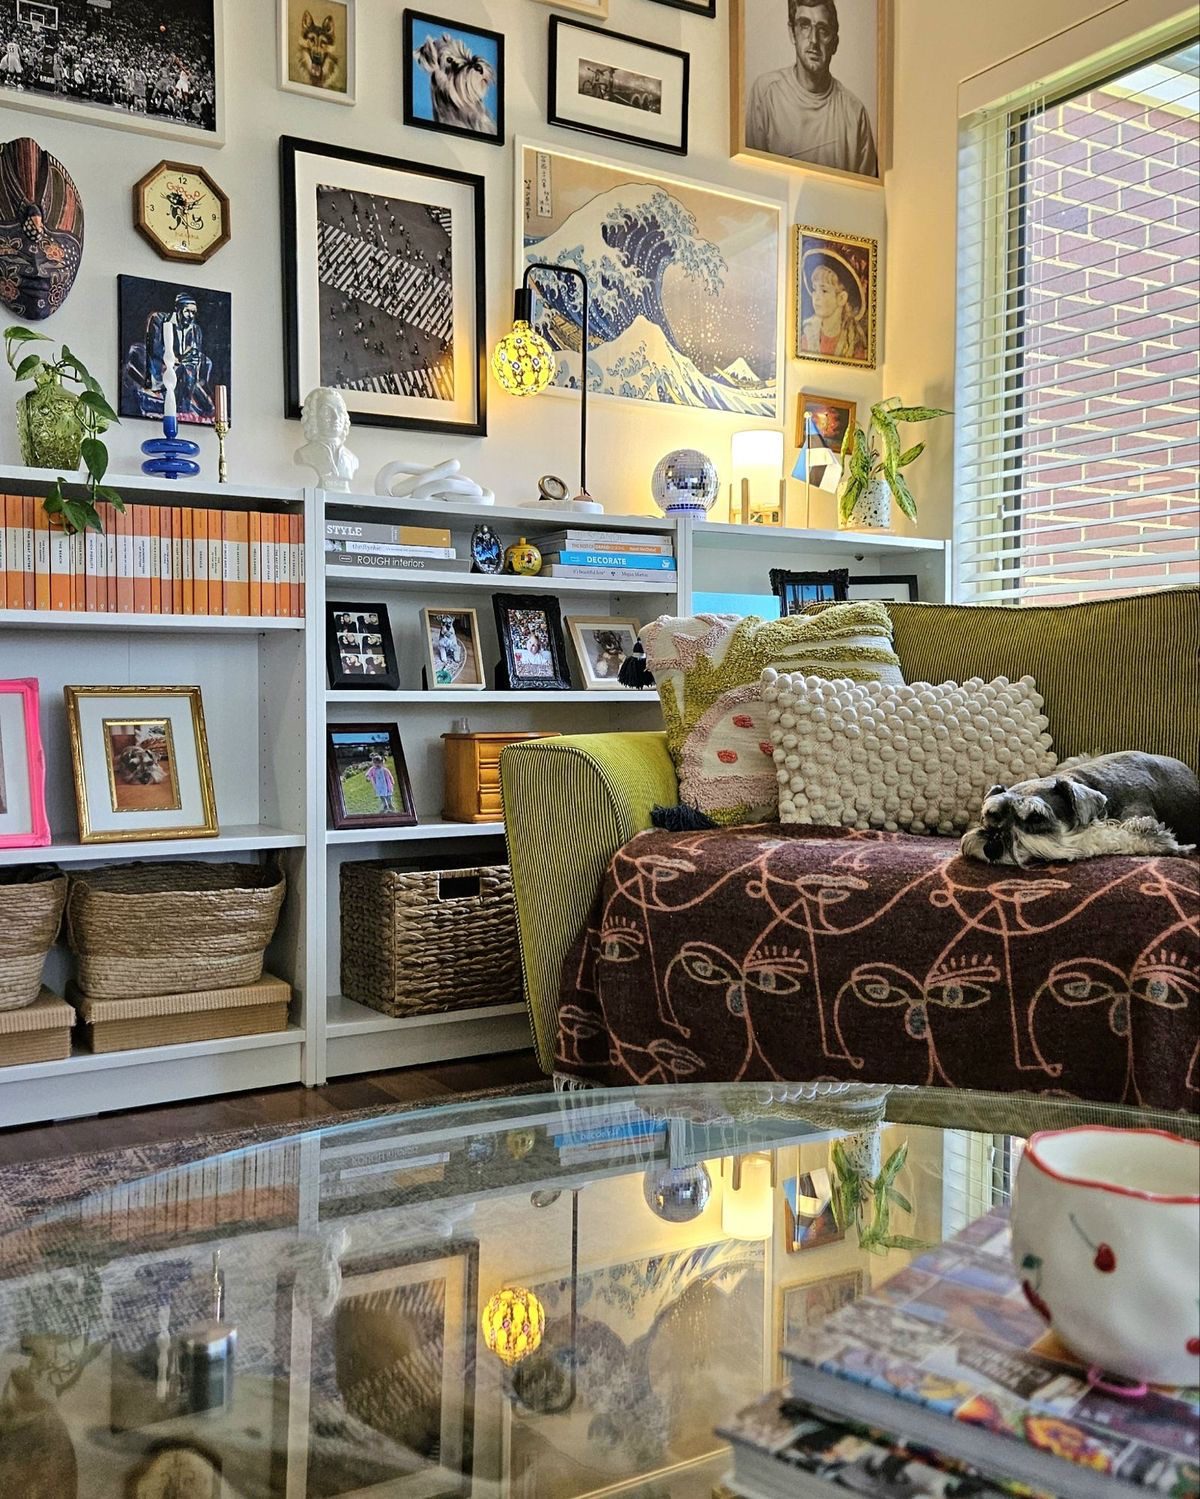
    Elevate your living room by thoughtfully showcasing art and accessories that speak to your personal taste. Whether you’re drawn to vibrant paintings or subtle prints, choosing pieces that resonate with your style instantly breathes life into your space. Complement these with carefully selected decorative items that add texture, shimmer, and a touch of sophistication, transforming your room into a true reflection of you.

    Curate Your Style with Art and Accents

    Key Design Elements

    • Choose unique artworks or museum-quality reproductions framed in sleek, modern designs to create focal points that captivate the eye.
    • Incorporate chic accessories like elegant vases, sculptural decor, or subtle metallic touches to introduce layers of interest and a polished feel.
    • Mix and match items of varying heights and textures to build depth and keep your display dynamic and engaging.

    Pro Tip: Rotate your art and accessories seasonally to keep your living room feeling fresh and inspired.

    Curate Your Style with Art and Accents

    3. Elevate Your Living Room with Luxe Furniture Choices

    Elevate Your Living Room with Luxe Furniture Choices

    Transform your living space by selecting furniture that exudes sophistication and timeless elegance. Opt for designs featuring sleek profiles paired with sumptuous materials like rich hardwoods or glossy lacquer finishes, which instantly add a touch of refinement. To truly make the space your own, investing in custom-made pieces allows you to tailor each item to your room’s unique dimensions and your personal aesthetic, ensuring both style and functionality are perfectly balanced.

    Elevate Your Living Room with Luxe Furniture Choices

    Key Design Elements

    • Select furniture that showcases minimalist silhouettes combined with premium materials such as polished wood or high-gloss finishes.
    • Explore bespoke furniture options to create pieces that harmonize seamlessly with your room’s layout and design vision.
    • Prioritize quality craftsmanship to ensure your furniture remains a stunning focal point for years to come.

    Pro Tip: Mix custom and high-quality designer pieces to achieve a personalized yet polished look.

    Elevate Your Living Room with Luxe Furniture Choices

    4. Brighten Up with Bold Lighting Choices

    Brighten Up with Bold Lighting Choices

    Lighting is more than just functionality—it’s a powerful way to express personality and elevate your living room’s style. By choosing eye-catching lighting fixtures, you set the tone of the space and create a captivating visual centerpiece. Whether you want to infuse a touch of luxury or showcase artistic flair, the right lighting can transform your living area from ordinary to extraordinary.

    Brighten Up with Bold Lighting Choices

    Key Design Elements

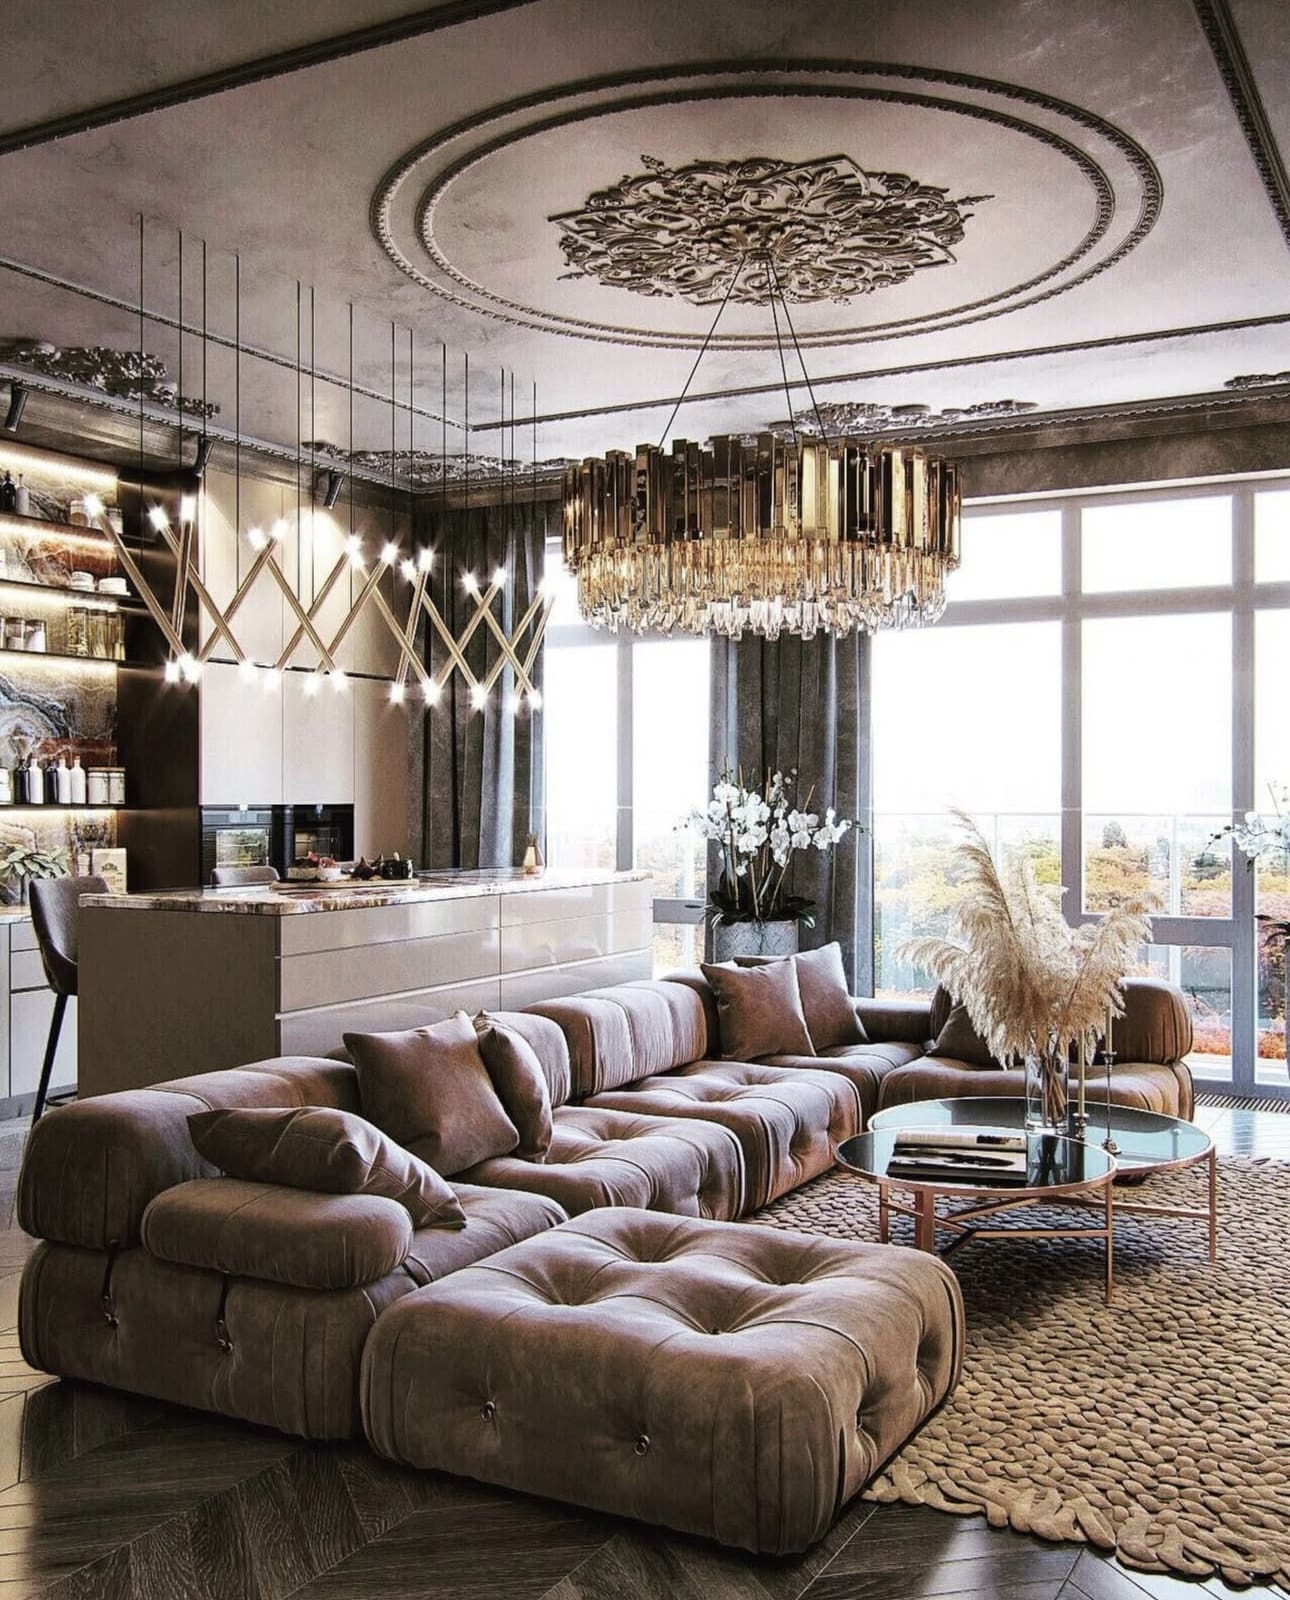
    • Opt for a dramatic chandelier or an artful pendant to draw eyes upward and add a splash of sophistication.
    • Incorporate standout table or floor lamps with distinctive shapes or premium materials like polished brass or sleek marble finishes.
    • Mix and match lighting elements to layer ambience and create a dynamic, inviting atmosphere.

    Pro Tip: Choose lighting with dimmable features to effortlessly switch moods and settings.

    5. Brighten and Expand Your Living Room with Mirrors

    Brighten and Expand Your Living Room with Mirrors

    Incorporating mirrors into your living room design is a smart way to enhance both light and the sense of space. Whether you choose a statement piece or subtle accents, mirrors can transform an ordinary room into a stunning, airy retreat. They not only bounce natural and artificial light around but also create the illusion of a larger, more open area—perfect for cozy or compact living spaces.

    Brighten and Expand Your Living Room with Mirrors

    Key Design Elements

    • Mirrored Furniture: Elevate your style with a mirrored coffee or side table that reflects light and adds a touch of sophistication to your seating area.
    • Wall Mirrors: Hang a grand, decorative mirror or opt for a minimalist modern frame to instantly open up the room and infuse it with elegance.
    • Creative Placements: Position smaller mirrors opposite windows or light sources to maximize brightness and visually double your space.

    Pro Tip: Place mirrors strategically to reflect your room’s best views and amplify natural light for a vibrant atmosphere.

    6. Shine Bright: Elevate Your Living Room with Metallic Touches

    Shine Bright: Elevate Your Living Room with Metallic Touches

    Adding metallic accents is a brilliant way to infuse your living space with a touch of elegance and personality. Whether you prefer the warm glow of gold and brass or the sleek shimmer of silver and chrome, these elements can transform ordinary pieces into standout features. Metallic details not only catch the light beautifully but also add depth and dimension to your decor, making your living room feel both stylish and inviting.

    Incorporate these accents thoughtfully to create a balanced, polished look. From subtle hardware on furniture to statement lighting fixtures, metallic finishes have the power to enhance any design style—be it classic, modern, or eclectic.

    Shine Bright: Elevate Your Living Room with Metallic Touches

    Key Design Elements

    • Warm Up with Gold or Brass: Introduce gold or brass through light fixtures, decorative frames, or the legs of your sofas and chairs for a chic, timeless appeal.
    • Sleek Silver or Chrome: Opt for silver or chrome elements like coffee table bases or curtain rods to bring a clean, modern sophistication to your space.
    • Mix and Match Metals: Don’t hesitate to blend different metallic tones for a layered, dynamic look that adds intrigue without overwhelming the room.

    Pro Tip: Balance metallic accents with softer textures to keep the space cozy and inviting.

    7. Elevate Comfort with Luxurious Fabrics

    Elevate Comfort with Luxurious Fabrics

    Transform your living room into a sanctuary of style and comfort by selecting top-tier fabrics that not only look stunning but also stand the test of time. Investing in premium textiles ensures your furniture feels inviting and adds a touch of elegance to your space. From the smooth richness of leather to the sumptuous softness of velvet, carefully chosen materials can redefine everyday relaxation with a sophisticated flair.

    Don’t overlook the smaller details—accent pieces like throw pillows and blankets are the perfect opportunity to introduce textures that invite coziness and visual interest. Opt for luxurious options such as silk, cashmere, or finely woven cotton to create layers of warmth and refinement that make your living room truly feel like home.

    Elevate Comfort with Luxurious Fabrics

    Key Design Elements

    • Choose upholstery materials like buttery-soft leather or plush velvet to give your sofas and chairs a luxurious and durable finish.
    • Add depth and comfort with throw pillows and blankets crafted from silk, cashmere, or high-quality cotton blends.
    • Select fabrics that balance aesthetics and durability, ensuring your living room stays stylish and inviting for years.

    Pro Tip: Test fabric samples at home to see how their texture and color harmonize with your lighting and décor.

    Elevate Comfort with Luxurious Fabrics
    Elevate Comfort with Luxurious Fabrics

    8. Dive Into Depth: Embrace Bold Hues and Luxurious Textures

    Dive Into Depth: Embrace Bold Hues and Luxurious Textures

    Transform your living room into a captivating haven by incorporating rich, sumptuous colors and tactile finishes that invite both the eye and touch. Think beyond basic neutrals—deep tones like sapphire blue, mossy green, or slate gray instantly elevate the atmosphere, creating a space that feels both inviting and refined. Pair these shades with tactile elements to add layers of interest and warmth, making your living area truly stand out.

    Dive Into Depth: Embrace Bold Hues and Luxurious Textures

    Key Design Elements

    • Choose a palette featuring jewel-toned shades such as sapphire, forest green, or smoky charcoal to infuse your space with elegance and character.
    • Introduce textured wall treatments like metallic-accented wallpaper or plush velvet panels to bring depth and tactile intrigue to your walls.
    • Combine rich colors with varied materials—think woven fabrics, soft rugs, or leather accents—to create a multi-dimensional and cozy environment.

    Pro Tip: Balance bold colors with soft lighting to highlight textures without overwhelming the space.

    9. Create a Cozy Haven with Thoughtful Comfort

    Create a Cozy Haven with Thoughtful Comfort

    Transform your living room into a sanctuary where relaxation takes center stage. Prioritizing comfort doesn’t mean sacrificing style; instead, it’s about selecting pieces that invite you to unwind and linger longer. From plush seating to carefully chosen accessories, every element should beckon you to sink in and savor the moment.

    Create a Cozy Haven with Thoughtful Comfort

    Key Design Elements

    • Choose seating with generous padding and supportive cushions that invite you to relax in style.
    • Layer your space with soft, inviting throws and an array of textured pillows to add warmth and depth.
    • Consider materials that feel gentle to the touch, ensuring every moment spent is a comfortable one.

    Pro Tip: Invest in furniture that balances both ergonomic support and aesthetic appeal for lasting comfort.

    10. Elevate Your Coffee Table: Artful Arrangements That Impress

    Elevate Your Coffee Table: Artful Arrangements That Impress

    Your coffee table is more than just a functional piece—it’s the centerpiece of your living room’s vibe. By thoughtfully curating a blend of textures and objects, you can turn this everyday surface into a stylish focal point that reflects your personality and invites conversation. With a few carefully chosen items, your coffee table can balance elegance and practicality effortlessly.

    Elevate Your Coffee Table: Artful Arrangements That Impress

    Key Design Elements

    • Curate a stack of visually striking books or fresh magazines that speak to your interests, creating layers of color and texture.
    • Incorporate a sleek decorative tray to group smaller accents like scented candles, a petite bouquet of seasonal blooms, or an eye-catching sculptural piece.
    • Add personal touches such as unique collectibles or natural elements like polished stones to infuse warmth and character.

    Pro Tip: Keep your arrangement balanced by mixing different heights and materials to maintain visual interest without clutter.

    Elevate Your Coffee Table: Artful Arrangements That Impress
    Elevate Your Coffee Table: Artful Arrangements That Impress
    Elevate Your Coffee Table: Artful Arrangements That Impress
    Elevate Your Coffee Table: Artful Arrangements That Impress
    Elevate Your Coffee Table: Artful Arrangements That Impress
    Elevate Your Coffee Table: Artful Arrangements That Impress
    Elevate Your Coffee Table: Artful Arrangements That Impress

    Final Thoughts

    Transforming your living room into a sanctuary of luxury and comfort is not just about aesthetics—it’s about elevating the way you experience your home every day. By embracing the inspiring design ideas shared here, you have the power to create a space that reflects your unique style while offering unparalleled elegance and warmth. Remember, luxury living is a feeling as much as it is a look, and with thoughtful choices, your living room can become a stunning retreat that welcomes you and your loved ones with open arms.

    Now is the perfect moment to take that first step toward reimagining your space. Whether you’re drawn to sleek modern lines, plush textures, or sophisticated accents, allow your vision to guide you confidently. As you bring these design inspirations to life, you’ll discover that elevating your living room not only transforms your home but also enriches your everyday moments. Embrace the journey with enthusiasm—your dream luxurious living room awaits.

  • Creative Small Backyard Patio Designs to Transform Your Outdoor Space into a Cozy Retreat

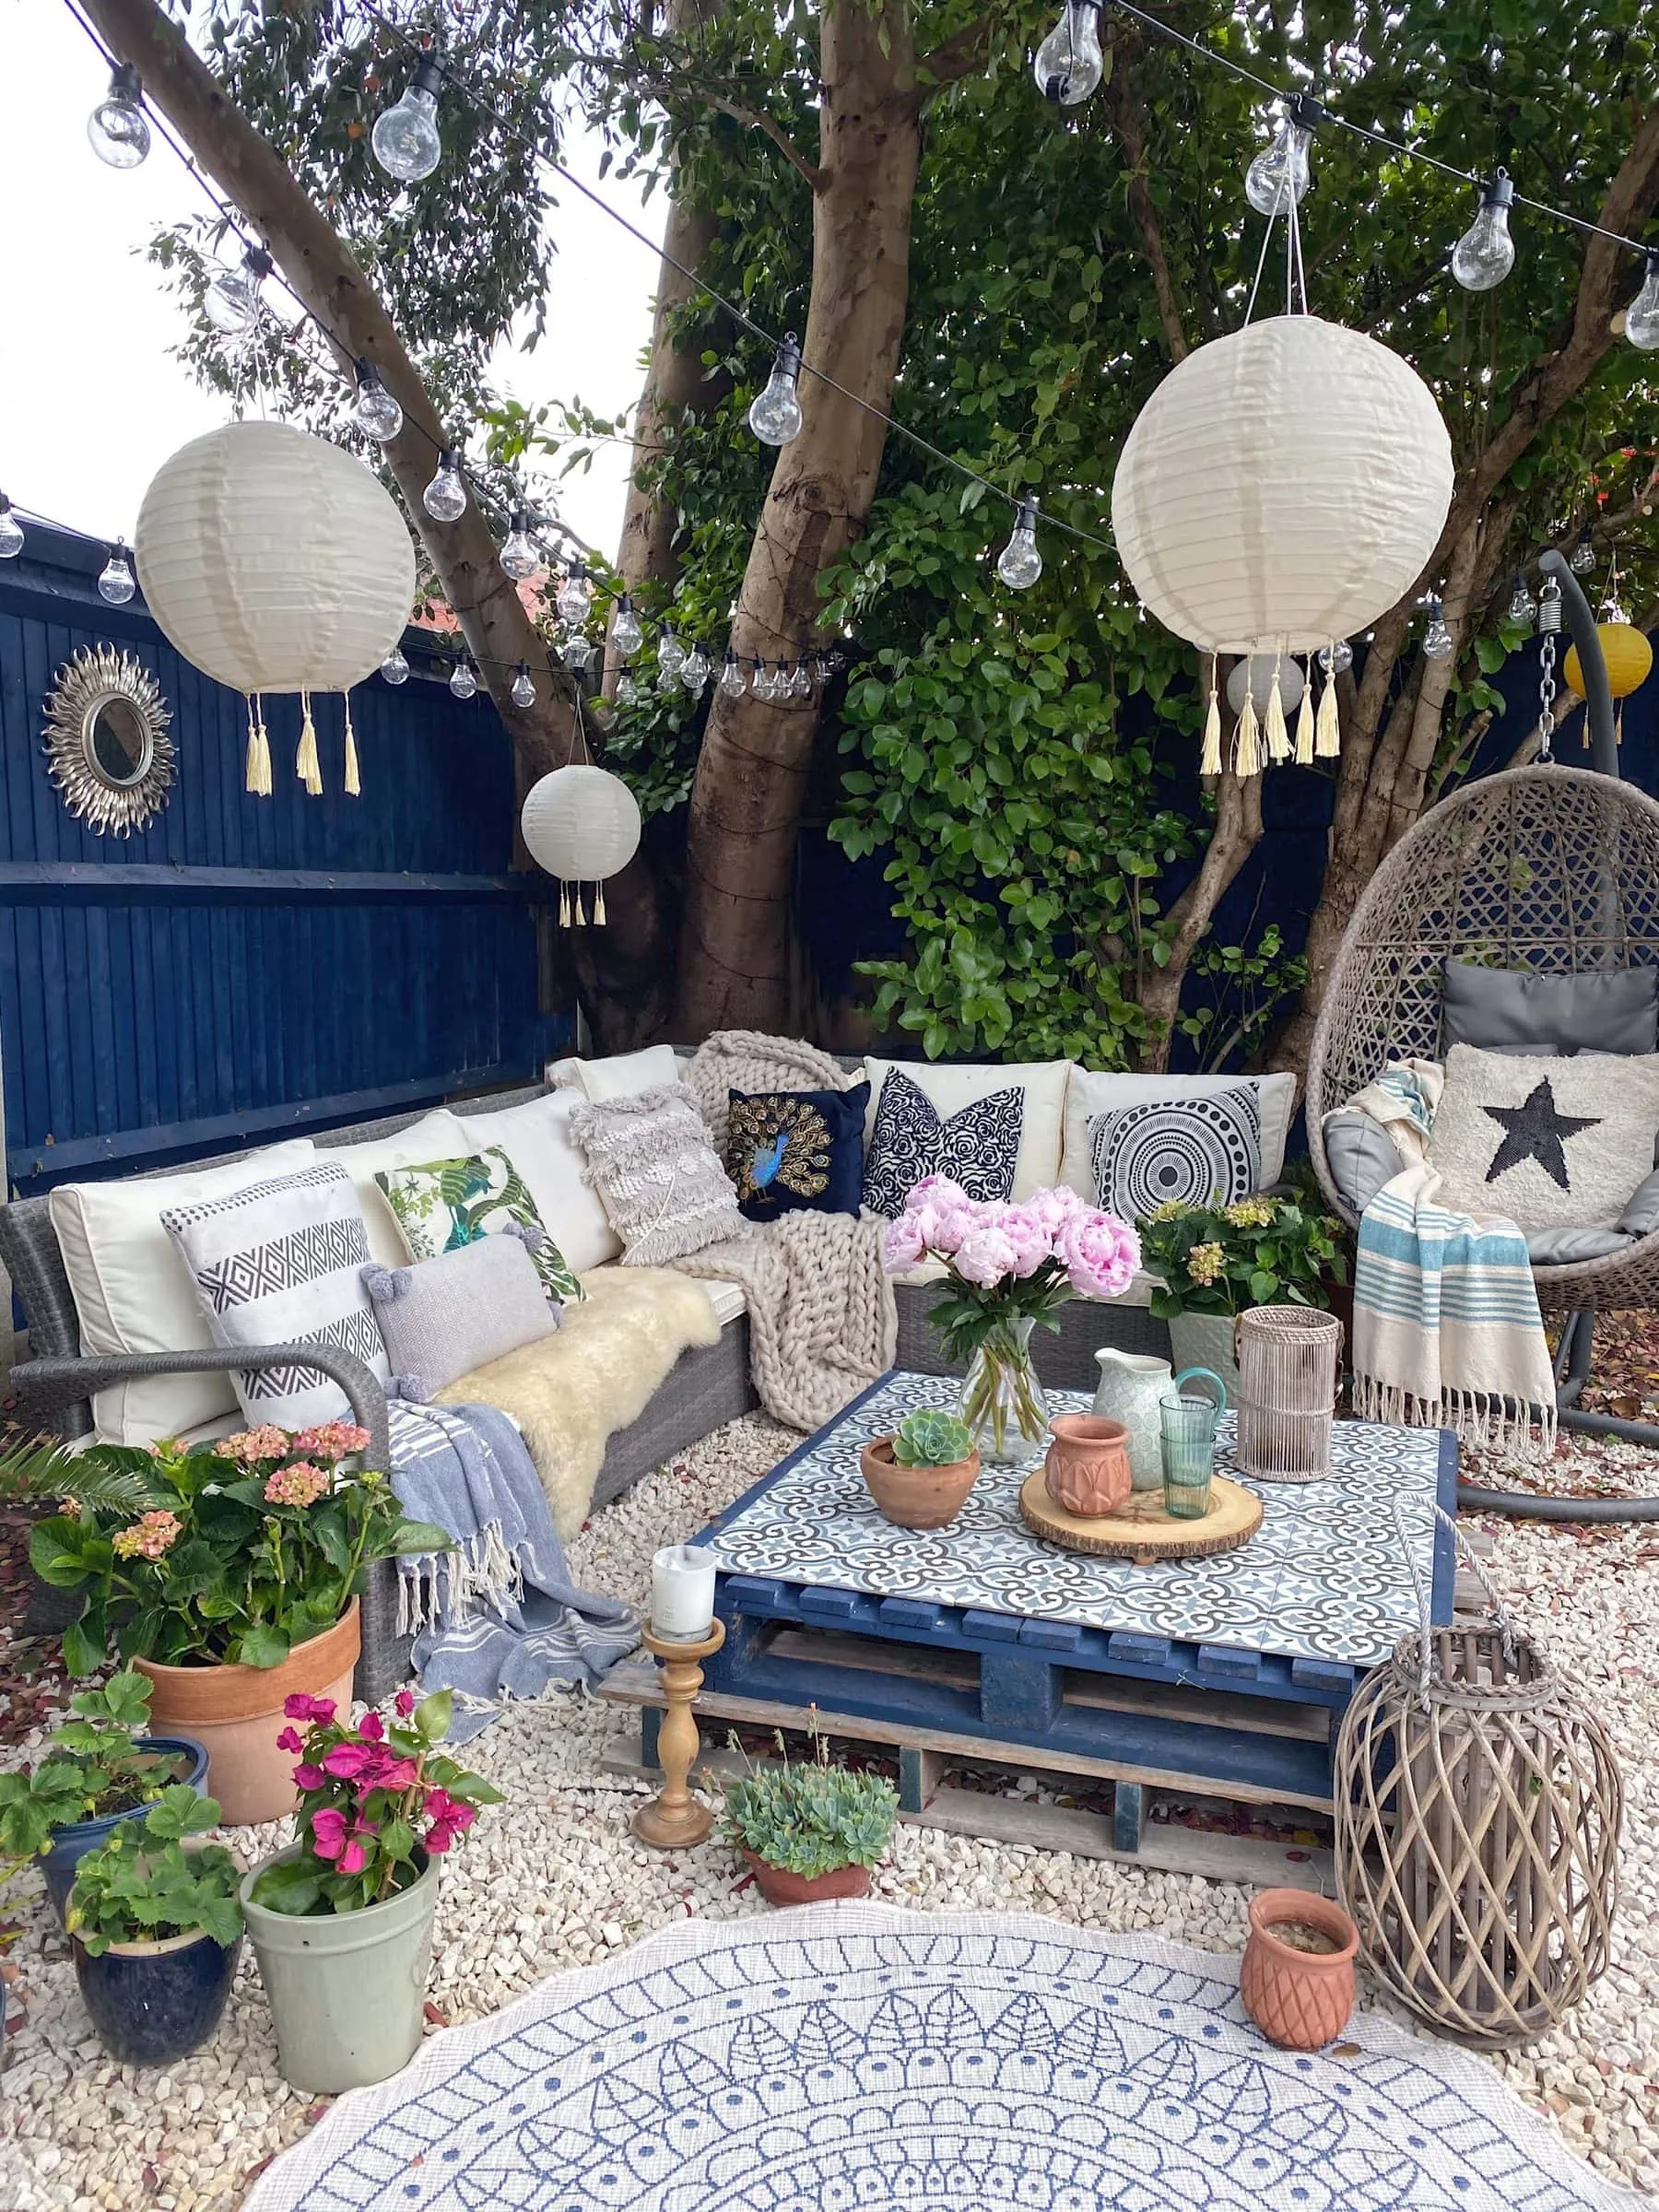
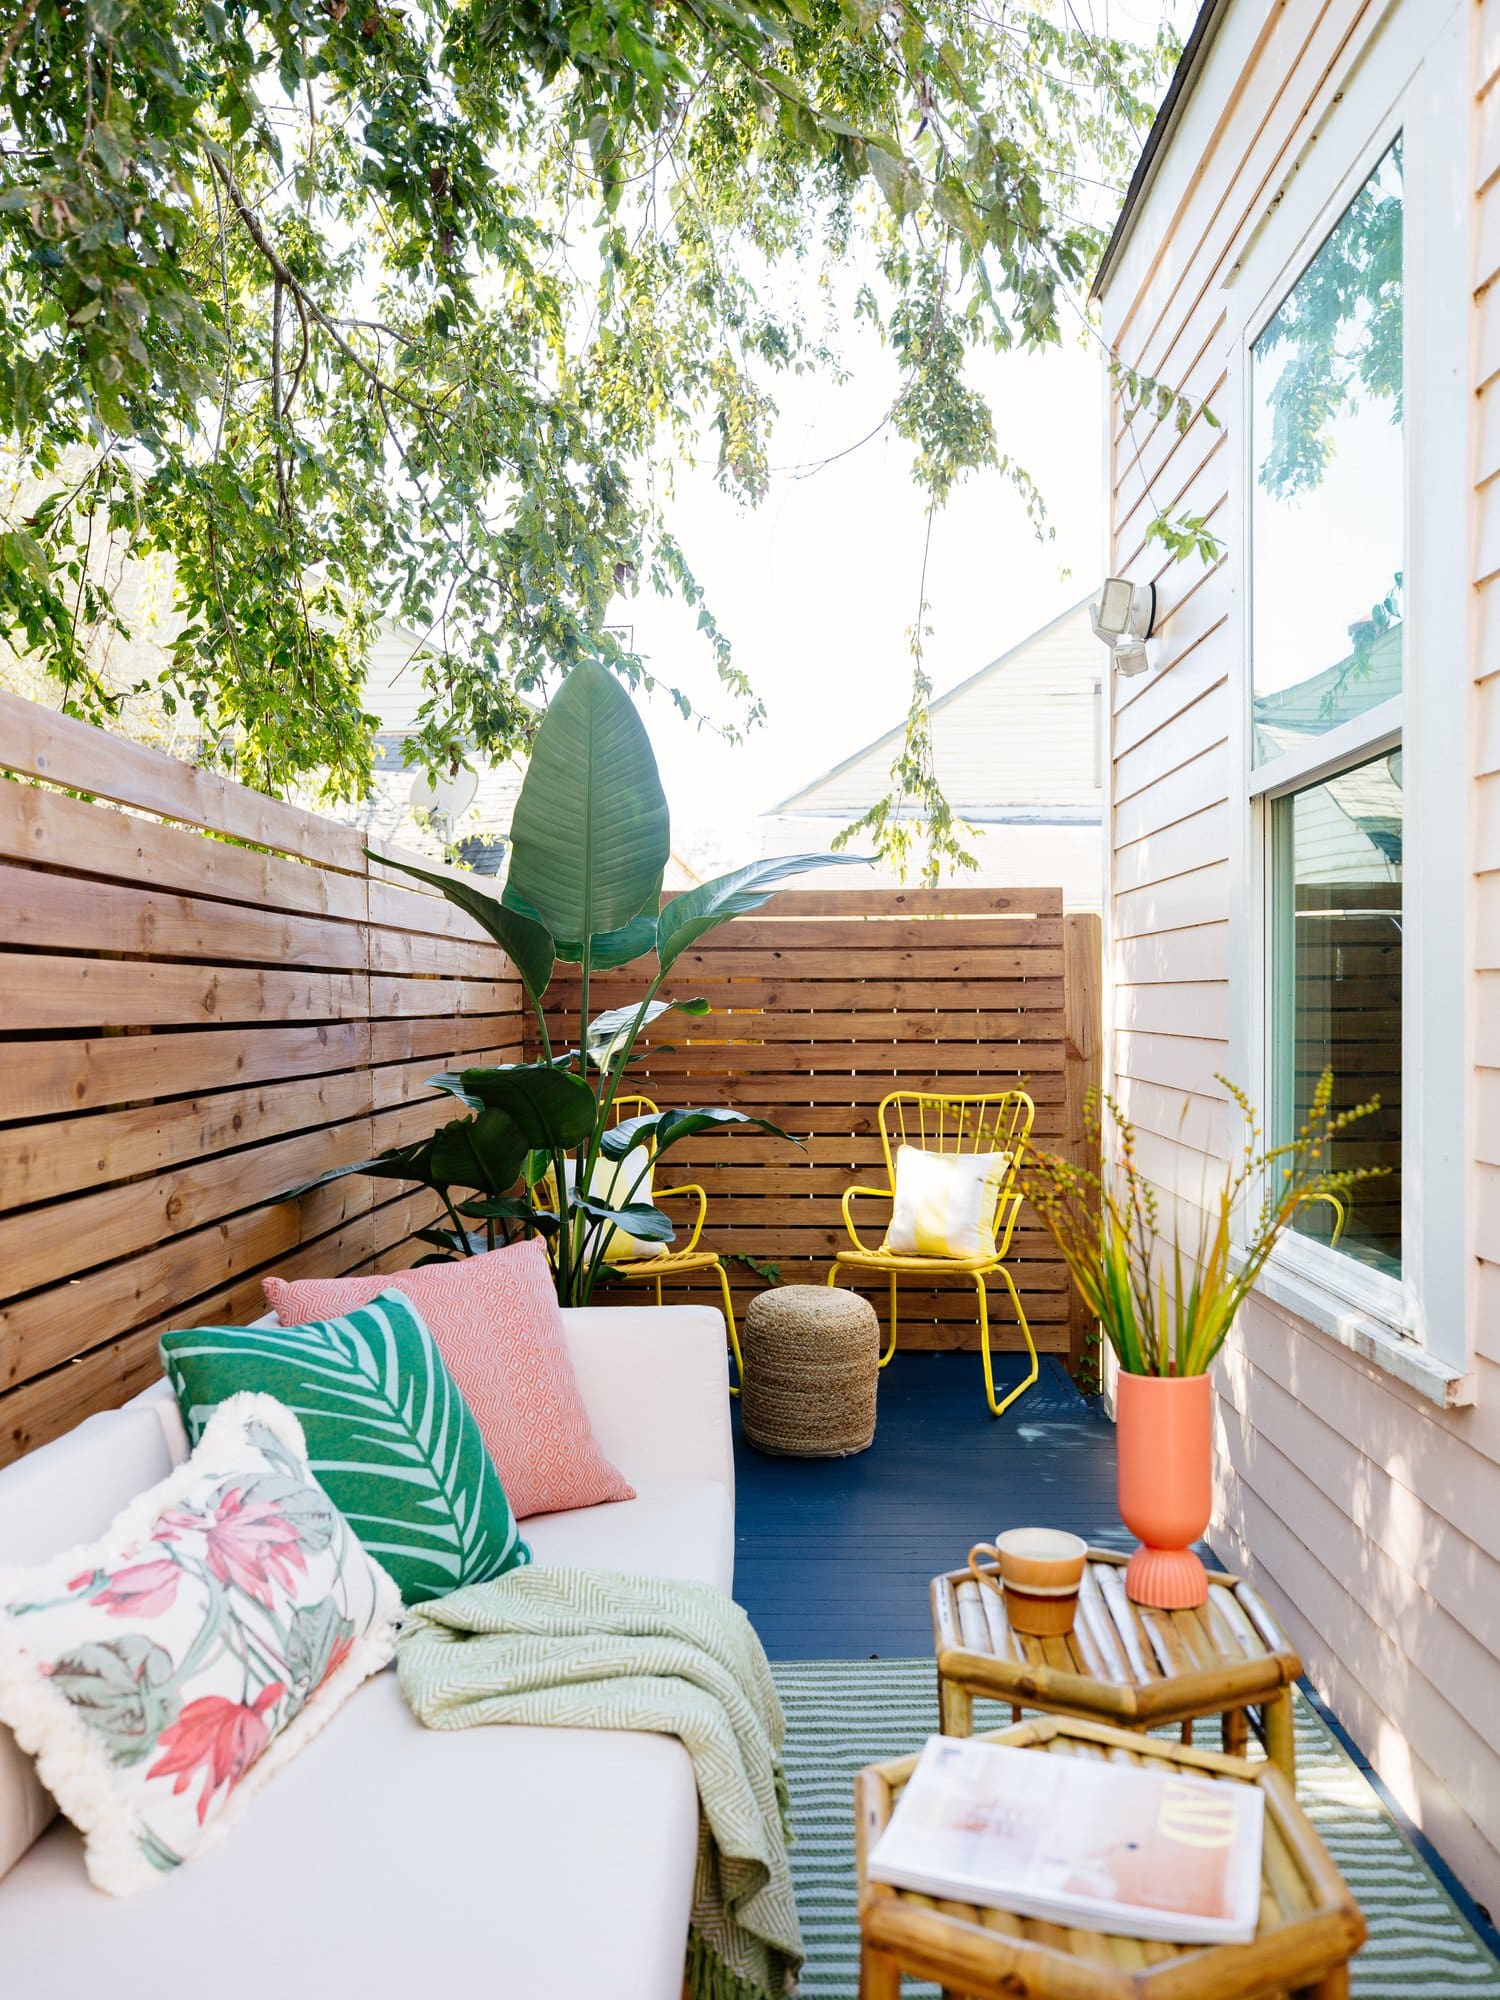
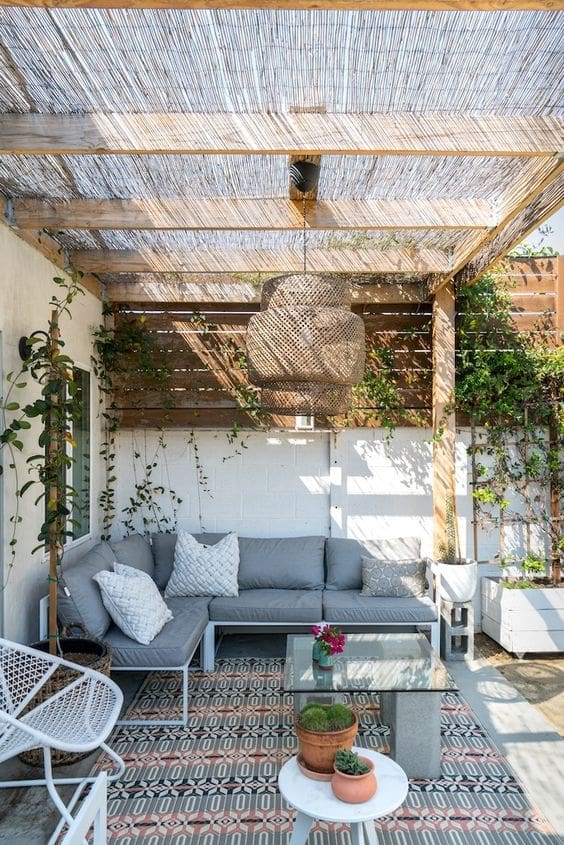
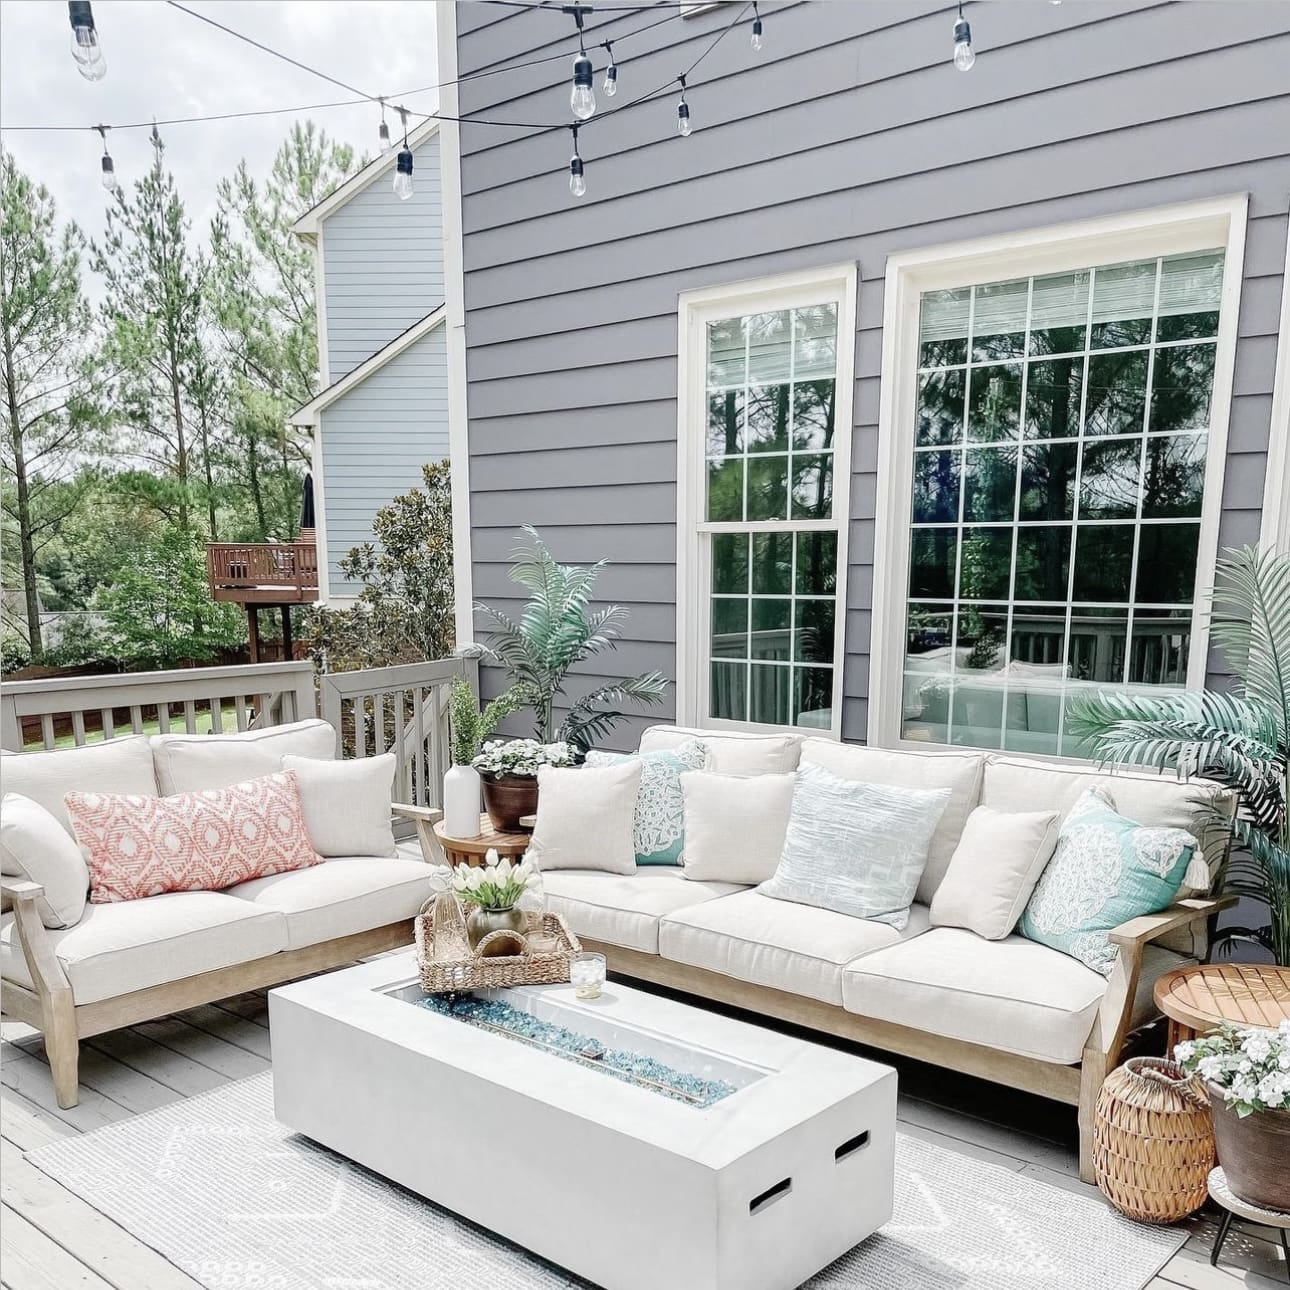
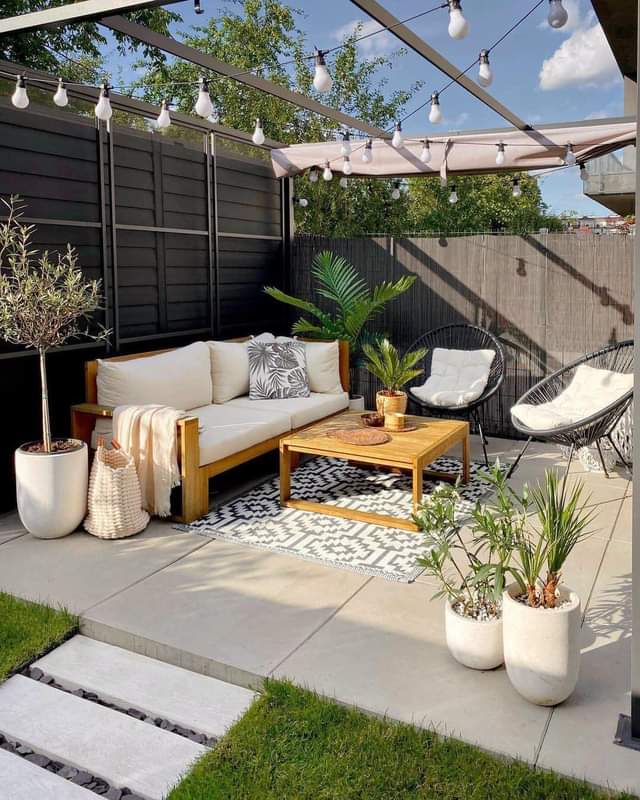
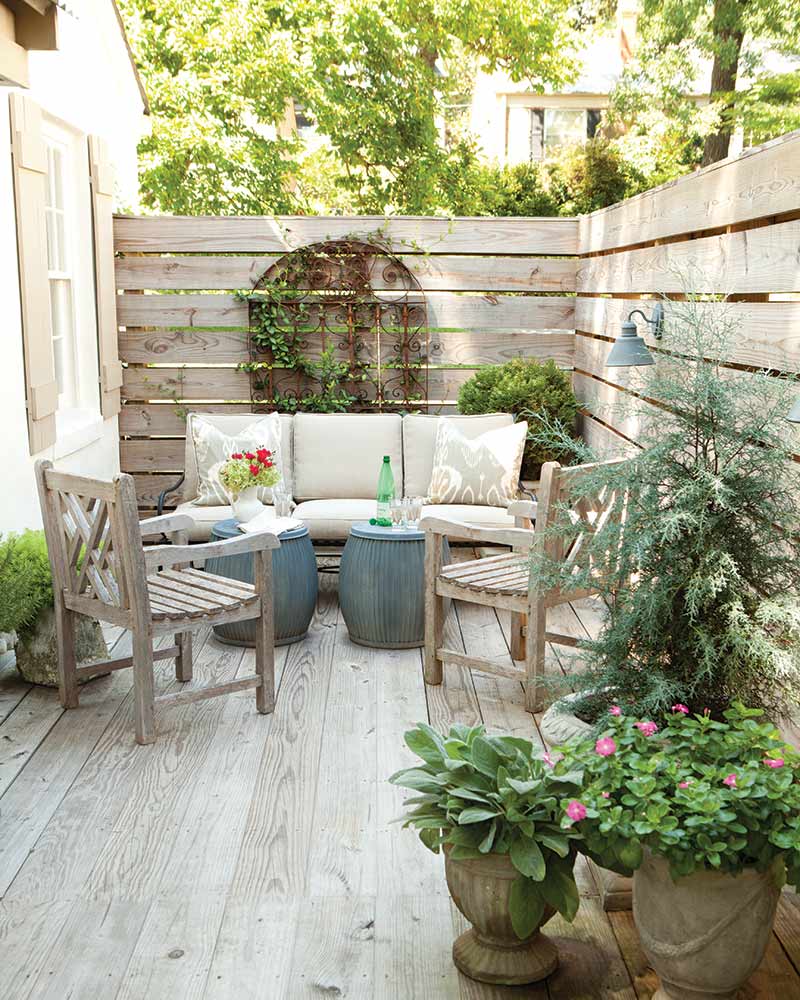
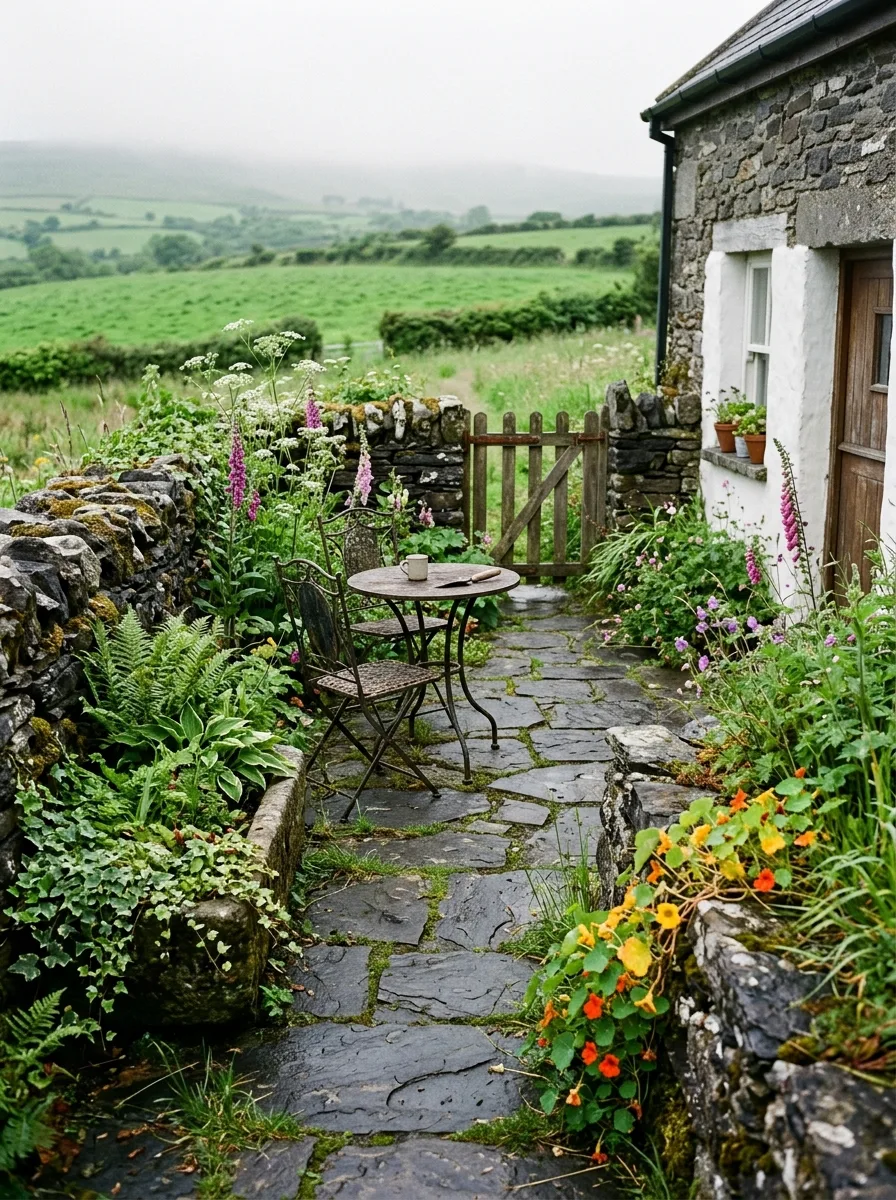
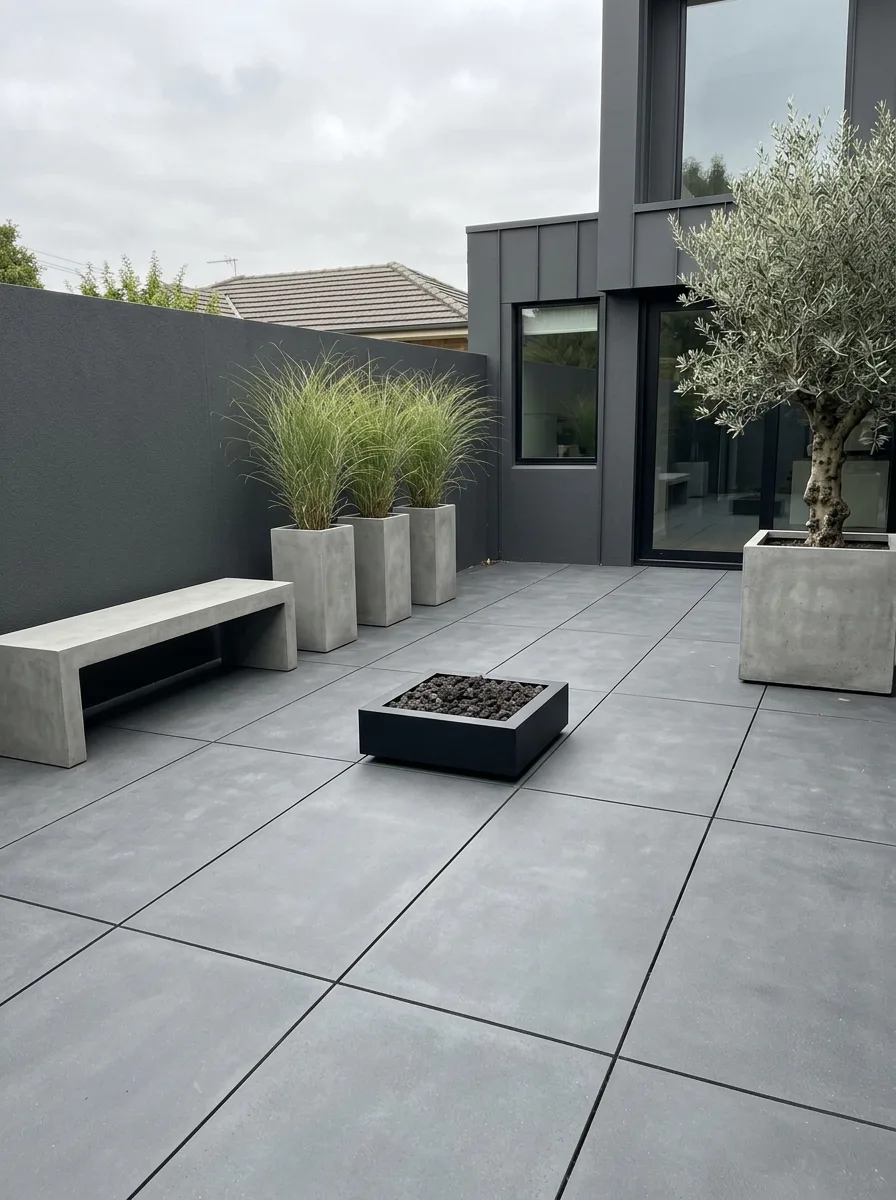
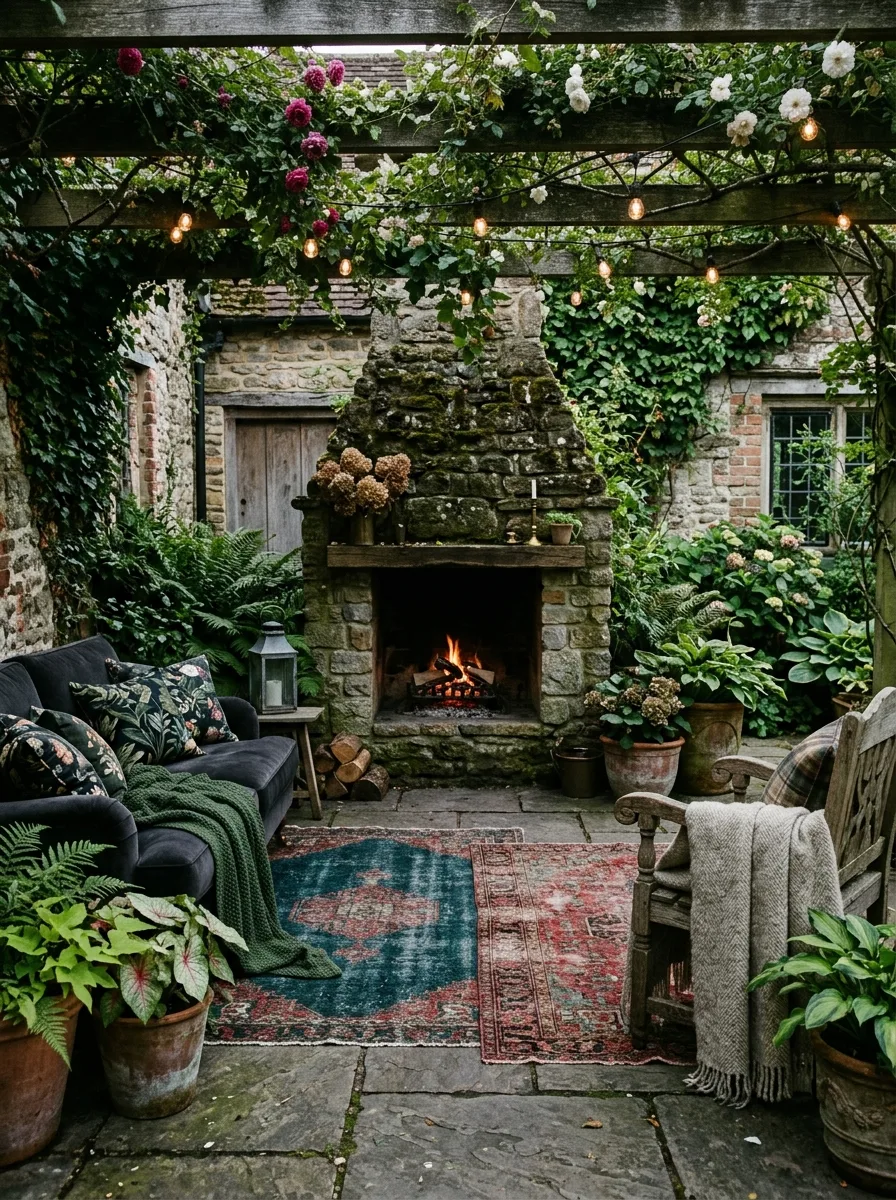
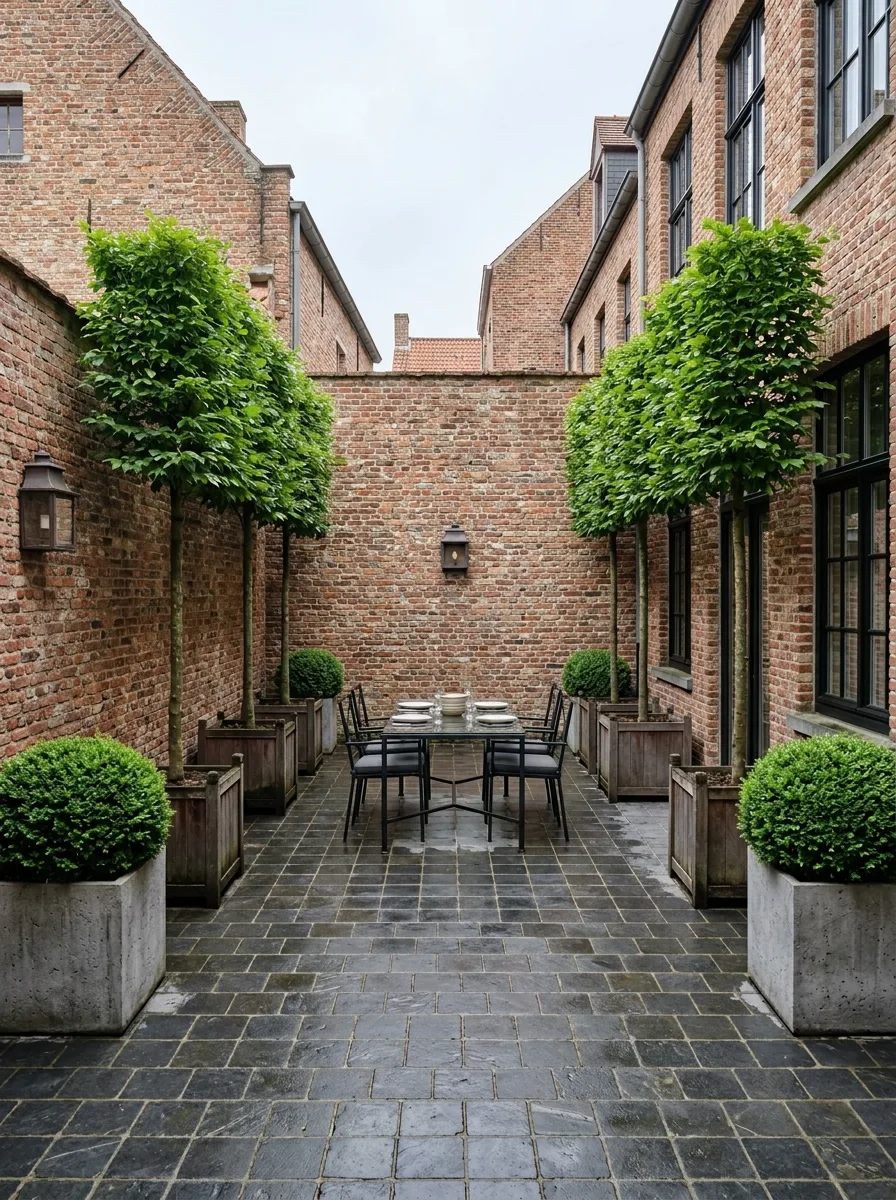
    Transforming a small backyard patio into a cozy retreat might seem like a challenge, but with a little creativity and thoughtful design, even the most modest outdoor space can become a personal sanctuary. Whether you’re looking to unwind after a long day, entertain close friends, or simply enjoy a quiet moment surrounded by nature, your small patio holds untapped potential to offer comfort and style. The key lies in making smart choices that maximize space while reflecting your unique taste and lifestyle.

    In this article, we’ll explore a variety of practical and stylish ideas to help you reimagine your compact outdoor area. From clever furniture arrangements and lush greenery to ambient lighting and charming décor touches, these concepts are designed to inspire you to craft a welcoming atmosphere without overwhelming your space. Whether you prefer modern minimalism or rustic charm, you’ll find plenty of ways to turn your small patio into a warm, inviting retreat you’ll love spending time in year-round.

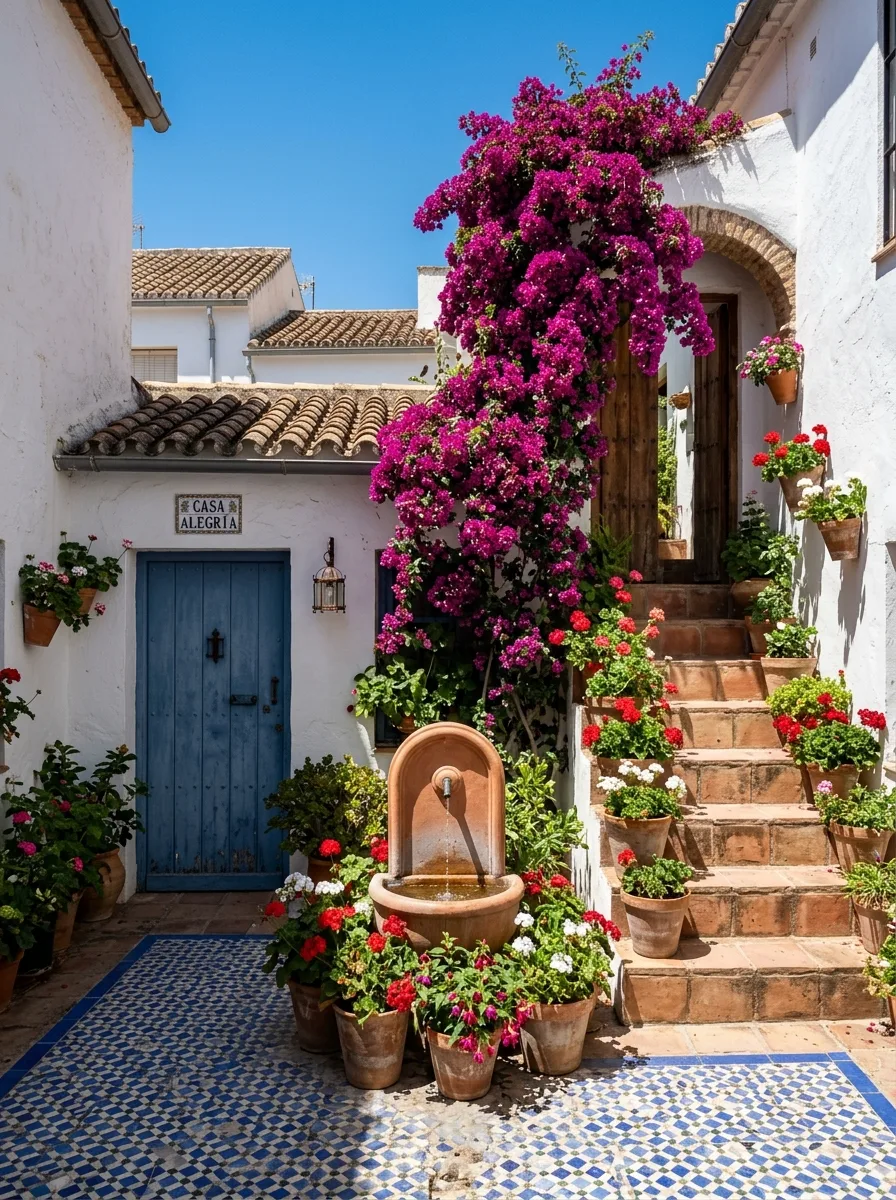
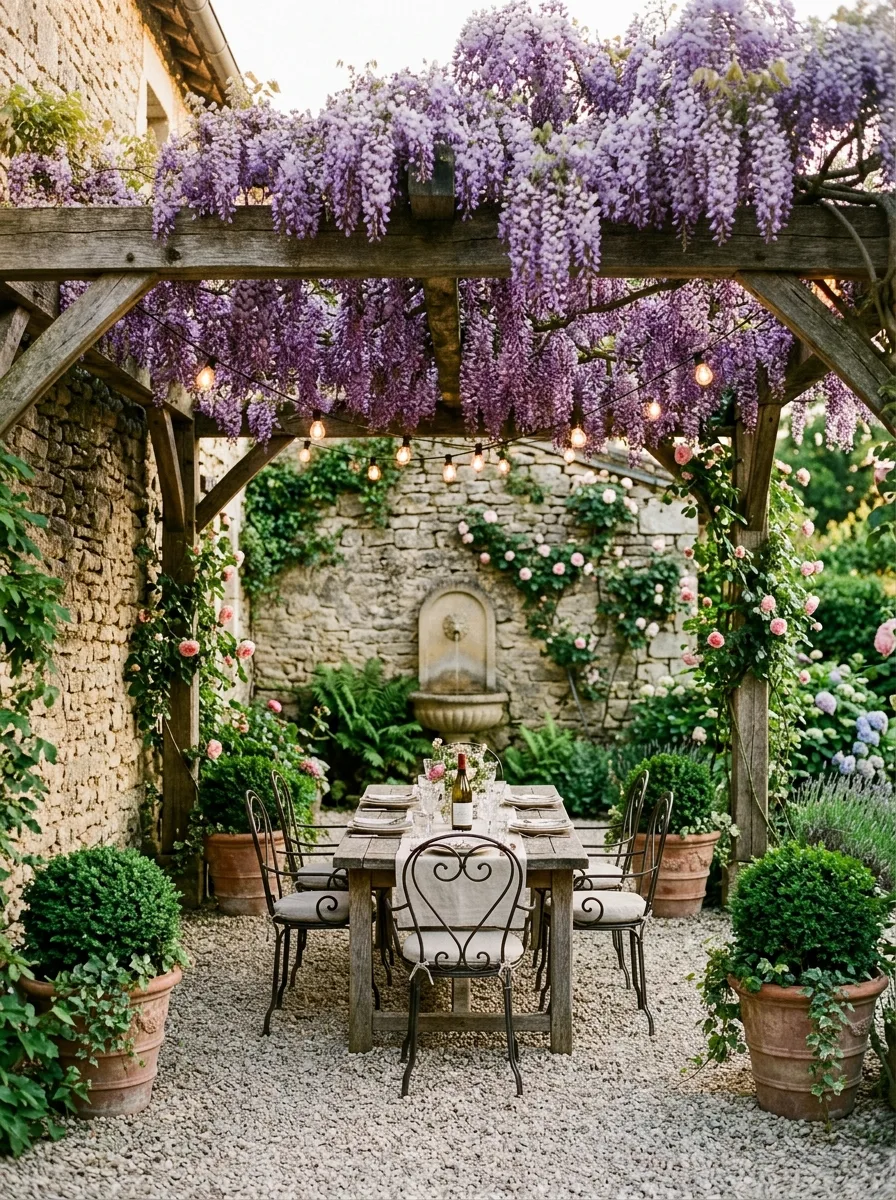
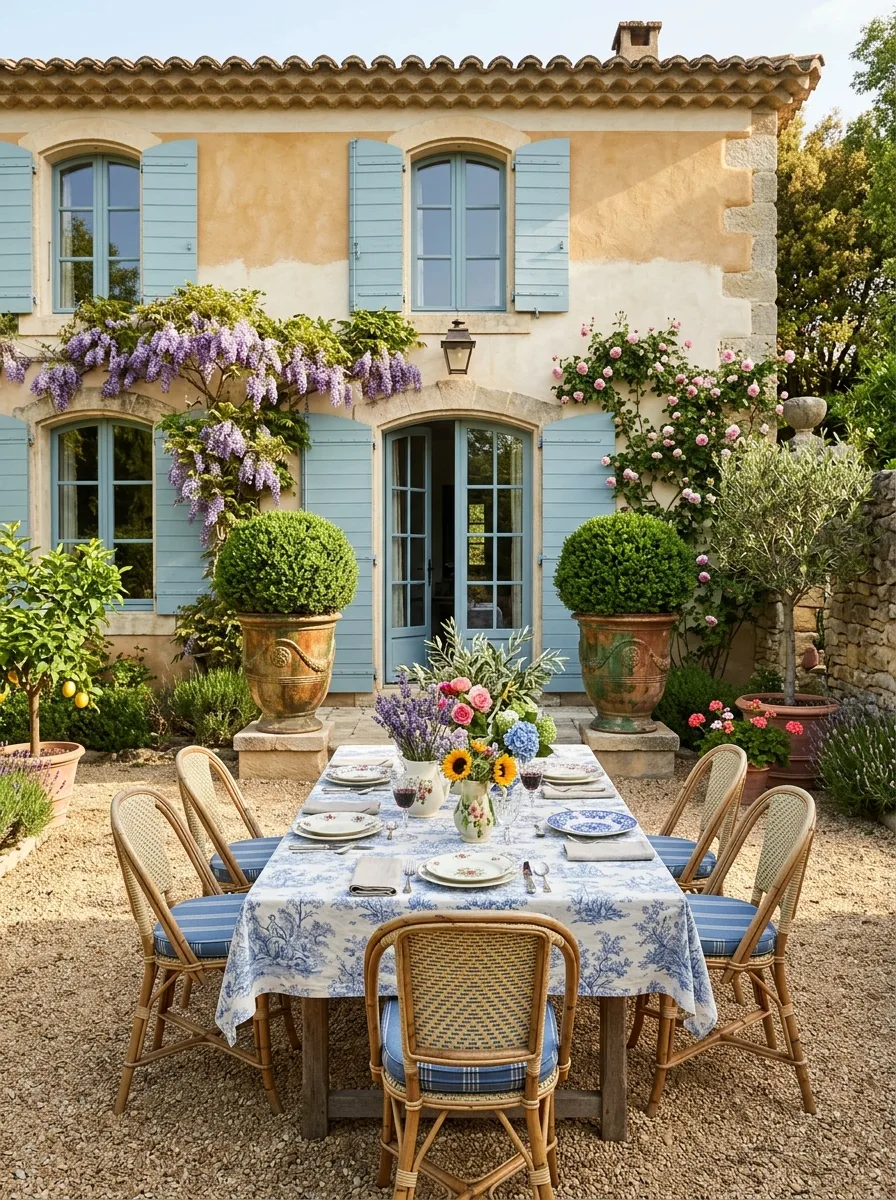
    1. Bring the Essence of the Mediterranean to Your Outdoor Space

    Bring the Essence of the Mediterranean to Your Outdoor Space

    Transform your patio into a serene retreat that echoes the inviting ambiance of the Mediterranean coast. Embrace a soothing blend of sun-kissed earth tones and vibrant ocean hues to create a balanced and welcoming atmosphere. Layer in natural textures and timeless materials to evoke rustic elegance and enduring charm.

    Key Design Elements

    • Select a color scheme featuring warm terracotta, soft ochre, and hints of deep sea blue to reflect the Mediterranean landscape.
    • Incorporate materials like textured stone tiles, handcrafted terra cotta pots, and wrought iron furniture for authentic character.
    • Add wooden accents, such as a pergola or rustic benches, to enhance the natural, laid-back feel of the space.

    Pro Tip: Use climbing plants like bougainvillea or jasmine to add vibrant color and a fragrant touch reminiscent of Mediterranean gardens.

    2. Transform Your Patio into a Verdant Haven

    Transform Your Patio into a Verdant Haven

    Bring the vibrant energy of a tropical retreat right to your backyard by incorporating rich, green foliage and colorful accents. Choose a variety of plants with broad leaves and striking shapes to add depth and texture. Thoughtfully arrange them to craft a serene and inviting outdoor escape.

    Key Design Elements

    • Select a mix of tall statement plants like palms and banana trees along with smaller ferns and philodendrons for layered greenery.
    • Use decorative pots and planters to add pops of color and style that complement your patio’s overall design.
    • Position plants near seating areas and corners to create natural shade and cozy, intimate spots.

    Pro Tip: Rotate your plants periodically to ensure even growth and maintain a well-balanced look.

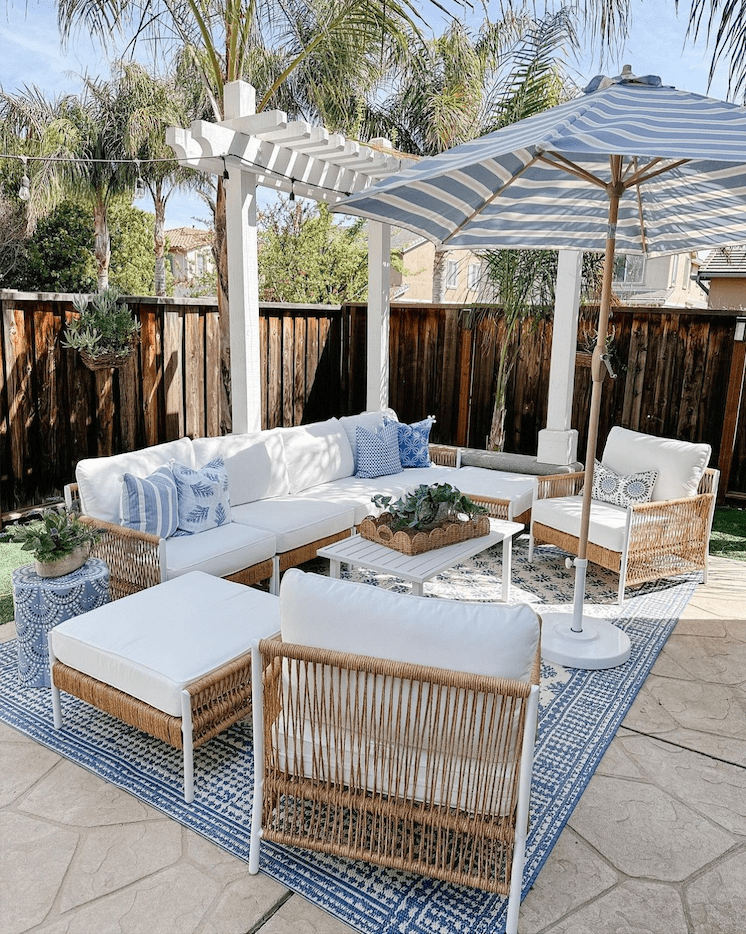
    3. Elevate Your Patio with a Stylish Pergola

    Elevate Your Patio with a Stylish Pergola

    Adding a pergola to your outdoor space creates a perfect balance of sunlight and shade, making it an inviting spot to relax or entertain. This architectural feature not only enhances comfort but also adds a touch of sophistication and charm to your patio design. It’s an excellent way to define your outdoor living area while blending beauty and function seamlessly.

    Key Design Elements

    • Choose materials and colors that complement your home’s exterior for a cohesive look.
    • Incorporate climbing plants or hanging lights to create a cozy, inviting atmosphere.
    • Consider adjustable or retractable canopies for customizable shade throughout the day.

    Pro Tip: Install string lights or lanterns on your pergola to extend its usability well into the evening.

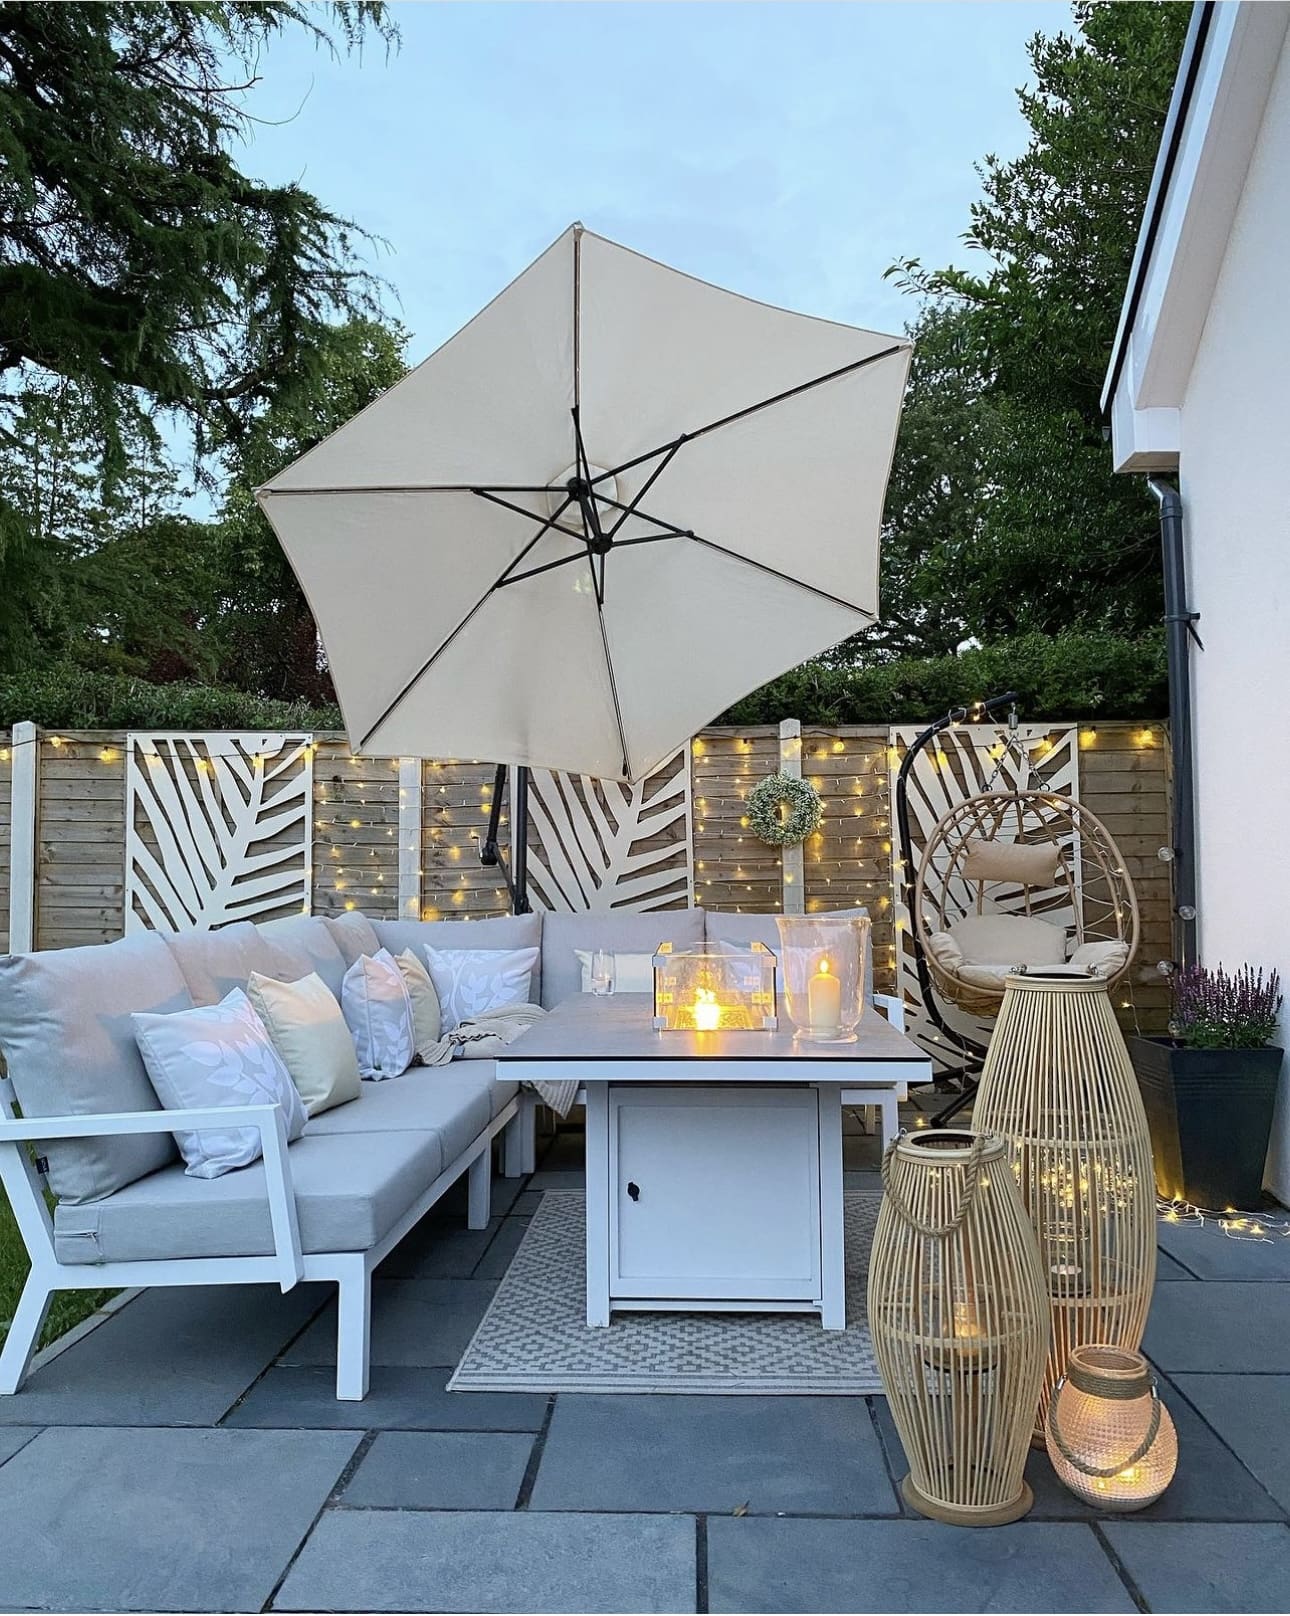
    4. Brighten Up Your Patio with Soft-Hued Furnishings

    Brighten Up Your Patio with Soft-Hued Furnishings

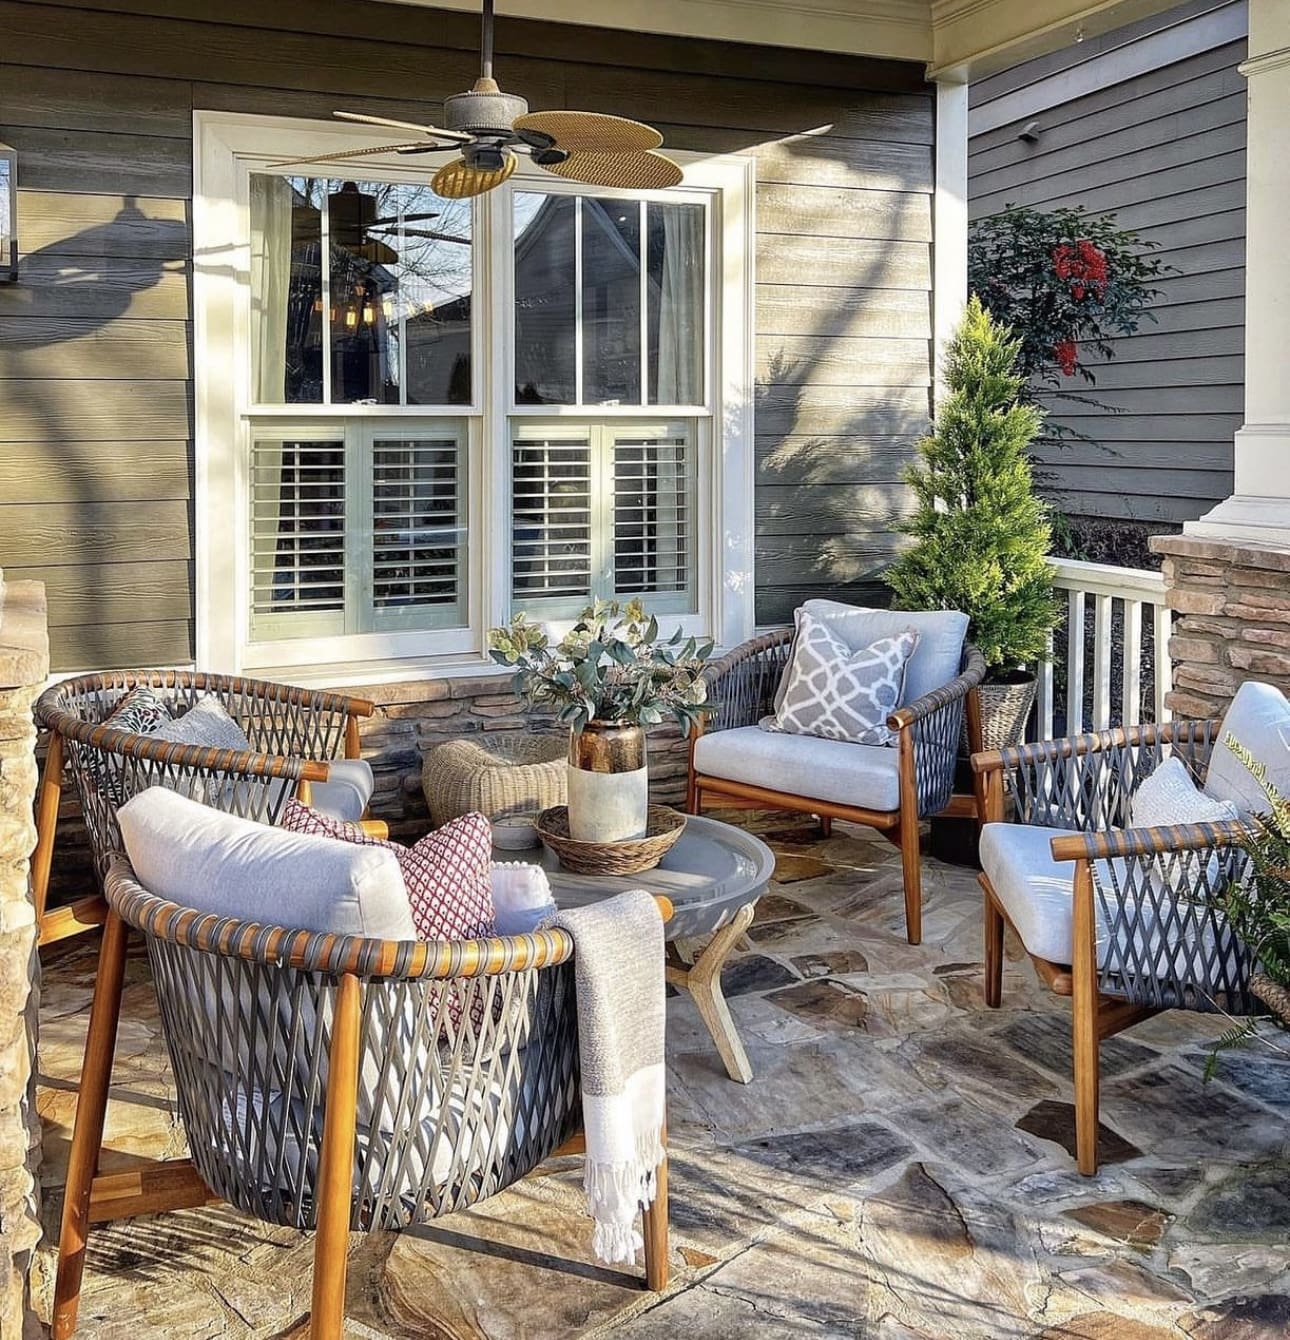
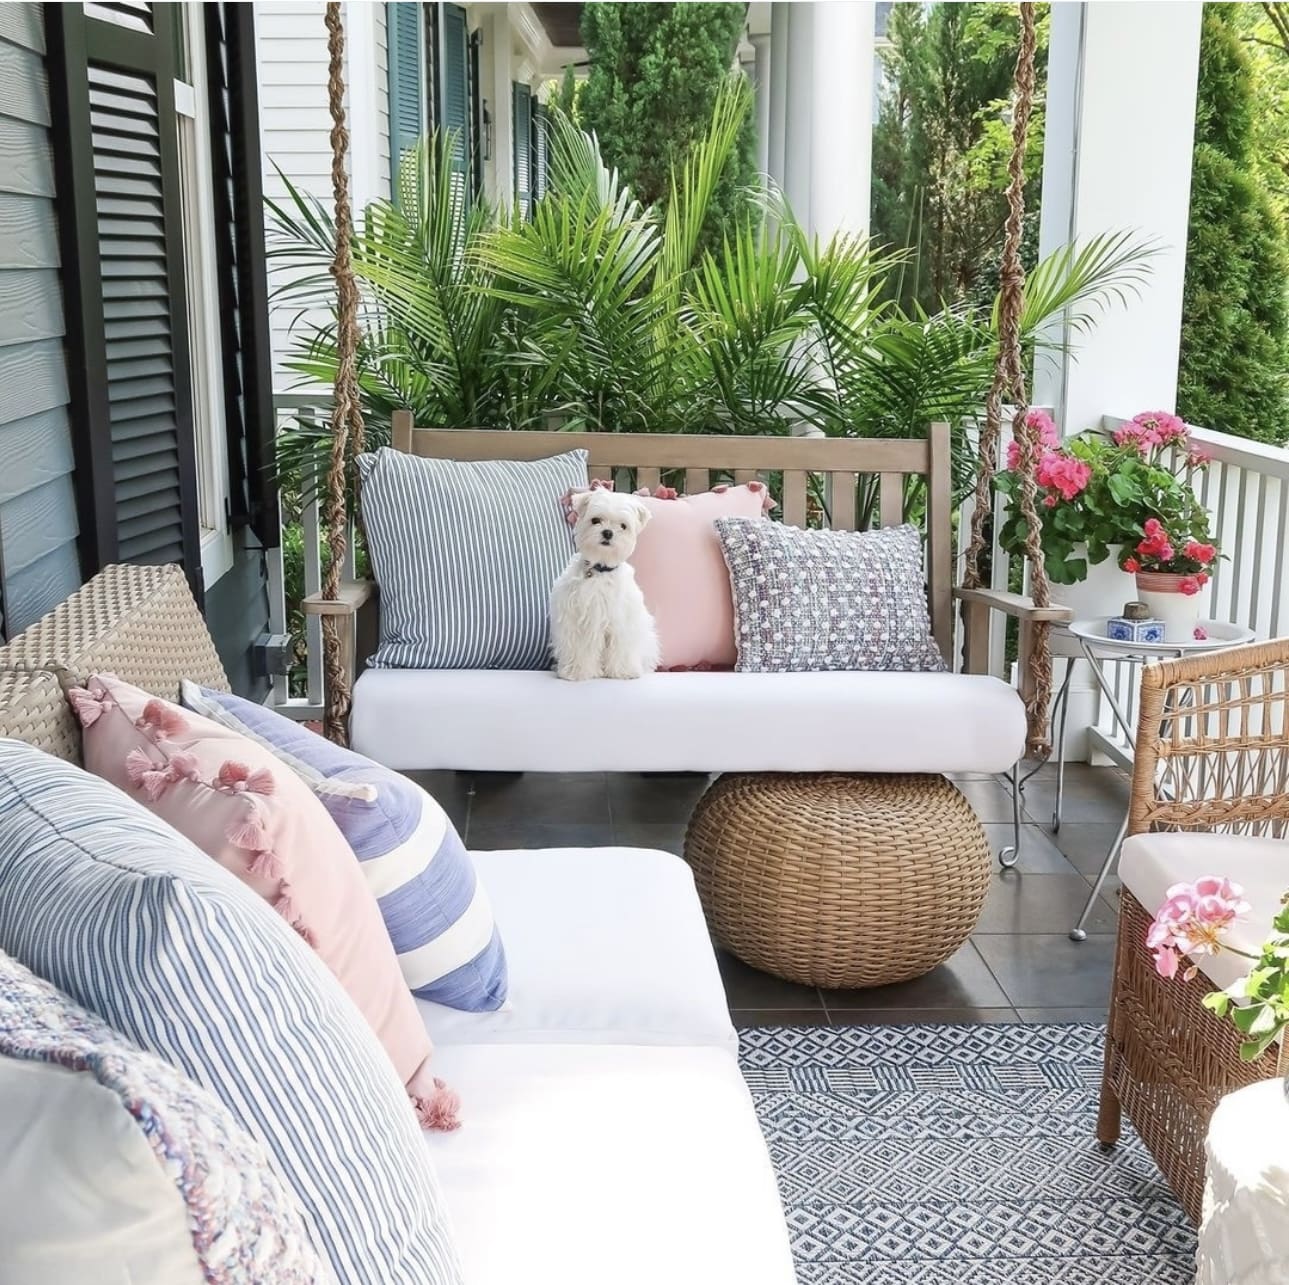
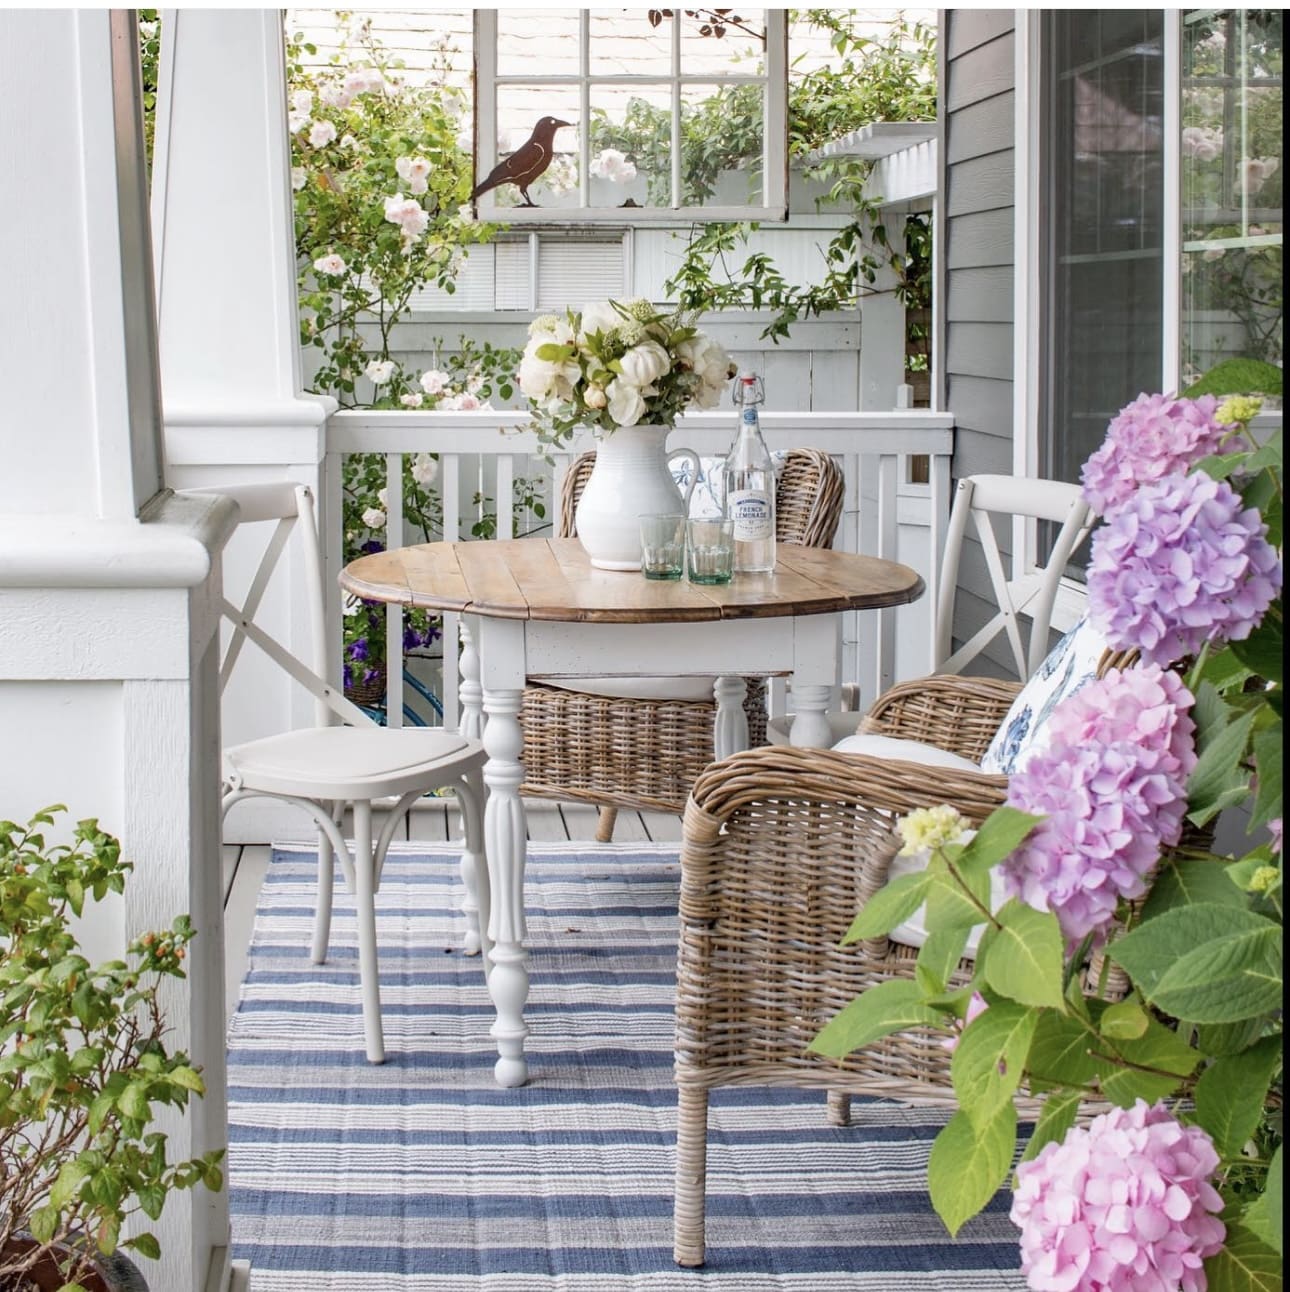
    Choosing furniture in soft, light shades can instantly open up a compact patio, creating an airy and inviting atmosphere. These gentle tones not only enhance the feeling of space but also bring a timeless elegance that effortlessly complements any outdoor style. Embracing light-colored pieces ensures your outdoor area remains fresh and stylish year after year.

    Key Design Elements

    • Opt for cushions and pillows in pastel or neutral colors to maintain a cohesive light aesthetic.
    • Pair light furniture with natural greenery to add contrast and vibrancy without overwhelming the space.
    • Regularly clean and maintain light surfaces to preserve their bright and welcoming appearance.

    Pro Tip: Use weather-resistant fabrics in light tones to combine beauty with durability for your outdoor furniture.

    5. Create a Welcoming Outdoor Retreat

    Create a Welcoming Outdoor Retreat

    Transform your patio into a relaxing haven by choosing seating that beckons you to unwind. Opt for plush cushions and soft pillows in rich, earthy tones to add warmth and comfort. Layering textures and colors will make your outdoor space feel inviting and stylish.

    Key Design Elements

    • Select weather-resistant cushions that combine durability with softness.
    • Mix and match throw pillows in various sizes and patterns to add visual interest.
    • Incorporate cozy blankets for chilly evenings to extend your outdoor enjoyment.

    Pro Tip: Use slipcovers for cushions and pillows to easily refresh your patio’s look each season.

    6. Cozy Up Your Outdoor Space with Stylish Layers

    Cozy Up Your Outdoor Space with Stylish Layers

    Bring warmth and personality to your patio by layering cushions, pillows, and throws made from durable, weather-friendly fabrics. Choose hues and patterns that reflect your personal style while adding depth and softness to your seating areas. These thoughtful additions not only elevate comfort but also create a welcoming atmosphere.

    Key Design Elements

    • Select cushions and pillows in quick-dry, fade-resistant materials to withstand outdoor conditions.
    • Mix and match textures like woven, knitted, and smooth fabrics to create visual interest.
    • Incorporate throws that can be easily stored or draped to provide extra warmth on cooler evenings.

    Pro Tip: Opt for removable, washable covers to keep your outdoor textiles fresh and inviting year-round.

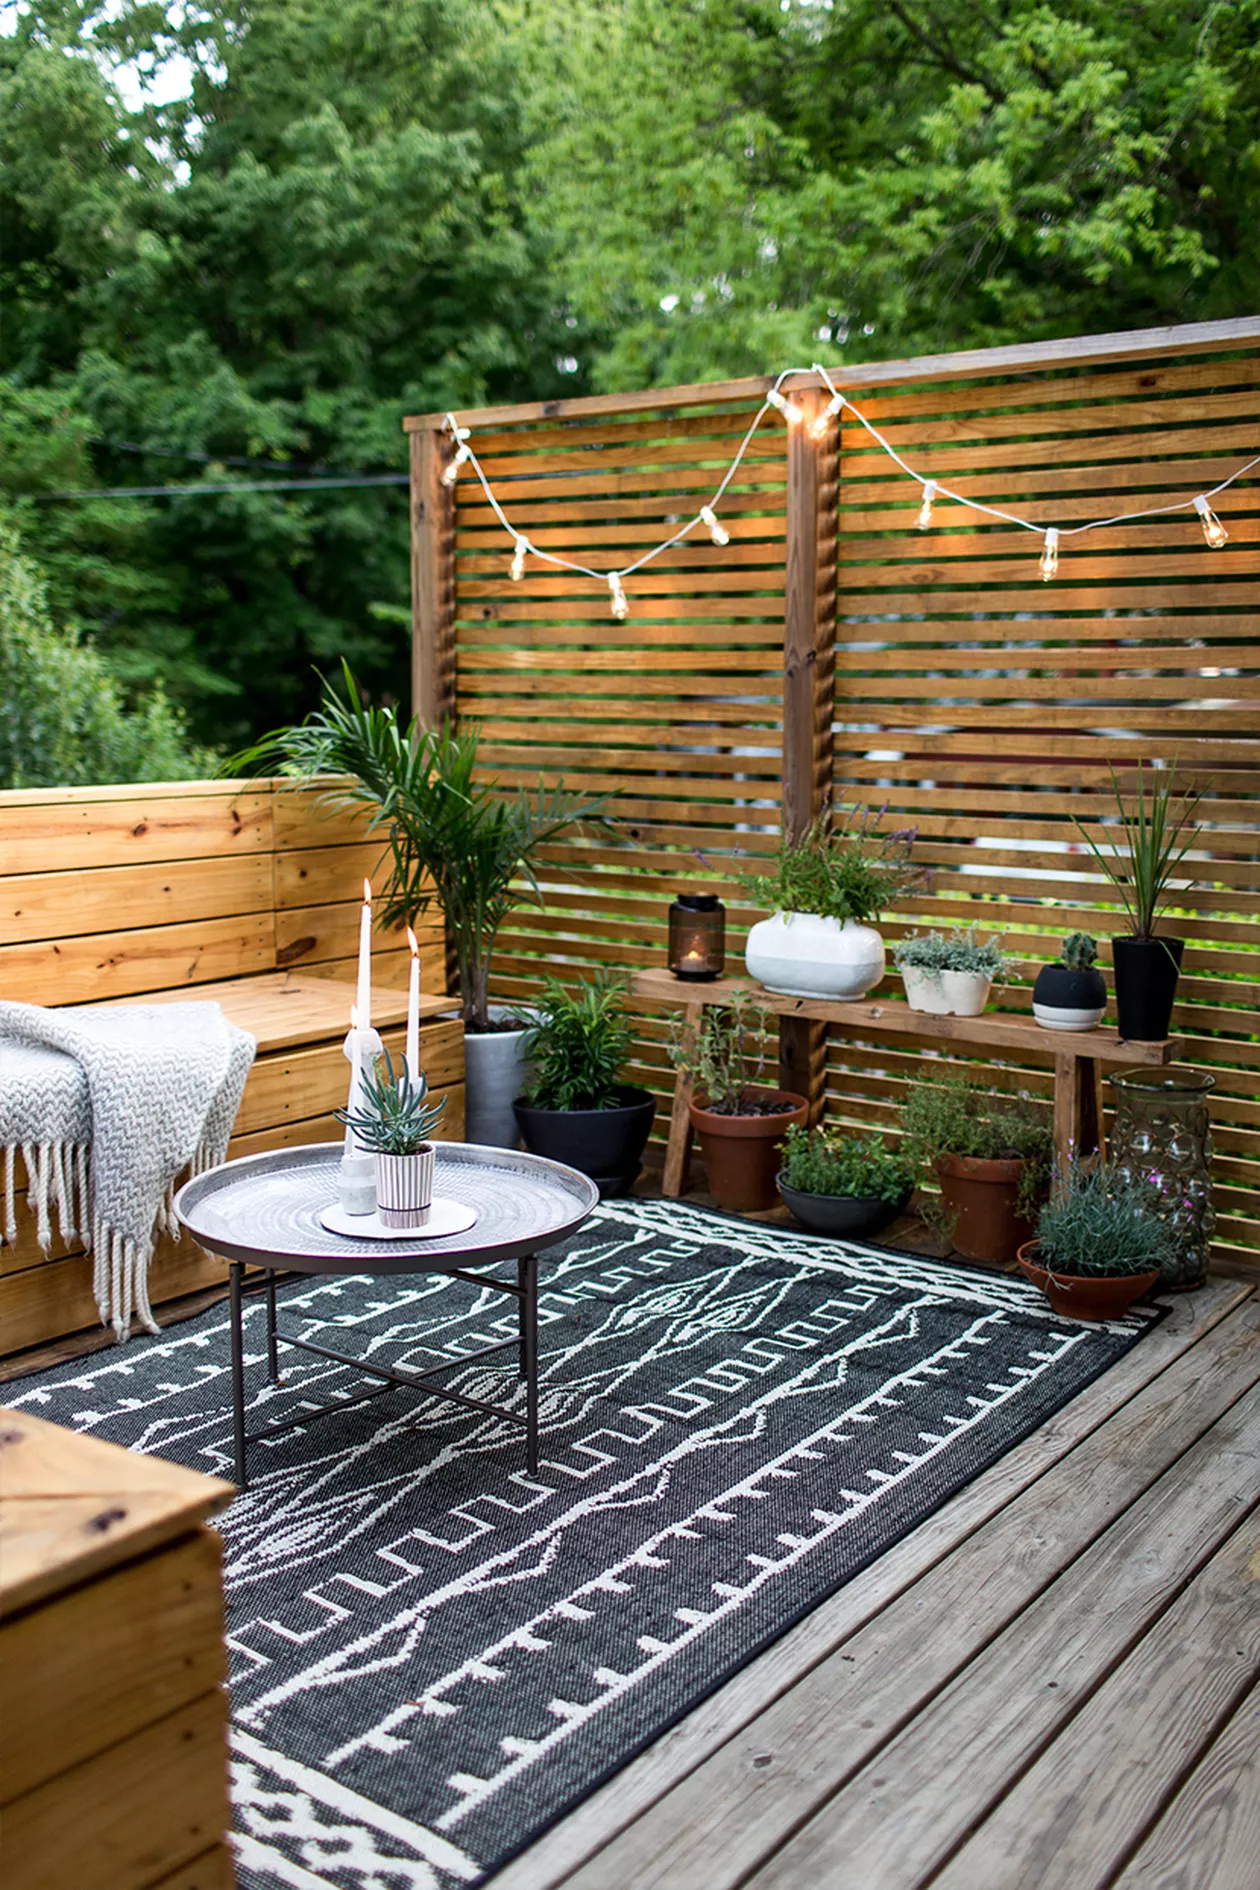
    7. Bring Life to Your Patio with Versatile Plant Displays

    Bring Life to Your Patio with Versatile Plant Displays

    Incorporating plants into your patio design is a fantastic way to introduce natural beauty without sacrificing space. By strategically positioning potted plants on surfaces like tables and shelves or suspending them from hooks, you can create a lush, inviting atmosphere that feels both cozy and vibrant. This approach allows you to enjoy greenery without cluttering your patio floor.

    Key Design Elements

    • Choose lightweight pots for easy rearranging and hanging.
    • Mix different plant sizes and types to add texture and interest.
    • Use wall-mounted shelves or hanging planters to free up floor space.

    Pro Tip: Rotate your plants regularly to ensure even sunlight exposure and healthy growth.

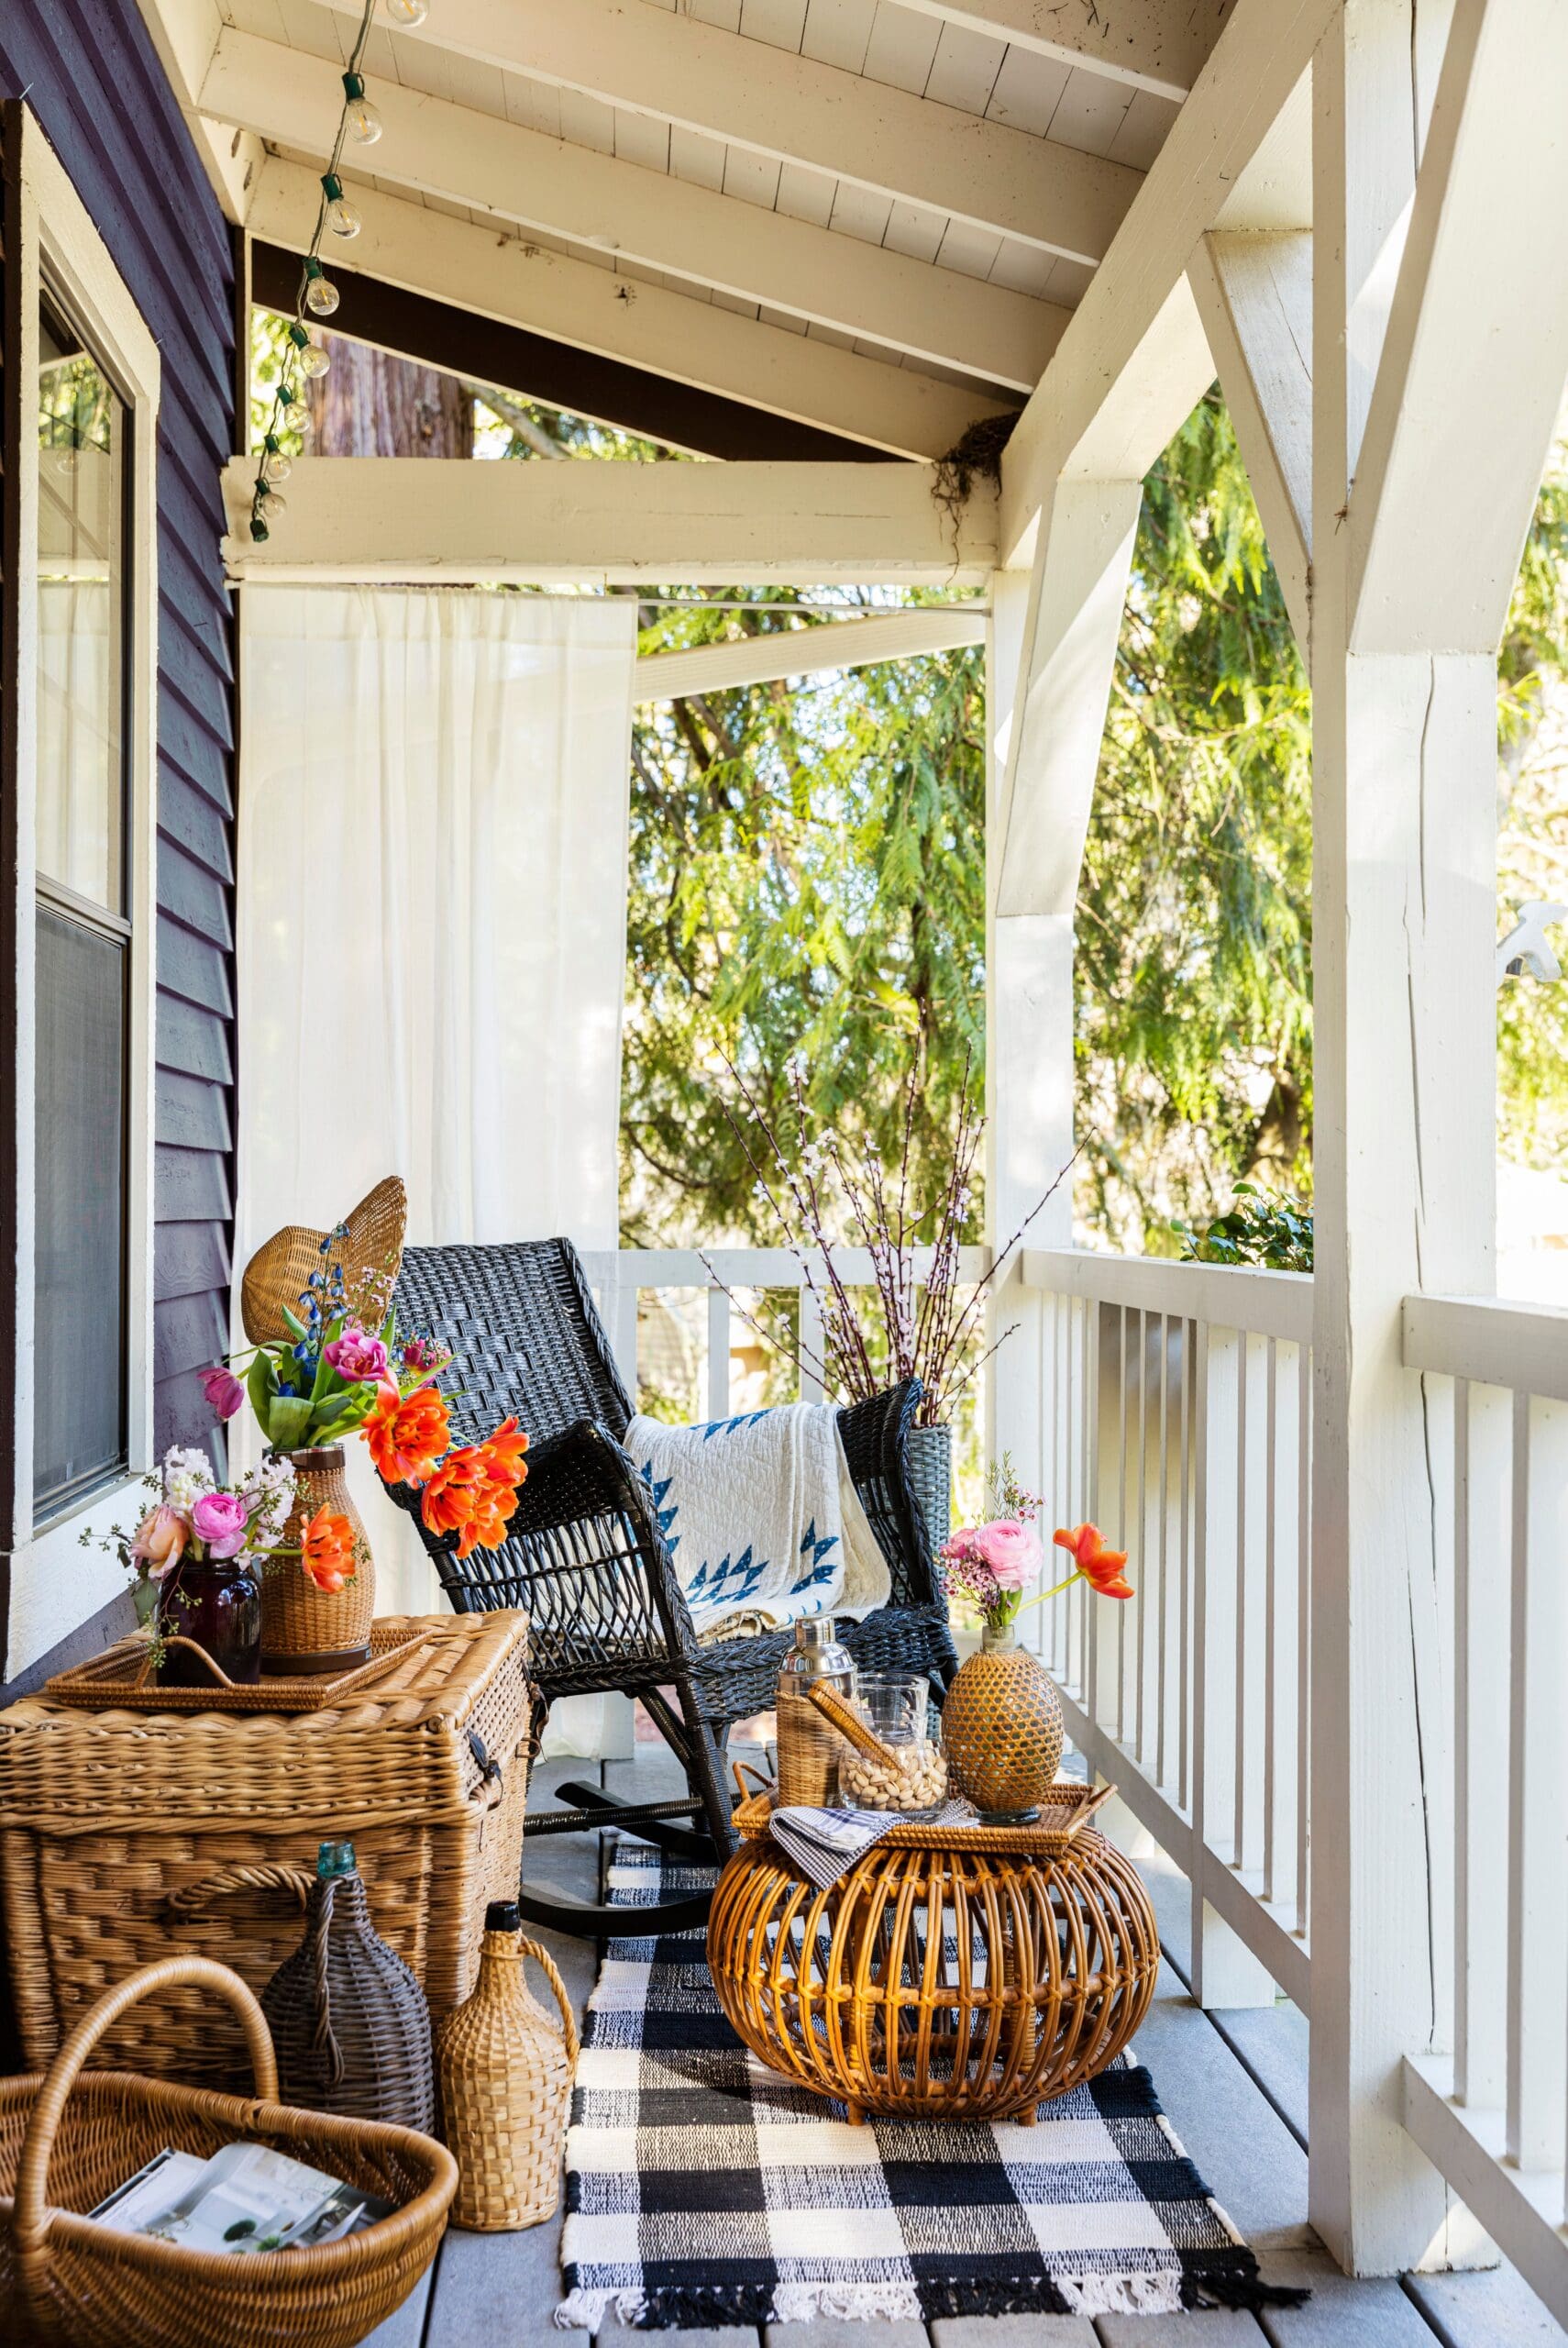
    8. Create a Cozy Hideaway with Draped Fabrics

    Transform your patio into a serene sanctuary by hanging flowing drapes that offer both style and seclusion. These soft fabric panels not only shield your space from outside views but also add a touch of elegance and comfort. Enjoy your outdoor moments with a sense of privacy and tranquility.

    Key Design Elements

    • Choose weather-resistant fabrics that can withstand outdoor conditions without fading or mildew.
    • Install a sturdy, adjustable curtain rod or track system for easy opening and closing.
    • Coordinate curtain colors with your patio furniture to enhance the overall aesthetic.

    Pro Tip: Opt for light-colored curtains to maintain brightness while ensuring privacy.

    9. Create a Tranquil Escape with Soft Blues and Greys

    Create a Tranquil Escape with Soft Blues and Greys

    Combining soft shades of blue with muted greys brings a peaceful and refined vibe to your outdoor space. This harmonious palette encourages relaxation, making your patio a perfect retreat after a busy day. The balance between cool and neutral tones helps set a calming yet stylish environment.

    Key Design Elements

    • Incorporate blue cushions and throws to add pops of soothing color without overwhelming the space.
    • Choose grey furniture or flooring to ground the design and provide a chic, modern backdrop.
    • Add natural elements like plants or wooden accents to soften the palette and enhance the serene feel.

    Pro Tip: Use varying textures in blue and grey fabrics to add depth and interest while maintaining a cohesive look.

    10. Brighten Your Patio with Sunny Accents

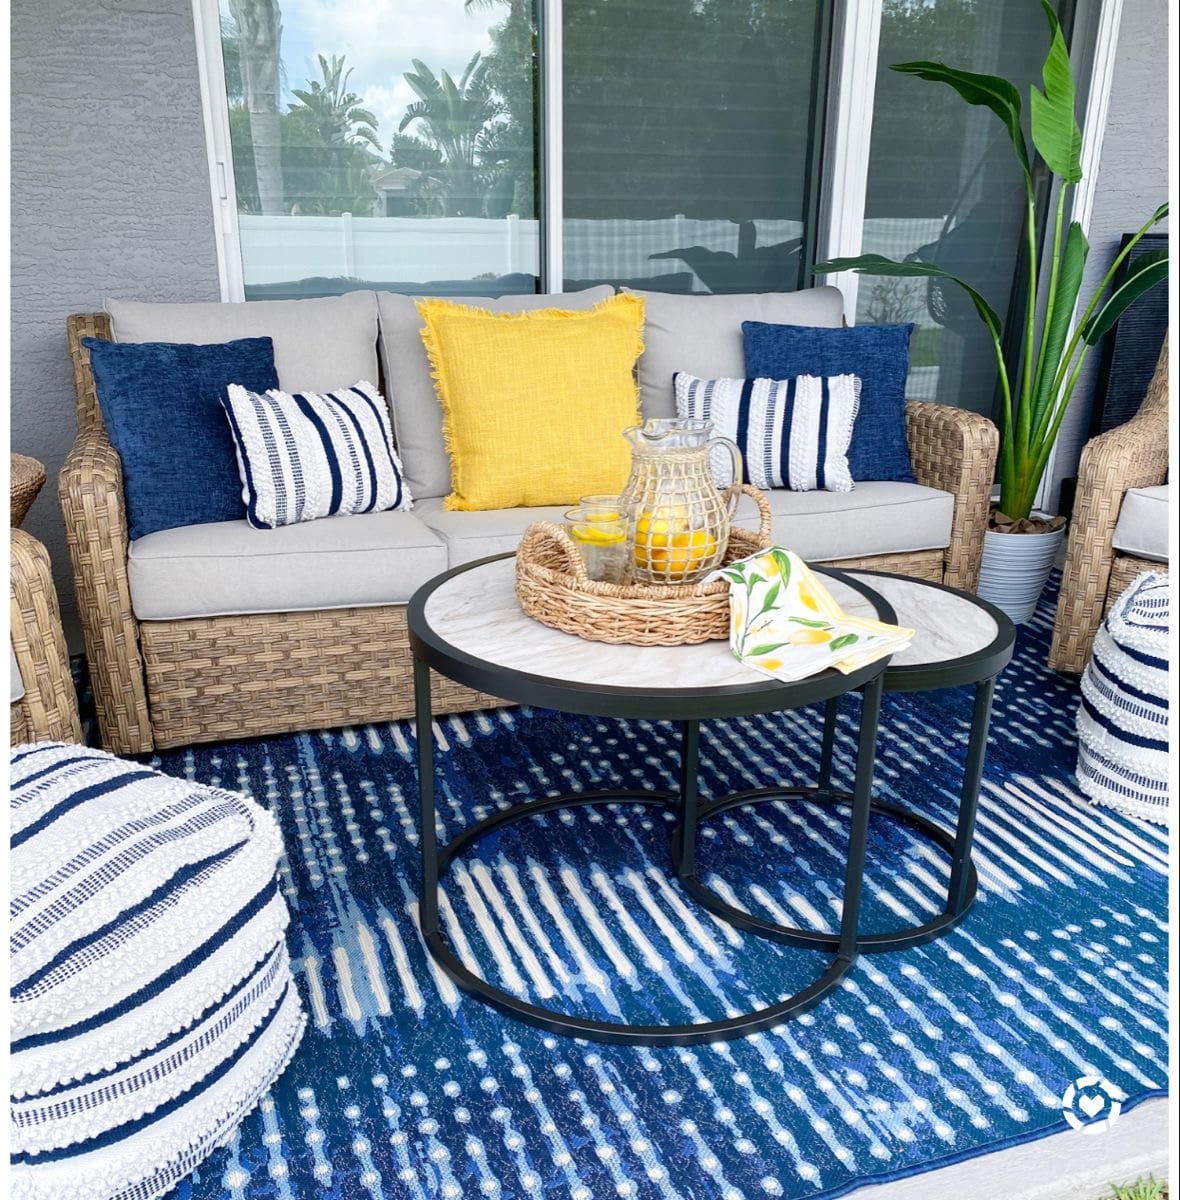
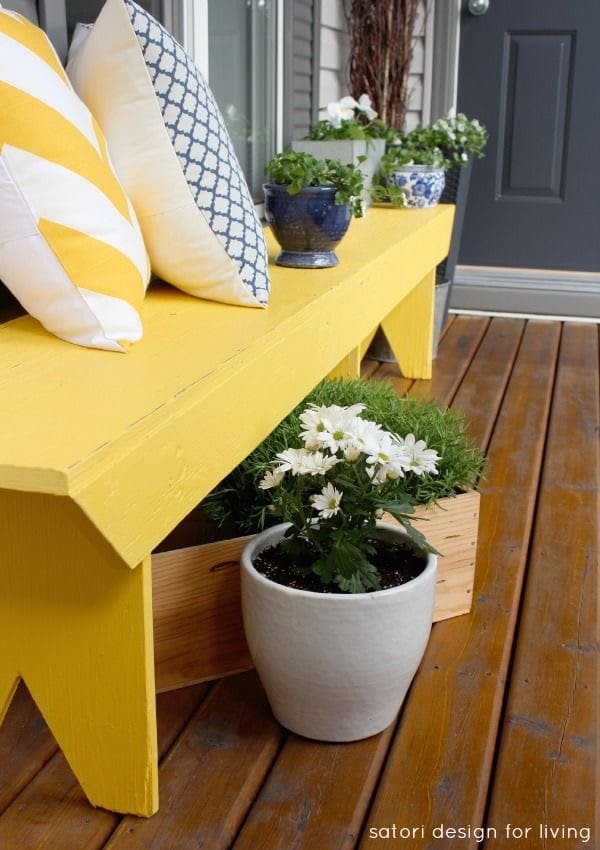
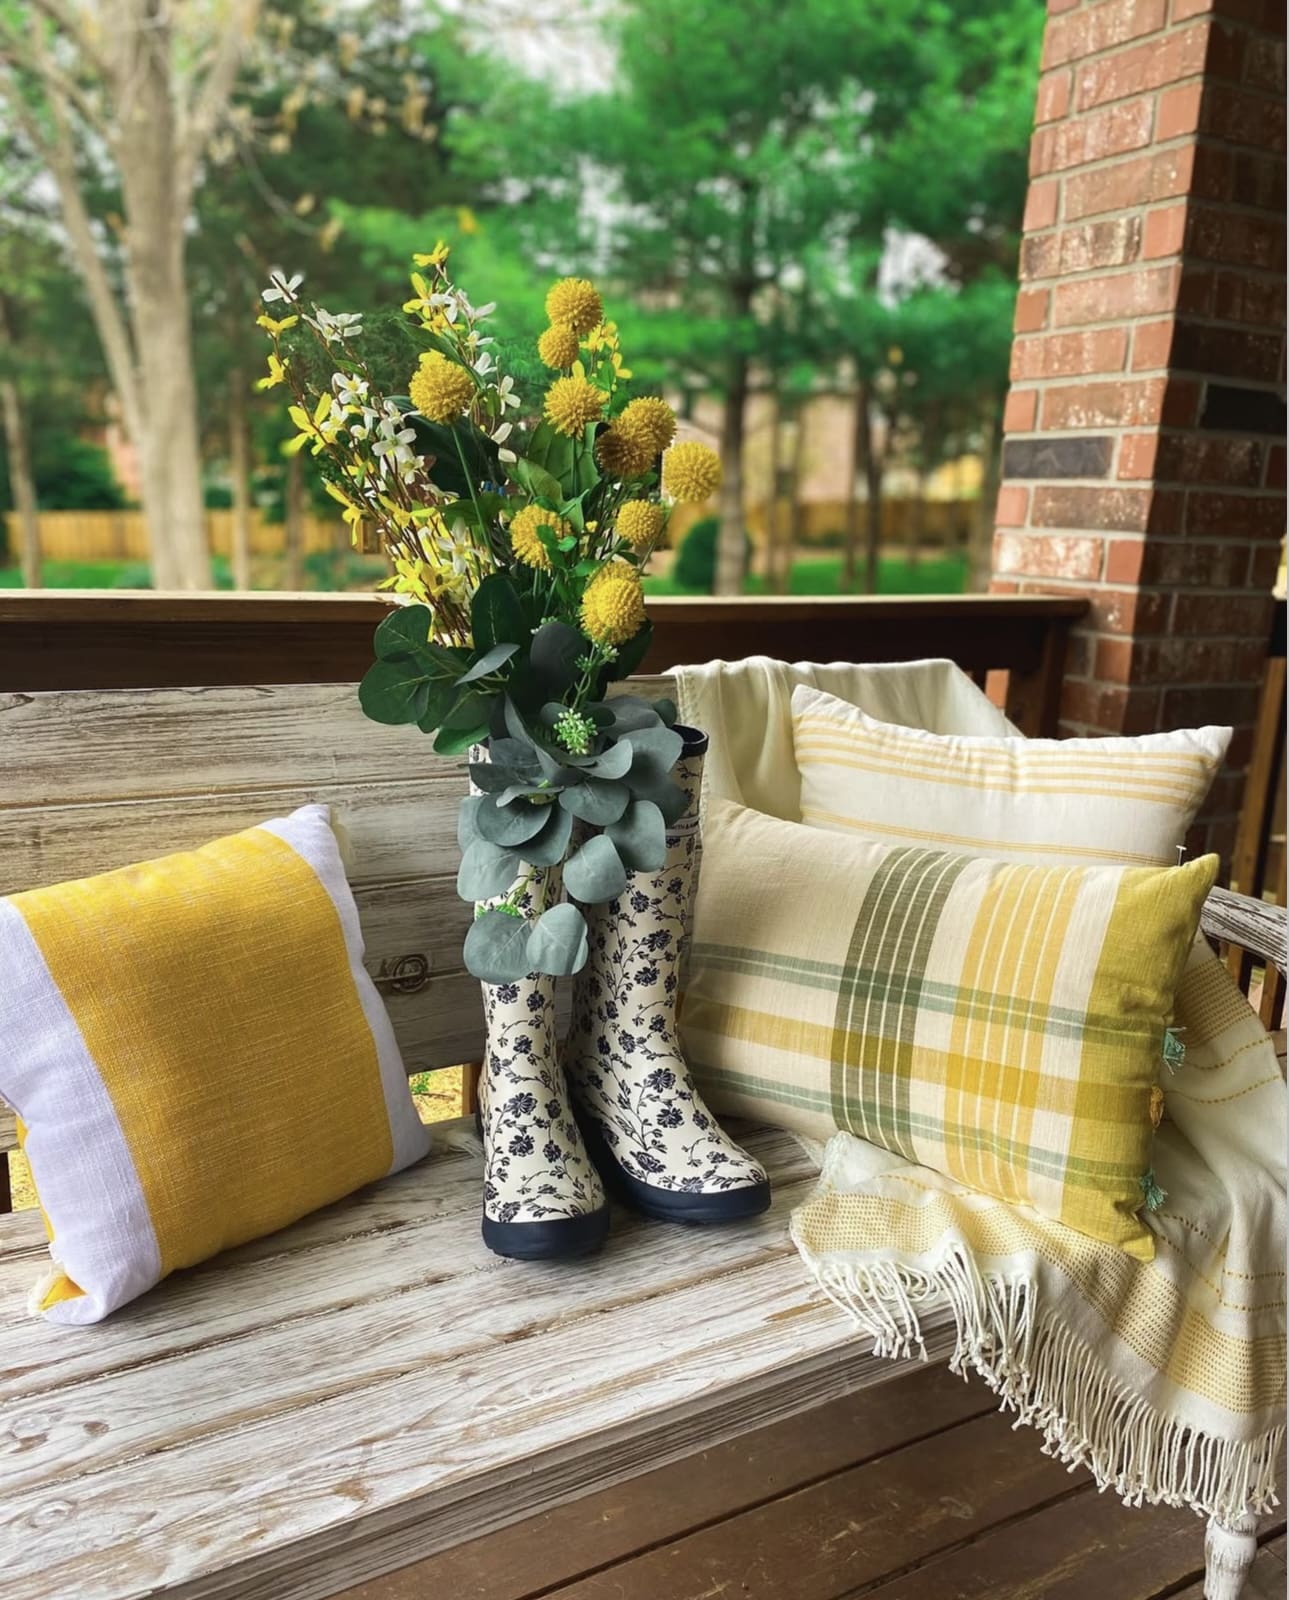
    Incorporating sunny yellow elements can instantly uplift your patio, making the space feel inviting and cheerful. Even small touches of this lively hue bring warmth and a burst of energy, perfect for creating an eye-catching centerpiece. It’s a simple way to transform a modest outdoor area into a vibrant retreat.

    Key Design Elements

    • Use yellow cushions or throw pillows on your outdoor seating to add a cheerful splash of color.
    • Incorporate yellow planters or flower pots filled with bright blooms to enhance the sunny vibe.
    • Add a yellow outdoor rug or table runner to define the space and introduce warmth underfoot.

    Pro Tip: Pair yellow accents with natural greens and neutral tones to balance brightness with a calming backdrop.

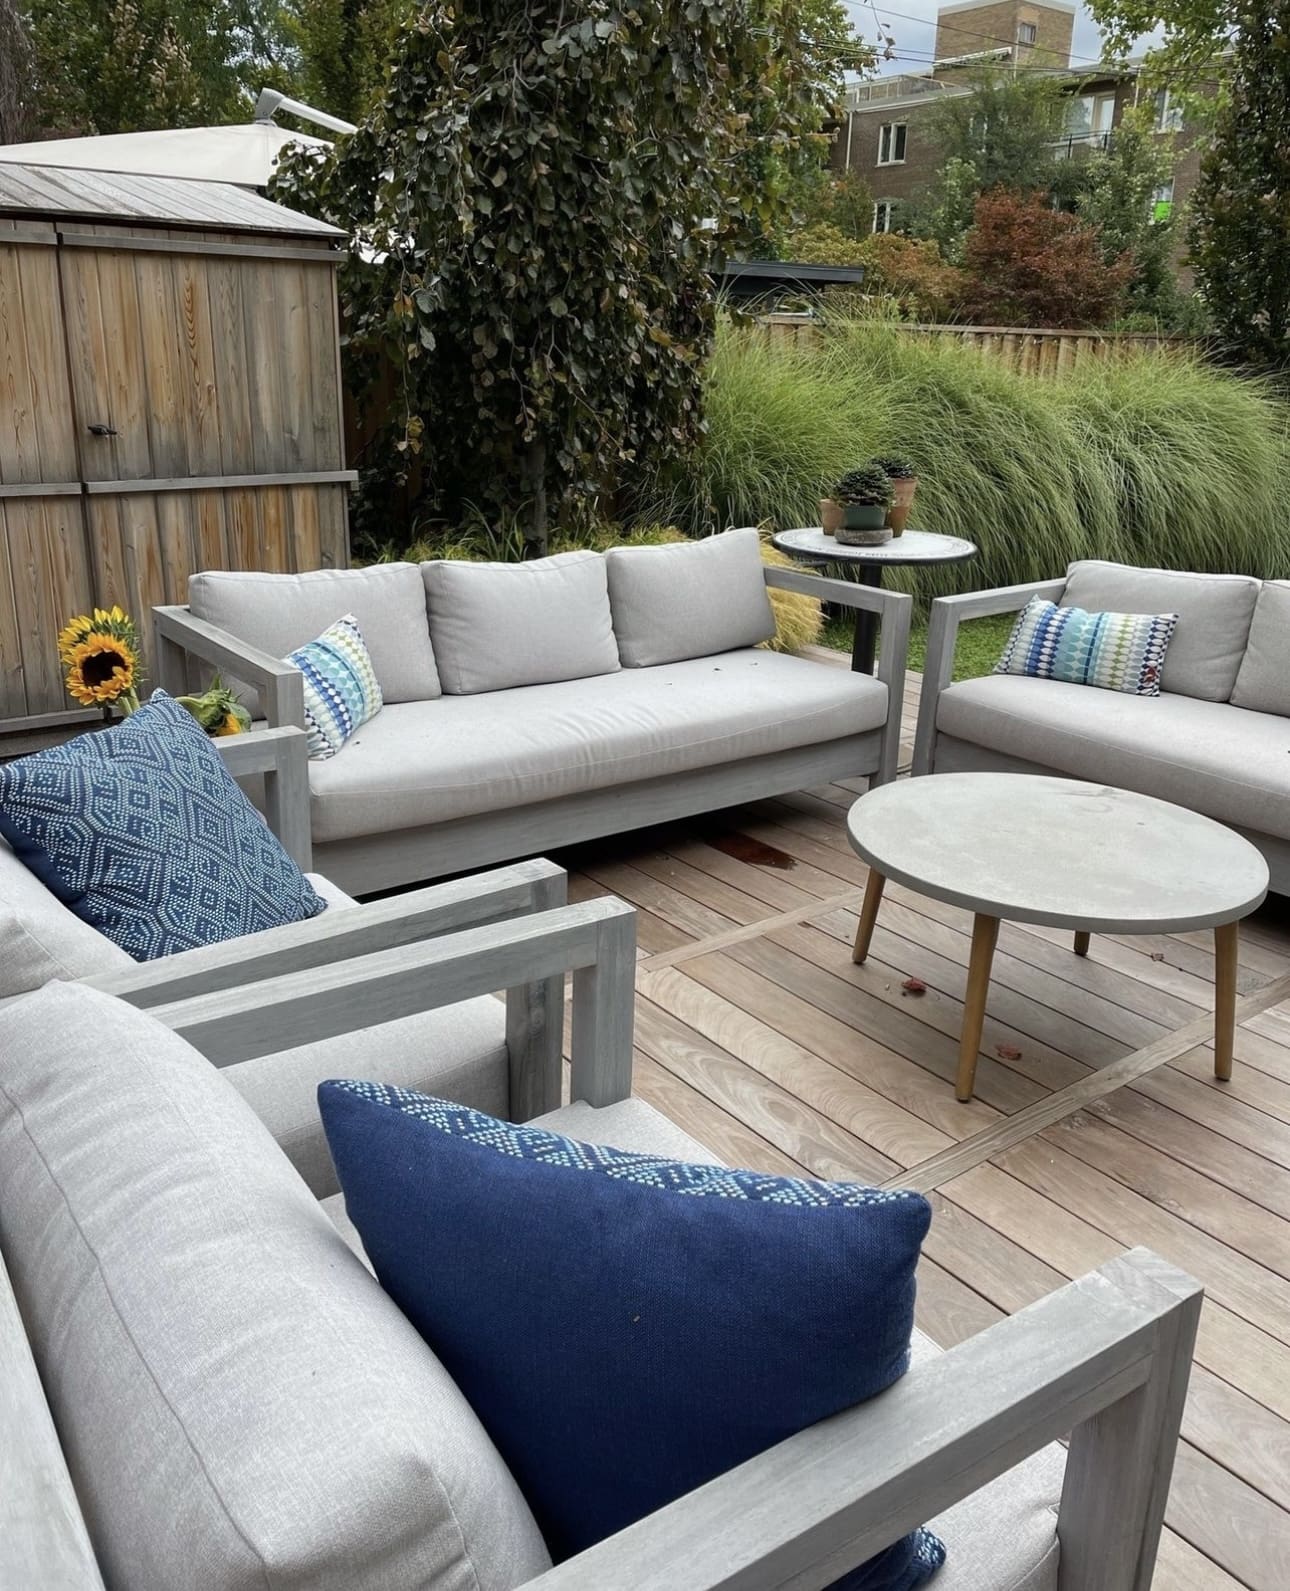
    11. Embrace Light Tones for Spacious Elegance

    Embrace Light Tones for Spacious Elegance

    Choosing soft, neutral hues like creams, soft grays, and sandy beiges can transform your patio into an inviting oasis that feels open and serene. These gentle colors reflect natural light, enhancing the sense of space and creating a calming backdrop for your outdoor retreat. Incorporating neutrals in your furniture, flooring, and decor helps maintain a cohesive and airy atmosphere.

    Key Design Elements

    • Opt for light-colored cushions and upholstery to brighten seating areas.
    • Use neutral-toned rugs or flooring materials to create a seamless look.
    • Incorporate natural textures like linen or wicker in soft hues to add warmth without overwhelming the space.

    Pro Tip: Layer different shades of neutrals to add depth and prevent the space from feeling flat.

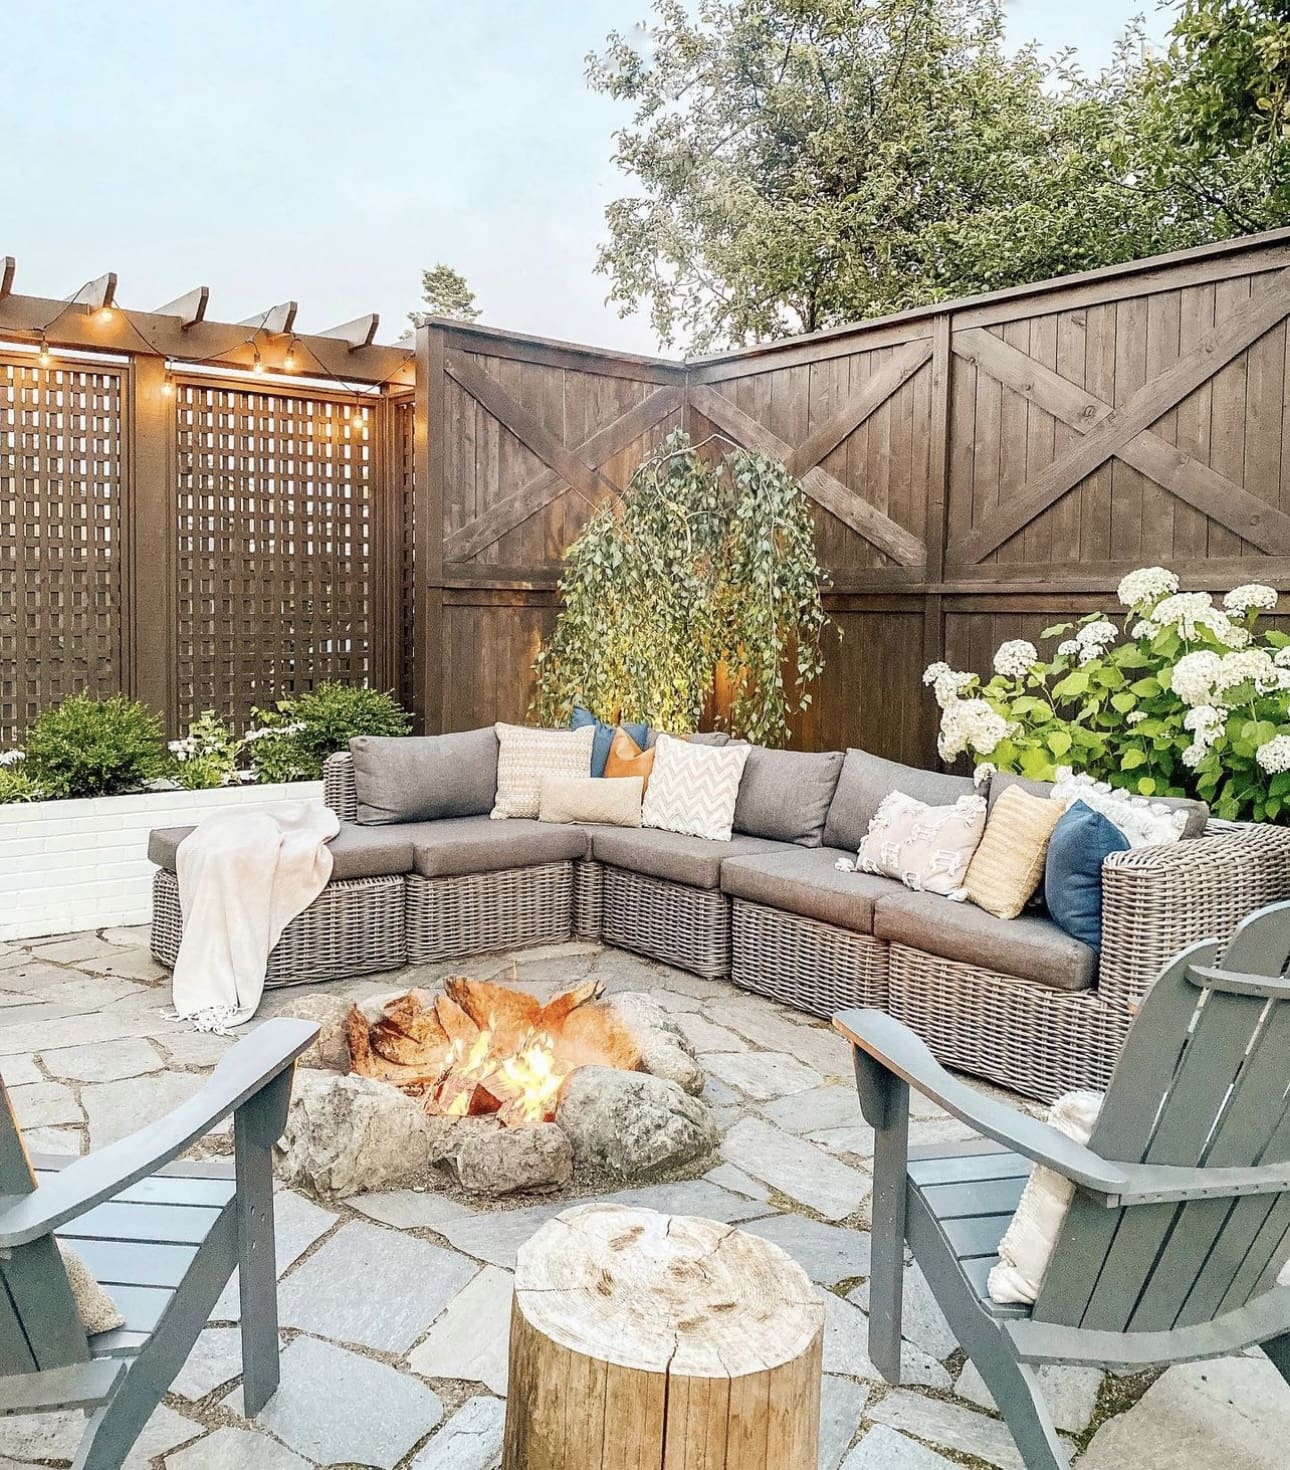
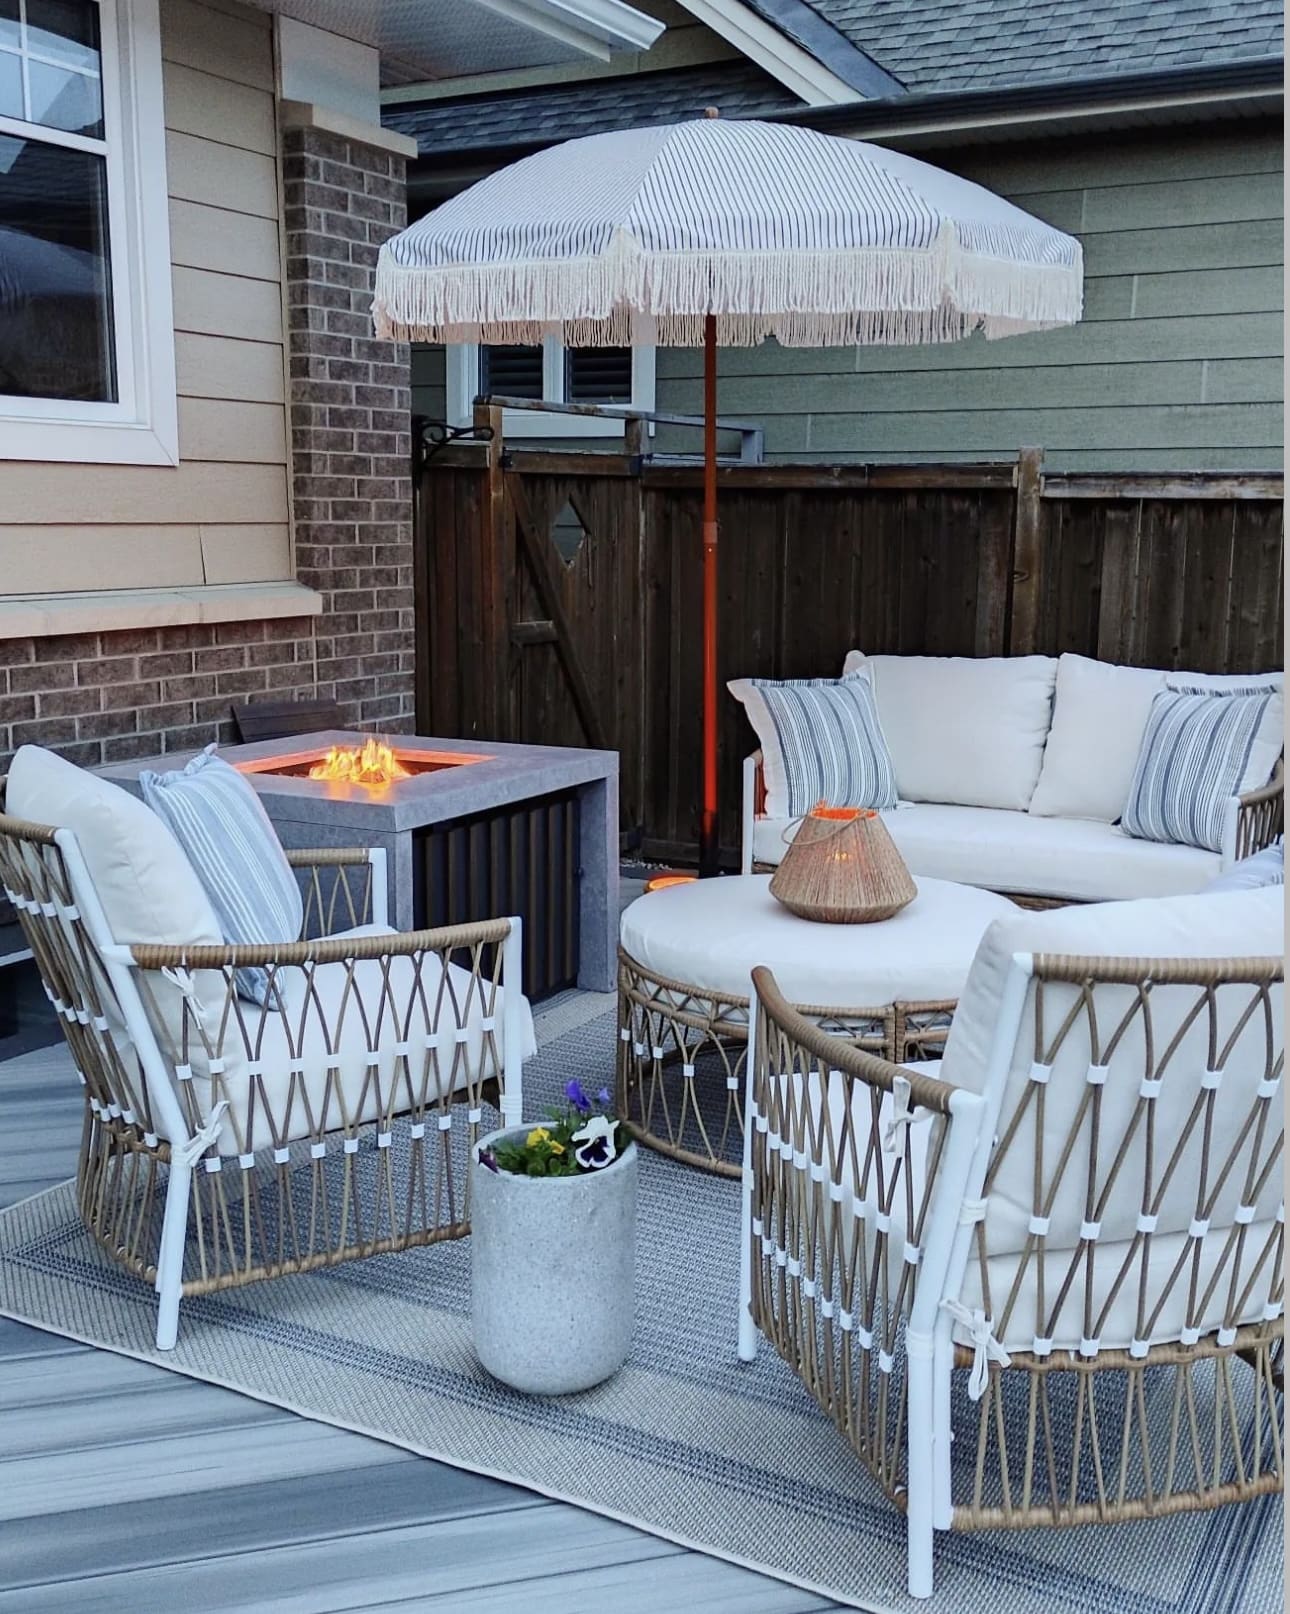
    12. Create Cozy Ambiance with a Versatile Fire Feature

    Create Cozy Ambiance with a Versatile Fire Feature

    Adding a fire feature to your patio instantly transforms the space into a warm and inviting retreat. With a variety of designs and fuel types available, you can easily find one that complements your outdoor setup and lifestyle. Whether you prefer the classic charm of wood or the convenience of propane, there’s a fire option to enhance your evenings outside.

    Key Design Elements

    • Consider the size of your patio to select a fire feature that fits comfortably without overwhelming the space.
    • Explore different fuel sources—wood, propane, or gel—to find the one that matches your maintenance preferences and local regulations.
    • Position your fire feature in a well-ventilated area, away from flammable materials, to ensure safety and optimal enjoyment.

    Pro Tip: Choose a portable model to easily rearrange your patio layout and store the fire feature during off-seasons.

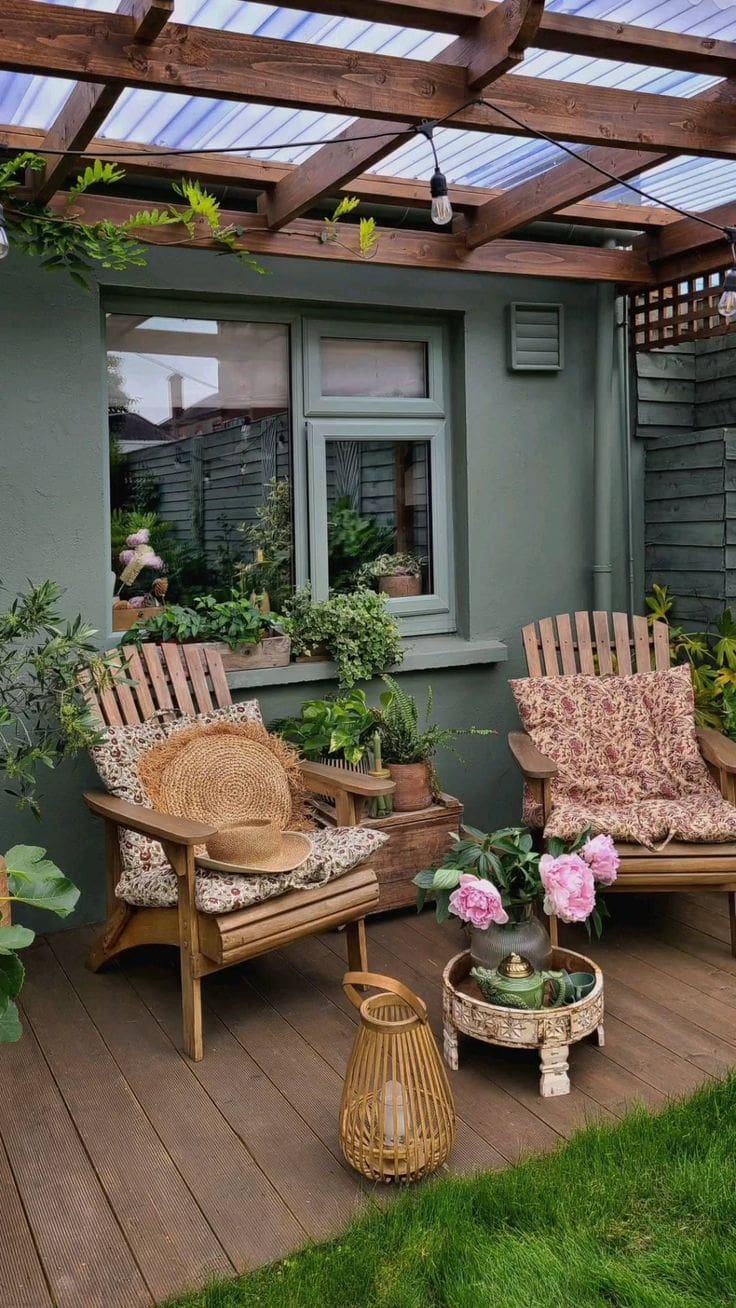
    13. Embrace Earthy Elements for a Cozy Patio

    Embrace Earthy Elements for a Cozy Patio

    Incorporating earthy materials into your patio design helps create a peaceful retreat that feels naturally balanced with its surroundings. Using textures like rich wood, rugged stone, and woven bamboo brings warmth and authenticity to your outdoor space. These elements not only enhance visual appeal but also foster a relaxing atmosphere where you can unwind.

    Key Design Elements

    • Choose weather-resistant wooden furniture to add both comfort and durability.
    • Install stone pathways or pavers to provide a sturdy, natural flooring option.
    • Use bamboo screens or fences to introduce privacy while maintaining an organic look.

    Pro Tip: Seal wooden surfaces annually to protect against the elements and maintain their natural beauty.

    14. Bring the Beach Home with Serene Patio Style

    Bring the Beach Home with Serene Patio Style

    Transform your small patio into a tranquil retreat by embracing elements inspired by the seaside. Soft, airy colors combined with natural textures create an inviting and peaceful space where you can unwind. Incorporating subtle nautical touches adds character without overwhelming the cozy area.

    Key Design Elements

    • Choose lightweight furniture in neutral tones like sandy beige or ocean blue to keep the area feeling open and breezy.
    • Incorporate natural materials such as wicker, rattan, or driftwood to add warmth and texture.
    • Add coastal-themed accessories like seashell cushions or lanterns to enhance the beachy ambiance.

    Pro Tip: Use weather-resistant fabrics with light colors to maintain the fresh coastal look year-round.

    15. Elevate Your Outdoor Space with Stylish Wall Accents

    Elevate Your Outdoor Space with Stylish Wall Accents

    Transform your patio by incorporating vibrant wall accents that bring character and charm to your outdoor oasis. Consider a mix of durable artwork, reflective mirrors, or lush hanging greenery to create a welcoming and dynamic atmosphere. Selecting materials designed to endure weather conditions ensures your decor remains beautiful year-round.

    Key Design Elements

    • Opt for rust-resistant metals or treated wood to prevent damage from moisture and sunlight.
    • Incorporate vertical planters or hanging pots with trailing plants to add life and softness to the space.
    • Use outdoor-rated hooks and fasteners to securely mount decorations without harming your fence or wall.

    Pro Tip: Choose light-colored or reflective pieces to brighten shaded areas and make your patio feel more spacious.

    16. Bring European Flair with Stylish Bistro Seating

    Bring European Flair with Stylish Bistro Seating

    Incorporating classic bistro chairs into your patio instantly adds a touch of timeless elegance and charm. Their intricate designs and graceful lines create a cozy, inviting atmosphere that transports you to a quaint European street café. This simple addition can transform your outdoor area into a sophisticated retreat perfect for relaxing or entertaining.

    Key Design Elements

    • Choose weather-resistant materials like wrought iron or treated wood to ensure durability outdoors.
    • Pair the chairs with a small round table to maximize space and encourage intimate conversations.
    • Add plush cushions in soft, neutral tones to enhance comfort while preserving the elegant look.

    Pro Tip: Opt for foldable bistro chairs to easily store them during harsh weather or when not in use.

    17. Elevate Your Patio with Sleek, Contemporary Flair

    Elevate Your Patio with Sleek, Contemporary Flair

    Transform your outdoor area into a chic retreat by embracing clean lines and understated elegance. Focus on quality materials and streamlined furniture to craft a space that feels both inviting and sophisticated. This approach highlights simplicity while creating a polished atmosphere perfect for relaxing or entertaining.

    Key Design Elements

    • Choose furniture with smooth surfaces and minimalist silhouettes to maintain a clutter-free look.
    • Incorporate neutral tones with occasional bold accents to add visual interest without overwhelming the space.
    • Select durable, premium materials like metal, glass, or teak for longevity and a refined aesthetic.

    Pro Tip: Use integrated lighting with simple designs to enhance ambiance without detracting from the modern vibe.

    18. Create Cozy and Functional Seating with a Custom Bench

    Create Cozy and Functional Seating with a Custom Bench

    A tailor-made bench can transform your patio into a welcoming space by combining comfort with practicality. Incorporate hidden storage underneath to keep outdoor essentials neatly tucked away. Add plush cushions or throw pillows to make the bench inviting for both dining and lounging.

    Key Design Elements

    • Design the bench with weather-resistant materials to ensure durability.
    • Use storage compartments to organize cushions, blankets, or gardening tools.
    • Choose cushions with removable, washable covers for easy maintenance.

    Pro Tip: Elevate comfort by selecting cushions with quick-dry foam to withstand outdoor moisture.

    19. Brighten Your Patio with Playful Hues

    Brighten Your Patio with Playful Hues

    Incorporating vivid colors into your patio design instantly breathes life into the space, making it feel inviting and energetic. Thoughtful color choices can transform an ordinary area into a lively retreat that reflects your personality. Don’t be afraid to mix and match shades that spark joy and create visual interest.

    Key Design Elements

    • Choose a vibrant accent color for cushions or outdoor rugs to create focal points.
    • Incorporate colorful planters or garden accessories to add pops of color without overwhelming the space.
    • Balance bold hues with neutral tones to maintain harmony and avoid visual clutter.

    Pro Tip: Start with small, colorful decor pieces and gradually layer in bolder elements to find the perfect balance.

    20. Elevate Your Outdoor Space with a Chic Cocoon Chair

    Elevate Your Outdoor Space with a Chic Cocoon Chair

    A cocoon-style chair instantly brings a touch of modern elegance and comfort to your patio. Its unique, enveloping design creates a cozy retreat while serving as a stunning centerpiece. Perfect for compact outdoor areas, it blends style and function effortlessly.

    Key Design Elements

    • Choose weather-resistant materials like rattan or wicker to ensure durability.
    • Add plush cushions or throws for extra comfort and a pop of color.
    • Position the chair in a shaded corner to create a relaxing nook for reading or lounging.

    Pro Tip: Pair your cocoon chair with ambient string lights to enhance evening relaxation vibes.

    21. Embrace Coastal Calm with Soft Greens and Neutrals

    Embrace Coastal Calm with Soft Greens and Neutrals

    Incorporating gentle seafoam green tones alongside warm beige hues can transform your patio into a serene retreat. This harmonious color combination evokes the peacefulness of seaside escapes, making it an ideal setting for relaxation and quiet moments. The balance of cool and earthy shades fosters a welcoming and soothing outdoor space.

    Key Design Elements

    • Use seafoam green cushions or throw pillows to introduce subtle pops of color without overwhelming the space.
    • Incorporate beige elements like wicker furniture or natural fiber rugs to ground the design and add warmth.
    • Add greenery and coastal-inspired accessories to enhance the fresh, beachy vibe of the color scheme.

    Pro Tip: Layer different textures in seafoam green and beige to add depth and interest while maintaining a cohesive look.

    22. Transform Your Patio into a Versatile Oasis

    Transform Your Patio into a Versatile Oasis

    When space is at a premium, designing a patio that adapts to multiple needs can greatly enhance your outdoor living experience. By thoughtfully combining functions, you create an inviting area that effortlessly transitions from relaxing to entertaining. This approach not only optimizes your backyard but also adds value and enjoyment to every moment spent outside.

    Key Design Elements

    • Incorporate foldable or stackable furniture to easily switch between lounging and dining setups.
    • Use built-in storage benches that double as seating to keep essentials tidy and accessible.
    • Designate zones with multifunctional features, like a fire pit that serves as a table when covered.

    Pro Tip: Choose weather-resistant pieces that are lightweight and easy to move for quick space reconfiguration.

    23. Brighten Up Your Evenings

    Brighten Up Your Evenings

    Thoughtful lighting transforms your patio into a versatile retreat that shines long after the sun goes down. Whether you’re hosting friends, enjoying a quiet dinner, or simply unwinding, the right illumination sets the perfect ambiance. Tailor your lighting to reflect your personal style while enhancing comfort and usability.

    Key Design Elements

    • Incorporate string lights or fairy lights for a cozy, inviting glow.
    • Use adjustable LED fixtures to customize brightness for different activities.
    • Add solar-powered lanterns or stake lights to combine eco-friendliness with charm.

    Pro Tip: Layer various light sources at different heights to create depth and enhance the mood.

    24. Embrace Earthy Charm for Your Outdoor Space

    Embrace Earthy Charm for Your Outdoor Space

    Incorporating natural materials like reclaimed wood, rough-hewn stone, and classic wrought iron brings an inviting and grounded feel to your patio. These elements work together to create a cozy environment that invites relaxation and connection with nature. The subtle imperfections in these textures add character and warmth, making your outdoor area uniquely personal.

    Key Design Elements

    • Use weathered wooden furniture or accents to introduce a sense of history and timelessness.
    • Incorporate stone planters or flooring to add durability and an organic visual appeal.
    • Choose wrought iron fixtures like lanterns or railings for elegant yet sturdy detailing.

    Pro Tip: Layer soft textiles like cushions or throws in earthy tones to enhance comfort without sacrificing rustic charm.

    Final Thoughts

    Your small backyard patio holds endless potential to become a cozy retreat that reflects your unique style and invites moments of joy. Don’t be afraid to blend different ideas—whether it’s a vibrant splash of color, a touch of greenery, or clever use of space—to create an outdoor oasis that feels both personal and inviting. Embrace the process of transformation with excitement, knowing that each step brings you closer to a charming hideaway where memories will flourish. So go ahead, get inspired, roll up your sleeves, and watch your little patch of outdoor heaven come to life—you deserve a space that feels just right for you.

  • 24 Bright and Breezy Summer Front Porch Decorating Ideas to Transform Your Home

    There’s something truly magical about a front porch in the summertime—a welcoming space that sets the tone for your entire home before you even step inside. It’s the first impression for guests, a cozy spot for morning coffee, and a charming retreat to unwind as the sun dips low. With the warm weather inviting us outdoors, summer is the perfect season to breathe new life into this inviting space, turning it into a vibrant extension of your home’s personality.

    Whether you have a sprawling veranda or a quaint entryway, refreshing your front porch doesn’t have to break the bank or require a complete makeover. Small touches, thoughtful accents, and a bit of creativity can transform any porch into a cheerful, inviting haven. No matter your style, budget, or space, there are endless ways to infuse summer’s bright, breezy spirit right at your doorstep—making your home feel welcoming and full of life all season long.

    1. Garden Layers That Speak Volumes

    Garden Layers That Speak Volumes

    Creating a captivating front porch starts with embracing layers. By thoughtfully arranging a variety of planters, you invite richness and a sense of harmony that draws the eye and heart alike.

    Key Design Elements

    • Play with different pot sizes and heights to build natural rhythm
    • Combine an assortment of foliage textures — from wispy grasses to bushy greenery and cascading vines
    • Arrange plants in groups of three to achieve a pleasing, balanced display

    Pro Tip: For an effortlessly polished look, position your tallest greenery at the back, medium-sized plants in the center, and trailing vines or flowers gently spilling forward.

    2. Charming Front Door Wreath

    Charming Front Door Wreath

    Nothing welcomes guests quite like a thoughtfully styled wreath hanging on your front door. Whether crafted by your own hands or picked up from a favorite shop, a seasonal wreath adds warmth and character, instantly elevating your porch’s curb appeal.

    Key Design Elements

    • Opt for vibrant summer florals, fresh or faux, to brighten the entrance
    • Add playful seasonal touches such as lemons or sunflowers for a sunny vibe
    • Pick a wreath size that complements the scale of your door for balanced charm

    Pro Tip: Start with a grapevine wreath base—its natural texture makes swapping seasonal decorations easy and budget-friendly all year long.

    3. Blooming Porch Pillows

    Blooming Porch Pillows

    Nothing says summer like a burst of blooming florals on your porch cushions. They effortlessly infuse your outdoor spot with cheerful hues and lively patterns, transforming your entryway into a welcoming, sun-kissed oasis. With the right mix, your porch will feel inviting, thoughtfully styled, and ready to soak up the season’s warmth.

    Key Design Elements

    • Pair floral cushions with solid tones to create a harmonious vibe
    • Opt for eye-catching tropical patterns to energize your seating area
    • Combine various floral sizes to add visual interest and texture

    Pro Tip: Choose cushions made with fade-resistant outdoor fabrics to keep your floral designs fresh and vibrant, no matter how strong the sun shines.

    4. Ethereal Sheer Drapes

    Ethereal Sheer Drapes

    Imagine your porch bathed in soft sunlight, with delicate curtains gently swaying in the breeze. These airy drapes bring a touch of romance and tranquility, creating a serene retreat that feels straight out of a summer daydream. They not only enhance the aesthetic but also offer a subtle layer of privacy without blocking the fresh air.

    Key Design Elements

    • Opt for weather-resistant sheer fabrics designed for outdoor use
    • Install using a sleek tension rod or sturdy curtain cable for easy hanging
    • Select shades like crisp white or soft neutrals to maintain an open, airy vibe

    Pro Tip: Secure the curtain hems with discreet weights—like small fishing sinkers—to keep them gracefully in place, even on breezy days.

    5. Charming Woven Tote Wreath

    Charming Woven Tote Wreath

    Bring a splash of summer charm to your front porch with a handcrafted wreath made from a woven tote. Overflowing with colorful blooms, this unique decoration combines rustic texture with floral beauty, creating an inviting vibe that’s sure to turn heads and spark compliments.

    Key Design Elements

    • Start with a natural woven tote or straw bag to serve as your wreath’s foundation
    • Arrange a mix of vibrant fresh or high-quality faux flowers inside for a lush effect
    • Secure with a pretty ribbon or sturdy twine to hang your creation effortlessly

    Pro Tip: Explore local thrift shops or flea markets—you’ll often find gorgeous woven bags at a bargain, perfect for this playful and stylish project.

    6. Elevate Your Porch with Suspended Greenery

    Elevate Your Porch with Suspended Greenery

    Suspended planters are a fantastic way to bring life and charm to your front porch without taking up precious floor space. They add dimension and depth, transforming your entryway into a welcoming oasis that feels thoughtfully curated and inviting.

    Key Design Elements

    • Incorporate woven macramé holders to introduce a cozy, bohemian vibe
    • Choose cascading plants like ivy or colorful petunias for a lush effect
    • Arrange the planters at different levels to create a dynamic and eye-catching display

    Pro Tip: Opt for self-watering hanging pots—they’re your best friend for keeping greenery vibrant and healthy, even when the sun is blazing.

    7. Harmonize Your Porch with Door-Inspired Hues

    Harmonize Your Porch with Door-Inspired Hues

    Give your front porch an inviting, unified vibe by echoing the color of your front door in your outdoor furniture and accessories. This simple strategy brings balance and purpose to your space, turning it into a charming extension of your home with just a few thoughtful touches.

    Key Design Elements

    • Incorporate cushions or a small outdoor rug in shades that reflect your door’s color
    • Paint a compact side table using a hue that complements your front door
    • Choose plant pots in matching or coordinating tones to tie the look together

    Pro Tip: Perfect coordination isn’t necessary — opting for variations within the same color family keeps the look polished without feeling too matchy.

    8. Charming Ladder Display

    Charming Ladder Display

    Add a touch of personality and function to your front porch with a charming ladder display. It’s a versatile piece that invites you to showcase potted plants, glowing lanterns, or your favorite seasonal accents. Customize it by painting or staining to perfectly blend with your porch’s unique atmosphere.

    Key Design Elements

    • Prop it gently against a wall for an effortlessly inviting vibe
    • Mix and match greenery, candles, and decorative items for layered interest
    • Choose a striking paint color to transform it into a standout feature

    Pro Tip: Opt for a ladder shelf with a distressed finish to infuse your porch with cozy rustic warmth—ideal for both farmhouse and bohemian-inspired spaces.

    9. Blooming Porch Boutique

    Blooming Porch Boutique

    Transform your porch into a charming mini flower shop bursting with vibrant hues and delightful scents. It’s a joyful way to welcome guests and brighten your outdoor space with nature’s finest blooms.

    Key Design Elements

    • Showcase blossoms in rustic wooden crates and charming metal buckets
    • Combine freshly cut blooms with lush potted greenery for texture
    • Choose fragrant favorites like lavender, gardenias, and sweet peas

    Pro Tip: Refresh your floral arrangements each week to keep your porch feeling lively and inviting throughout the season.

    10. Sunny Citrus Vibes

    Sunny Citrus Vibes

    Infuse your front porch with the lively spirit of summer using a cheerful citrus-inspired palette. Whether it’s bright lemons or vibrant oranges, this theme brings a burst of sunshine and a refreshing aroma that instantly uplifts your space.

    Key Design Elements

    • Incorporate shades of lemon yellow and zesty lime as pops of color throughout your decor
    • Choose cushions or a welcome mat adorned with playful citrus patterns
    • Arrange a bowl filled with fresh or faux citrus fruits to add a natural touch

    Pro Tip: Growing a lemon or lime tree right on your porch not only elevates the look but also fills the air with a delightful fragrance that welcomes every guest.

    11. Sunny Gingham Accents

    Sunny Gingham Accents

    There’s something magical about gingham—it captures the essence of summer in every stitch. This timeless pattern effortlessly brings a cozy, nostalgic feel to your porch, making it the perfect backdrop for relaxing afternoons and warm conversations.

    Key Design Elements

    • Choose cheerful red or navy gingham for a playful, picnic-inspired atmosphere
    • Combine gingham with solid hues to create a harmonious and inviting space
    • Mix in floral or striped pillows to add layers of texture and personality

    Pro Tip: Pair gingham cushions with natural materials like wicker and rattan to evoke a classic, breezy summer vibe that never goes out of style.

    12. Serene Minimalism

    Serene Minimalism

    Embrace simplicity with a soft, neutral color scheme and streamlined decor that transforms your porch into a calm, inviting sanctuary. The beauty of minimalist design lies in its ability to create a soothing atmosphere without overwhelming the space.

    Key Design Elements

    • Limit your palette to two or three harmonious shades
    • Opt for a few standout pieces crafted with care
    • Maintain open surfaces to enhance a sense of tranquility

    Pro Tip: Let a single eye-catching plant in an elegant planter become the focal point, effortlessly elevating your minimalist porch style.

    13. Sunny Splash of Yellow

    Sunny Splash of Yellow

    Bring a burst of sunshine to your porch with the uplifting power of yellow. A subtle hint of this radiant hue can instantly brighten your outdoor space, creating a welcoming and joyful atmosphere that captures the spirit of summer.

    Key Design Elements

    • Sprinkle in yellow cushions or throw pillows for a cheerful touch
    • Place a vibrant yellow welcome mat or outdoor rug to greet guests warmly
    • Display fresh yellow blooms like sunflowers or marigolds in pots or vases

    Pro Tip: You don’t have to fill the porch with yellow—sometimes just one well-placed yellow element is all it takes to light up the entire area.

    14. Seaside Serenity

    Seaside Serenity

    Embrace the tranquil charm of the shore right on your porch. By blending gentle blues, creamy whites, and warm sandy tones, you can create a peaceful retreat that evokes the essence of the beach—no matter where you live. It’s all about infusing your space with that effortless, sun-kissed elegance.

    Key Design Elements

    • Choose a color scheme featuring soft sky blues, deep navy, and fresh whites
    • Incorporate natural textures like braided rope and weathered driftwood accents
    • Decorate with subtle touches like seashells or delicate coral pieces to complete the look

    Pro Tip: Lay down a navy and white striped rug to instantly ground the space and pull your coastal-inspired decor into a cohesive, inviting oasis.

    15. Cozy Outdoor Dining Nook

    Cozy Outdoor Dining Nook

    Transform your front porch into a charming retreat where morning coffee, casual meals, or sunset talks feel effortlessly inviting. Adding a compact dining set turns this space into your favorite spot to unwind and connect.

    Key Design Elements

    • Opt for a compact bistro-style set to maximize limited space
    • Incorporate a petite umbrella to keep the sun at bay
    • Choose weather-resistant cushions for all-day comfort

    Pro Tip: Select a round table—its inviting shape naturally sparks conversation and makes the most of tight porch areas.

    16. Charming Boot Planter Display

    Charming Boot Planter Display

    Add a touch of playful character to your porch with this creative boot planter idea. It’s a delightful way to greet guests, sparking smiles and curiosity before they even reach your door.

    Key Design Elements

    • Repurpose vintage rain boots or cowboy boots as unique flower pots
    • Choose trailing blooms that spill gracefully over the edges for a lush look
    • Position them close to your entrance to create an inviting focal point

    Pro Tip: Remember to punch small holes in the soles of your boots to ensure proper drainage and keep your plants thriving.

    17. Vibrant Striped Cushions for a Fresh Front Porch

    Vibrant Striped Cushions for a Fresh Front Porch

    Looking to infuse your porch with a touch of effortless charm? Stripes are your go-to! Whether draped over chairs or nestled in cushions, stripes instantly brighten up the space, evoking sunny days and a relaxed vibe. They effortlessly elevate even the simplest setup, making your porch feel welcoming and full of life.

    Key Design Elements

    • Opt for classic navy and white stripes to channel a breezy, seaside atmosphere
    • Combine different stripe sizes to create depth and visual excitement
    • Complement stripes with neutral-toned furniture to keep the look harmonious

    Pro Tip: Invest in weatherproof striped cushions—they stand up to sun and rain, keeping your porch stylish season after season.

    18. Glow-Up with Lanterns

    Glow-Up with Lanterns

    Nothing sets a welcoming tone quite like lanterns casting a gentle, flickering light. Whether you choose classic candles or modern LED versions, these charming accents transform your porch into a cozy retreat that glows with inviting warmth when the sun goes down.

    Key Design Elements

    • Arrange lanterns in groups of three to create a captivating focal point
    • Opt for solar-powered lanterns to keep the ambiance eco-friendly and effortless
    • Blend various sizes to add depth and a stylish, curated feel

    Pro Tip: Switch to flameless LED candles inside your lanterns to enjoy that soothing glow safely—ideal for those breezy evenings when an open flame isn’t practical.

    19. Charming Wall Accents

    Charming Wall Accents

    Add a splash of character to your porch with a delightful wall sign. Whether it’s a witty phrase, a heartfelt greeting, or a playful message, these signs bring warmth and charm without cluttering your floor space.

    Key Design Elements

    • Opt for durable materials like weatherproof wood or metal to withstand the elements
    • Keep your wording concise and impactful for easy readability
    • Hang your sign at eye level to create a welcoming focal point

    Pro Tip: Incorporate a custom family name plaque or stylish house number to give your porch a unique, polished feel that truly makes it your own.

    20. Rustic Stone Planters for Timeless Porch Appeal

    Rustic Stone Planters for Timeless Porch Appeal

    Invite a touch of earthy elegance to your porch with weathered stone planters that effortlessly blend rugged texture and refined style. These pieces create a welcoming, grounded atmosphere that feels both natural and inviting, perfect for setting a cozy outdoor scene.

    Key Design Elements

    • Anchor your porch with sizeable stone planters that make a bold statement
    • Choose trailing blooms to add soft, flowing greenery that spills gracefully over the edges
    • Complement the look with warm wooden furniture to enhance the organic feel

    Pro Tip: Opt for lightweight faux stone planters crafted from fiberglass—they capture the authentic look without the strain of heavy materials.

    21. Make a Statement with Twin Planters

    Make a Statement with Twin Planters

    Create an inviting entrance by placing two striking planters on either side of your front door. This balanced setup instantly adds a sense of order and charm, making your porch feel thoughtfully styled. Fill them with colorful summer flowers to bring energy and cheer that welcomes guests warmly.

    Key Design Elements

    • Opt for coordinating pots in eye-catching hues or timeless neutrals
    • Choose tall, sculptural plants like ornamental grasses or slender shrubs
    • Regularly water and prune to maintain a fresh, polished appearance

    Pro Tip: Mirroring pots beside your doorway is a quick and affordable way to boost your home’s first impression — simple, symmetrical, and stunning every time.

    22. Charming White Wooden Flower Box

    Charming White Wooden Flower Box

    Bring a touch of timeless elegance to your porch with a crisp white wooden flower box. Its simple, cottage-inspired design beautifully highlights your blooms, giving your outdoor space a fresh, organized look that feels both inviting and thoughtfully styled.

    Key Design Elements

    • Fill with vibrant seasonal blooms to brighten your entryway
    • Mount as a window box or attach to porch railings for added charm
    • Add a layer of coco coir to enhance water drainage and plant health

    Pro Tip: Think of a white planter as the versatile foundation of your porch palette—effortlessly complementing any color burst you choose to showcase.

    23. Swinging Serenity Spot

    Swinging Serenity Spot

    Transform your porch into a cozy retreat with a hanging chair that invites you to unwind and relax. Picture yourself gently swaying with a captivating novel in hand and a refreshing drink nearby—pure porch paradise.

    Key Design Elements

    • Double-check that your ceiling beams can safely hold the chair’s weight
    • Layer in a soft, inviting cushion to enhance comfort
    • Position it close to a small table to keep snacks and beverages within easy reach

    Pro Tip: Opt for a hanging egg chair paired with durable, weatherproof cushions to maintain both style and longevity outdoors.

    24. Embrace Rattan’s Natural Charm

    Embrace Rattan’s Natural Charm

    Rattan is the perfect way to infuse your porch with a laid-back, breezy vibe that feels effortlessly inviting. Its organic texture brings warmth and a subtle tropical essence without overwhelming the space, making it a timeless choice for outdoor living.

    Key Design Elements

    • Anchor your seating area with rattan armchairs or a cozy loveseat
    • Incorporate rattan side tables and decorative planters to unify the look
    • Complement with soft linen or cotton cushions for added comfort and style

    Pro Tip: Protect your rattan furniture by applying a UV-resistant spray, helping it stay vibrant and sturdy through sunny days.

    25. Vibrant Planter Play

    Vibrant Planter Play

    Bring your porch to life by combining an array of brightly colored planters. This playful mix not only energizes your entryway but also evokes the cheerful spirit of a sun-soaked getaway. Think of it as a splash of summer happiness right outside your door.

    Key Design Elements

    • Blend terracotta, glazed ceramic, and handcrafted wooden pots for texture variety
    • Choose colors that contrast sharply to create a dynamic, eye-catching display
    • Arrange planters in groups of three or five to maintain a balanced, organic vibe

    Pro Tip: Give your old pots a fresh lease on life by painting them in vibrant shades like coral, turquoise, or sunny yellow—an easy and affordable way to brighten your space.

    26. Vibrant Porch Bench Makeover

    Vibrant Porch Bench Makeover

    Breathe new life into a tired wooden bench with a splash of cheerful color. Whether you choose sunny yellow, playful pink, or a striking turquoise, this refreshed piece will instantly brighten your porch and become your go-to spot for relaxation and smiles.

    Key Design Elements

    • Thoroughly sand and prime the bench to create a smooth painting surface
    • Opt for weather-resistant exterior paint to withstand the elements
    • Complement your bench with cozy cushions in coordinating hues for extra comfort

    Pro Tip: Seal your painted masterpiece with a clear protective finish to guard against sun damage and unexpected showers, keeping it looking fresh season after season.

    27. Lush Summer Evergreen Wreath

    Lush Summer Evergreen Wreath

    Who says evergreens are only for chilly months? With a breezy update, these vibrant greens can brighten your porch all summer long, bringing a touch of nature’s calm and a splash of color to your outdoor space.

    Key Design Elements

    • Weave in cheerful summer flowers like daisies or zinnias for an inviting pop of color
    • Tie on bright, playful ribbons to capture the sunny spirit of the season
    • Mix in fragrant eucalyptus leaves to add a refreshing scent and elegant texture

    Pro Tip: Choose a eucalyptus wreath for a wonderfully fresh aroma that lasts—it’s stylish, fragrant, and effortlessly keeps your porch looking lively through the summer heat.

    Conclusion

    Refreshing your front porch for summer doesn’t have to be complicated or expensive—sometimes the smallest touches can transform your space into a welcoming oasis that brightens your day and invites good vibes. Whether it’s a splash of colorful pillows, a few fragrant plants, or some charming string lights, these simple ideas can make a big difference in creating a warm, inviting atmosphere for you and your guests.

    So why not give one or two of these tips a try? You might be surprised at how much joy a little creativity and care can bring to your home’s entrance. And when you do, don’t forget to share your results! We’d love to see how you’ve put your own spin on summer porch decorating and celebrate your beautiful, personalized space.

  • Top Garage Mudroom Designs to Maximize Function and Style

    Transforming your garage entry into a stylish, functional mudroom is quickly becoming a must-have upgrade for modern homes. As the transitional space between the outdoors and your sanctuary, the garage mudroom plays a crucial role in keeping clutter at bay while offering a warm welcome every time you walk through the door. Whether you’re juggling coats, backpacks, or muddy boots, this space can be both a practical hub and a design statement, marrying convenience with aesthetic appeal.

    In today’s home improvement landscape, the best garage mudroom designs are all about maximizing organization without sacrificing style. From smart storage solutions that keep everyday essentials within easy reach to thoughtful layouts that streamline your morning routine, these spaces are tailored to meet the demands of busy households. Embracing fresh ideas that balance durability with elegance, the garage mudroom has evolved from a simple drop zone into a destination that enhances your home’s flow and makes everyday life a little easier—while looking fantastic.

    1. Airy and Inviting Garage Mudroom Ideas

    Airy and Inviting Garage Mudroom Ideas

    This garage mudroom beautifully combines practicality with aesthetic appeal. Expansive windows flood the area with daylight, creating an open and cheerful atmosphere. Featuring a comfortable seating nook alongside clever storage solutions, it keeps your entryway tidy and welcoming.

    Key Design Elements

    • Incorporate large windows to maximize natural light and enhance the sense of space.
    • Add a cushioned bench for convenient seating when putting on or taking off shoes.
    • Use built-in cabinets and hooks to organize shoes, coats, and other daily essentials efficiently.

    Pro Tip: Choose durable, easy-to-clean materials for floors and benches to maintain a fresh, welcoming look with minimal effort.

    2. Creative Open Shelving Solutions for Your Garage Mudroom

    Creative Open Shelving Solutions for Your Garage Mudroom

    Incorporating open shelving in your garage mudroom can enhance both functionality and visual appeal by offering a neat, accessible way to store items. This setup allows you to showcase baskets, boots, and other essentials while keeping everything within easy reach. It brings an inviting charm and improves the overall organization of the space.

    Key Design Elements

    • Use labeled baskets on shelves to keep smaller items like gloves and hats tidy and easy to find.
    • Designate specific shelves for shoes, ensuring quick access while maintaining a clutter-free floor.
    • Incorporate hooks beneath the shelves for hanging coats, backpacks, or keys to maximize space.

    Pro Tip: Opt for adjustable shelving units so you can customize the height to fit larger items or future storage needs.

    3. Modern and Streamlined Garage Entryway Design

    Modern and Streamlined Garage Entryway Design

    This garage entryway embraces a modern, streamlined aesthetic that emphasizes both order and ease of use. Subtle color palettes and crisp geometric shapes foster a serene environment, ideal for transitioning from outside to inside. Clever storage options make it simple to keep clutter at bay and stay prepared for daily activities.

    Key Design Elements

    • Incorporate built-in cubbies and hooks for shoes, bags, and coats to maximize space.
    • Use light, neutral colors to enhance the feeling of openness and tranquility.
    • Choose durable, easy-to-clean materials suitable for high-traffic mudroom areas.

    Pro Tip: Install a bench with hidden storage beneath to combine seating and organization seamlessly.

    4. Transform Your Garage Mudroom into an Organized All-In-One Space

    Transform Your Garage Mudroom into an Organized All-In-One Space

    Don’t let your garage mudroom be just a catch-all for clutter. By installing practical storage solutions like hooks and open shelving, you can create a neat and inviting space perfect for stashing shoes, backpacks, and outdoor essentials. This thoughtful setup makes entering and exiting your home easier while adding a touch of style.

    Key Design Elements

    • Install a mix of high and low hooks for coats, bags, and kids’ gear.
    • Use sturdy open shelves to keep frequently used items within easy reach.
    • Add a bench with storage underneath for a convenient spot to sit and store shoes.

    Pro Tip: Incorporate washable, durable materials like vinyl or laminate surfaces to keep your mudroom looking fresh and easy to clean.

    5. Smart Shoe Solutions for Your Garage Entryway

    Smart Shoe Solutions for Your Garage Entryway

    Transform your garage entryway into an organized shoe haven with some innovative storage ideas. Incorporating racks, cubbies, and containers ensures every pair has its place, making mornings smoother and clutter a thing of the past. A neat and systematic setup not only enhances the look but also saves time when you’re on the go.

    Key Design Elements

    • Install adjustable shelving to accommodate different shoe sizes and styles.
    • Use labeled baskets or bins for quick identification and separation by family member.
    • Incorporate a bench with hidden shoe compartments for convenience and comfort.

    Pro Tip: Opt for open storage solutions near the door to encourage daily tidiness and easy access.

    6. Enhancing Your Garage Mudroom with Practical Seating

    Enhancing Your Garage Mudroom with Practical Seating

    Integrating a bench into your garage mudroom not only boosts functionality but also helps maintain order by offering a dedicated spot to sit while removing dirty footwear. It doubles as a convenient place to set down backpacks or shopping bags, making daily comings and goings smoother. Additionally, a well-chosen bench can elevate the overall aesthetic of the area.

    Key Design Elements

    • Choose a bench with built-in storage compartments or cubbies to maximize space.
    • Opt for durable, easy-to-clean materials that withstand mud and moisture.
    • Position the bench near entry points to streamline shoe removal and organization.

    Pro Tip: Incorporate cushioned seating with washable covers to combine comfort with easy maintenance.

    7. Designing an Efficient and Organized Garage Entryway

    Designing an Efficient and Organized Garage Entryway

    Transform your garage entry into a streamlined hub for daily essentials like shoes, coats, and bags. Thoughtful organization in this space helps keep clutter at bay while making everything easy to grab on the go. A smart layout turns your mudroom into a functional and inviting transition area.

    Key Design Elements

    • Incorporate cubbies and hooks at varying heights to accommodate family members of all ages.
    • Use durable, easy-to-clean materials to withstand outdoor dirt and moisture.
    • Add a bench with storage underneath to combine seating and organization in one spot.

    Pro Tip: Designate specific zones within the mudroom for each family member’s belongings to maintain order and reduce clutter.

    8. Functional Storage Solutions with Garage Mudroom Cabinets

    Functional Storage Solutions with Garage Mudroom Cabinets

    Installing mudroom cabinets in your garage transforms the area into a neat and attractive entryway. These cabinets offer ample space to organize shoes, backpacks, and outdoor essentials, simplifying your daily routine. They also help maintain a clutter-free environment while enhancing the overall appeal of your home’s entrance.

    Key Design Elements

    • Designate spots for each family member’s belongings to keep items easy to find.
    • Incorporate adjustable shelves or cubbies for versatile storage options.
    • Choose durable materials that withstand dirt and moisture commonly found in garage areas.

    Pro Tip: Opt for cabinets with built-in seating to provide a convenient spot for putting on or taking off shoes.

    9. Essential Gear to Enhance Your Garage Mudroom

    Essential Gear to Enhance Your Garage Mudroom

    Transform your garage mudroom into an efficient and tidy space by incorporating smart storage solutions. Adding sleek wall hooks provides an easy place to hang coats and bags, keeping them neat and accessible. Utilizing storage containers helps clear clutter by neatly housing shoes, sports equipment, and more.

    Key Design Elements

    • Install durable wall hooks for hanging jackets, backpacks, and hats.
    • Use stackable storage bins to organize footwear and athletic gear.
    • Add a bench with built-in compartments for extra convenience and seating.

    Pro Tip: Labeling each storage bin will save time searching and keep everyone in the household on the same page.

    10. Vibrant Touches to Transform Your Garage Mudroom

    Vibrant Touches to Transform Your Garage Mudroom

    Revamp your garage mudroom with lively details that blend style and function seamlessly. Incorporate colorful rugs and unique wall art to infuse character while maintaining order. Adding soft cushions can create a warm, inviting atmosphere for family and guests alike.

    Key Design Elements

    • Choose durable, washable rugs to brighten the floor while handling foot traffic.
    • Display framed prints or wall decals that reflect your personality and complement the space.
    • Add seating with plush pillows to offer comfort and a cozy spot for putting on shoes.

    Pro Tip: Use multifunctional storage benches with cushions to maximize space and comfort in your mudroom.

    11. Charming Farmhouse Garage Mudroom Inspirations

    Charming Farmhouse Garage Mudroom Inspirations

    Transform your garage entry into a warm and orderly farmhouse-inspired mudroom. Combining smart storage solutions with rustic charm creates an inviting transition space that’s both practical and welcoming. Incorporate cozy seating and versatile hanging options to streamline your daily routine.

    Key Design Elements

    • Install a wooden bench with built-in storage for shoes and seasonal gear.
    • Add sturdy hooks or pegs for jackets, hats, and reusable bags to keep clutter off the floor.
    • Use vintage baskets or crates for easy-to-access organization that enhances farmhouse aesthetics.

    Pro Tip: Opt for durable, easy-to-clean materials like weathered wood and washable cushions to keep your mudroom looking fresh and functional.

    12. Seamless Laundry Solutions in Your Garage Entryway

    Seamless Laundry Solutions in Your Garage Entryway

    Combining your laundry area with the garage entryway creates a highly efficient space for tackling household tasks. Thoughtfully designed storage and a warm ambiance make sorting and cleaning clothes more convenient while keeping clutter at bay. This approach enhances functionality without sacrificing style.

    Key Design Elements

    • Install built-in bins or hampers for easy sorting of clothes as you enter.
    • Use shelves and hooks to organize detergents, cleaning supplies, and laundry accessories.
    • Choose moisture-resistant materials to withstand damp or muddy conditions common in garages.

    Pro Tip: Incorporate a folding station or countertop above the washer and dryer to streamline laundry processing and maximize surface space.

    13. Smart Storage Solutions for Your Garage Mudroom

    Smart Storage Solutions for Your Garage Mudroom

    Transform your garage mudroom into a highly functional space that streamlines your daily comings and goings. Utilize wall-mounted hooks for hanging jackets and backpacks while designated cubbies organize footwear neatly. Incorporate overhead bins or baskets to stow away smaller essentials, keeping everything accessible and clutter-free.

    Key Design Elements

    • Install sturdy hooks at varying heights to accommodate family members of all ages.
    • Use cubbies with labeled compartments to separate shoes, boots, and slippers efficiently.
    • Place baskets on high shelves to keep hats, gloves, and other small items out of the way yet easy to find.

    Pro Tip: Choose clear or fabric bins for overhead storage so you can quickly identify contents without pulling everything down.

    14. Smart Storage Solutions for Your Garage Entryway

    Smart Storage Solutions for Your Garage Entryway

    Designing a well-organized garage entryway can simplify your daily routines and keep clutter at bay. Incorporate vibrant storage containers and sturdy hooks to ensure everyone has a dedicated spot for their belongings. Adding a cozy seating area provides a convenient place to put on or remove shoes with ease.

    Key Design Elements

    • Label bins and baskets to help family members quickly find and store items.
    • Install wall-mounted hooks at varying heights to accommodate kids and adults alike.
    • Choose a bench with built-in storage to maximize space efficiency.

    Pro Tip: Consider using waterproof and easy-to-clean materials to maintain a tidy entryway despite muddy footwear.

    15. Clever Storage Solutions for a Small Garage Mudroom

    Clever Storage Solutions for a Small Garage Mudroom

    Transform your garage mudroom into an efficient and clutter-free zone by utilizing vertical space and multifunctional furniture. Installing wall hooks keeps jackets and bags off the floor, while a bench with built-in compartments offers seating and shoe storage in one. These strategies help maintain order and maximize usability in a limited area.

    Key Design Elements

    • Mount hooks or pegs on the wall to hang everyday outerwear and accessories.
    • Incorporate a bench that doubles as storage to organize footwear and provide a comfortable spot to sit.
    • Use stackable or cubby-style organizers to neatly stash smaller items like gloves and scarves.

    Pro Tip: Choose slim-profile hooks and a compact bench to keep pathways clear and create a more spacious feel.

    16. Simplify Your Seasonal Switch with a Functional Garage Mudroom

    Simplify Your Seasonal Switch with a Functional Garage Mudroom

    Transform your garage mudroom into the ultimate staging area for changing weather. A tidy, well-planned space allows you to neatly arrange coats, footwear, and outdoor essentials, so you’re always prepared as the seasons shift. This organization helps streamline your routine, making coming and going effortless regardless of the forecast.

    Key Design Elements

    • Use hooks and cubbies to keep jackets and hats easily accessible.
    • Incorporate a bench with shoe storage to quickly change footwear before entering the house.
    • Designate spots for sports gear and umbrellas to avoid clutter and save time.

    Pro Tip: Label storage spots to ensure everyone in the household knows exactly where seasonal items belong, maintaining order year-round.

    17. Efficient Ideas for Maximizing Your Garage Mudroom

    Efficient Ideas for Maximizing Your Garage Mudroom

    Transforming a garage mudroom into a functional, clutter-free area can greatly enhance your home’s organization. Utilizing clever storage options such as wall-mounted hooks and bins helps keep essentials tidy and within reach. Adding a small bench provides a convenient spot to sit while putting on or removing footwear, without overwhelming the limited space.

    Key Design Elements

    • Install vertical hooks to hang coats, bags, and hats, freeing up floor space.
    • Use stackable bins or baskets for sorting shoes and outdoor gear neatly.
    • Incorporate a slim bench with hidden storage underneath to combine seating and organization.

    Pro Tip: Choose multifunctional furniture pieces that offer both storage and seating to maximize every inch of your mudroom area.

    18. Eye-Catching Flooring Ideas to Elevate Your Garage Mudroom

    Eye-Catching Flooring Ideas to Elevate Your Garage Mudroom

    Transform your garage mudroom into a space that’s as durable as it is stylish. Opting for vibrant and resilient flooring choices can make this high-traffic area both attractive and easy to maintain. Combining diverse textures and hues ensures a welcoming entryway that stands up to everyday wear.

    Key Design Elements

    • Consider porcelain tiles with bold patterns for a mix of toughness and visual interest.
    • Use rubber or vinyl flooring to resist moisture while adding a pop of color.
    • Incorporate textured stone or concrete finishes to enhance grip and add natural charm.

    Pro Tip: Choose flooring materials that are not only eye-catching but also easy to clean and quick to dry for seamless maintenance.

    19. Smart Strategies to Keep Your Garage Mudroom Neat and Functional

    Smart Strategies to Keep Your Garage Mudroom Neat and Functional

    A well-organized garage mudroom can streamline your family’s daily routine and reduce clutter. Assign clear storage containers for seasonal accessories like gloves, hats, and scarves to make grabbing essentials quick and hassle-free. Installing hooks for bags and outerwear ensures everything stays off the ground and easy to access.

    Key Design Elements

    • Use color-coded or labeled bins to sort different items, making it easier for everyone to find their belongings.
    • Mount sturdy hooks at child-friendly heights to encourage kids to hang up their coats and backpacks independently.
    • Add a bench with cubbies underneath for shoes and boots to keep footwear contained and out of the way.

    Pro Tip: Incorporate a small shelf or bulletin board above the bins where you can keep reminders, schedules, or keys for added convenience.

    20. Enhancing Functionality and Aesthetics in Your Garage Entryway

    Enhancing Functionality and Aesthetics in Your Garage Entryway

    Transform your garage entryway into a space that’s both efficient and inviting. By creating a well-planned area, you can maintain order and add charm that welcomes guests warmly. Incorporating plush mats and chic organizers can elevate the comfort and appearance instantly.

    Key Design Elements

    • Install hooks and cubbies to neatly store coats, backpacks, and shoes.
    • Use durable, easy-to-clean rugs to handle mud and dirt effectively.
    • Add bench seating with hidden storage to combine comfort and practicality.

    Pro Tip: Choose moisture-resistant materials for all storage and seating elements to ensure longevity in a high-traffic mudroom.

    21. Key Elements for an Efficient Garage Mudroom

    Key Elements for an Efficient Garage Mudroom

    Designing a garage mudroom centers on maximizing ease and functionality. Incorporate a comfortable seating area for putting on or taking off shoes, along with sturdy hooks to keep jackets and bags organized. Including a nearby sink simplifies washing up after outdoor activities, keeping your home cleaner.

    Key Design Elements

    • Install a built-in bench to provide a dedicated spot for footwear changes.
    • Add wall-mounted hooks or cubbies to neatly store coats, backpacks, and hats.
    • Include a utility sink for quick rinsing of hands, mud, or sports gear.

    Pro Tip: Opt for durable, easy-to-clean materials like tile flooring and waterproof paint to handle mudroom messes effortlessly.

    22. Embrace Cozy Rustic Vibes in Your Garage Mudroom

    Embrace Cozy Rustic Vibes in Your Garage Mudroom

    Transform your garage mudroom into a welcoming retreat that highlights natural textures and earthy tones. Incorporating elements like reclaimed wood and handcrafted baskets brings a cozy, rustic feel while maintaining an organized and functional space. This area becomes both a stylish entry point and a practical storage solution.

    Key Design Elements

    • Install wooden cubbies or shelves made from reclaimed timber for durable storage.
    • Use woven baskets to neatly store shoes, gloves, and hats while adding texture.
    • Add a bench with rustic accents to create a comfy spot for putting on or taking off shoes.

    Pro Tip: Incorporate vintage hooks or hardware to enhance the rustic aesthetic and increase hanging options.

    23. Designing a Sleek and Practical Garage Entryway

    Designing a Sleek and Practical Garage Entryway

    Transform your garage entry into a chic and efficient mudroom by embracing clean lines and a neutral palette. Incorporate a cozy seating area alongside clever storage solutions to maintain order and create a welcoming atmosphere. This approach balances style and utility for everyday convenience.

    Key Design Elements

    • Choose streamlined cabinetry with minimalist hardware for a contemporary look.
    • Install a cushioned bench to provide comfortable seating while putting on or taking off shoes.
    • Add hooks and cubbies to neatly store coats, bags, and outdoor gear.

    Pro Tip: Use durable, easy-to-clean materials for surfaces to withstand dirt and moisture commonly found in garage entryways.

    24. Revamp Your Garage Mudroom into a Welcoming Space

    Revamp Your Garage Mudroom into a Welcoming Space

    Transform your garage mudroom into a functional and inviting entry spot with simple enhancements. Incorporate storage solutions and soft textures to make it both practical and cozy. Adding thoughtful seating and display features can elevate the area’s overall appeal.

    Key Design Elements

    • Use decorative baskets or bins to neatly store shoes, gloves, and other essentials.
    • Place a textured rug to add warmth and catch dirt from outside.
    • Install modern hooks or pegs for hanging jackets, bags, and hats efficiently.

    Pro Tip: Choose a bench with built-in storage to maximize space and keep clutter out of sight.

    25. Chic and Practical Garage Mudroom Ideas

    Chic and Practical Garage Mudroom Ideas

    Transform your garage entry into a sleek and efficient mudroom that keeps clutter at bay. Featuring a minimalist bench paired with sturdy hooks, this setup ensures you can easily access your essentials while maintaining a clean and inviting space. Experience the perfect balance of modern design and everyday convenience.

    Key Design Elements

    • Install durable hooks for hanging coats, bags, and keys within easy reach.
    • Choose a bench with built-in storage to hide shoes and outdoor gear neatly.
    • Opt for materials like metal and wood to create an industrial yet warm ambiance.

    Pro Tip: Add labeled baskets or bins under the bench to keep smaller items sorted and easy to find.

    Conclusion

    Transforming your garage mudroom into a harmonious blend of style and practicality is more than just a home improvement project—it’s an investment in daily ease and lasting comfort. Innovative designs and clever layouts make it easier than ever to create a space that welcomes you with organized charm and seamless functionality. Whether you’re juggling coats, shoes, pets, or weekend gear, your mudroom can become the signature spot that turns chaotic comings and goings into moments of calm and order.

    Now is the perfect time to reimagine your garage mudroom as a personalized haven that reflects your lifestyle and aesthetic. By embracing smart storage solutions, durable materials, and stylish touches, you’ll craft a space that not only handles life’s messes but also inspires you every day. Don’t settle for the ordinary—let your garage mudroom become a beacon of both form and function, showing that even the busiest entryway can be a place of beauty and efficiency. Your dream mudroom awaits—take the first step toward transforming your home today!

  • 12 Stunning Patio Landscaping Ideas to Transform Your Outdoor Space with Style and Serenity

    The edge of the lawn meets a patch of bare concrete. A lone folding chair appears come summer, only to vanish by fall. This isn’t a patio—it’s a placeholder, a space in waiting.

    What separates a backyard that’s truly lived in from one that’s ignored isn’t how much space you have or how much money you spend. It’s about making a conscious choice: treating your outdoor area as an extension of your home, a purposeful space with thoughtful design, quality materials, and a clear use. Too often, yards underperform because no one has taken that step—to design with intent rather than default.

    The following twenty ideas span every style, climate, and budget, but they all share one key trait: deliberate commitment. Each concept follows a focused design vision from start to finish. That purposeful execution is exactly what catches your eye when a garden truly captivates.

    1. Serene Japanese-Inspired Gravel Garden Featuring a Sleek Deck Platform

    Serene Japanese-Inspired Gravel Garden Featuring a Sleek Deck Platform

    Cover the entire garden space with a layer of white granite or quartz pea gravel, spreading it evenly to a depth of about eight to ten centimeters over a weed-blocking fabric. To keep the gravel neatly contained, install sleek black powder-coated metal edging along all perimeter lines, ensuring a clean and modern boundary.

    Embed three large, irregularly shaped stepping stones made from dark basalt into the gravel. Each stone should be substantial—no less than sixty centimeters wide—and arranged to naturally guide visitors’ gaze and footsteps from the garden entrance toward the deck area.

    Construct the deck from pale grey, silver-aged hardwood, positioning it slightly elevated above the gravel at one end of the garden. Behind the deck, add a vertical timber slat screen that serves both as a privacy barrier and a visually appealing backdrop, enhancing the sense of enclosure without closing off the space.

    For planting, keep things minimalist yet striking. Place two black ceramic pots directly on the gravel—one containing a carefully cloud-pruned boxwood tree, the other housing a cluster of black bamboo. These select plants introduce texture and color contrast without overwhelming the understated design.

    Finally, furnish the deck with a single simple teak bench, creating a quiet spot for relaxation. Avoid adding any other furniture pieces, allowing the clean lines and carefully curated elements of the patio to speak for themselves.

    2. Modern Corten Steel and Gravel Oasis

    Modern Corten Steel and Gravel Oasis

    Corten steel planters, known for their distinctive rust-colored patina, serve as the focal point of this patio design. The surrounding elements are carefully selected to either complement or provide a striking contrast to this warm, earthy hue. This approach creates a cohesive and visually engaging outdoor space that balances texture and tone.

    For the flooring, opt for large-format paving slabs in a soft, pale gray shade—either concrete or porcelain works well. Arrange them in a crisp grid layout, and fill the gaps with gravel to introduce a subtle interplay of surfaces. This combination lends a modern, structured look while adding depth and interest through mixed materials.

    To enhance the natural feel, acquire two to three sizeable rectangular corten planters, keeping their height uniform but varying their lengths for dynamic visual rhythm. Fill these containers with a blend of architectural and delicate plants—think tall, flowing feather grass and aromatic lavender at the forefront, wispy Stipa tenuissima to add gentle movement, and sage for a touch of color and fragrance.

    Incorporate a sleek stainless steel water feature that sits flush against a rendered wall for a minimalist yet impactful statement. A single panel roughly one meter tall and thirty centimeters wide allows water to cascade smoothly down into a concealed trough below. This element not only adds a calming auditory dimension but also enhances the overall ambiance of the patio.

    Finally, complete the space with a streamlined bench crafted from a black powder-coated steel frame paired with teak slats for the seating surface. The combination of corten steel, natural teak, and steel forms a thoughtful material palette that unifies the design, blending industrial strength with organic warmth.

    3. Charming English Garden Bench Patio Design

    Charming English Garden Bench Patio Design

    This patio area is designed to feel naturally formed rather than artificially constructed. Instead of rigid installation, it gradually comes together over time, creating an inviting, organic atmosphere.

    Begin by choosing a sheltered spot along a south-facing wall, where warmth and protection encourage growth. Arrange irregular limestone or sandstone flagstones in a loose rectangular shape, spacing them generously to allow creeping thyme or sweet alyssum to fill the gaps with lush, fragrant greenery. Avoid sealing the joints; the plants need room to establish and spread, softening the hardscaping with living texture.

    Set a single cast-iron bench—preferably an ornate Victorian style that’s allowed to age gracefully with a patina of rust—directly against the wall. In front, create a narrow, densely planted border brimming with classic cottage garden blooms. Think tall foxgloves, vibrant delphiniums, fragrant sweet william, silvery lavender, aromatic catmint, and rich salvia. These plants should be allowed to spill gently over the stone edges, blurring the boundary between garden and patio.

    Echo the border planting by grouping terracotta pots of varying heights and sizes at either end of the bench, filled with the same cottage flowers to maintain continuity. Add personal touches—a watering can resting casually nearby, a gardening trowel hanging or placed on the wall. Above, train a climbing rose and cascading wisteria to climb the wall, adding vertical interest and seasonal color.

    The goal is effortless charm: nothing here should appear deliberately placed or overly curated. Instead, this outdoor space should feel like it naturally evolved from the spot, a serene retreat shaped by time and nature rather than design.

    4. Sweeping Paver Fire Pit Areas with Cozy Seating Spaces

    Sweeping Paver Fire Pit Areas with Cozy Seating Spaces

    This design concept outlines a cohesive plan for the entire backyard, emphasizing seamless flow rather than isolated elements. Starting from the house, the upper section features a spacious rectangular patio crafted from large concrete pavers in a soft, neutral tone. Opt for oversized pavers to create an understated yet elegant foundation. Furnish this area with a cream-colored weather-resistant sofa and two matching armchairs, all set on sleek, dark frames to provide a sophisticated contrast.

    Leading away from this elevated seating space, a gently winding pathway constructed from darker pavers guides you through lush planting beds. These beds serve as a natural divider and introduce texture and color before reaching the lower patio zone. Here, you’ll find a generous circular platform paved with the same style of stone, centered around a round fire pit made from stone or cast iron. Surround this warm centerpiece with four Adirondack chairs or contemporary lounge seats to encourage gathering and relaxation.

    The planting scheme connecting these zones is deliberately restrained and harmonious. Choose a uniform color palette—such as all blue-purple blooms or a mix of white and green foliage—to maintain visual continuity and avoid color clashes. Plants like ornamental grasses, lavender, and seasonal perennials anchor the beds with a consistent look that complements the hardscape.

    Curves and circles are the foundation of the design language, repeated thoughtfully throughout the space. From the curved edges of the planting beds to the circular fire pit and the symmetrical seating arrangement, these soft shapes create a balanced, inviting atmosphere. This repetition not only unifies the different areas but also brings an organic softness to the structured lines of the pavers.

    5. Sun-Kissed Bougainvillea Oasis Inspired by Andalusia

    Sun-Kissed Bougainvillea Oasis Inspired by Andalusia

    Start with a crisp, bright-white backdrop by applying smooth lime plaster to all the patio walls and finishing with pure white paint—avoid any creamy or off-white tones to keep the space vivid and fresh. For the flooring, choose classic blue-and-white encaustic tiles arranged in a striking geometric diamond pattern, creating an eye-catching foundation that complements the walls perfectly.

    Let a mature bougainvillea take center stage as living architecture. Position one established plant in the corner where two white walls meet, guiding it to climb as high and as wide as the structure allows. This dramatic scale is essential; a small potted bougainvillea won’t capture the same bold presence. Instead, aim for a lush, sprawling vine that blankets several square meters, adding vibrant color and organic texture to the clean white surfaces.

    At the base of each wall, gather terracotta pots filled with bright red geraniums, creating clusters rather than sparse placements. Use simple stone plinths to vary the height of the pots, generating layered interest and a sense of abundance. This collection of fiery blooms grounds the space and adds warmth and life against the crisp white backdrop.

    Incorporate a wall-mounted terracotta fountain set within a Moorish-arched tile frame to introduce soothing water sounds and a touch of old-world charm. Opt for a minimalist design: a small spout feeding water into a half-basin that flows continuously, striking a perfect balance between decorative and serene.

    Finally, finish the look with a single blue-painted door to anchor the space and complement the floor tiles, paired with an understated iron wall lantern for soft illumination. Resist the urge to overcrowd—this carefully curated combination speaks volumes with its simplicity and harmony.

    6. Opulent Tropical Evening Oasis

    Opulent Tropical Evening Oasis

    This patio is crafted to come alive under the cover of night, transforming your outdoor area into an enchanting evening retreat. Begin by constructing a raised hardwood deck with sharply defined edges that step down gracefully to a pathway of flagstone interspersed with smooth pebbles. Along the back wall, install a sleek wood-slat privacy screen that incorporates subtle warm LED strip lighting along its upper border, casting a soft, inviting glow.

    Enhance the ambiance with a striking, full-height water curtain—a framed panel in stainless or steel that lets water cascade gently down its surface. Illuminate this feature both from above and below with warm LED lights, creating a mesmerizing play of light and water that serves as an elegant focal point. Place a modular outdoor sofa upholstered in warm grey fabric nearby, designed for low-profile seating that encourages relaxation. Anchor the space with a dark steel fire table at the center, and add a rattan hanging egg chair in one corner, suspended from a sturdy floor stand to provide a cozy nook.

    Incorporate lush greenery to add texture and height; tall banana plants, bird of paradise, and areca palms form a natural overhead canopy, creating a tropical vibe. Closer to the ground, layer in vibrant bromeliads in rich pink and orange hues, orchids displayed in glossy ceramic pots, and imposing elephant ear alocasia to introduce dramatic, broad foliage. Illuminate the garden thoughtfully with warm LED spotlights positioned at ground level—amber tones highlight the palms, cool white lights accentuate the water feature, and the seating area is bathed in an overall warm glow.

    This garden is a hidden gem by day, but as night falls, it transforms into an irresistible haven. When the clock strikes ten on a balmy evening, this glowing, intimate patio becomes the ultimate destination for unwinding and socializing, a space designed to captivate and comfort after sunset.

    7. Lilac Haven with Circular Paver Design

    Lilac Haven with Circular Paver Design

    Sometimes, the shape of your patio can create a stunning focal point all on its own. Consider installing a perfect circle of concrete or natural stone pavers at the heart of your garden. Frame this circle with a darker brick border laid in a soldier course pattern to add a striking contrast. Make sure the space is ample enough to comfortably fit a small dining set with four chairs, allowing plenty of room to move around.

    Envelop this circular patio with a half-moon of lush lawn on one side and a sweeping arc of black mulch on the other. Within the mulch bed, place a solitary lilac tree as the standout feature, positioning it so its branches gently shade part of the paved area. Beneath the tree, plant a palette of low-growing shrubs and perennials in shades of white and soft lavender to complement the lilac’s blooms and keep the color scheme harmonious.

    To create a gentle visual transition between the mulch and the patio, include a single stepping stone disk embedded in the mulch. This subtle detail guides the eye and adds texture without disrupting the overall flow. For now, leave the circular space unfurnished—the choice of furniture is a personal touch best left to the garden’s owner, allowing them to tailor the spot to their lifestyle and taste.

    8. Stone Dining Area Under a Wisteria-Covered Pergola

    Stone Dining Area Under a Wisteria-Covered Pergola

    Construct a sturdy pergola using rough-hewn oak posts and beams rather than typical treated softwood, which ages to a dull, flat grey that can appear cheap and uninspired. Oak, on the other hand, naturally weathers to a rich, silvery patina full of depth and character, giving your outdoor structure a timeless, elegant look that suggests heritage rather than wear.

    At the base of each oak post, introduce Wisteria sinensis, training its main vines horizontally beneath the pergola beams with the help of discreet wire supports attached via vine eyes. Let the flower-laden spurs cascade downward freely, creating an enchanting draped effect once fully matured. Although it can take four to five years for the wisteria to fully envelop the pergola, the stunning display it eventually provides is well worth the patient wait.

    For the flooring, lay down a smooth, pale gravel in soft champagne or oyster hues, ensuring it’s well-compacted and neatly edged to maintain a clean, polished appearance. Center a long wooden farmhouse table beneath the pergola, drape it with a loosely fitted linen tablecloth, and surround it with iron bistro chairs for a charming mix of rustic and refined seating—whether uniform or eclectic.

    Elevate the evening ambiance by stringing delicate festoon lights along the pergola’s beams, casting a warm, inviting glow. At the far end of the space, position an intricately carved stone wall fountain to act as a captivating focal point and visual anchor.

    To complete the look, flank the pergola entrance with terracotta pots filled with meticulously clipped boxwood spheres, adding structure and formality. In the adjoining garden beds, allow hydrangeas, lavender, and roses to flourish, their lush blooms spilling gracefully over the gravel borders to soften the hardscaping with vibrant texture and color.

    9. Cozy Adirondack Seating Around a Gravel Fire Pit

    Cozy Adirondack Seating Around a Gravel Fire Pit

    This patio design stands out as the simplest and most accessible option in the entire collection, requiring virtually no advanced construction skills. Start by outlining a circle roughly four meters in diameter in your backyard. Dig down about ten centimeters, then lay down landscape fabric to prevent weed growth. Next, fill the area with white pea gravel, tamping it down firmly to create a stable, attractive surface.

    At the center of this space, place a round fire pit made from dry-stacked natural stone, about sixty centimeters wide. You can either build this yourself or buy a ready-made option, depending on your preference. Surround the fire pit with four Adirondack chairs crafted from weathered teak or stained cedar, evenly spaced for comfort and conversation.

    To add height and texture, position a large planter behind one of the chairs and plant a tall ornamental grass such as Miscanthus sinensis or Cortaderia. Along the perimeter, incorporate shade-loving plants like hostas and other broad-leaf varieties to soften the edges and introduce greenery. Scatter two or three sizable boulders irregularly throughout the gravel area to create natural focal points and add visual interest.

    With these simple steps, your backyard transforms into a cozy, inviting retreat with minimal effort and expense. This straightforward patio requires no complex tools or skills—just thoughtful placement and quality materials to bring it all together.

    10. Serene Water Garden Featuring Japanese Maple Trees

    Serene Water Garden Featuring Japanese Maple Trees

    Think of the Japanese maple as the centerpiece of your patio landscape, with every other element designed to enhance and showcase its beauty.

    Choose a mature Acer palmatum dissectum—the weeping variety known for its finely cut leaves—and situate it where it’s visible both from inside your home and from your main outdoor seating area. Let the tree grow naturally, only trimming away dead or crossing branches to maintain its graceful form without heavy pruning.

    Create a tranquil base around the maple by layering white pea gravel alongside darker river stones, arranging them in clean, contrasting bands separated by concealed metal edging. Integrate large, flat stepping stones that invite you to wander through this serene ground cover. Nearby, place a sizable black glazed ceramic bowl filled with water lilies, adding a subtle water element that complements the tree without overpowering it.

    Accentuate the space with low black iron lanterns positioned along the edges of pathways to provide gentle illumination. To frame the area and add privacy, install a bamboo screen fence that reinforces the garden’s peaceful, Zen-like ambiance.

    For seating, keep it simple: a single bench or a pair of chairs placed in a secondary spot that naturally draws the eye toward the Japanese maple. The tree isn’t just a feature—it’s the focal point, the heart of your outdoor retreat.

    11. Charming Provençal Knot Garden Featuring a Stone Fountain

    Charming Provençal Knot Garden Featuring a Stone Fountain

    A formal parterre garden demands dedication and regular upkeep, but when executed with precision, it stands out as one of the most stunning patio landscaping options. Begin by spreading a layer of fine, light-colored gravel uniformly across the entire outdoor space. Within this gravel bed, construct a low boxwood hedge arranged in a classic knot garden pattern. The design features interlocking geometric shapes, each roughly one meter square, with the hedges carefully trimmed to maintain a consistent height of about thirty centimeters.

    At the heart of this elegant layout, place a tiered fountain crafted from pale limestone or weathered concrete to bring an element of timeless charm. The fountain should be kept running continuously, providing a soothing water feature that anchors the garden visually and audibly. To frame the entrance, position a gracefully curved iron arch adorned with climbing roses in soft blush pink or apricot hues, adding a romantic flourish that contrasts beautifully with the precise hedging.

    Enhance the corners of the garden with oversized terracotta urns in varying sizes, each planted with a mix of standard roses, fragrant lavender, and crisp white hydrangeas to introduce texture and color diversity. Along the wall of the house, mount wrought iron lanterns symmetrically on either side to offer subtle illumination and complement the garden’s formal aesthetic.

    The defining characteristic of this style is the impeccable maintenance of the boxwood hedges, which should be clipped at least twice a year to preserve their sharp, clean lines. While the hedges require strict attention, the surrounding plantings can enjoy a more relaxed, natural look. It’s this deliberate interplay between the structured, manicured hedging and the freely cascading roses that creates the dynamic visual tension making the parterre garden so captivating.

    12. Sleek and Subtle Charcoal Patio Design

    Sleek and Subtle Charcoal Patio Design

    Imagine a sleek, minimalist courtyard defined by simplicity and intentional restraint. The ground is paved with expansive, dark charcoal porcelain tiles arranged in a seamless grid with narrow grout lines, creating an impeccably smooth, flat surface that feels both modern and timeless. This uniform base sets a calm, understated tone for the entire area.

    Along the back wall, three identical tall concrete planters stand side by side, each showcasing a single tuft of feather grass (Stipa tenuissima). These light, wispy plants add a gentle, dynamic texture as their delicate blades sway effortlessly with every breeze, imparting subtle movement and softness to the space. On the adjacent side wall, a larger square planter holds a semi-mature olive tree, its silvery-green foliage providing a stately, natural focal point.

    Positioned parallel to the trio of planters is a minimalist concrete bench, pared down to its essential form without a backrest, inviting quiet moments of reflection without distraction. At the heart of the courtyard, a compact, low-profile black fire bowl offers warmth and ambiance, its clean lines echoing the restrained aesthetic throughout.

    No additional furniture or decorations clutter the area. The walls remain bare and unadorned, enhancing the sense of spaciousness and simplicity. The only source of illumination is a single recessed uplight installed in the ground beneath the olive tree, casting a subtle glow and accentuating the natural beauty of the foliage after dark. This space’s strength lies entirely in its deliberate absence of excess—proving that sometimes, less truly is more.

    13. Lush Island-Inspired Fire Pit Patio Retreat

    Lush Island-Inspired Fire Pit Patio Retreat

    Create an elevated hardwood deck that rises a step above the surrounding terrain—this subtle elevation is key, as the deck itself acts as a focal point, while the surrounding landscape forms the backdrop. This distinction sets the stage for outdoor living, emphasizing the deck as the centerpiece.

    Opt for robust hardwoods like ipe or comparable dense timber, using wide planks left to age gracefully to a natural silver-grey patina or enhanced with a warm-toned oil finish to maintain their rich hues. Above the deck, install a minimalist pergola crafted from powder-coated black steel, featuring only vertical posts and horizontal crossbeams—leave it open without additional infill panels. Drape warm white festoon lights loosely between the beams, creating gentle arcs of soft illumination that add ambiance without overpowering the space.

    Position a low-profile, rectangular gas fire pit coffee table at the heart of a corner sectional sofa outfitted in durable grey outdoor fabric. Ensure the fire feature is centrally visible from every seat to foster a cozy and inviting atmosphere. Behind the deck, mount a striking water wall against the rear fence—a sleek stainless steel panel or a bamboo-accented cascade where water gently flows down the surface. Illuminate this feature from below with warm LED uplighting to enhance its tranquil presence as dusk falls.

    Surround the base of the deck with lush, tropical foliage featuring broad-leafed plants such as banana palms, elephant ears, tree ferns, and bromeliads. Install ground-level lighting to cast an enchanting glow on these plants after dark, creating a vibrant, natural border that complements the deck’s clean lines while adding depth and texture to the landscape.

    14. Contemporary Corten Steel and Sleek Blade Water Feature Garden

    Contemporary Corten Steel and Sleek Blade Water Feature Garden

    For a sleek, modern take on patio landscaping, consider using large-format, light-toned concrete slabs as your main flooring, creating a clean and spacious foundation. Surround the slabs with a fine gravel border in a similar hue, which not only contrasts subtly with the concrete but also delineates the space from adjacent walls, enhancing the overall minimalist aesthetic.

    Within the gravel edging, place two or three rectangular planters crafted from corten steel, varying their sizes to add visual interest. Fill these containers exclusively with ornamental grasses and lavender, opting for a restrained planting scheme that avoids bright flowers or overly vibrant foliage, maintaining a calm and contemporary vibe throughout the space.

    Feature a tall, narrow stainless steel water element mounted on the rendered wall—a slim vertical panel where water gently cascades from the top into a discreet trough below, producing a soothing, uninterrupted sound. Position a single LED uplight beneath the water feature to highlight its texture and movement after dusk, creating a serene focal point.

    Complete the setup with a bench that combines a black powder-coated steel frame and teak slatted seating, oriented toward the water display to encourage relaxation and contemplation. This design demands minimal upkeep: ornamental grasses require a single trim in early spring, lavender benefits from a late summer pruning, corten steel planters need no maintenance, and the water feature operates continuously with little intervention, making it ideal for those seeking stylish yet fuss-free outdoor living.

    15. Cozy Irish Moorland Bistro Nook

    Cozy Irish Moorland Bistro Nook

    Picture a cozy nook with just two chairs and a small table, where your morning coffee takes center stage and the natural surroundings complete the scene. For the foundation, lay down dark, irregular slate flagstones along the side of your home. Embrace their uneven shapes and let moss naturally fill the crevices, adding a touch of softness and age. Avoid using pressure washers on this paving to preserve its delicate, lived-in charm.

    Choose a pair of vintage-style French iron bistro chairs—preferably the kind that have weathered countless seasons outdoors. Pair them with a round iron table whose paint shows wear and fading, lending a rustic, authentic feel to your patio setup. This furniture’s subtle imperfections tell a story and invite you to relax without fuss.

    Surround this arrangement with plants that grow freely and organically. Let ferns and hostas spread naturally, while nasturtiums spill gracefully from a cracked stone urn. Encourage foxgloves to self-seed in the spaces between the stones, and allow a climbing rose to wander sideways instead of reaching skyward. This untamed planting style creates a charming, effortless garden sanctuary.

    The only structured element is a dry-stone wall or an arrangement of large, irregular rocks forming a boundary. Complement this with a wooden gate that opens to the rest of the garden—slightly askew, dusted with moss at its base—perfectly blending formality with natural beauty. This subtle contrast adds character and invites exploration beyond the patio space.

    Conclusion

    A backyard that truly comes alive is one shaped by decisive choices. Every patio and garden setting thrives because it embraces a distinct style—whether it’s lush and romantic, sleek and minimal, structured and formal, or wild and free-spirited. Instead of trying to blend every idea, these spaces commit wholeheartedly to their unique vision. That commitment transforms a simple outdoor area into a purposeful retreat with a strong personality.

    Don’t let the fear of losing options hold you back from defining your garden’s character. A landscape with clear intent invites you to live fully in the moments you spend there—be it savoring your morning coffee, gathering around an evening fire, hosting summer dinners, or enjoying a quiet Sunday with a book. Design your patio for the way you genuinely live outdoors, because that’s the space you’ll return to again and again, making it your true outdoor sanctuary.

  • 20 Creative Industrial Dining Room Designs That Bring Urban Edge to Your Home

    Industrial dining rooms are carving out a distinctive niche in contemporary interior design, marrying rugged textures with refined elegance. By showcasing raw materials such as exposed brick, steel frameworks, and concrete finishes, this style transforms structural elements into compelling visual statements. The result is a space that feels both authentic and thoughtfully curated, where practicality meets modern sophistication.

    What makes industrial dining areas truly captivating is their ability to balance utilitarian charm with inviting warmth. The style highlights unfinished surfaces and repurposed details, turning what might be overlooked into eye-catching features that tell a story. Whether you’re outfitting a trendy urban loft or infusing a traditional setting with industrial flair, these design concepts offer inspiration for creating a dining environment that’s effortlessly edgy yet comfortably welcoming.

    1. Eco-Friendly Industrial Dining Spaces Embracing Sustainable Materials

    Eco-Friendly Industrial Dining Spaces Embracing Sustainable Materials

    Highlight your commitment to sustainability by selecting materials that complement industrial design while being environmentally responsible. Incorporate reclaimed wood, recycled steel, and timber harvested with care to blend eco-friendliness and style seamlessly. Bringing in vintage or antique furnishings not only lessens environmental strain but also introduces genuine charm and history. Opting for locally sourced elements further reduces carbon footprint and supports local artisans. This mindful strategy results in dining spaces that are both ethically sound and true to the rugged, unrefined spirit of industrial decor.

    Key Design Elements

    • Incorporate reclaimed wood dining tables and benches that showcase natural grain while reducing waste.
    • Use exposed metal fixtures made from recycled steel or iron to maintain an industrial aesthetic with sustainable sourcing.
    • Opt for energy-efficient LED pendant lighting with vintage-style bulbs to enhance ambiance while minimizing energy consumption.

    Pro Tip: Pro Tip: Incorporate reclaimed wood and recycled metal accents in your industrial dining space to achieve a rugged, sustainable aesthetic that reduces environmental impact while maintaining durability and style.

    2. Dining Space Featuring Rustic Exposed Ceiling Beams

    Dining Space Featuring Rustic Exposed Ceiling Beams

    Revealing ceiling beams introduces a striking architectural feature that highlights the industrial style by celebrating the building’s framework. Choosing bold hues such as deep black or charcoal to paint these beams helps anchor the dining space and adds depth. While steel beams contribute a genuine industrial edge, wooden ones bring a cozy texture and warmth to the room. Hanging pendant lights from the beams can craft focused, inviting illumination above the dining area. This vertical emphasis naturally lifts the eye, enhancing the sense of spaciousness while preserving the authentic, rugged industrial vibe.

    Key Design Elements

    • Use warm, natural wood tones and textures in furniture and decor to complement the rustic exposed ceiling beams.
    • Incorporate ambient lighting such as pendant lights or wrought iron chandeliers that highlight the beams without overpowering them.
    • Choose earthy, neutral color palettes for walls and flooring to create a cozy, cohesive dining space that emphasizes the rustic charm.

    Pro Tip: Pro Tip: Highlight rustic exposed ceiling beams by pairing them with warm, natural materials like reclaimed wood furniture and soft, ambient lighting to create a cozy, inviting dining atmosphere.

    3. Bright and Airy Industrial Dining Spaces Embracing Natural Light

    Bright and Airy Industrial Dining Spaces Embracing Natural Light

    Expansive windows and thoughtful layout choices bring abundant natural light into the space, gently balancing the raw edges of an industrial design. Soaring ceilings paired with vast skylights deliver a striking, open atmosphere that captivates at first glance. Opt for simple blinds or leave windows uncovered to highlight the building’s structural details rather than hide them. Placing dining areas close to these light sources ensures meals are bathed in warm daylight, while well-placed mirrors can enhance and multiply the light, adding depth and vibrancy. This harmonious blend of sunlight and rugged materials crafts a living environment that evolves beautifully as the day progresses.

    Key Design Elements

    • Incorporate large windows or glass doors to maximize natural light, enhancing the openness of the industrial dining space.
    • Use light-colored, raw materials like reclaimed wood tables and whitewashed brick walls to balance the industrial elements and maintain brightness.
    • Add minimalistic, open shelving and metal-framed furniture with clean lines to keep the space uncluttered and airy while emphasizing industrial style.

    Pro Tip: Pro Tip: Maximize natural light in industrial dining spaces by incorporating large, unobstructed windows paired with light, neutral-toned furnishings that soften the raw textures of metal and exposed brick, creating a balanced, bright, and inviting atmosphere.

    4. Dining Space Featuring a Blend of Industrial Style and Mixed Metal Chairs

    Dining Space Featuring a Blend of Industrial Style and Mixed Metal Chairs

    Incorporating a range of metal seating options infuses your industrial dining room with unique character and depth. Blending diverse metal tones and chair designs introduces individuality without straying from the industrial vibe. Pairing steel chairs with warm copper highlights or contrasting black metal frames against brass accents creates a refined yet dynamic look. This strategy not only offers versatility in choosing pieces but also evokes a thoughtfully assembled, lived-in feel. By keeping consistent proportions and heights while experimenting with different textures and finishes, you achieve a dining area that exudes both purpose and casual sophistication.

    Key Design Elements

    • Incorporate a reclaimed wood dining table with metal legs to establish an industrial foundation while adding warmth and texture.
    • Select a variety of mixed metal chairs—such as copper, brass, and matte black finishes—to create visual interest and a curated, eclectic look.
    • Use exposed Edison bulb pendant lighting or metal cage fixtures above the dining table to enhance the industrial aesthetic and provide focused illumination.

    Pro Tip: Pro Tip: Balance the raw, edgy feel of industrial elements by choosing mixed metal chairs in varying finishes and textures, creating visual interest while maintaining cohesion through a consistent color palette.

    5. Seamlessly Blending Industrial Dining Spaces into Open Floor Layouts

    Seamlessly Blending Industrial Dining Spaces into Open Floor Layouts

    Blending dining areas effortlessly with living rooms and kitchens fosters a harmonious, connected atmosphere in your home. Embracing an open-plan industrial style not only expands the sense of space but also promotes engaging conversations during meals and gatherings. Incorporate recurring elements such as exposed brick walls, steel accents, and polished concrete floors to tie these zones together visually. Anchor the dining space with a standout chandelier or a distinctive rug, all while keeping clear views to neighboring rooms. This approach enhances natural light distribution and ensures versatile, inviting spaces that stay true to the industrial aesthetic.

    Key Design Elements

    • Incorporate raw materials like exposed brick, metal fixtures, and reclaimed wood furniture to maintain the industrial aesthetic while complementing the openness of the floor plan.
    • Use area rugs and strategically placed lighting to define the dining area within the open layout, creating a distinct yet cohesive space.
    • Opt for minimalist, multifunctional furniture pieces that blend industrial style with comfort and functionality, ensuring the dining space flows naturally with adjacent living areas.

    Pro Tip: Pro Tip: Use cohesive materials like metal and reclaimed wood across furniture and fixtures, and anchor the space with a bold, industrial-style rug to create visual continuity that effortlessly integrates your dining area into an open floor plan.

    6. Modern Industrial Dining Space Featuring Versatile Furniture Solutions

    Modern Industrial Dining Space Featuring Versatile Furniture Solutions

    Incorporating versatile furniture is key to optimizing space in an industrial dining area. Opt for dining tables that offer expandable surfaces or integrated storage to seamlessly adjust to varying occasions. Industrial-inspired benches with concealed compartments not only provide extra seating but also help keep dining essentials neatly tucked away. Mobile carts can double as stylish bar stations or extra serving areas, enhancing functionality without sacrificing the room’s sleek, minimalist vibe. This strategy ensures your compact dining space remains both practical and visually balanced.

    Key Design Elements

    • Incorporate modular dining tables with adjustable heights and extendable surfaces to accommodate varying group sizes and activities.
    • Use multipurpose seating like stools with storage compartments or benches that can double as shelving units to maximize space efficiency.
    • Select materials such as reclaimed wood, metal, and concrete finishes to maintain the authentic industrial aesthetic while ensuring durability and easy maintenance.

    Pro Tip: Pro Tip: Incorporate modular furniture with clean lines and mixed materials like metal and reclaimed wood to seamlessly blend functionality and the raw aesthetic of modern industrial dining spaces.

    7. Dining Spaces Elevated by Bold, Textured Industrial Walls

    Dining Spaces Elevated by Bold, Textured Industrial Walls

    Step beyond the classic exposed brick and experiment with diverse textured wall finishes to amplify an industrial vibe while enriching your space visually. Incorporating materials like concrete slabs, reclaimed wood, or metal panels can introduce striking accent walls that ground your dining area with personality. For a blend of industrial and farmhouse styles, shiplap offers a warm, rustic touch that feels both inviting and stylish. These textured surfaces serve as compelling focal points, whether placed behind dining tables or extending across entire rooms to make a bold statement. Select finishes that harmonize with your palette, adding a tactile dimension that encourages a closer look and enhances the overall ambiance.

    Key Design Elements

    • Incorporate reclaimed wood or metal shelving against industrial brick or concrete walls to add functional storage while enhancing the textured aesthetic.
    • Use statement lighting fixtures with raw finishes like aged brass or blackened steel to complement and highlight the industrial wall textures.
    • Balance the bold, rugged walls with soft textiles such as upholstered chairs or area rugs in muted tones to create a comfortable and inviting dining atmosphere.

    Pro Tip: Pro Tip: Balance the ruggedness of bold, textured industrial walls with warm, tactile elements like wooden furniture and soft textiles to create a dining space that feels both edgy and inviting.

    8. Elevating Industrial Dining Spaces with Thoughtful Color Accents

    Elevating Industrial Dining Spaces with Thoughtful Color Accents

    Though industrial design often relies on muted tones, introducing carefully chosen pops of color can infuse dining areas with character and warmth. A solitary vibrant element—such as a striking chair, vivid piece of art, or eye-catching light fixture—can create a captivating focal point amidst the subdued backdrop. Shades like deep navy, lush green, or inviting burnt orange harmonize wonderfully with metal and wood textures. This method offers a flexible way to refresh the space seasonally or showcase individual style, all while preserving the sleek, understated elegance that defines industrial interiors.

    Key Design Elements

    • Incorporate bold color accents through dining chairs or cushions in rich hues like deep navy, burnt orange, or forest green to soften the raw industrial elements.
    • Use vibrant artwork or wall murals with contrasting colors to create focal points that enliven the space without overwhelming the industrial aesthetic.
    • Add textured textiles such as patterned rugs or colorful curtains to introduce warmth and balance the coolness of metal and concrete surfaces.

    Pro Tip: Pro Tip: Introduce warm, rich color accents like deep rusts or mustard yellows through textiles and artwork to soften industrial elements and create a balanced, inviting dining space.

    9. Contemporary Dining Space Featuring Sleek Glass and Metal Pendant Lights

    Contemporary Dining Space Featuring Sleek Glass and Metal Pendant Lights

    Glass pendant lights with transparent shades enhance the airy feel of your industrial dining space while delivering targeted illumination. Opt for glass jars or geometric clear glass designs to capture that authentic industrial character without overwhelming the room’s openness. Pair these with metal accents in black, brass, or weathered bronze to add both durability and visual depth. Arranging pendants at different levels introduces an engaging rhythm to the lighting, whereas uniform fixtures create a polished, balanced look. This combination ensures daylight passes through effortlessly, and when lit at night, the space glows with inviting warmth.

    Key Design Elements

    • Choose pendant lights with clean lines and minimalist designs in glass and metal to enhance the contemporary aesthetic without overwhelming the space.
    • Position the pendant lights at varying heights above the dining table to create visual interest and provide balanced illumination.
    • Pair the glass and metal fixtures with neutral or monochromatic color schemes and streamlined furniture to maintain a cohesive, modern dining environment.

    Pro Tip: Pro Tip: To enhance the modern appeal of your dining space, choose glass and metal pendant lights with clean lines and adjustable heights, allowing you to create both focused task lighting and ambient glow that complements sleek furniture and minimalist decor.

    10. Modern Industrial Dining Spaces Featuring Concrete Flooring

    Modern Industrial Dining Spaces Featuring Concrete Flooring

    Polished concrete flooring offers a resilient and easy-to-care-for foundation that seamlessly enhances the industrial dining room vibe. Its sleek, glossy finish not only boosts natural light but also serves as a subtle canvas for showcasing your furniture and decor. Often seen in combined kitchen and dining areas, concrete floors can be elevated with decorative etching or built-in color variations to introduce subtle character while maintaining their minimalist appeal. Complementing these floors with area rugs adds warmth and texture, helping to delineate the dining zone. Additionally, concrete’s natural thermal properties contribute to a balanced indoor climate.

    Key Design Elements

    • Incorporate sleek metal and wood furniture to complement the raw texture of concrete flooring, enhancing the modern industrial vibe.
    • Use area rugs strategically to add warmth and define the dining area without covering the concrete’s natural aesthetic.
    • Integrate exposed lighting fixtures, such as Edison bulbs or black metal pendants, to highlight the industrial theme and create a cozy atmosphere.

    Pro Tip: Pro Tip: Balance the raw, edgy feel of concrete flooring with warm textures like reclaimed wood furniture and soft textiles to create a modern industrial dining space that feels inviting rather than cold.

    11. Contemporary Industrial Dining Space Enhanced with Smart Technology

    Contemporary Industrial Dining Space Enhanced with Smart Technology

    Incorporating smart technology into dining areas elevates both functionality and atmosphere. Opt for adjustable dimmable lighting that transitions smoothly from vibrant, energizing brightness during breakfast to a cozy, subdued glow for evening gatherings. Seamlessly blend convenience with style by selecting sleek, minimalistic devices like smart plugs and voice-activated controls that complement the industrial vibe. Concealing wires and favoring wireless options preserves the clean, rugged aesthetic while delivering modern ease. This thoughtful fusion results in dining spaces that are effortlessly contemporary yet true to their industrial roots.

    Key Design Elements

    • Incorporate exposed metal fixtures and reclaimed wood furniture to reinforce the industrial aesthetic while maintaining a warm and inviting dining atmosphere.
    • Integrate smart lighting systems with adjustable color temperatures and dimming options to create customizable moods that complement different dining occasions.
    • Install voice-controlled smart appliances and automated window treatments to enhance convenience and streamline the dining experience.

    Pro Tip: Pro Tip: Integrate sleek, minimalist smart lighting and voice-controlled appliances to maintain the raw, industrial aesthetic while enhancing functionality and convenience in your contemporary dining space.

    12. Dining Spaces That Blend Industrial Charm with Vintage and Contemporary Flair

    Dining Spaces That Blend Industrial Charm with Vintage and Contemporary Flair

    Blending contemporary and vintage styles breathes life into interiors, crafting environments rich with narrative and charm. Combine streamlined modern dining tables with timeless vintage chairs to achieve a compelling visual balance. Introduce antique industrial accents such as pulleys, gears, or factory lamps alongside up-to-date conveniences to infuse warmth and individuality into otherwise minimalistic spaces. Sourcing genuine vintage finds from antique shops or creatively reimagining industrial materials can elevate your design with distinctive character. This fusion creates an elegant eclectic vibe that seamlessly bridges past and present.

    Key Design Elements

    • Incorporate raw materials like exposed brick walls and metal light fixtures alongside vintage wooden dining tables to create an industrial yet warm atmosphere.
    • Mix contemporary seating, such as sleek metal or acrylic chairs, with antique décor elements like distressed mirrors or retro artwork for a balanced look.
    • Use layered lighting, combining Edison bulbs with modern pendant lamps, to highlight both the rustic textures and clean lines within the dining space.

    Pro Tip: Pro Tip: Mix raw materials like exposed brick and metal with vintage furniture pieces and sleek contemporary lighting to create a balanced dining space that feels both timeless and edgy.

    13. Dining Room Elegance: Reclaimed Wood Meets Steel in Industrial Style

    Dining Room Elegance: Reclaimed Wood Meets Steel in Industrial Style

    A dining table crafted from reclaimed wood paired with steel legs captures the essence of industrial design by blending eco-friendly materials with sturdy, bold style. The aged texture of the salvaged wood adds unique character and resilience, ideal for everyday dining. Opt for either H-shaped or U-shaped steel supports to tailor the table’s visual appeal, while finishes like blackened or untreated steel enhance the natural warmth of the wood. This fusion creates a captivating contrast that remains true to industrial aesthetics, transforming the table into a centerpiece that celebrates both skilled craftsmanship and sustainable living.

    Key Design Elements

    • Incorporate a reclaimed wood dining table with visible grain and imperfections to create a warm, authentic focal point that contrasts beautifully with sleek steel accents.
    • Use steel-framed chairs or benches with leather or fabric cushions to balance industrial toughness with comfort and style.
    • Add pendant lighting featuring exposed bulbs and steel fixtures above the dining area to enhance the industrial vibe while providing focused, ambient illumination.

    Pro Tip: Pro Tip: Balance the rugged texture of reclaimed wood with sleek steel accents to create a harmonious industrial dining room that feels both warm and contemporary; layering soft textiles and ambient lighting will enhance the elegance without sacrificing edge.

    14. Modern Industrial Dining Space Featuring Bold Artwork

    Modern Industrial Dining Space Featuring Bold Artwork

    Elevate stark industrial walls by turning them into striking gallery displays that enhance the space’s rugged charm. Bold, eye-catching artwork not only sparks conversation at the table but also reflects your unique taste. Opt for oversized abstract paintings, evocative photography, or industrial-inspired designs that blend seamlessly with your palette. Using metal frames or visible mounting hardware reinforces the industrial vibe while giving your pieces a polished presentation. To add depth, mix materials such as metal, wood, and glass in a curated gallery wall, and be sure to install lighting that highlights the art and sets a warm, inviting mood for evening gatherings.

    Key Design Elements

    • Incorporate raw materials like exposed brick, metal fixtures, and reclaimed wood furniture to establish an authentic industrial foundation.
    • Select bold, oversized artwork with vibrant colors or striking graphic elements to serve as a focal point and add personality to the dining area.
    • Use minimalist lighting with pendant fixtures or Edison bulbs to complement the industrial aesthetic while highlighting the artwork and dining space.

    Pro Tip: Pro Tip: Anchor your modern industrial dining space with bold artwork in vibrant colors to create a striking focal point that contrasts with raw materials like exposed brick and metal accents, adding warmth and personality without overwhelming the minimalist aesthetic.

    15. Modern Industrial Dining Space Featuring an Edison Bulb Chandelier

    Modern Industrial Dining Space Featuring an Edison Bulb Chandelier

    Elevate your dining area with a chandelier showcasing Edison bulbs, where the glowing filaments bring a nostalgic charm and cozy warmth to the room. Inspired by vintage lighting from the early 1900s, these fixtures often feature sleek metal frameworks that enhance industrial style. Experiment with clusters of bulbs arranged in geometric shapes or staggered at different levels to add depth and intrigue. The soft, inviting light sets the perfect mood for gatherings while preserving the authentic, rugged essence of industrial design. For the best effect, hang the chandelier about 30 to 36 inches above your dining table to ensure both functional illumination and aesthetic harmony.

    Key Design Elements

    • Incorporate raw materials such as exposed brick walls, metal accents, and reclaimed wood furniture to enhance the industrial aesthetic.
    • Install an Edison bulb chandelier with adjustable dimming to create warm, inviting lighting that highlights the dining area.
    • Use minimalist, functional dining chairs and a sturdy wooden table to balance comfort with the modern industrial vibe.

    Pro Tip: Pro Tip: Balance the raw, edgy vibe of an Edison bulb chandelier with warm wood tones and soft textiles to create a modern industrial dining space that feels inviting rather than stark.

    16. Modern Industrial Dining Spaces Featuring Mixed Metal and Wood Seating

    Modern Industrial Dining Spaces Featuring Mixed Metal and Wood Seating

    Achieve a lively and cohesive seating area by blending various chair designs rooted in industrial style. Incorporate dining chairs featuring metal and wood to infuse farmhouse-inspired rooms with a modern industrial edge. Experiment with pairing steel frames with wooden seats or rotating between diverse metal finishes to add visual interest. This strategy not only offers sourcing flexibility but also cultivates a curated, layered look. To keep the dining experience comfortable and harmonious, choose chairs with comparable heights and proportions, allowing different textures and designs to bring warmth and individuality without compromising the industrial essence.

    Key Design Elements

    • Combine metal-framed chairs with wooden seats and backs to create a balanced contrast that enhances the industrial aesthetic while maintaining comfort.
    • Use a reclaimed wood dining table paired with mixed metal stools in varying finishes (e.g., matte black, brushed brass) to add depth and visual interest to the space.
    • Incorporate metal lighting fixtures with exposed bulbs above the dining area to complement the mixed metal seating and accentuate the industrial vibe.

    Pro Tip: Pro Tip: Balance the raw textures of mixed metal and wood seating by incorporating warm lighting and soft textiles like cushions or rugs to create an inviting modern industrial dining space.

    17. Dining Room Inspired by Industrial Pipe Accents

    Dining Room Inspired by Industrial Pipe Accents

    Embracing exposed pipes as part of your décor pays homage to industrial style while infusing your dining area with practical charm. Black iron pipes can serve as sturdy table legs, support shelves, or act as eye-catching wall accents that reinforce a utilitarian vibe. Extending pipe details throughout your home helps establish a cohesive industrial theme. Think about incorporating pipe-framed mirrors, hanging racks for pots, or bespoke shelving to display your kitchenware, all of which highlight the beauty of raw metal finishes. These thoughtful touches offer an affordable way to bring genuine industrial flair into your space.

    Key Design Elements

    • Incorporate industrial pipe shelving or open storage units to display dishes and glassware, adding functional decor with a raw, urban aesthetic.
    • Use pipe-inspired lighting fixtures, such as pendant lamps with exposed bulbs and metal pipe fittings, to create a warm, industrial ambiance over the dining table.
    • Choose furniture with metal pipe legs or frames paired with reclaimed wood tabletops to blend sturdy industrial materials with natural textures for a balanced dining space.

    Pro Tip: Pro Tip: Incorporate reclaimed wood tabletops paired with matte black industrial pipe legs to create an authentic, rugged dining room centerpiece that balances warmth with edgy urban style.

    18. Sleek Industrial Dining Spaces Embracing Minimalist Style

    Sleek Industrial Dining Spaces Embracing Minimalist Style

    Opt for a minimalist industrial dining room that champions simplicity and purposeful design, where every element serves a function without excess. Prioritize sleek, geometric furniture crafted from materials such as steel, concrete, and natural wood to anchor the space with texture and strength. Stick to a neutral color scheme—think blacks, whites, grays, and warm wood hues—for a harmonious and refined atmosphere. Highlight the room with a single standout feature, like a striking pendant light or bold artwork, while ensuring the rest of the decor remains subtle. This careful balance cultivates a serene and inviting setting, ideal for both cozy family meals and intimate gatherings.

    Key Design Elements

    • Incorporate raw materials like metal, concrete, and reclaimed wood for tables and chairs to achieve an authentic industrial feel while maintaining clean lines.
    • Opt for minimalist lighting fixtures such as exposed Edison bulbs or simple black metal pendants to enhance the sleek, utilitarian aesthetic.
    • Keep décor and accessories minimal by selecting functional pieces with geometric shapes and neutral colors to maintain an uncluttered, streamlined dining space.

    Pro Tip: Pro Tip: Opt for raw materials like exposed metal and reclaimed wood with clean lines to create a sleek industrial dining space that feels minimalist yet inviting, keeping decor simple to let textures and finishes stand out.

    19. Dining Room Inspired by Industrial Style with a Striking Exposed Brick Accent Wall

    Dining Room Inspired by Industrial Style with a Striking Exposed Brick Accent Wall

    Incorporating exposed brick into your industrial dining space instantly adds a rich sense of history and warmth, becoming a captivating focal point. The rugged texture of brick walls introduces depth and character, making them an ideal canvas for contemporary dining pieces. To harmonize with your palette while retaining the brick’s unique surface, consider painting it in shades like charcoal or crisp white. The subtle irregularities in the brickwork enhance visual interest and blend seamlessly with metal and wood accents. For maximum impact, place your dining table alongside the brick wall and use thoughtfully placed lighting to showcase its texture during dinner gatherings.

    Key Design Elements

    • Incorporate raw materials like reclaimed wood and metal furniture to complement the exposed brick accent wall and enhance the industrial vibe.
    • Use pendant lighting with Edison bulbs or metal shades to add warmth and highlight the texture of the brick.
    • Keep the color palette neutral with shades of gray, black, and earthy tones to maintain an authentic industrial atmosphere while allowing the brick wall to stand out.

    Pro Tip: Pro Tip: Balance the raw texture of an exposed brick accent wall with sleek metal and wood furnishings to create a cohesive industrial dining space that feels both rugged and inviting.

    20. Modern Industrial Dining Space Featuring a Concrete Table

    Modern Industrial Dining Space Featuring a Concrete Table

    A dining table crafted from concrete delivers a striking architectural presence combined with exceptional strength and contemporary style. Its sleek, minimalist silhouette is ideal for industrial-inspired interiors, where the soft gray hues harmonize effortlessly with raw brick and metal accents. To balance the coolness of concrete, introduce warm wooden chairs or rich leather upholstery for added comfort and visual warmth. The polished surface not only enhances light reflection but also offers easy upkeep, blending function with elegance. For a modern touch, think about incorporating built-in bench seating to elevate the overall design.

    Key Design Elements

    • Incorporate raw materials like exposed brick walls and metal light fixtures to complement the concrete table’s industrial aesthetic.
    • Use minimalist, sturdy dining chairs made from metal or reclaimed wood to enhance the modern industrial vibe while ensuring comfort.
    • Add warm textiles such as neutral-toned rugs or cushions to balance the coldness of concrete and create an inviting dining atmosphere.

    Pro Tip: Pro Tip: Balance the raw, edgy look of a concrete dining table with warm textures like leather chairs and wooden accents to create a modern industrial space that feels inviting rather than cold.

    Conclusion

    Industrial dining rooms masterfully unite rugged textures with refined aesthetics, crafting environments that are as inviting as they are visually captivating. By embracing features such as exposed brick, weathered wood, iconic Edison bulbs, and a blend of metal accents, you can cultivate a space that honors genuine materials while offering warmth and comfort. Whether your style leans toward sleek minimalism or a curated vintage mix, the true essence of this design lies in highlighting authentic structural details, transforming every meal into a memorable gathering steeped in character and charm.

  • 14 Common Decorating Mistakes That Cheapen Your Home—and How to Fix Them Beautifully

    Creating a home that feels both inviting and stylish can be a rewarding journey, yet it’s easy to stumble into decorating pitfalls that unintentionally drag down the overall vibe. Sometimes, even small missteps in color choices, furniture placement, or accessory selection can make a space feel less polished and more like a budget afterthought. The good news is, making your home look effortlessly elegant doesn’t require a complete overhaul or breaking the bank—it’s often about knowing which common mistakes to avoid and how to address them with thoughtful tweaks.

    Many homeowners find themselves frustrated when their carefully chosen pieces don’t come together as expected, leaving rooms that feel cluttered, mismatched, or simply “off.” Understanding the subtle ways decor decisions impact the perception of quality can transform your living space from ordinary to extraordinary. In this post, we’ll explore fourteen typical decorating errors that tend to cheapen a home’s appearance and, more importantly, how you can fix each one beautifully to elevate your space into a haven that reflects your personal style with sophistication and warmth. Let’s dive in and discover how to turn these common slip-ups into opportunities for stylish success.

    1. Elevate Your Space with Well-Hung, Quality Curtains

    Elevate Your Space with Well-Hung, Quality Curtains

    Curtains that are too flimsy or improperly sized can quickly detract from the charm of a beautifully styled room. Even the most elegant decor can feel unfinished if the window treatments don’t complement the space effectively. It’s not just the curtains themselves that matter — how you hang them plays a crucial role in the overall aesthetic.

    Opting for curtains made from richer, heavier fabrics instantly adds depth and sophistication. Meanwhile, correctly positioning your curtains can transform the proportions of your windows and walls, making the entire area feel more polished and inviting. With just a few smart adjustments, even budget-friendly curtains can look remarkably upscale.

    • Install curtain rods 4 to 6 inches above the top of your window frame to create height.
    • Extend the curtain rod 6 to 12 inches beyond each side of the window to widen the visual space.
    • Select curtains that reach the floor, gently brushing it for a tailored, elegant finish.

    Pro Tip: Hanging curtains high and wide instantly enlarges your windows and adds soaring height to your ceilings — an effortless style boost anyone can achieve.

    2. Revitalize Your Space with Updated Soft Furnishings

    Revitalize Your Space with Updated Soft Furnishings

    Even the most well-kept homes can start to feel weary and outdated if their soft furnishings have lost their charm. Cushions that have flattened out, throws that have dulled in color, and rugs worn from years of use subtly drain the vibrancy from a room. These elements, while often overlooked, play a crucial role in defining the comfort and style of your living space.

    Refreshing your textiles is an easy way to breathe new life into your interiors without a major overhaul. By swapping out tired cushions or adding a bright, cozy throw, you can transform the ambiance instantly. Paying attention to these details ensures your home always feels inviting and current.

    • Swap out cushion inserts once they become flattened or misshapen to maintain plush comfort.
    • Change your throws with the seasons to introduce new textures and colors that keep your room feeling lively.
    • Invest in a stylish new rug to create a stunning focal point—this affordable upgrade makes a big impact.

    Pro Tip: Think of soft furnishings as the season’s signature accessories—they’re your easiest ticket to a fresh, stylish room makeover.

    3. Mastering the Art of Shelf Styling

    Mastering the Art of Shelf Styling

    Overcrowded shelves often create a sense of disorder that can detract from the beauty of your space. When every inch is jam-packed with random objects, it overwhelms the eye and makes it difficult to appreciate individual pieces. Instead of feeling curated, such shelves can appear cluttered and chaotic.

    The solution lies in thoughtful arrangement and intentional spacing. By carefully selecting and grouping your items, you can transform shelves into captivating displays that invite attention without feeling busy. Balancing decorative accessories with books adds depth and variety, turning your shelves into a harmonious focal point rather than a visual mess.

    • Group items in odd numbers like three or five to create natural, appealing clusters.
    • Incorporate varying heights within each cluster to add dimension and keep the eye moving.
    • Blend different textures—mix hardcover books with lush greenery, ceramics, and shiny metallics for an engaging contrast.

    Pro Tip: Remember, leaving some shelf space empty isn’t neglect—it’s strategic breathing room that lets your eye relax and appreciate the curated elements.

    4. Creating Balanced and Beautiful Walls

    Creating Balanced and Beautiful Walls

    When walls become cluttered with too many frames or mismatched decor, the overall look can feel chaotic and overwhelming. Instead of showcasing a collection of random items, your wall should tell a cohesive story where every piece feels intentionally placed. Achieving this balance transforms your space into a harmonious and inviting environment.

    Allowing your wall to breathe is key. Whether you opt for a single, captivating artwork or a thoughtfully arranged gallery, giving each element room to shine elevates the entire room’s aesthetic. This mindful approach helps create a polished, sophisticated vibe rather than a busy or disorganized one.

    • Maintain at least 3 to 4 inches of space between frames in a gallery to prevent visual clutter.
    • Select a consistent theme or matching frame style to unify the collection and create visual harmony.
    • Consider replacing multiple small pieces with one bold, oversized artwork to make a striking focal point.

    Pro Tip: Embrace empty wall space as a powerful design tool—it allows your eyes to rest and highlights each piece’s significance.

    5. Establishing a Clear Visual Anchor

    Establishing a Clear Visual Anchor

    Without a defined focal point, a room can feel disjointed and visually overwhelming, leaving the eye uncertain about where to rest. This lack of direction often makes the space appear incomplete or chaotic. A strong focal point acts as a visual anchor, guiding attention and bringing harmony to your interior design.

    Identifying the standout feature in your room—be it an elegant fireplace, a striking piece of art, a stylish coffee table, or a comfortable sofa—helps create a natural centerpiece. Decorating around this element not only enhances its appeal but also gives the entire space a sense of purpose and flow.

    • Position furniture to highlight and complement your chosen focal feature, ensuring it’s the room’s centerpiece.
    • Incorporate strategic lighting, such as accent lamps or spotlights, to emphasize and showcase the focal area.
    • Limit competing visual distractions by keeping other décor elements subtle, allowing the focal point to shine effortlessly.

    Pro Tip: Every thoughtfully designed space needs a visual magnet—make yours the room’s undeniable star.

    6. Mastering Scale: The Key to Harmonious Home Decor

    Mastering Scale: The Key to Harmonious Home Decor

    When decorating a space, overlooking the importance of scale can throw off the entire room’s harmony. Placing a tiny piece of art above a grand sofa or situating massive decor items in a cozy nook often creates a jarring, uncomfortable vibe. These mismatches disrupt the visual flow, making rooms feel awkward and uninviting.

    Achieving balance through proportion ensures the elements in your space complement one another rather than compete. Thoughtful consideration of size and scale helps your decor breathe, letting each piece shine without overwhelming the room or fading into the background.

    • Select artwork that spans at least two-thirds the width of your sofa to maintain a cohesive look.
    • In compact rooms, opt for a single standout piece instead of clustering multiple small items to avoid clutter.
    • Leverage scale strategically to highlight focal points and guide the eye, steering clear of visual chaos.

    Pro Tip: Proportion is the unspoken rhythm of design—nail it, and your space will naturally sing.

    7. Taming Tangled Cords for a Sleek Space

    Taming Tangled Cords for a Sleek Space

    Visible cables snaking around your television, lamps, and electronic devices can instantly diminish the elegance of any room, making it feel cluttered and incomplete. These stray wires not only distract from your carefully curated decor but also create a sense of disorder that undermines the overall aesthetic.

    Fortunately, managing these cords doesn’t require a full remodel—simple, thoughtful solutions can transform your space from chaotic to chic in minutes. By cleverly concealing or organizing cables, you can maintain the streamlined look your home deserves while keeping your electronics accessible and safe.

    Embracing smart cord management strategies elevates your interior, allowing your design choices to shine without the distraction of unruly wiring. It’s a small detail that makes a significant impact on the room’s polished, inviting atmosphere.

    • Install cable raceways or management channels flush against your walls to neatly guide wires out of sight.
    • Strategically position furniture, like desks or side tables, to naturally obscure cables running behind them.
    • Choose media consoles or entertainment units designed with integrated compartments for organizing and hiding cords.

    Pro Tip: Spend just half an hour tidying cables, and watch your room instantly gain a refined, showroom-ready vibe.

    8. Streamline Your Countertops for a Cleaner Look

    Streamline Your Countertops for a Cleaner Look

    Counters cluttered with everyday items can quickly create a sense of disorder, even if the rest of your home is spotless. In kitchens and bathrooms alike, crowded surfaces can distract from the overall aesthetic and make spaces feel smaller and more chaotic. Achieving a neat countertop instantly elevates the ambiance, making your home feel more welcoming and serene.

    By thoughtfully organizing and minimizing what stays on your counters, you create an environment that feels intentional and refreshed. When only a few carefully chosen items remain visible, the space breathes and allows architectural details and design elements to shine. This approach not only enhances functionality but also fosters a more peaceful daily routine.

    • Tuck away small appliances and tools you rarely use inside cabinets or drawers to free up visual space.
    • Use decorative trays or shallow containers to gather essential items like soap dispensers or coffee pods, keeping them orderly and contained.
    • Limit decorative accents to a single statement piece per countertop area to maintain a clean, curated vibe.

    Pro Tip: A decluttered counter is a silent invitation to calm—a subtle signature of thoughtful design.

    9. Harmonizing Your Hardware: The Key to a Unified Home Aesthetic

    Harmonizing Your Hardware: The Key to a Unified Home Aesthetic

    When your home features a jumble of metal tones and finishes, it can disrupt the overall harmony of your space. Clashing hardware choices often make interiors feel fragmented, as if the design elements were collected haphazardly rather than thoughtfully curated. This disjointed look can unintentionally undermine even the most stylish decor schemes, leaving your home feeling less polished and more chaotic.

    To elevate your interior’s cohesion, it’s essential to streamline your hardware selections. By selecting a dominant metal finish and applying it consistently, you create a subtle thread that ties each room together. This approach highlights the design details instead of distracting from them, lending an air of intentional elegance throughout your space.

    • Pick a primary metal finish such as matte black or satin nickel and use it consistently on door handles, cabinet pulls, and light fixtures.
    • Incorporate a complementary second metal finish in small doses to add dimension without overwhelming the design.
    • Refresh all cabinet and door hardware simultaneously to establish a unified look that instantly upgrades your space.

    Pro Tip: Consistent hardware choices offer a quick, budget-friendly makeover that transforms a house into a deliberately designed home.

    10. Choosing Furniture That Fits Your Space Perfectly

    Choosing Furniture That Fits Your Space Perfectly

    Selecting furniture that’s too small for your room can leave the entire area feeling disjointed and incomplete. When pieces are undersized, they create awkward gaps and make the space appear sparse or unfinished. For instance, a rug that’s too tiny won’t anchor the furniture properly, causing it to seem like it’s floating rather than grounded. Similarly, tables that don’t match the scale of the room can look lost and out of place, disrupting the harmony of your design.

    To create a balanced and inviting atmosphere, it’s essential to pick furnishings that complement the dimensions of your room. Properly sized furniture not only enhances comfort but also contributes to a cohesive and polished look. By carefully considering scale, you’ll transform your space from feeling empty or cluttered to beautifully proportioned and welcoming.

    • Select a rug large enough so that at least the front legs of sofas and chairs rest comfortably on it, unifying the seating area.
    • Opt for a sofa that occupies about two-thirds of the length of the wall it faces to create a grounded and well-proportioned focal point.
    • Match your artwork to the size of your walls—larger walls demand bigger statement pieces to maintain visual balance.

    Pro Tip: When sizing furniture, err on the side of generosity—larger pieces evoke elegance, while smaller ones risk feeling like an afterthought.

    11. Avoid Overloading Your Space with Trends

    Avoid Overloading Your Space with Trends

    Trying to incorporate every new trend into a single room can quickly lead to a cluttered and overwhelmed look. When too many styles compete for attention, the space loses harmony and may feel outdated almost as soon as it’s styled. Instead of chasing every fad, focusing your design vision creates a cohesive and inviting environment.

    By anchoring your room around a core style you truly love, you give yourself a strong foundation to build upon. Carefully chosen trend elements can then add personality and freshness without overpowering the overall aesthetic. This balance helps your space feel both modern and timeless, rather than chaotic and transient.

    • Identify your primary design approach first—whether it’s minimalist, rustic, coastal, or another style you connect with.
    • Keep trendy accents to a small fraction of your decor—aim for no more than 20% to maintain visual balance.
    • Build your room’s base with enduring, neutral furnishings and layer in trendy cushions, throws, or artwork for subtle impact.

    Pro Tip: A solid, classic foundation lets your space evolve naturally, so you can enjoy new trends without a full redesign.

    12. Streamline Your Space with Thoughtful Decor Choices

    Streamline Your Space with Thoughtful Decor Choices

    When a room is scattered with numerous small decorative items, it can quickly start to feel chaotic and overwhelming. Tiny accents, while charming on their own, often compete for attention and create visual noise that disrupts the harmony of a space. This cluttered effect can make even the most beautifully designed room feel unsettled and disorganized.

    To achieve a more serene and polished atmosphere, it’s best to focus on fewer, but more impactful pieces. Larger, well-chosen decor elements not only anchor the room but also communicate a sense of purpose and style. By reducing the number of small items, you allow each piece to shine and the overall design to breathe.

    • Opt for one bold, eye-catching decor item per tabletop or shelf to create a focal point.
    • Be fearless in decluttering — regularly remove any decorative accents that don’t contribute to the room’s vibe or function.
    • If you want to keep small pieces, display them in groups of three or five to create balanced, visually appealing arrangements.

    Pro Tip: Embrace simplicity—curated decor speaks volumes more than a collection of scattered trinkets.

    13. Elevate Your Space with Thoughtful Lighting Choices

    Elevate Your Space with Thoughtful Lighting Choices

    Outdated lighting fixtures and stark, cold bulbs can quickly drain a room of its charm, leaving it feeling uninviting and harsh. Those glaring white lights not only cast unflattering shadows but also create an atmosphere that feels more clinical than comfortable. Lighting is more than just functionality—it sets the tone and mood of your entire home.

    Opting for warmer, softer lighting instantly enhances the ambiance, making spaces feel more welcoming and serene. Choosing timeless fixtures instead of trendy or cheap-looking ones ensures your lighting remains stylish for years to come, contributing to a cohesive and polished interior design. Thoughtful lighting can transform any room from bland to beautiful, inviting you and your guests to linger longer.

    • Upgrade to warm white bulbs with a color temperature between 2700K and 3000K for a cozy glow.
    • Create depth by layering your lighting—combine overhead lights, task lamps, and accent fixtures to add dimension and functionality.
    • Swap out builder-grade or outdated fixtures for classic, elegant designs that complement your decor and stand the test of time.

    Pro Tip: A standout pendant light or a sleek floor lamp can instantly redefine a room’s personality and elevate its entire vibe.

    14. When Words Overwhelm: Rethinking Text-Based Wall Decor

    When Words Overwhelm: Rethinking Text-Based Wall Decor

    While word art and decorative quotes can be charming in small doses, overusing them often leads to a cluttered and dated look that detracts from the overall harmony of a room. Excessive text on walls can compete with your space’s natural beauty, making the environment feel busy and less inviting. Instead of relying heavily on wordy decorations, it’s important to consider alternatives that contribute to a balanced, visually appealing atmosphere.

    Walls are prime real estate for art that inspires, so why not choose pieces that evoke emotion or add depth without shouting messages? Thoughtfully selected artwork, striking photography, or sleek mirrors can enhance your space in subtle yet impactful ways. These elements bring texture, light, and personality without overpowering the room’s design.

    Incorporating text sparingly and with intention creates a more refined look. When you do opt for word-based decor, select a single meaningful piece that resonates with you personally. This approach keeps your walls engaging while maintaining a sense of sophistication and calm.

    • Swap out multiple word signs for one or two pieces of abstract or photographic art that spark conversation.
    • Introduce mirrors to bounce light around the room and create a feeling of openness instead of relying on textual decor.
    • If text is a must, choose one statement piece with personal significance rather than filling walls with several smaller quotes.

    Pro Tip: Art that moves you emotionally always outshines art that simply tells you what to think.

    Final Thoughts

    Transforming your home into a space that feels both inviting and sophisticated doesn’t require a hefty budget—it begins with thoughtful, intentional choices that elevate every corner. By addressing even a few of these common decorating missteps, you can instantly enhance the overall ambiance and create a setting that truly reflects your personal style. Remember, the key to a beautiful home lies not in lavish spending but in mindful details that bring harmony and charm to your environment.

    So start small, focusing on meaningful improvements that resonate with you. Each deliberate change builds upon the last, turning your home into a captivating haven where comfort meets elegance. After all, a home that feels effortlessly beautiful is one crafted with care, creativity, and a touch of your unique spirit. Let your space tell a story worth living in.

  • Creative Small Apartment Bathroom Designs to Maximize Space and Style

    When it comes to small apartment living, the bathroom often presents a unique challenge: how to balance functionality with style in a compact space. But rather than seeing a tiny bathroom as a limitation, think of it as a creative playground where thoughtful design choices can transform even the smallest nook into a charming, efficient oasis. With a little imagination and some smart strategies, you can maximize every inch without sacrificing personality or comfort.

    In this post, we’ll explore inspiring ideas that blend practicality with aesthetic appeal, helping you reimagine your small bathroom as a beautifully organized retreat. From clever storage solutions that keep clutter at bay to design touches that elevate the room’s vibe, these creative approaches will empower you to make your bathroom both stylish and spacious. Whether you’re working with a studio apartment or a cozy one-bedroom, these tips will breathe new life into your bathroom, proving that size truly doesn’t limit style.

    1. Crystal-Clear Organization with Transparent Jars

    Crystal-Clear Organization with Transparent Jars

    Using transparent storage jars keeps your bathroom essentials neatly displayed while making the most of limited space. Their clear design not only adds a touch of elegance but also helps you quickly spot what you need without rummaging through clutter. This approach brings order and style to even the tiniest bathrooms.

    Key Design Elements

    • Choose jars in varying sizes to accommodate different items like cotton balls, q-tips, and bath salts.
    • Label each jar with chic tags or stickers for an added layer of organization and aesthetic appeal.
    • Opt for airtight lids to keep contents fresh and protect against moisture in humid bathroom environments.

    Pro Tip: Pro Tip: Arrange jars on a tiered tray to maximize vertical space and create a stunning visual display.

    2. Warmth with Wooden Touches

    Warmth with Wooden Touches

    Incorporating wooden accents brings a cozy, natural vibe to your bathroom without overwhelming the space. Wood’s rich tones add depth and warmth, making even the smallest bathrooms feel inviting and stylish. Plus, its organic texture contrasts beautifully with sleek fixtures for a balanced look.

    Key Design Elements

    • Choose moisture-resistant woods like teak or cedar to withstand bathroom humidity.
    • Incorporate wood through accessories like shelves, mirrors, or towel racks to save space.
    • Pair wooden elements with light-colored walls and tiles to keep the room bright and airy.

    Pro Tip: Pro Tip: Seal wooden surfaces with waterproof finishes to keep your accents looking fresh longer.

    3. Golden Glow: Elevate Your Small Bathroom with Brass Accents

    Golden Glow: Elevate Your Small Bathroom with Brass Accents

    Incorporating brass fixtures introduces a warm, luxurious touch that instantly brightens up a compact bathroom. Their reflective surfaces catch the light beautifully, creating an illusion of space and adding an elegant focal point without overwhelming the room. Brass is not only stylish but also durable, making it a smart choice for small, high-use areas.

    Key Design Elements

    • Choose matte or brushed brass for a modern yet timeless look that hides fingerprints and water spots.
    • Pair brass faucets and handles with neutral tiles or soft whites to enhance the metal’s rich, warm tones.
    • Mix and match small brass accessories like towel racks or soap dispensers to unify the decor without clutter.

    Pro Tip: Pro Tip: Combine brass fixtures with soft LED lighting to amplify their golden shimmer and create a cozy ambiance.

    4. Elevate Your Space with Hanging Wall Lights

    Elevate Your Space with Hanging Wall Lights

    Installing pendant lights on your bathroom walls instantly adds a stylish touch without taking up precious counter space. Their vertical orientation draws the eye upward, creating an illusion of height that’s perfect for compact bathrooms. Plus, these fixtures provide focused lighting that enhances both functionality and ambiance.

    Key Design Elements

    • Choose fixtures with slim profiles to keep the space feeling open.
    • Position lights near mirrors to improve task lighting for grooming.
    • Opt for warm bulbs to create a cozy, inviting atmosphere.

    Pro Tip: Pro Tip: Use dimmable wall pendants to easily switch from bright task light to soft mood lighting.

    5. Stylish Storage: Elevate Your Cabinets

    Stylish Storage: Elevate Your Cabinets

    Transform the space above your bathroom cabinets into a charming display that maximizes vertical space without cluttering your countertop. This approach adds personality and warmth to small bathrooms while keeping essentials within easy reach. It’s a smart way to combine functionality with decorative flair in tight spaces.

    Key Design Elements

    • Choose lightweight, visually appealing baskets or boxes to organize toiletries neatly.
    • Incorporate small plants or decorative objects to add texture and color.
    • Keep frequently used items front and center for quick access and convenience.

    Pro Tip: Pro Tip: Use matching containers to create a cohesive, polished look above your cabinets.

    6. Go Big with Mirrors to Amplify Space

    Go Big with Mirrors to Amplify Space

    Installing a large mirror in a compact bathroom instantly creates the illusion of a more expansive area by reflecting light and open space. This simple upgrade not only adds a touch of elegance but also enhances functionality by providing a clear, full view for daily routines. It’s a smart design move that maximizes both style and spatial perception in tight quarters.

    Key Design Elements

    • Choose a mirror that spans the width of your vanity to visually double your countertop space.
    • Opt for a frame that complements your bathroom’s color scheme for a cohesive look.
    • Ensure proper lighting around the mirror to boost brightness and highlight the room’s features.

    Pro Tip: Pro Tip: Mount your oversized mirror at eye level to create a seamless extension of your bathroom walls.

    7. Lush Touch: Bringing Nature Into Your Bathroom

    Lush Touch: Bringing Nature Into Your Bathroom

    Introducing plants into your small bathroom instantly breathes life and freshness into the space, creating a serene, spa-like atmosphere. Greenery not only adds a pop of color but also helps purify the air, making your bathroom feel cleaner and more inviting. Even compact bathrooms can benefit from the calming presence of a few well-chosen plants.

    Key Design Elements

    • Choose moisture-loving plants like ferns, pothos, or snake plants that thrive in humid environments.
    • Use hanging planters or wall-mounted pots to save valuable counter space.
    • Place small succulents or air plants on shelves or windowsills for low-maintenance greenery.

    Pro Tip: Pro Tip: Rotate your plants regularly to ensure they get light evenly and stay lush all around.

    8. Timeless Charm with Classic Tiles

    Timeless Charm with Classic Tiles

    Classic subway tiles bring a sleek, clean look that instantly brightens up any bathroom, making even the smallest spaces feel more open and airy. Their simple rectangular shape and glossy finish reflect light beautifully, creating a sense of depth without overwhelming the room. This timeless design pairs effortlessly with a variety of styles, ensuring your bathroom feels fresh and inviting for years to come.

    Key Design Elements

    • Opt for lighter grout colors to enhance the brightness and make the space feel larger.
    • Install tiles vertically to draw the eye upward and add height to your bathroom walls.
    • Mix in a patterned or colored tile accent wall to add personality without cluttering.

    Pro Tip: Pro Tip: Use elongated subway tiles for a modern twist that visually expands your bathroom walls.

    9. Elevate Your Space with a Marble Basin

    Elevate Your Space with a Marble Basin

    Incorporating a marble basin into a compact bathroom instantly adds a touch of luxury and timeless elegance. Its natural veining creates subtle visual interest without overwhelming the space, making it perfect for small areas. Plus, marble’s durability ensures your sink remains a stunning focal point for years to come.

    Key Design Elements

    • Choose a sleek, wall-mounted marble sink to save floor space.
    • Pair with minimalist fixtures to let the marble’s pattern shine.
    • Seal the surface regularly to protect against stains and moisture.

    Pro Tip: Pro Tip: Opt for a lighter marble shade to brighten and visually expand your bathroom.

    10. Playful Prints That Spark Joy

    Playful Prints That Spark Joy

    Inject personality into your small bathroom with witty and whimsical signs that make every visit a little more fun. These cheeky touches not only lighten the mood but also create a memorable space without overwhelming limited wall space. Perfect for adding charm and character, they turn a functional room into a delightful retreat.

    Key Design Elements

    • Choose waterproof or laminated prints to withstand bathroom humidity.
    • Opt for compact frames or decals to keep the space feeling open.
    • Mix humor with stylish fonts or colors that complement your decor palette.

    Pro Tip: Pro Tip: Swap out seasonal or themed signs easily to keep your bathroom vibe fresh and engaging all year round.

    11. Elevate Your Bathroom Storage with a Ladder Shelf Above the Toilet

    Elevate Your Bathroom Storage with a Ladder Shelf Above the Toilet

    Maximize your bathroom’s vertical space by installing a stylish ladder shelf right over the toilet. This clever setup provides easy access to essentials without cluttering your limited floor area, making it perfect for compact bathrooms. Plus, it adds a trendy, rustic touch that instantly elevates the room’s aesthetic.

    Key Design Elements

    • Choose a ladder shelf with slim profiles to maintain an open and airy feel.
    • Use baskets or bins on the shelves to keep toiletries organized and visually tidy.
    • Secure the ladder to the wall for extra stability and safety in a frequently used space.

    Pro Tip: Pro Tip: Opt for moisture-resistant materials to keep your ladder shelf looking fresh in humid bathroom environments.

    12. Serene Coastal Vibes with Blue & White

    Serene Coastal Vibes with Blue & White

    Embracing a blue and white palette instantly transforms a small bathroom into a calm, airy retreat reminiscent of the seaside. This timeless combo opens up the space visually, making even the tiniest bathroom feel fresh and spacious. The crisp contrast between blue and white also adds a touch of sophistication without overwhelming the room.

    Key Design Elements

    • Use soft blue paint on the walls paired with bright white fixtures to enhance light reflection.
    • Incorporate blue and white patterned tiles for a stylish focal point without cluttering the space.
    • Opt for white accessories like towels and storage to maintain a clean, cohesive look.

    Pro Tip: Pro Tip: Swap out darker blues for pastel shades to keep your small bathroom feeling light and airy.

    13. Maximize Space with Over-the-Toilet Shelving

    Maximize Space with Over-the-Toilet Shelving

    Transform the often overlooked space above your toilet into a stylish storage solution. Installing shelves here not only keeps essentials within arm’s reach but also frees up valuable floor area, making your small bathroom feel more open and organized. It’s a smart way to blend functionality with decor in compact spaces.

    Key Design Elements

    • Choose slim, wall-mounted shelves to avoid crowding the bathroom.
    • Use baskets or boxes on shelves to keep toiletries neatly contained.
    • Incorporate decorative accents like plants or artwork to elevate the look.

    Pro Tip: Pro Tip: Opt for moisture-resistant materials to keep your shelves looking fresh over time.

    14. Tidy & Stylish: Under-Counter Basket Storage

    Tidy & Stylish: Under-Counter Basket Storage

    Maximize your bathroom’s limited space by slipping a woven basket beneath the sink counter. This clever storage solution keeps essentials neatly organized and within easy reach without crowding your countertops. Ideal for small bathrooms, it combines function and charm, turning unused space into a practical storage zone.

    Key Design Elements

    • Choose baskets that fit snugly under your vanity to avoid wasted space.
    • Opt for materials like wicker or fabric-lined baskets to add texture and warmth.
    • Label baskets to quickly find toiletries, towels, or cleaning supplies.

    Pro Tip: Pro Tip: Line your basket with a waterproof mat to protect against moisture and spills.

    15. Gallery Wall Magic for Compact Bathrooms

    Gallery Wall Magic for Compact Bathrooms

    Transform your small bathroom into a stylish retreat by creating a dynamic gallery wall with layered frames. This approach adds visual interest and personality without taking up precious floor space, making the room feel curated and cozy. Mixing different frame sizes and styles draws the eye upward, enhancing the sense of height and depth.

    Key Design Elements

    • Choose lightweight frames and use adhesive hooks to avoid damaging walls.
    • Incorporate mirrors or art with reflective surfaces to brighten the space.
    • Arrange frames asymmetrically for a relaxed, modern vibe that suits small areas.

    Pro Tip: Pro Tip: Swap out artwork seasonally to keep your bathroom fresh and inspiring!

    16. Sunny Pops of Yellow for a Bright Bathroom Boost

    Sunny Pops of Yellow for a Bright Bathroom Boost

    Incorporating yellow accents instantly energizes a small bathroom, making the space feel cheerful and inviting. This vibrant hue reflects light beautifully, helping to open up compact areas and add warmth without overwhelming. Perfect for those looking to infuse personality and brightness into their bathroom decor.

    Key Design Elements

    • Add yellow towels or a shower curtain for an easy, changeable splash of color.
    • Incorporate small yellow accessories like soap dispensers, toothbrush holders, or planters.
    • Use yellow artwork or wall decals to draw the eye upward and create a sense of height.

    Pro Tip: Pro Tip: Pair yellow accents with crisp white walls to maximize light and create a fresh, airy vibe.

    17. Chic and Functional Basket Solutions

    Chic and Functional Basket Solutions

    Incorporating woven storage baskets transforms your bathroom into a clutter-free sanctuary while adding a natural, cozy touch. Ideal for small spaces, baskets keep toiletries and towels organized without overwhelming the room. Their versatility allows you to tuck them under sinks, on shelves, or even hang them for an instant style boost.

    Key Design Elements

    • Choose baskets in varying sizes to accommodate different bathroom essentials.
    • Opt for moisture-resistant materials or line baskets with waterproof fabric to prevent damage.
    • Label each basket to maintain organization and easily find what you need.

    Pro Tip: Pro Tip: Stack smaller baskets inside larger ones when not in use to save space.

    18. Sleek Transparency: The Clear Shower Door Advantage

    Sleek Transparency: The Clear Shower Door Advantage

    Installing a clear glass shower door instantly opens up your bathroom, making even the smallest spaces feel airy and open. This minimalist choice avoids visual barriers, allowing light to flow freely and highlighting your bathroom’s design details. It’s a modern, stylish way to maximize space without compromising on elegance.

    Key Design Elements

    • Choose tempered glass for durability and safety.
    • Keep glass crystal clear with regular cleaning using vinegar or a glass cleaner.
    • Opt for frameless designs to enhance the illusion of spaciousness.

    Pro Tip: Pro Tip: Add a sleek, minimal hardware finish to keep the look light and seamless.

    19. Bold & Beautiful: Embrace a Dark Focal Wall

    Bold & Beautiful: Embrace a Dark Focal Wall

    Introducing a deep-hued accent wall can instantly add depth and sophistication to a compact bathroom. This striking contrast creates an illusion of space while serving as a stylish backdrop for your fixtures and accessories. Dark walls also bring a modern edge without overwhelming the room’s cozy footprint.

    Key Design Elements

    • Choose matte or satin finishes to reduce glare and add texture.
    • Pair with crisp white or light-colored tiles to maintain brightness.
    • Highlight the wall with minimalistic hardware and warm lighting to enhance ambiance.

    Pro Tip: Pro Tip: Use a black accent wall behind the vanity mirror to create a chic, spa-like vibe.

    20. Stylish Surfaces: Elevate Your Bathroom Counter

    Stylish Surfaces: Elevate Your Bathroom Counter

    Transform your bathroom counter into a chic and functional space without overcrowding it. Thoughtful decor adds personality and organization, making even the smallest bathrooms feel inviting and polished. Choosing the right accessories can enhance both aesthetics and practicality.

    Key Design Elements

    • Use trays or small baskets to group essentials and keep clutter contained.
    • Incorporate a small plant or vase to add a touch of freshness and color.
    • Opt for multi-purpose items like soap dispensers with built-in storage or decorative containers.

    Pro Tip: Pro Tip: Keep counters clear by rotating decor seasonally to maintain a fresh look without overcrowding.

    21. Bold Hues, Brilliant Impact

    Bold Hues, Brilliant Impact

    Using contrasting colors in a small bathroom instantly adds depth and personality without overwhelming the space. This design technique creates visual interest by highlighting architectural features and fixtures, making the room feel more dynamic and inviting. Perfect for compact areas, it helps define zones and enhances the overall aesthetic.

    Key Design Elements

    • Pair dark cabinetry with light walls to create striking focal points.
    • Incorporate contrasting colored towels and accessories for easy updates.
    • Use a bold tile pattern against neutral flooring to add dimension.

    Pro Tip: Pro Tip: Opt for high-gloss finishes on darker surfaces to reflect light and keep the space feeling open.

    22. Elevate Your Space with a Freestanding Storage Unit

    Elevate Your Space with a Freestanding Storage Unit

    A freestanding storage shelf brings versatility and style to compact bathrooms by providing accessible storage without the need for wall installation. Its mobility allows you to customize your space effortlessly, making it perfect for tight spots where built-ins aren’t an option. Plus, it adds vertical interest, helping to keep essentials organized and within reach.

    Key Design Elements

    • Choose slim, tall units to maximize vertical storage without crowding the floor space.
    • Opt for materials like metal or waterproof wood to ensure durability in a humid environment.
    • Incorporate baskets or bins on shelves to keep smaller items neat and tidy.

    Pro Tip: Pro Tip: Place a freestanding shelf near the sink to keep everyday essentials handy and clutter-free.

    23. Soft Neutrals: The Magic of Cream Walls

    Soft Neutrals: The Magic of Cream Walls

    Choosing a creamy wall color instantly brightens and expands the feel of a small bathroom, creating a warm and inviting atmosphere. This timeless shade reflects natural light beautifully, making tight spaces appear more open and airy. Its subtle hue serves as the perfect backdrop for both modern and classic decor styles.

    Key Design Elements

    • Pair cream walls with light-colored fixtures to enhance the sense of space.
    • Add texture through towels or rugs to prevent the space from feeling flat.
    • Use glossy or semi-gloss paint finishes to boost light reflection and durability.

    Pro Tip: Pro Tip: Elevate cream walls by adding metallic accents for a touch of understated glamour.

    24. Gallery Vibes in Your Powder Room

    Gallery Vibes in Your Powder Room

    Transform your compact bathroom into a stylish sanctuary by showcasing curated artwork. Art adds personality and depth without taking up precious space, making even the smallest rooms feel thoughtfully designed. Plus, it creates a focal point that draws the eye and elevates the overall ambiance.

    Key Design Elements

    • Choose moisture-resistant frames or use acrylic instead of glass to prevent damage.
    • Opt for a cohesive theme or color palette to keep the display harmonious and uncluttered.
    • Hang artwork at eye level to maximize impact in the limited space.

    Pro Tip: Pro Tip: Use removable adhesive hooks to easily swap out art for seasonal updates or fresh inspiration.

    25. Chic Window Ledge Styling

    Chic Window Ledge Styling

    Transform your bathroom window ledge into a charming mini oasis that adds personality without sacrificing space. This spot is perfect for small bathrooms, offering a natural stage for decorative accents that brighten the room and enhance its cozy vibe. With a few thoughtful touches, your window sill can become both functional and fabulous.

    Key Design Elements

    • Use small potted plants or succulents that thrive in humidity to add a refreshing touch of greenery.
    • Incorporate scented candles or essential oil diffusers to create a relaxing, spa-like atmosphere.
    • Place decorative jars or containers to keep cotton balls, swabs, or bath salts stylishly organized.

    Pro Tip: Pro Tip: Choose lightweight, waterproof decor items to keep your window sill safe and stylish in a steamy bathroom.

    26. Brighten Your Bathroom with a Sleek White Planter

    Brighten Your Bathroom with a Sleek White Planter

    Incorporating a vibrant green plant in a crisp white pot instantly elevates the ambiance of a small bathroom, creating a refreshing and calming vibe. The clean, minimalist pot contrasts beautifully with lush foliage, making the space feel more open and inviting without overwhelming it. This simple touch brings natural life indoors while maintaining a stylish, clutter-free look.

    Key Design Elements

    • Choose compact plants that thrive in low light and high humidity, like pothos or ferns.
    • Position the white pot near a mirror or window to reflect light and enhance the room’s brightness.
    • Opt for pots with drainage holes and use a saucer to prevent water damage on bathroom surfaces.

    Pro Tip: Pro Tip: Use a white pot with a glossy finish to bounce light and amplify your bathroom’s natural brightness.

    27. Chic Ladder Towel Rack for Compact Bathrooms

    Chic Ladder Towel Rack for Compact Bathrooms

    Transform your small bathroom with a stylish ladder towel rack that combines function and flair. Its vertical design saves floor space while adding a modern, rustic touch that elevates your decor. Perfect for neatly hanging multiple towels without the bulk of traditional racks.

    Key Design Elements

    • Choose a lightweight wooden ladder to easily move and clean around.
    • Lean the ladder against a wall to avoid drilling holes and preserve tiles.
    • Use the rungs to hang towels of varying sizes for an organized look.

    Pro Tip: Pro Tip: Add hanging plants or fairy lights to your ladder for a cozy, spa-like vibe.

    28. Airy Elegance with Floating Shelves

    Airy Elegance with Floating Shelves

    Floating shelves bring a light, spacious feel to compact bathrooms by eliminating bulky cabinets and opening up wall space. They allow you to display essentials and decorative touches in an organized, stylish way that keeps the room feeling bright and airy. This approach is perfect for small spaces where maximizing storage without overcrowding is key.

    Key Design Elements

    • Choose moisture-resistant materials like teak or metal to withstand bathroom humidity.
    • Keep items neatly grouped in matching baskets or containers to maintain a tidy look.
    • Use the top shelf for decorative accents and the lower shelves for frequently used toiletries for easy access.

    Pro Tip: Pro Tip: Opt for clear or light-colored containers to enhance the open, breezy vibe.

    29. Smart Bamboo Bath Caddy for Compact Spaces

    Smart Bamboo Bath Caddy for Compact Spaces

    Elevate your bathroom routine with a sleek bamboo bath caddy that fits perfectly across your tub. Its natural warmth adds a spa-like touch without crowding limited space. This versatile accessory keeps essentials within reach, making small bathrooms feel organized and luxurious.

    Key Design Elements

    • Choose a caddy with adjustable width to fit various tub sizes snugly.
    • Use compartments to hold a book, candles, or bath salts neatly.
    • Opt for bamboo for its water resistance and eco-friendly appeal.

    Pro Tip: Pro Tip: Keep a microfiber cloth handy to quickly wipe down your bamboo tray and maintain its smooth finish.

    Conclusion

    Transforming a small apartment bathroom into a stylish, functional oasis is entirely within your reach. With a bit of creativity and thoughtful design, even the coziest spaces can shine with personality and practicality. Whether you choose sleek storage solutions, clever lighting, or charming decorative touches, these ideas prove that size doesn’t limit beauty or comfort. Embrace the challenge, experiment with what inspires you, and watch your bathroom become a space you truly love—a perfect blend of efficiency and elegance. Remember, it’s not about how big your bathroom is, but how beautifully you make it your own.