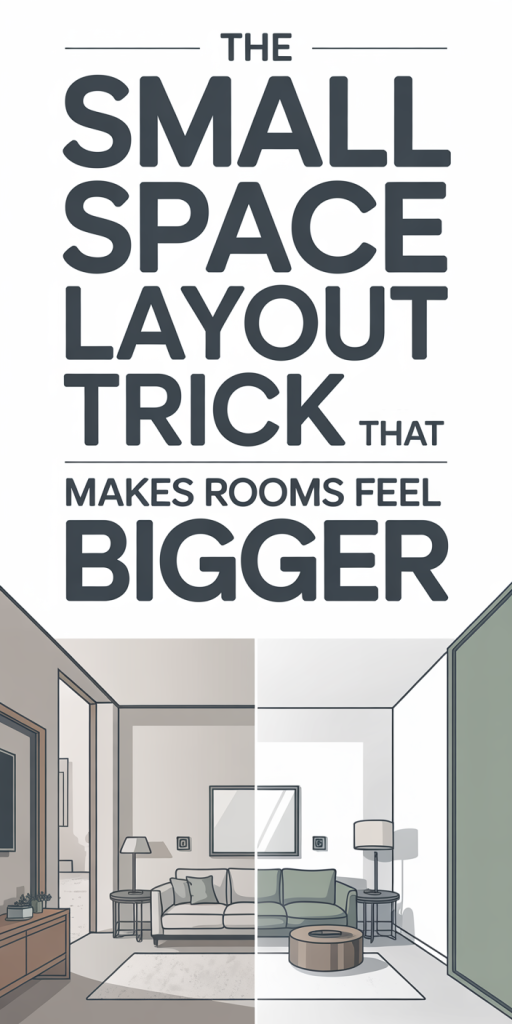
We’ve all stood in a compact living room or a snug bedroom and wished for more space. The truth is, bigger square footage helps, but perception is everything. A clever layout shift can make the same four walls read as more open, breathable, and functional without renovation or major expense. In this guide we’ll show the single small-space layout trick that changes how a room feels the moment you apply it, explain why it works, where it’s strongest (and where it can backfire), and give step-by-step instructions you can follow today. Expect practical measuring tips, styling ideas, and common mistakes to avoid so you don’t waste effort on moves that look smart but actually shrink the feel of a room.
Why Layout, Not Square Footage, Is The Real Influence On Perception
We often default to square footage as the metric for how spacious a room feels, but our perception of space comes from sightlines, scale, and flow more than sheer area. Two rooms with identical dimensions can feel worlds apart depending on how furniture, pathways, and focal points are arranged. Visual clutter, blocked sightlines, and islands of furniture create perceived density: conversely, a few intentional choices let the eye travel and give a sense of generosity.
Psychology helps explain this. Our brains use cues like uninterrupted lines, consistent scale, and contrast between foreground and background to judge depth. When we can see across a room, from doorway to window or from sofa to opposite wall, the brain interprets that as openness. If objects interrupt these lines, the space feels chopped up and smaller.
Lighting also interacts with layout. Natural light becomes an ally when we orient furniture to let it penetrate and reflect, while heavy pieces placed against windows or in the path of light can create pockets of shadow that visually compress the space. Finally, functional zones matter: a room that clearly signals where we sit, work, and move without overlapping functions feels more ordered and hence larger.
In short: square footage sets the limit, but layout determines the experience. That’s why a layout-focused trick can outperform investments in storage or color alone when our goal is to make a space feel bigger right now.
The Layout Trick: Anchor, Align, And Clear The Flow
The core trick we recommend is simple but surprisingly transformative: choose a single anchor piece, align secondary furniture to reinforce sightlines, and deliberately clear primary pathways. We summarize this as Anchor, Align, Clear, three related moves that together create the illusion of space.
Anchor: Pick one dominant piece, a sofa, bed, or dining table, and make it the visual and functional center. Keep it proportional to the room: too big and it dominates negatively, too small and the space fragments.
Align: Arrange other elements so they support continuous sightlines. That means avoiding mid-room furniture that interrupts the eye, orienting seating toward natural light or a focal wall, and using parallel or radial alignments that create implied lanes of vision.
Clear: Designate and maintain unobstructed walkways between entry points, seating areas, and exits. Clearing these routes not only improves flow but lets light and perspective travel across surfaces with minimal interruption.
When we apply Anchor, Align, Clear together, the room reads as intentional and spacious. Each step alone helps, but the combination multiplies the effect, the anchor gives purpose, alignment creates visual continuity, and clear paths allow perspective to do the rest.
Where This Trick Works Best — And When To Be Cautious
This layout approach is highly adaptable, but it performs best in certain contexts and requires caution in others.
Where it excels:
- Open-plan living rooms and studio apartments: With fewer fixed walls, anchoring a zone and aligning furniture can dramatically open perceived space. In studios, a single anchor (like a daybed or compact sofa) helps define living and sleeping areas without heavy partitions.
- Narrow rooms and long corridors: Aligning furniture along the long axis visually stretches the room. Placing major pieces parallel to the longest wall emphasizes depth.
- Rooms with strong natural light or windows: Anchoring away from the window and aligning elements to let light cross the room amplifies brightness and perceived volume.
When to be cautious:
- Rooms with awkward structural features: Low ceilings, numerous columns, or nonstandard alcoves may limit alignment options. Forcing a central anchor piece in these spaces can create congestion rather than clarity.
- Very small spaces with multifunction needs: If a room must serve multiple functions (sleep, work, dining) and you pick an oversized anchor, you can unintentionally box out other uses. In those cases, choose modular or multi-use anchors.
- Historic or ornate spaces: When architectural details are the hero, an intrusive modern anchor or overly strict alignment can fight the room’s character. We recommend letting the architecture inform anchor selection.
The rule: adapt Anchor, Align, Clear to the room’s constraints rather than imposing it rigidly. When we read the space first, the trick enhances it: when we ignore structural realities, it can backfire.
How To Apply The Trick: Three Practical Steps
We break application into three pragmatic steps that match Anchor, Align, Clear. Each step is a short exercise you can do in under an hour, and you’ll see the impact immediately.
Step 1: Measure, map, and choose your anchor piece. Step 2: Align furniture to reinforce sightlines and openness. Step 3: Create and maintain clear pathways for natural flow.
Below we expand each step into actionable tasks and quick checks so you can carry out the layout change with confidence and minimal effort.
Measure, Map, And Choose Your Anchor Piece
Measure, Map, And Choose Your Anchor Piece
First, measure the room: length, width, ceiling height, window and door locations. Sketch a simple floor plan, you don’t need pro software, a pencil sketch on graph paper works fine. Mark where light comes in and where foot traffic naturally flows.
Next, pick an anchor. We choose a single piece that will define the room’s purpose: a sofa in a living room, a bed in a bedroom, or a table in a dining area. The right anchor is about proportion. Aim for roughly 60–70% of the room’s usable zone for that function. For example, in a small living room that’s 10×12, choose a sofa that doesn’t exceed the long wall’s comfortable span and leaves breathing room on either end.
If we need multifunctionality, select an anchor with dual purpose: a daybed that doubles as seating, a desk that tucks under a window, or a foldable dining table. Measure the anchor’s footprint and note where it will sit relative to windows and doors. In our map, draw the anchor first, then other major elements.
Quick checks: step back and look at your sketch, do you still see lines from entry to window? Is there a visible channel for movement? If yes, your anchor choice is likely appropriate: if not, resize or reposition before moving furniture.
Styling And Material Tips To Amplify The Effect
Styling and material choices amplify the Anchor–Align–Clear layout by reinforcing light, depth, and continuity.
Color and contrast: Use a consistent, lighter palette on walls and larger furniture to expand perceived volume. But don’t go monochrome, introduce contrast in smaller accents to add depth. Dark floors with lighter walls, for instance, draw the eye across the room.
Reflective and translucent surfaces: Strategically placed mirrors multiply sightlines and bounce light. An oversized mirror opposite a window is classic, but smaller mirrored groupings or metallic accents can achieve similar depth. Glass and acrylic furniture reduce visual weight, making the layout feel less crowded.
Rug strategy: Use rugs to delineate zones without blocking flow: pick sizes that allow furniture legs to sit on the rug’s surface to avoid floating islands. In narrow rooms, a runner along the axis can accentuate length.
Vertical rhythm: Create vertical visual continuity with tall, slim elements, floor lamps, vertical artwork, or narrow shelving, positioned where they won’t interrupt cross-vision. This draws the eye upward and adds perceived height.
Scale and proportion: Keep accessory scale consistent with the anchor. Oversized coffee tables or huge art over a small sofa will make the room feel disproportionate. Conversely, a too-small anchor with huge accessories fragments the space.
Lighting layering: Combine ambient, task, and accent lighting. Low-level ambient light alone can flatten a room. Instead, use layered sources to model depth, uplights, sconces, and a statement pendant aligned with the anchor help guide sightlines and create depth cues.
Common Mistakes To Avoid When Reconfiguring Small Rooms
When we reconfigure small rooms, a few recurring mistakes can undercut the layout gains. Watch for these pitfalls:
- Overanchoring with oversized furniture. A massive sofa or bed may feel luxurious, but in a small room it becomes a visual block. Measure first and aim for proportional anchors.
- Floating everything in the middle. Placing multiple pieces mid-room creates islands that interrupt flow. Use walls and long axes to anchor secondary pieces when possible.
- Ignoring vertical space. We often focus on floor plan alone, but neglecting vertical storage or decorative rhythm wastes volume. Slim shelving or wall-mounted lighting frees floor area and adds height.
- Blocking natural light. Positioning tall furniture in front of windows is a fast way to shrink a room. If privacy is needed, choose lower silhouettes or sheer window treatments.
- Using too many small, mismatched items. Excessive decor scatters attention. Group smaller objects into curated vignettes so they read as intentional instead of chaotic.
- Forgetting circulation widths. Cramped walkways kill the perception of space. Keep primary paths at least 28–32 inches wide.
- Over-relying on trends. A trendy oversized chair or dense patterned wallpaper can date a space and make it feel heavy. Prioritize timeless proportion and neutrality, then layer trends through inexpensive accents.
By anticipating these mistakes, we preserve the benefits of the Anchor, Align, Clear trick and avoid undoing our work with a thoughtless purchase or placement.
Conclusion
The small-space layout trick, Anchor, Align, Clear, is one simple shift that yields outsized results. We don’t need to remodel or buy everything new: we need to make deliberate choices about what anchors the room, how secondary pieces align to create continuous sightlines, and how pathways remain unobstructed. With a measuring tape, a quick floor plan, and modest styling edits, we can make rooms feel larger, brighter, and more usable today. Try the three-step process in one room this weekend: measure and place your anchor, align supporting pieces, and clear the main paths. The change is immediate, and once you notice how much more generous the space feels, you’ll start seeing layout opportunities everywhere.
Leave a Reply