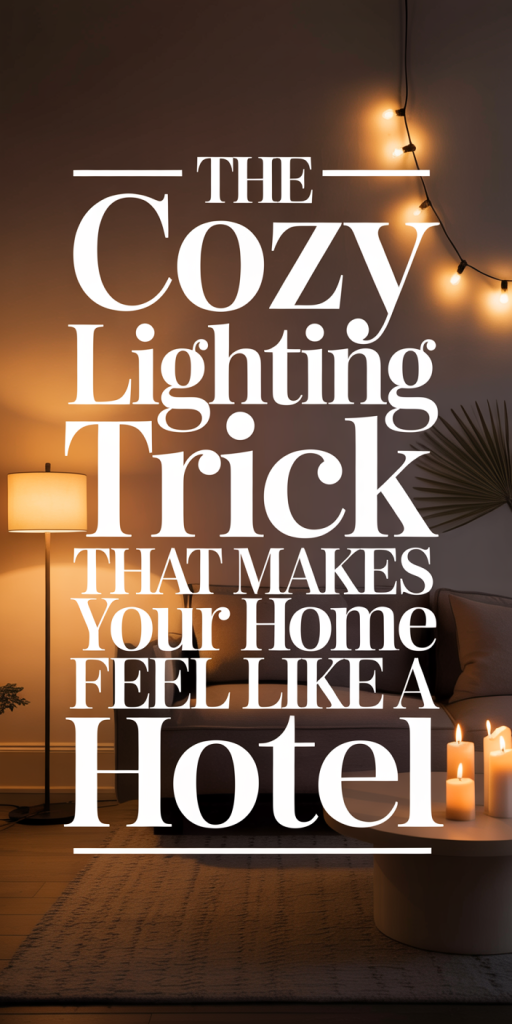
We’ve all walked into a hotel room and felt an almost instant calm: the lighting looks softer, corners feel inviting, and the whole space seems designed to breathe. Replicating that hotel-style comfort at home isn’t about splurging on chandeliers or copying a hospitality designer’s exact plan. It’s about a single, repeatable principle that hotels use everywhere: layered, warm lighting designed with intention. In this guide we’ll explain why hotel lighting feels so comfortable, reveal the one cozy trick that pulls it all together, and show practical, room-by-room ways to carry out layered warmth in 2026, using modern smart controls, dimmers, and fixtures that are actually affordable. If you’re ready to make your home feel more restful, luxe, and effortless, let’s dig in.
Why Hotel Lighting Feels So Comfortable
Hotels aren’t comfortable by accident. Hospitality designers think about pace, function, and mood for every square foot. Three core principles explain that “comfort” we notice immediately: warm color temperature, layered sources, and deliberate control. Warm color temperature, usually around 2700K to 3000K, mimics incandescent light and skin tones in a flattering way. That gentle amber quality reduces visual harshness and signals the brain that it’s time to relax.
Layering means hotels never rely on a single overhead light. Instead, they mix ambient light (overall brightness), task light (for reading or getting ready), and accent light (to highlight objects, textures, or architecture). Each layer has a slightly different intensity and placement so the eye finds rest in the darker planes and focus where needed.
Finally, hotels use control: dimmers, separate switches, and preset scenes allow staff (and guests) to change mood instantly. The difference between a well-lit hotel suite and a typical home often comes down to this orchestration, not necessarily more fixtures, but smarter placement and control. When we decode these three elements, we can copy what works without copying the look exactly. It’s less about installing more lights and more about arranging them thoughtfully.
The One Cozy Trick: Strategic Layered Lighting
If we had to distill hotel lighting into one trick, it would be this: intentionally layer warm light sources so each layer can be used independently or together. That sounds straightforward, but it upends how many people light a room. Most homes use a bright central ceiling lamp for everything: hotels distribute several lower-intensity sources around the room so no single fixture dominates.
Why does layering work so well? First, it reduces contrast. With multiple low-level lights, shadows are softer and the eye doesn’t have to constantly adjust. Second, layering creates depth, corners recede, textures pop, and surfaces look richer. Third, it gives us choice: we can light only the zone we’re using and keep the rest dim. That economy of light is calming and efficient.
Practically, the strategy asks us to specify three layers: ambient for general visibility, task for focused activities, and accent for mood. Each layer should be on its own control and use warm color temperatures. When we combine them thoughtfully, say a dimmed overhead plus a bedside lamp and a wall wash on art, we get that hotel-level coziness. We’ll show how to pick fixtures, positions, and controls next so the approach is easy to carry out in real rooms.
Layering In Practice: Ambient, Task, Accent
Layered lighting becomes intuitive once we understand the job each layer does and how they interact. Below we break down the three layers, ambient, task, and accent, with practical choices, fixture suggestions, and rules of thumb to translate hotel design into home-friendly moves.
Ambient Lighting: The Foundation of Hotel Warmth
Ambient lighting provides the base level of visibility and sets the general mood. In hotels this is often achieved with recessed downlights on a dimmer, concealed cove lighting, or soft ceiling fixtures with frosted diffusers. For homes, we want the same soft, even spread but without glare.
Fixtures and placement: For living rooms and bedrooms, consider recessed LEDs with wide beam angles, or a central semi-flush fixture paired with wall sconces. Cove lighting or LED tape hidden in crown molding is an elegant way to wash the ceiling and create that floating, spacious feel hotels get. If our ceilings are low, avoid bright, direct fixtures overhead: instead use uplighting (floor lamps that bounce light off the ceiling) to mimic a higher ceiling and distribute light more evenly.
Color and intensity: Aim for 2700K–3000K color temperature and set ambient levels low enough that individual task lights can be brighter without clashing. In terms of lumens, living room ambient should hover around 1,500–3,000 lumens total (distributed across fixtures), and bedrooms can be lower, 1,000–2,000 lumens, depending on room size.
Control tip: Put ambient lighting on a dimmer and name that scene “Relax” or “Evening.” Hotels use similar central scenes to quickly shift the entire room’s tone.
Task Lighting: Practical Comfort Without Glare
Task lights give us comfortable, shadow-free illumination for reading, cooking, working, or grooming. Hotels often place these as bedside reading lamps, vanity lights around mirrors, and adjustable desk lamps. Our aim is to replicate that focused clarity without adding harshness.
Fixture choices: For reading and bedside use, go for adjustable swing-arm lamps or small table lamps with opaque shades that direct light downward. In kitchens, under-cabinet LED strips provide even workspace lighting: over stovetops and counters, pendant lights or recessed fixtures positioned to avoid casting shadows are ideal.
Brightness and placement: Task lighting should be noticeably brighter than ambient in the immediate zone, think 300–500 lumens for bedside reading, 700–1,200 lumens for kitchen counters. Position lights so they illuminate the task surface directly and reduce glare: eyes should not look into the light source when seated at a desk or lying in bed.
Design note: Choose fixtures with good shielding and consistent color temperature (match to ambient). In bathrooms, place vanity lights at eye level on either side of the mirror or use layered vertical sconces to eliminate shadowing on the face.
Accent And Decorative Lighting: The Finishing Touch
Accent lighting is what makes a space feel curated. Hotels use it to highlight artwork, textures, architectural details, and plants, those subtle cues make a room feel considered and lived-in. Accent lights are lower in intensity but high in impact.
Common accent fixtures: Picture lights, adjustable spotlights, LED strip lighting behind furniture or in shelving, and small recessed eyeballs are all excellent choices. For dramatic effect, a floor uplight behind a plant or a wall washer that emphasizes texture adds depth.
Placement and intensity: Accent lights should be about one-third to one-half the intensity of task lights in the same visual field. They’re directional and focused: aim beams precisely to avoid eye-level glare. When highlighting art, use narrow beam angles (15–30 degrees) and position fixtures so the brightest area sits slightly below the top third of the artwork for even distribution.
Stylistic tip: Use accent lighting to create vignettes, a lamp, a stack of books, and a framed photo lit together read like a small scene. Those curated pockets are a big part of the “hotel” feeling because they draw attention to texture and story rather than to utilitarian brightness.
Where To Place Lights For Maximum Warmth And Flow
Placement is where layered lighting moves from theoretical to transformational. Hotels plan sightlines and user flow so lighting supports how guests move through the room. We can adopt the same approach in our home, focusing on pathways, focal points, and zones.
Entry and sightlines: The entry or hallway sets first impressions. A soft overhead or wall sconce paired with a console lamp creates an inviting arrival. Avoid harsh, single-bulb fixtures that reveal every imperfection. Instead, use multiple lower-level sources that create pools of light and shadow: that contrast reads as warmth.
Living areas and seating: Place task lights next to seating for reading and accent lights to frame artwork or architectural niches. Floor lamps behind sofas that wash light upward are great for rooms with low ceilings, they visually lift the space. Keep the central overhead light optional rather than default: when we entertain, we can use it, but for everyday evenings rely on layers.
Kitchen and dining flow: The kitchen needs functional task lighting over counters and an ambient layer for the rest of the room. Pendant lights above islands should be hung at 28–34 inches above the counter for balance. In dining areas, a dimmable pendant over the table provides focus, while wall sconces or a buffet lamp provide peripheral warmth.
Bedroom placement: Bedrooms benefit from symmetrical bedside lamps or wall-mounted sconces with individual switches. Add a low-level floor lamp or cove light to create a glow that helps us wind down. Position closet lighting so it’s triggered by the door or switch and avoids harsh overhead bursts when getting dressed at night.
Circuits and practicalities: Whenever possible, put layers on separate circuits or switches. That simple wiring decision gives us the flexibility hotels rely on and prevents the temptation to over-illuminate with a single master switch.
Dimmers, Smart Controls, And Lighting Scenes To Set The Mood
Control is where layered lighting becomes magical. Hotels use dimmers, preset scenes, and centralized controls so lighting adapts instantly to activity. In 2026, smart lighting technology is affordable and standardized, making it easy to replicate those scenes at home.
Dimmers first: Always use dimmable fixtures and invest in quality dimmer switches. Dimming not only changes intensity but alters perceived color slightly, making light feel warmer at lower levels. Choose LED-compatible dimmers to avoid flicker and compatibility issues.
Smart controls and scenes: Smart bulbs, wall controllers, or integrated home automation systems let us create scenes like “Wake,” “Work,” “Dinner,” and “Relax.” For example, a “Relax” scene might set ambient to 25%, bedside lamps to 60%, and accent lights to 20% with 2700K color. Using voice commands or a simple button on a bedside paddle matches the hotel quick-change experience.
Grouping and scheduling: Group lights by zone (bedside, living, kitchen) and schedule gentle fades in the evening and wake-up scenes in the morning. For instance, schedule ambient lights to slowly brighten over 15 minutes before alarm time: that gentle light transition supports circadian rhythms better than a sudden beeping alarm.
Practical advice: Keep a manual fallback, labeled physical switches or a simple dimmer, so guests and family members who aren’t tech-savvy can still use the lights with ease. The goal is convenience, not complexity.
Quick Room‑By‑Room Setup Guide — From Entry To Bedroom
We’ll walk through a practical, quick setup for each major room so you can start implementing layered warmth this weekend. Each mini-plan lists essential layers, fixture suggestions, and a simple scene to program.
Entry/Hallway
- Layers: Ambient (sconce or soft overhead), Accent (console lamp), Motion-triggered pathway lights.
- Fixtures: Wall sconces at 60–66 inches, small table lamp on console, LED step lights if needed.
- Scene: “Welcome”, ambient 40%, console lamp 80%.
Living Room
- Layers: Ambient (recessed or cove), Task (floor/table lamps), Accent (picture lights or shelf LED).
- Fixtures: 2–3 floor/table lamps, dimmable recessed for ambient, LED strips in shelving.
- Scene: “Evening”, ambient 30%, task 60% where occupied, accents 25%.
Kitchen
- Layers: Ambient (ceiling), Task (under-cabinet), Accent (over-island pendants, toe-kick LED).
- Fixtures: Under-cabinet strips, pendants 28–34″ over island, recessed ambient.
- Scene: “Cooking”, task 100% on counters, ambient 50%, pendants 60%.
Dining Room
- Layers: Pendant over table, wall sconces or buffet lamp, optional accent for art.
- Fixtures: Dimmable pendant centered over table, sconces at 60–66″.
- Scene: “Dinner”, pendant 40–60% depending on desired mood, sconces 30%.
Bathroom/Vanity
- Layers: Ambient (ceiling), Task (mirror/vanity lights), Accent (recessed niche light).
- Fixtures: Vertical fixtures at eye level or LED mirror lights to avoid shadows.
- Scene: “Groom”, vanity lights 100%, ambient 50%.
Bedroom
- Layers: Ambient (cove or soft overhead), Task (bedside lamps), Accent (reading uplight or art wash).
- Fixtures: Wall-mounted reading lights or bedside lamps with individual switches: cove lighting behind headboard if possible.
- Scene: “Wind Down”, ambient 20–30%, bedside 40–60%, accent 20%.
Office/Workspace
- Layers: Ambient (ceiling), Task (desk lamp with adjustable color temp), Accent (shelf LED for contrast).
- Fixtures: High-CRI task lamp at desk, ambient on dimmer.
- Scene: “Focus”, task 100% (cooler 3000–3500K if needed), ambient 40%.
Practical rollout: Start with one room, usually the living room or bedroom, and add layers over a few weekends. Swap bulbs to 2700K–3000K and add a dimmer and one task lamp: that small investment yields an outsized feel-good return.
Conclusion
Hotel-style lighting isn’t an aesthetic reserved for high-end suites, it’s a practice: warm color, layered sources, and thoughtful control. By prioritizing ambient, task, and accent layers: placing fixtures with intention: and using dimmers or smart scenes, we can recreate that welcoming, restorative atmosphere at home. Start small: swap to warm bulbs, add one quality task lamp, and program a “Relax” scene. Those three moves alone will change how your space feels every evening. Once you begin thinking like a hospitality designer, focusing on flow, choice, and subtle contrast, making your home feel like a hotel becomes simple, enjoyable, and surprisingly affordable.
Leave a Reply